How to Draw a Baseball Bat
I invite you to an interesting creative lesson in which you will learn how to draw a baseball bat step-by-step.
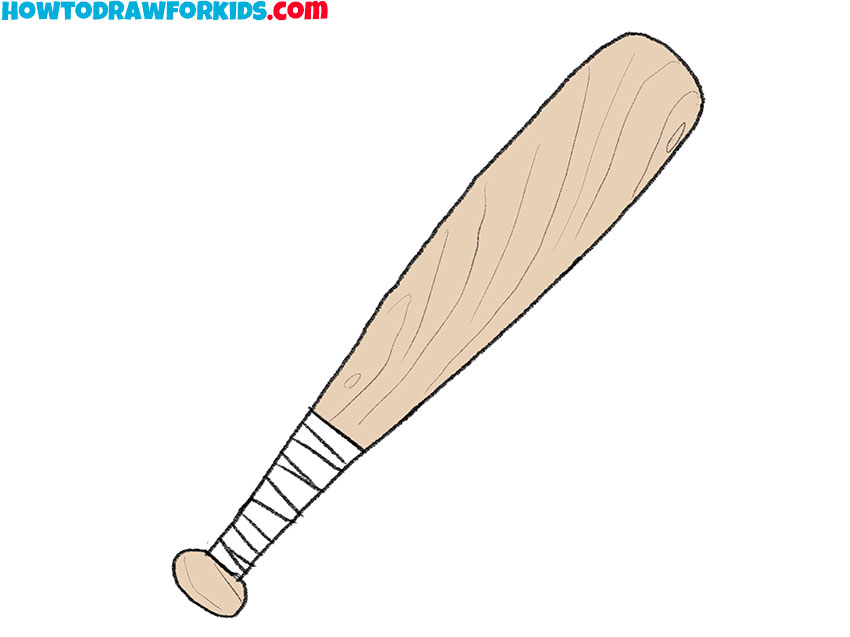
This lesson will focus on sports equipment, and now I will show you how to draw a baseball bat. A baseball bat is a smooth, elongated mace that players use to hit the ball.
The same bat can be used not only in baseball, but also in some other sports games. The baseball bat has specific requirements and is made from a durable, hard material. The bat must have a standard size and weight.
During the lesson, make sure to make a smooth outer contour. There is a small tip at the bottom of the bit, with the bottom of the bit narrower and the top wide. Both sides of the bit must have a symmetrical curve.
Materials
- Pencil
- Paper
- Eraser
- Coloring supplies
Time needed: 25 minutes
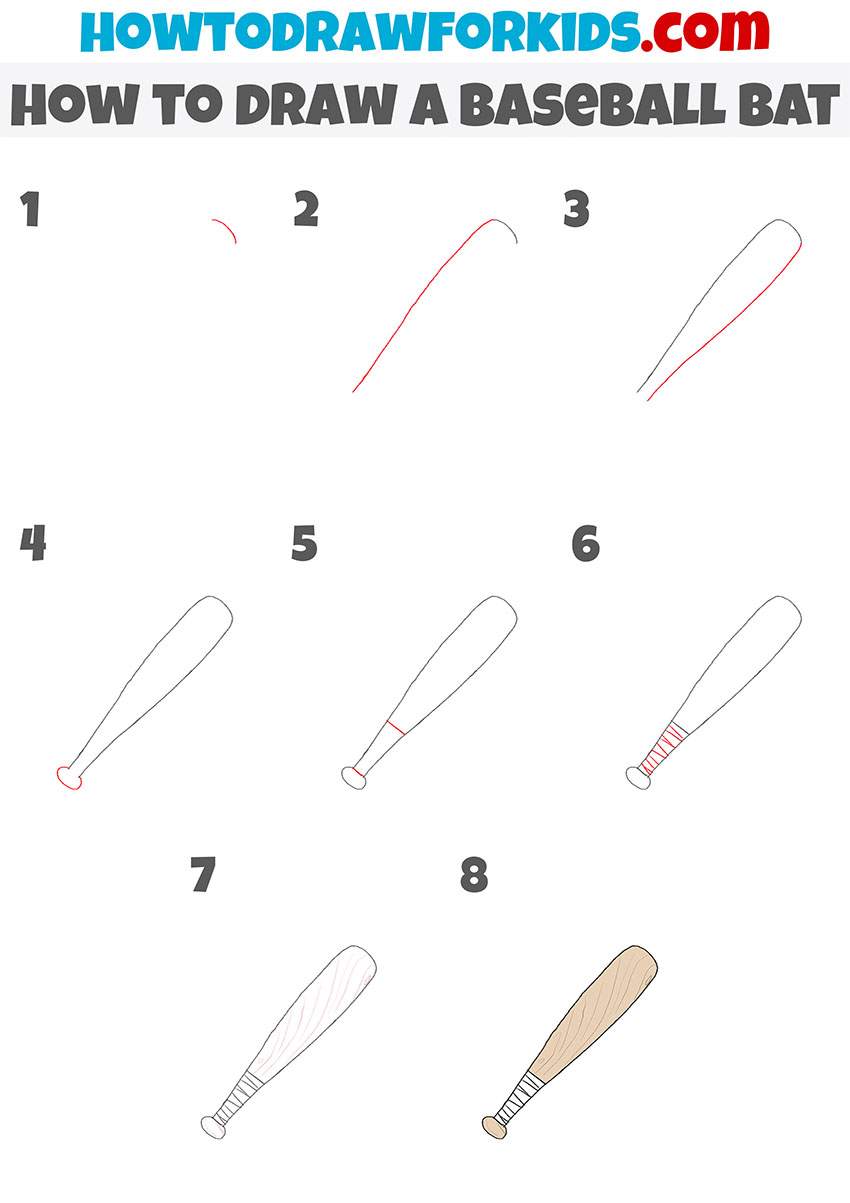
How to Draw a Baseball Bat
- Draw the top of the bat.
This is a very simple step in which you need to draw a short, curved line.

- Add one side outline of the bat.
From the top, depict a smooth line that has a slight bend in the middle.

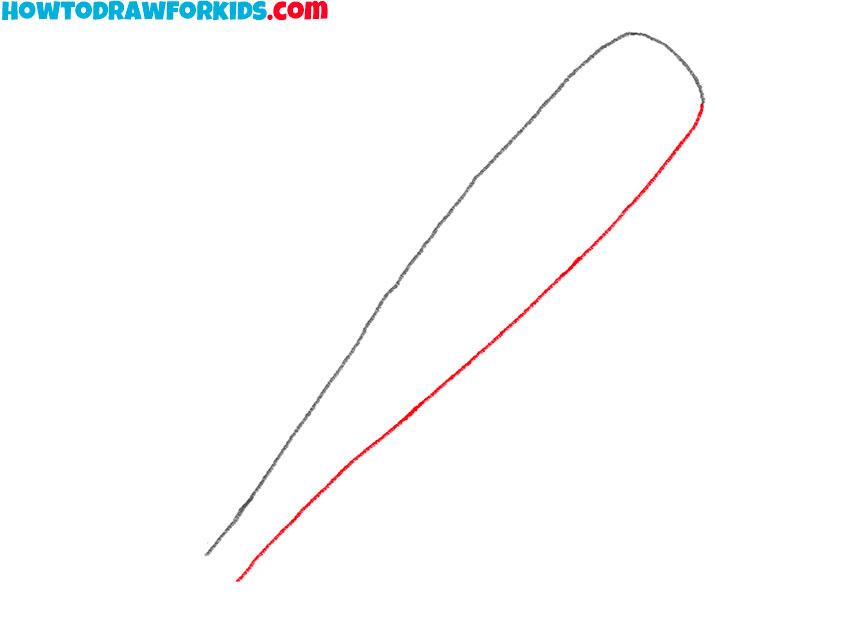
- Depict the second side outline.
Repeat the previous step and draw the same line, but on the other side.
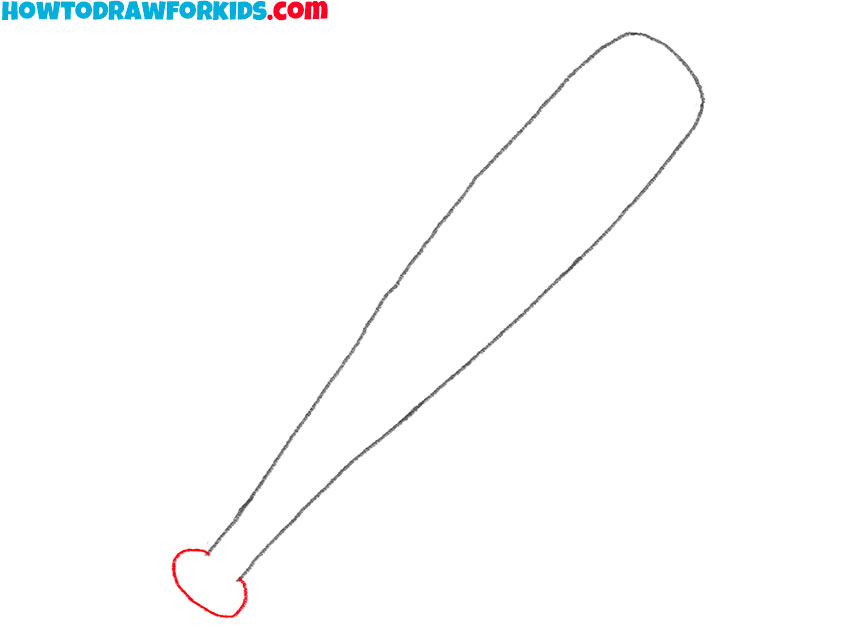
- Sketch out the tip.
With the help of a rounded line, draw the three-dimensional tip.
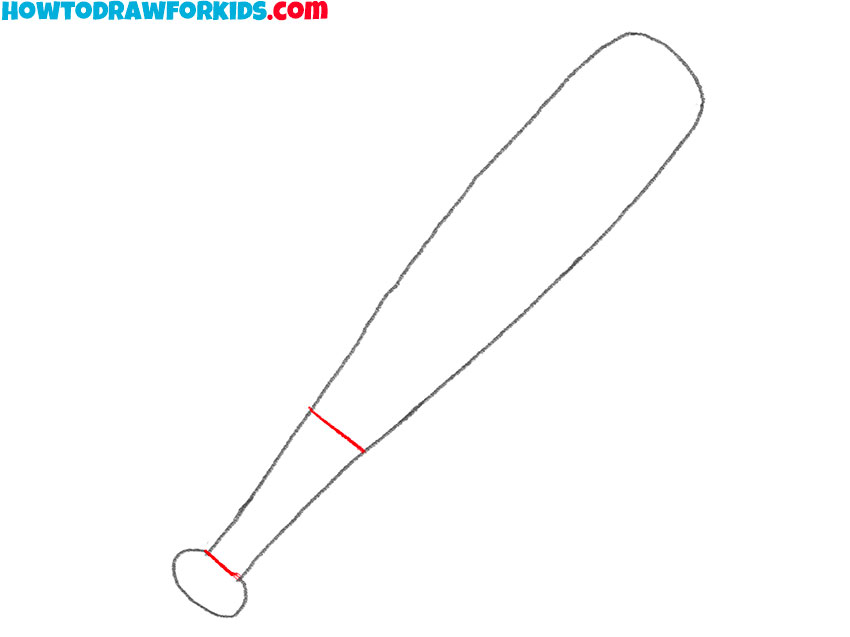
- Draw the borders of the handle.
At the bottom of the bit, depict two transverse lines.
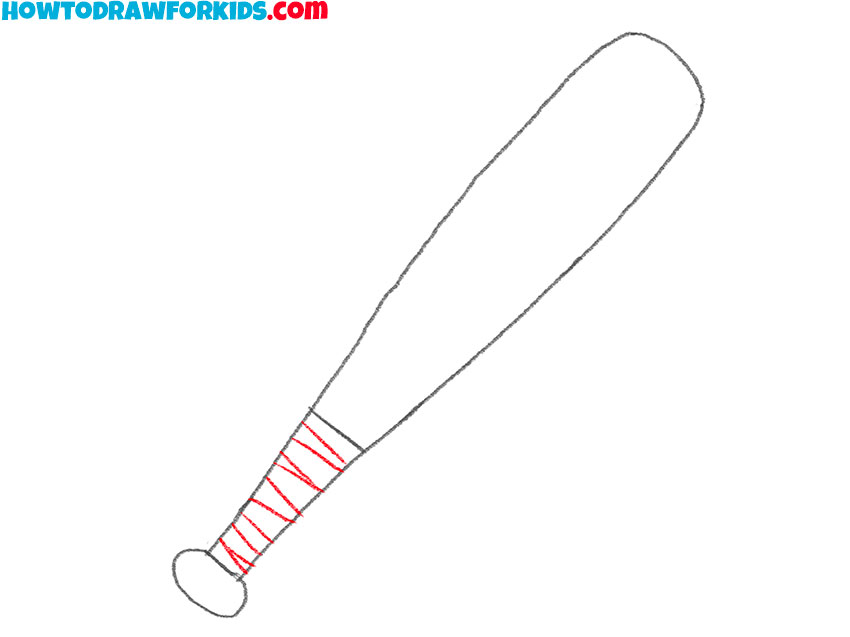
- Add the rest of the elements.
On the handle of the bit, depict several transverse lines that are located at different angles.
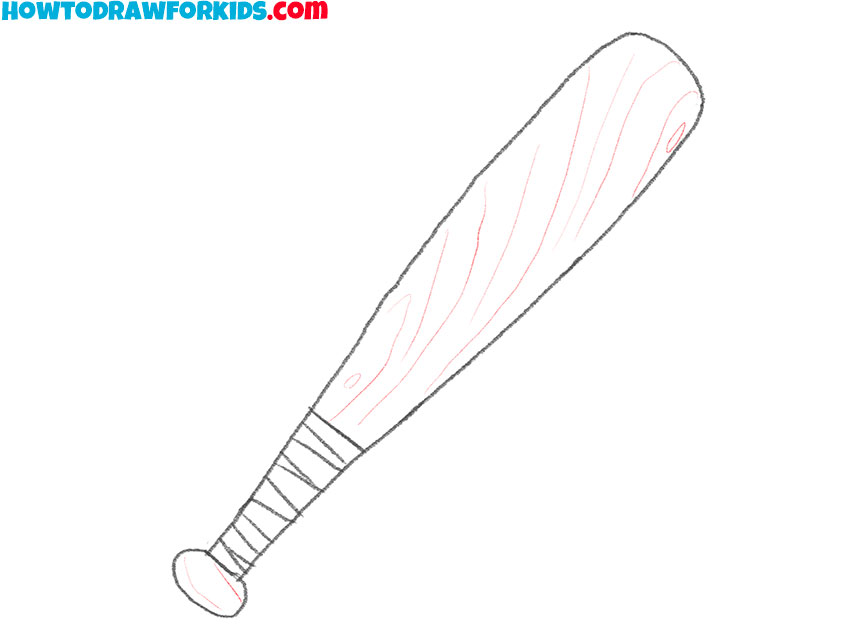
- Depict the wood texture.
At the top of the bit, sketch out a few uneven thin lines.
- Color the baseball bat.
You only need light brown to color the tip and top.

For your convenience, I have previously created a PDF file that contains a short version of the lesson. Download the file so that you can return to this lesson at any time, even if you do not have Internet access.

