How to Draw a Basket
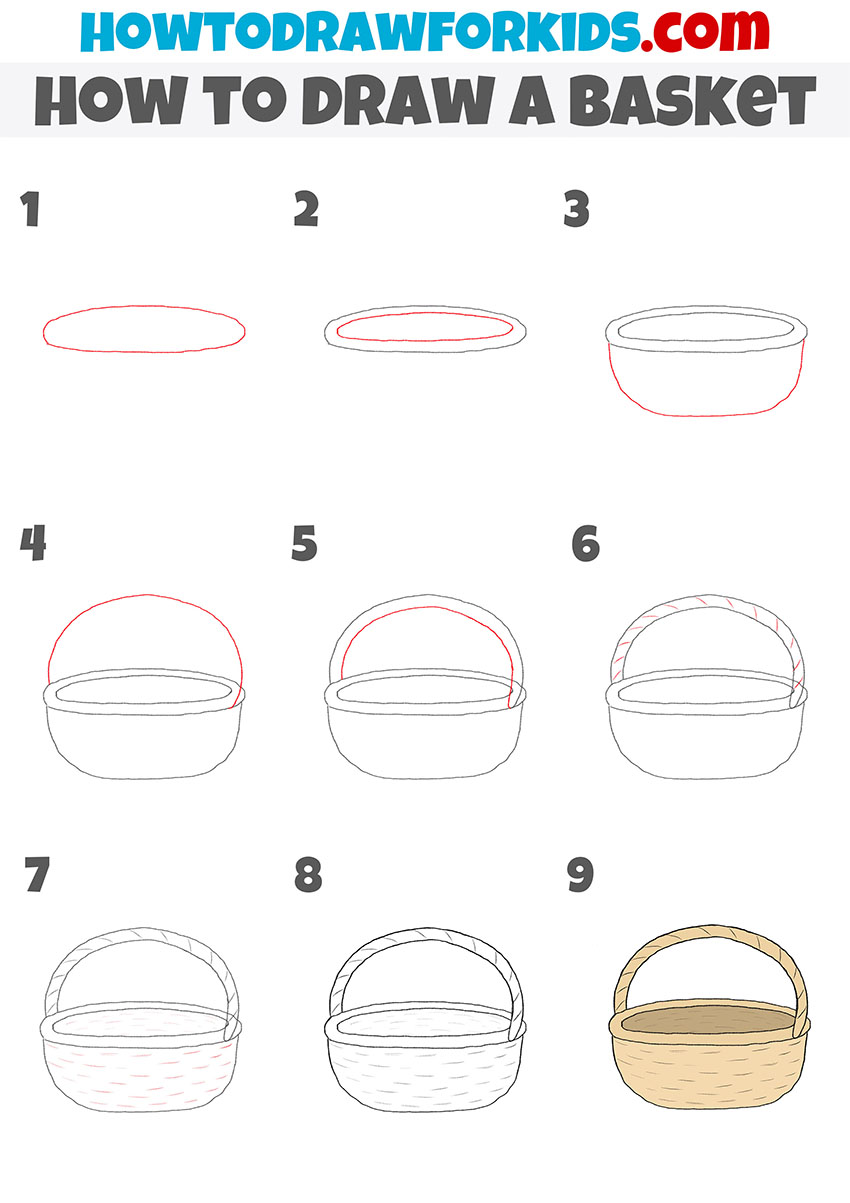
In this simple tutorial, you will learn how to draw a basket in just nine easy steps and gain useful drawing skills.
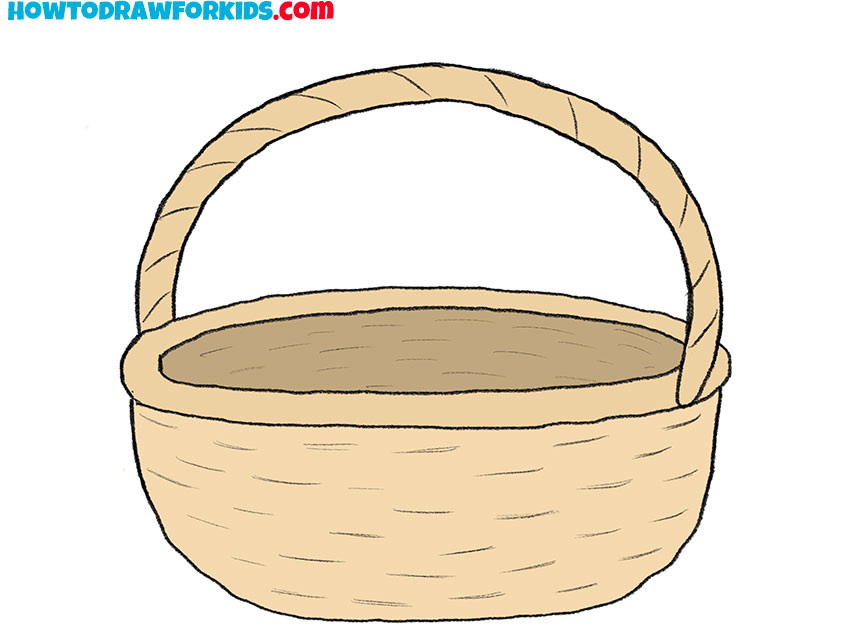
In this tutorial, I will show you how to draw a basket. This is a simple instruction that you will definitely enjoy, and you will have a pleasant impression after completing the lesson.
On my site, you will find various items that are used in everyday life. And here is another subject that you are familiar with. This instruction shows in detail how to draw a basket step by step.
This is an ordinary wicker basket, which is made of long thin rods. Such baskets have always been popular, and nowadays in some regions, wicker baskets are used to collect fruits, mushrooms, and berries.
This is a simple and convenient device. The basket is spacious enough and has a convenient handle. Carefully follow all the drawing steps, and as a result, you will learn useful skills. You will once again practice making smooth rounded lines, and learn how to depict perspective and depth.
Materials
- Pencil
- Paper
- Eraser
- Coloring supplies
Time needed: 30 minutes
How to Draw a Basket
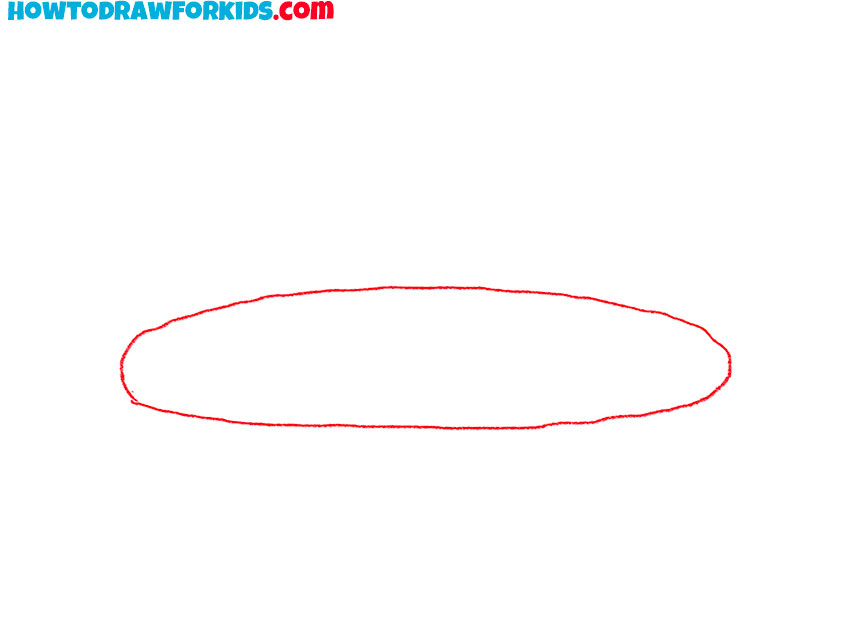
- Start drawing the top outline.
Sketch out an even elongated oval.
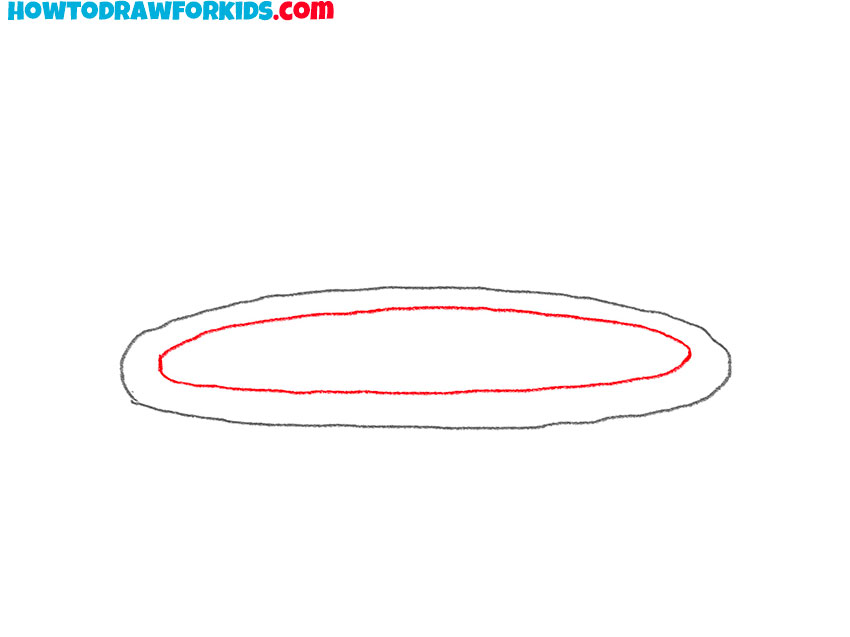
- Add the wall thickness of the basket.
Depict another small oval inside the outline.
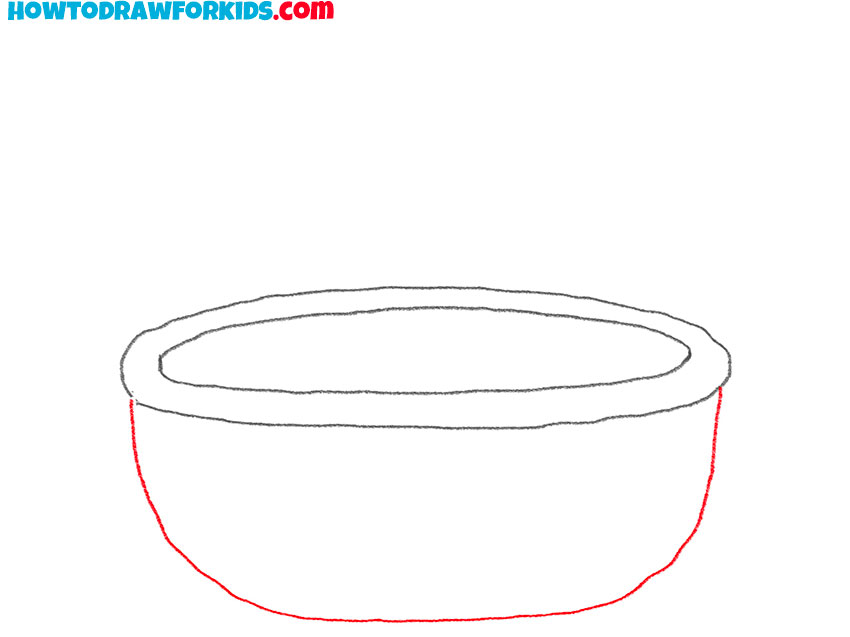
- Draw the main part of the basket.
Depict a smooth rounded line from one edge to the other.
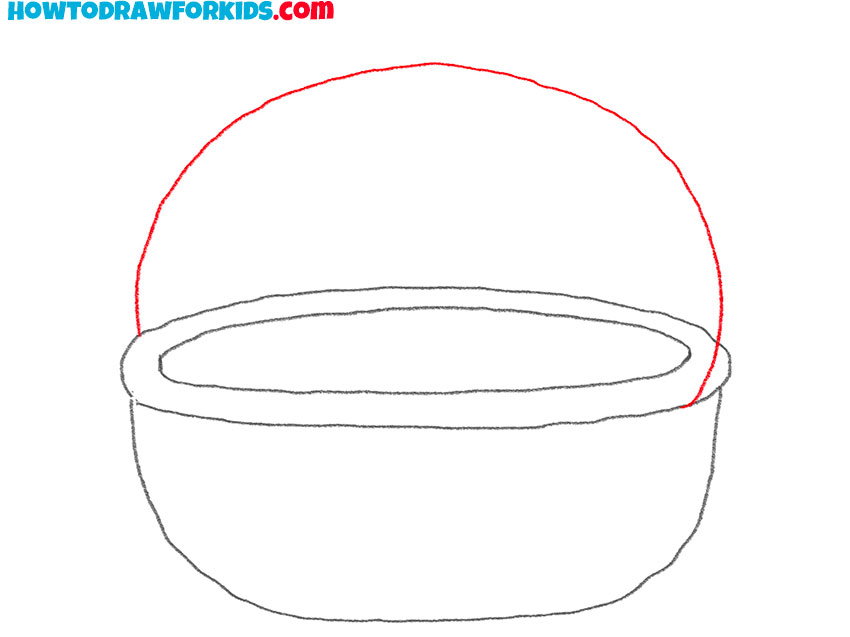
- Sketch out the outline of the handle.
At the top, draw a rounded line that connects the opposite sides of the basket.
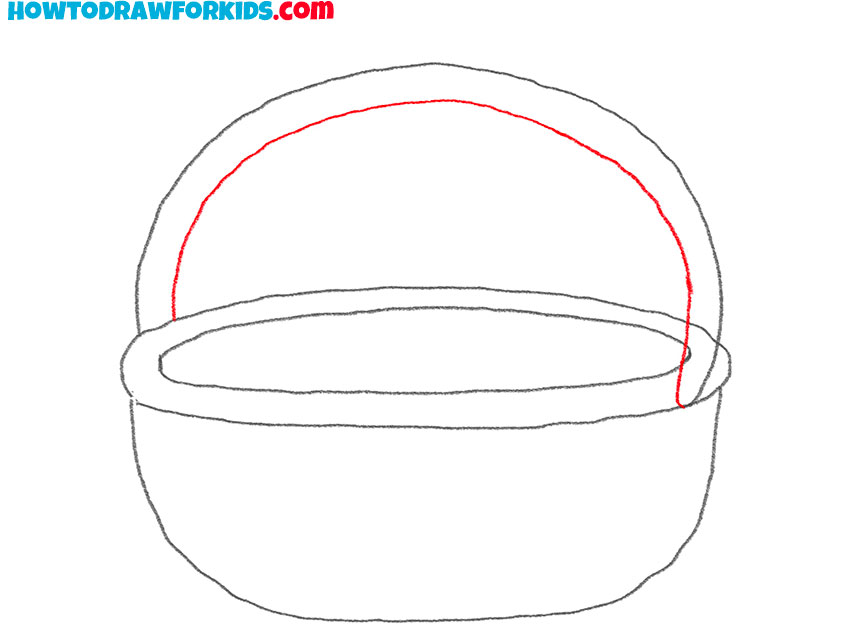
- Add the thickness of the handle.
At this stage, draw one smooth parallel line.
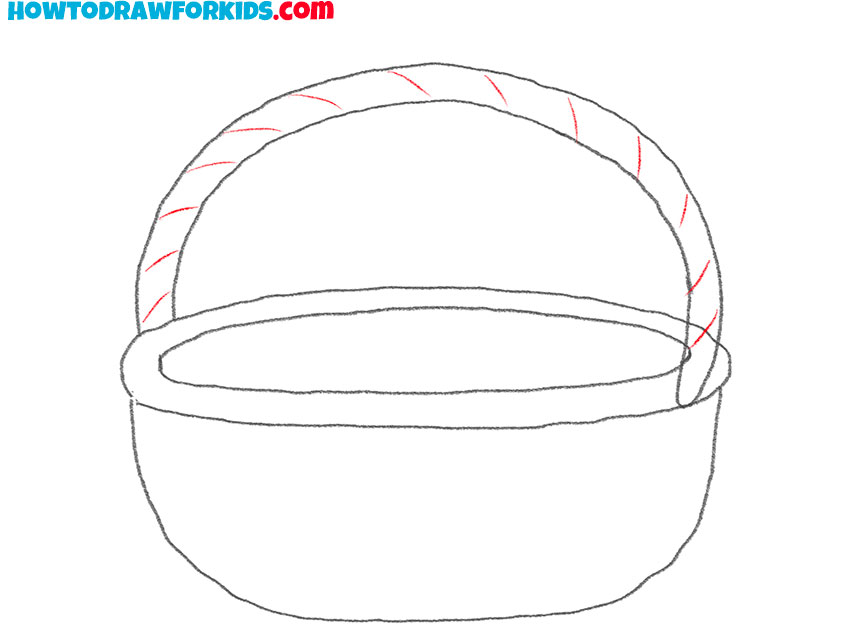
- Detail the handle.
Consistently depict thin strokes to draw the interlacing of rods.
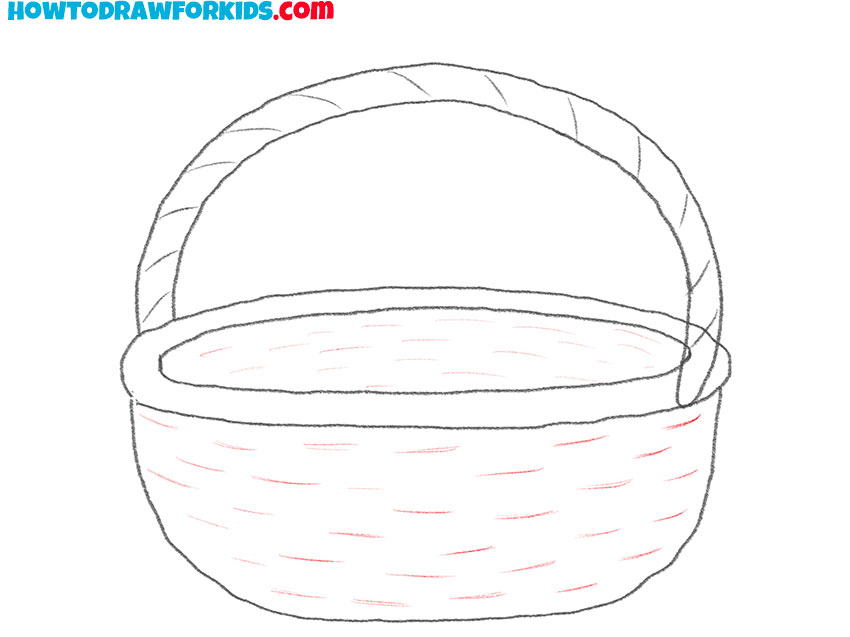
- Add details.
Sketch out thin strokes on the surface of the basket.
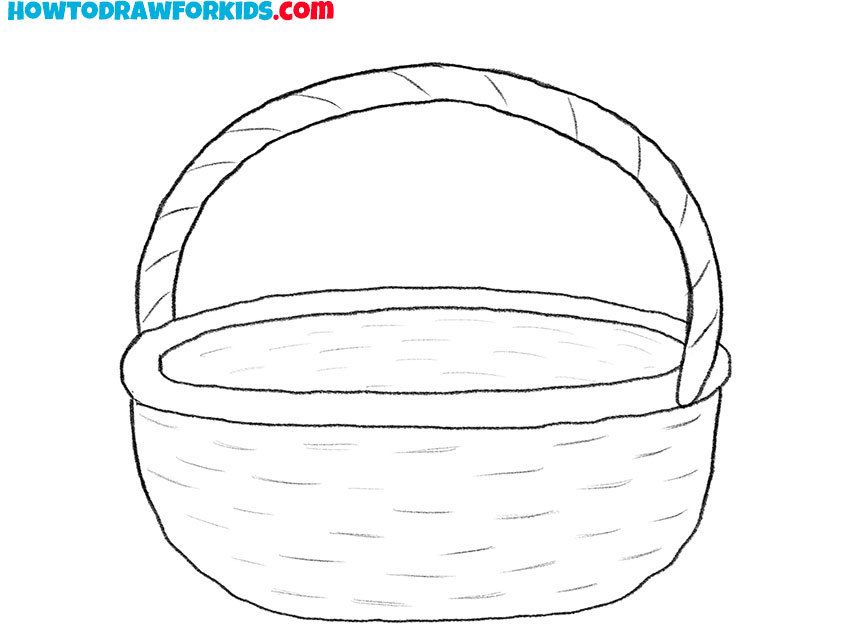
- Correct inaccuracies.
Remove extra lines using an eraser.
- Color the basket.
You will need different shades of brown.

Download the PDF file with a short guide. Use this so that you can always return to this lesson even if you don’t have internet access.


