How to Draw a Beach Chair
In addition to the summer and beach theme, I want to introduce you to a step-by-step lesson on how to draw a beach chair.

In this tutorial you will be able to learn how to draw a beach chair step by step. You can also add this item while painting any beach landscape.
Thus, the skills you learned in this lesson will be useful to you in the future. I am sure that this lesson will be very interesting and easy for you.
So, you could see beach chairs many times during your vacation at sea. This is a very useful item for sitting on the beach and enjoying the beautiful view.
In this tutorial you will draw an armchair using straight and curved lines. You don’t have to be a professional artist to do this work, I created this tutorial especially for beginners and kids. This guide will be especially useful for those who want to draw a beach or create a complex drawing of the sea.
Materials
- Pencil
- Paper
- Eraser
- Coloring supplies
Time needed: 25 minutes
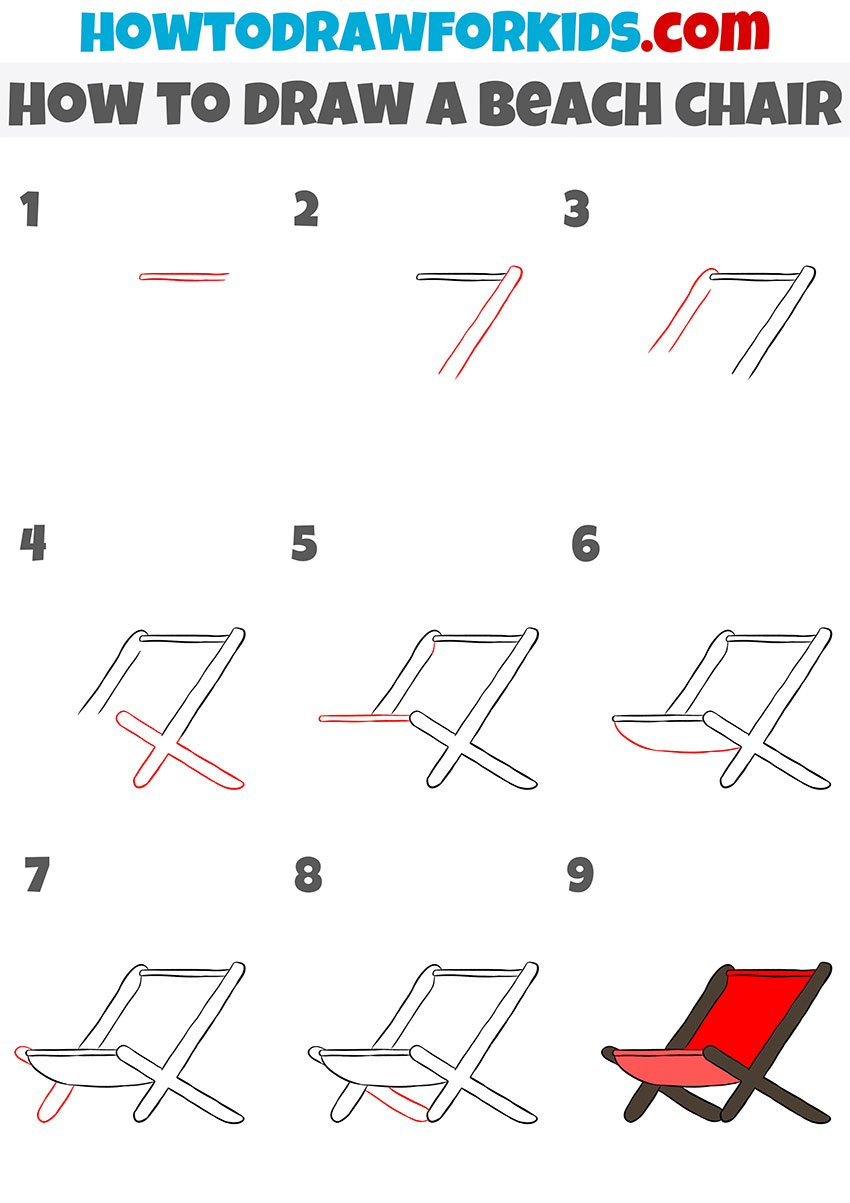
How to draw a beach chair step by step
- Sketch the upper bar of the chair.
To determine the overall proportions and upper boundary of the chair, begin by outlining a short horizontal bar near the top of your sheet. Use two parallel lines with rounded ends to create a solid horizontal plank. This bar forms the top of the backrest where the canvas will attach.

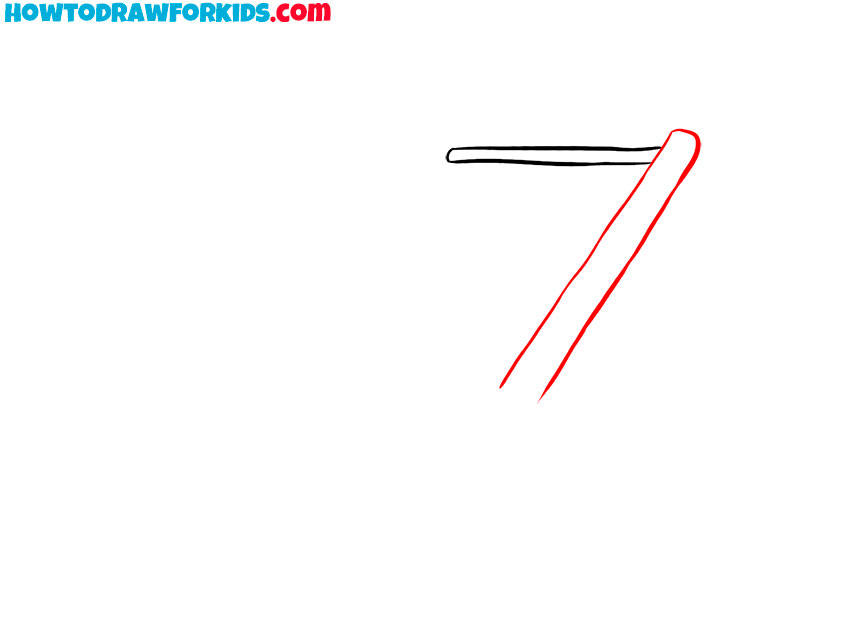
- Sketch the first angled support beam.
To establish the reclining angle of the chair, sketch a long diagonal support that starts at the right end of the top bar and slopes downward to the left. Draw two parallel lines and connect them with a rounded tip at the very top.
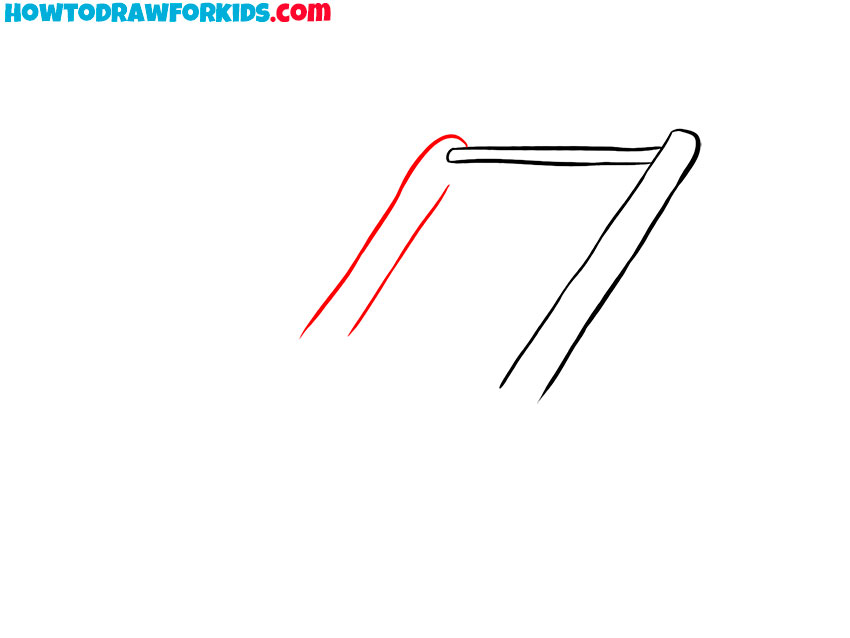
- Sketch the second backseat support.
From the upper edge’s left end, draw a shorter diagonal bar that falls down and left, mirroring the first support. Round the ends of this part. This part of the beach seat should exactly match the part on the opposite side.
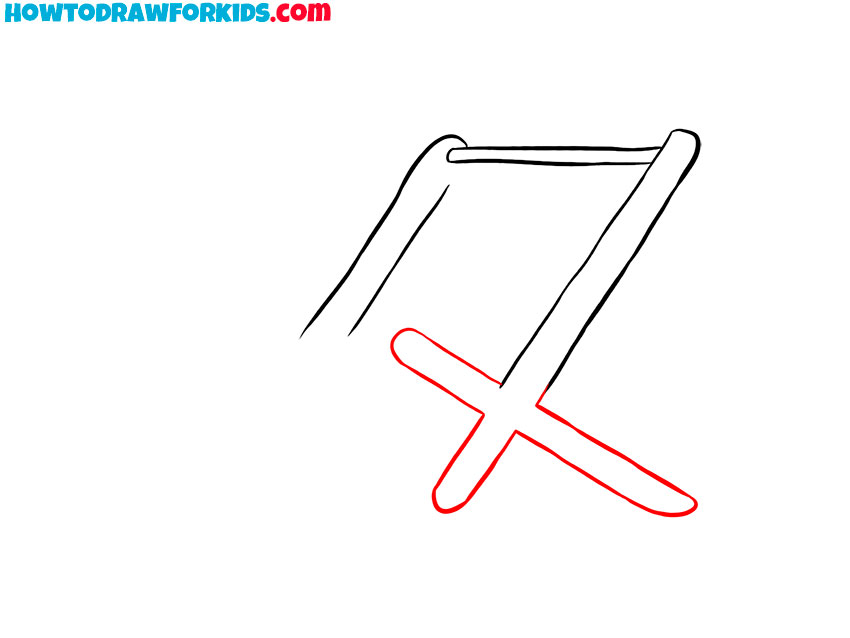
- Draw the first legs of the beach chair.
Now, draw an “X” near the bottom right by placing a couple of smooth elongated shapes. Extend its left end a bit farther to serve as the front foot. Keep the crossing clear and simple. This piece will hold the seat board.
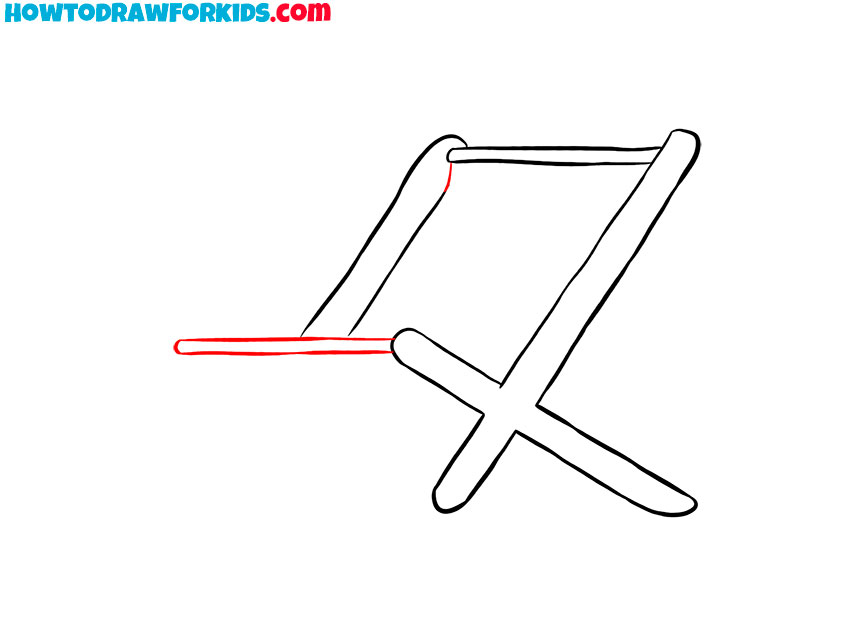
- Draw the horizontal seat frame.
From the left side, sketch a thin, horizontal plank that slides to the left. Use two parallel strokes and a curved end for the plank. This narrow platform is where the canvas will rest, and it sets the depth of the seating area.
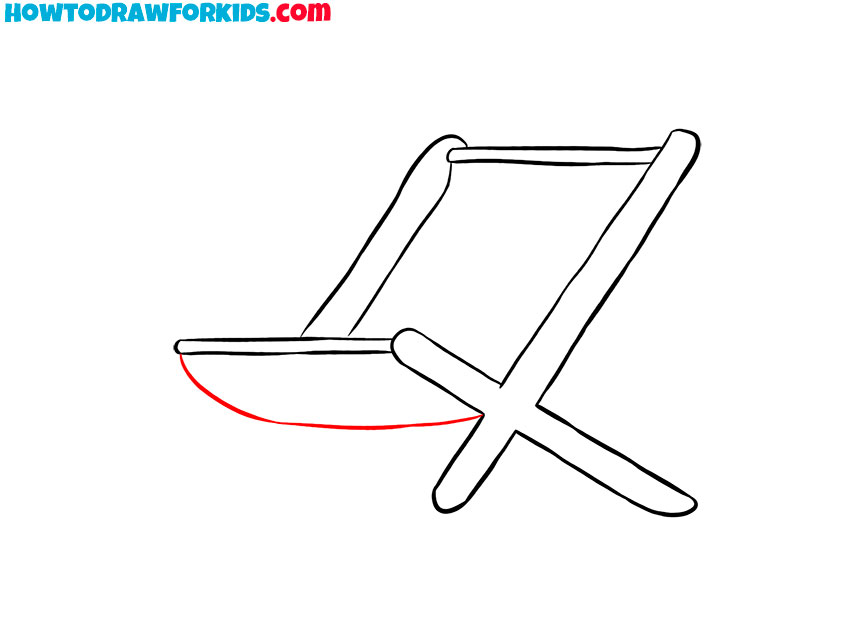
- Sketch the hanging canvas between the supports.
Textile surfaces need curvature to have an authentic look. Under the seat board, illustrate a long, shallow curve that dips slightly, then rises to meet the front edge of the seat. The curve should be gentle, not extreme, to represent a stretched fabric sling.
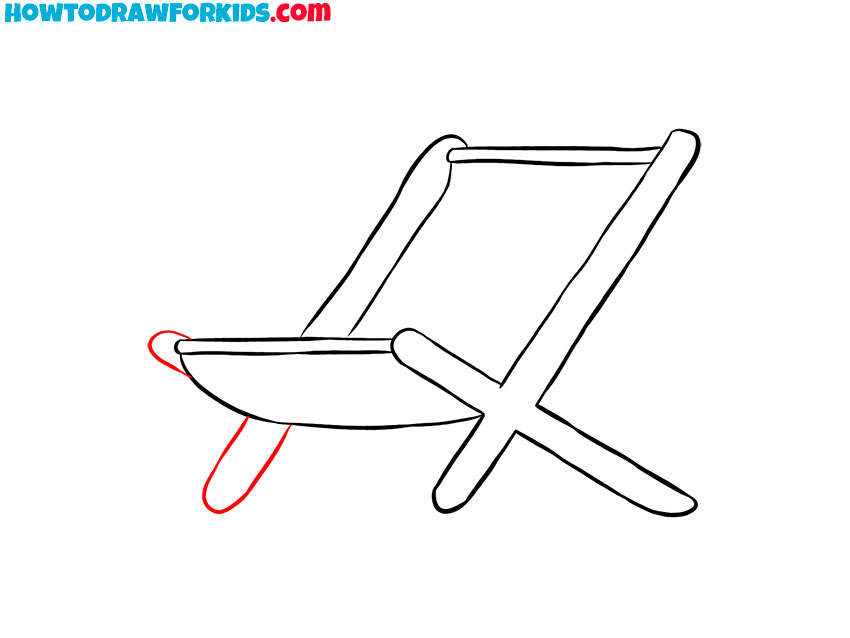
- Draw the short front leg of the beach chair.
At the far left of the fabric, draw a small rounded block that acts as the front foot, angled to match the first foot from the previous steps. Try to make the legs symmetrical to make the chair believable.
- Complete sketching the supports.
Now, draw the remaining leg and erase any construction segments that remain inside overlaps of the chair sketch. After that, redraw final edges with steady strokes, keeping all bars equal in thickness. If desired, add a light support strap from the rear upright to the underside of the seat to represent a limiter for the opening angle.

- Color the frame and seat areas.
Fill the canvas backrest with a saturated red or any bright beach color, and give the bottom edge of the seat a slightly lighter tone to represent a different plane. Paint the wooden or metal frame a dark brown or gray.

I have prepared for your convenience a PDF file with a short version of this drawing lesson. You can download this file to come back to this tutorial later and see additional helpful resources.


Steps easy to fallow! My beach chair was very good!