How to Draw a Bear Face
Step into my artistic world as I reveal how to draw a bear face with my specially developed dual methods. You’ll learn to craft the perfect bear expression, starting with basic shapes and progressing to the final touches. These techniques will enhance your drawing abilities and add a touch of wilderness charm to your portfolio.
How to Draw a Bear Face: Basic Information
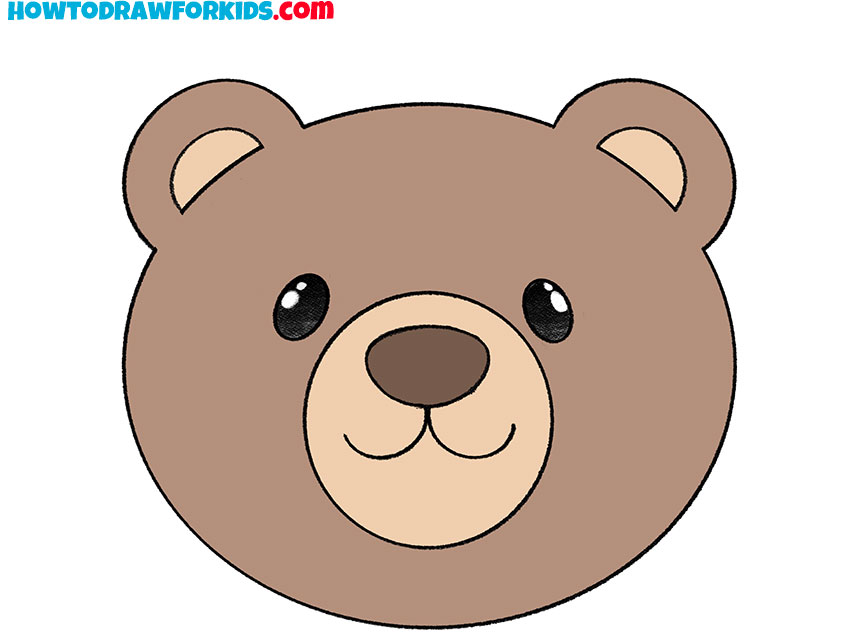
Have you ever wondered how to draw a bear face with just a few simple strokes? I’ve designed this lesson to turn that curiosity into creativity. Using circles and lines, we’ll capture the essence of a bear’s friendly face. My method strips down the complex features to simple shapes that anyone can follow.
In this particular drawing, the bear‘s face comes to life through a series of circles that evolve into a charming and cheerful expression. I’ve tailored each step to ensure that by the time you add the ears and the big, warm eyes, you’ll see just how easy it is to create a bear that seems to smile right back at you.
As you complete this tutorial and draw a bear face, you’re not only mastering the strokes of your pencil but also expressing your love for nature’s beauty. You’ll feel the joy of creation as your bear starts to take shape, ready to roam the forests of your imagination.
Bear Face Drawing Tutorial
Materials
- Pencil
- Paper
- Eraser
- Coloring supplies
Time needed: 20 minutes
How to Draw a Bear Face
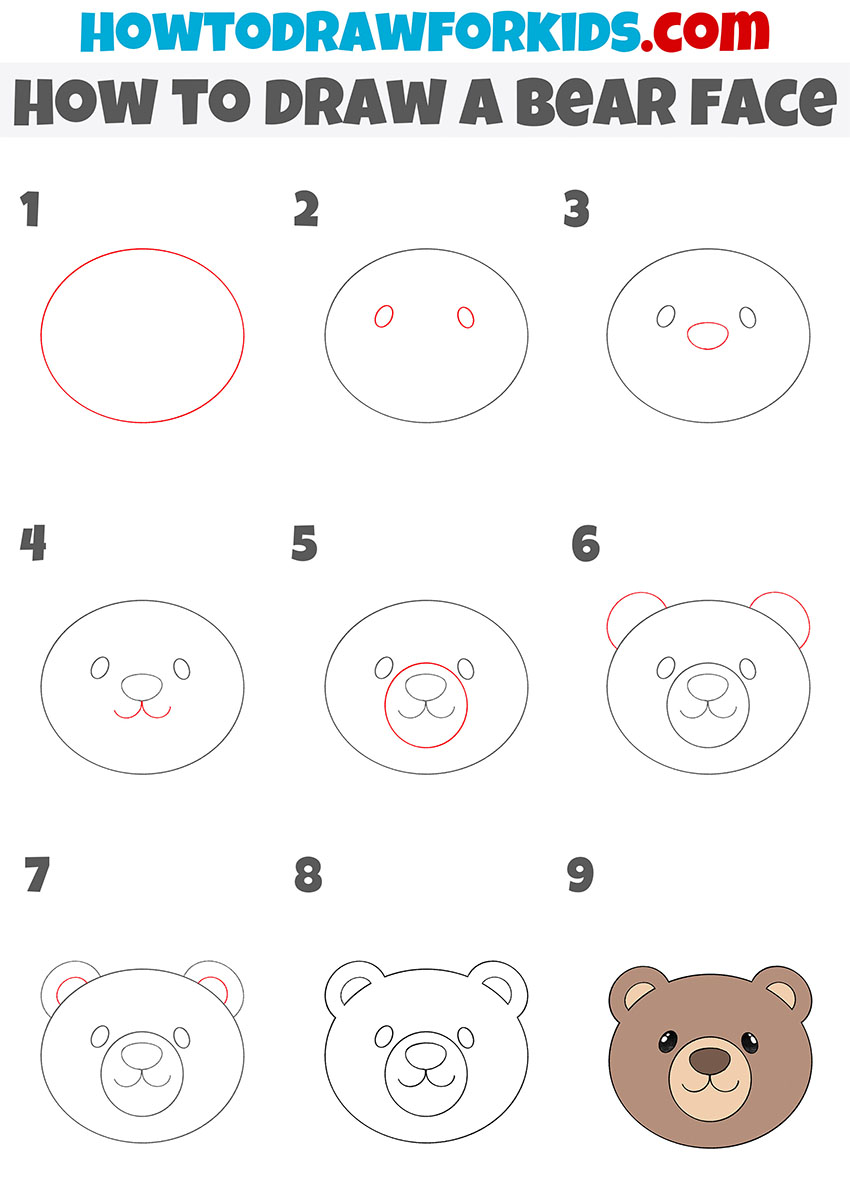
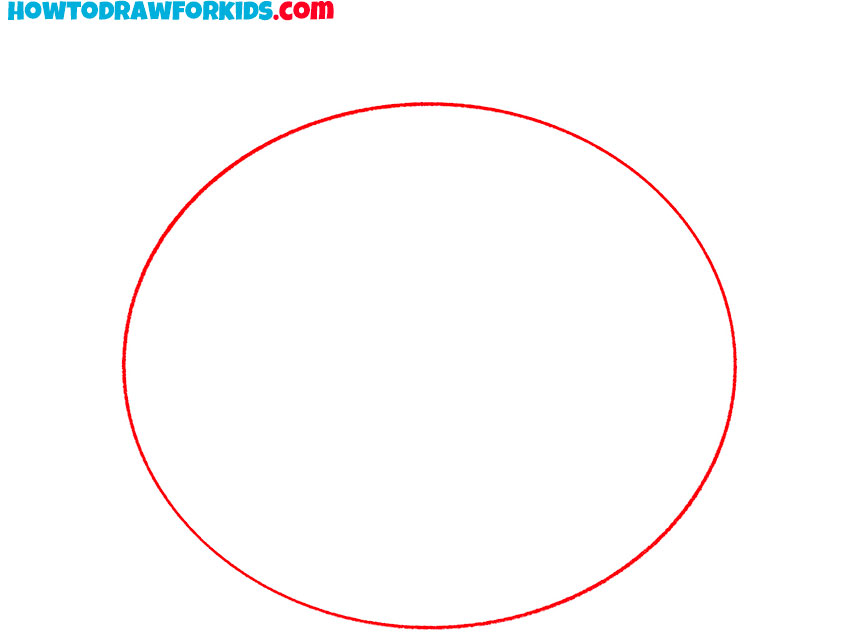
- Draw the outline of the head.
To do this, sketch out an even oval.
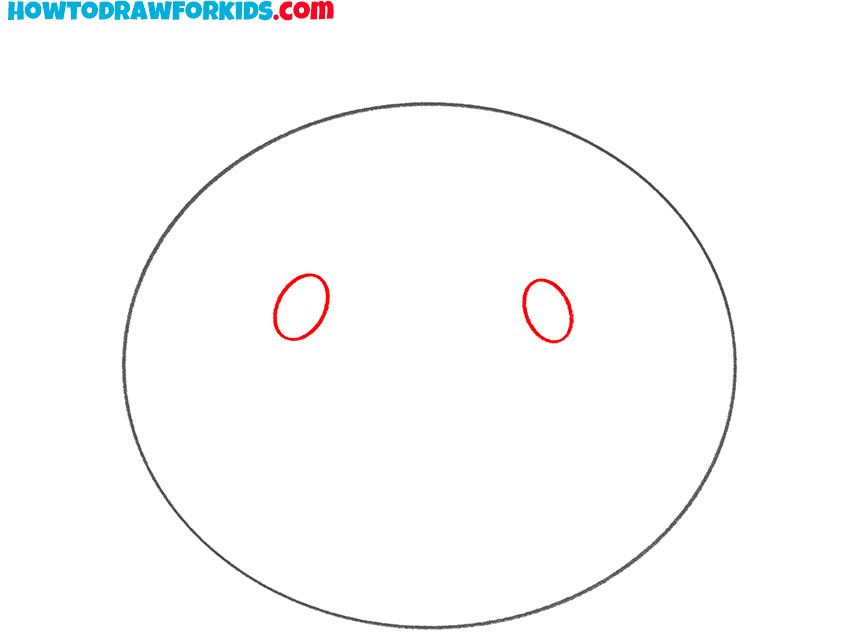
- Depict eyes.
Draw the eyes in the form of two small ovals.
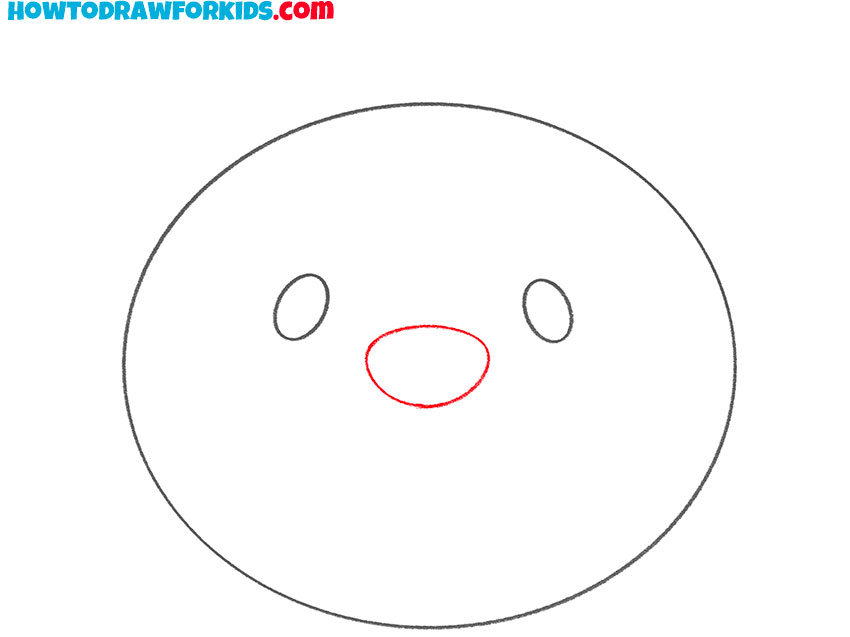
- Add the nose.
The nose is wide and located approximately in the center of the face.
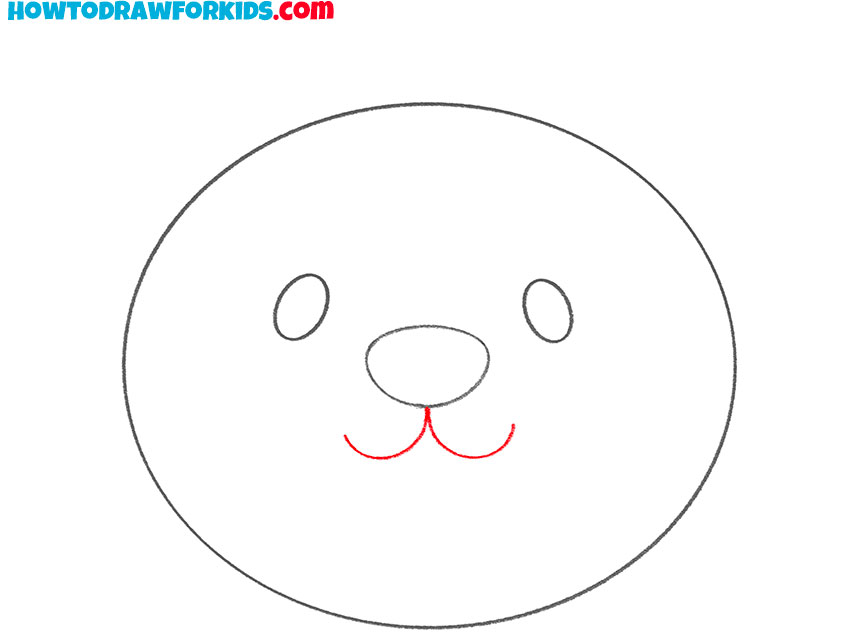
- Sketch out the mouth.
From the bottom of the nose, draw two small rounded lines to the sides.
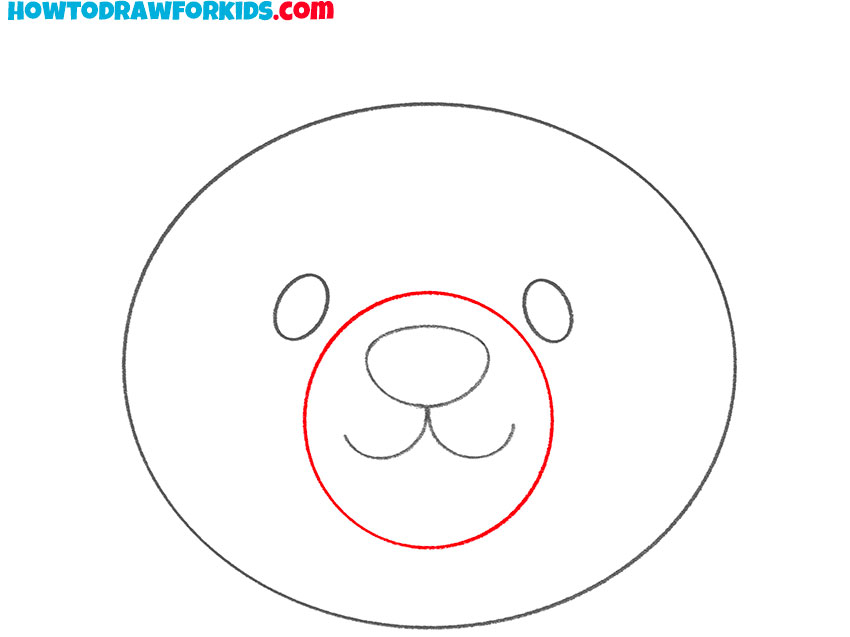
- Draw the front of the muzzle.
Depict an even oval around the mouth and nose.
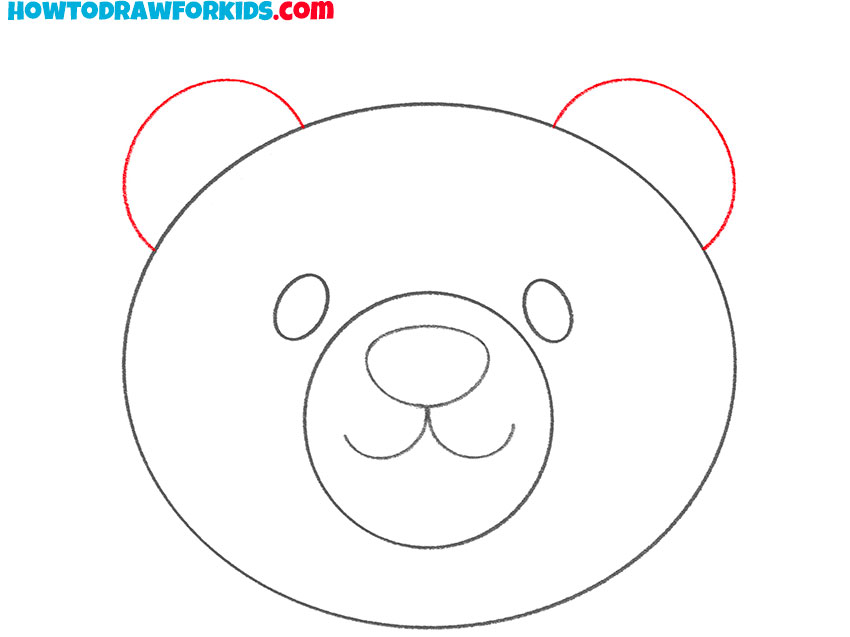
- Sketch out the ears.
Draw two semicircular lines at the top of the head to depict the ears.
- Add the inside of the ear.
Depict a small semicircle inside each ear.
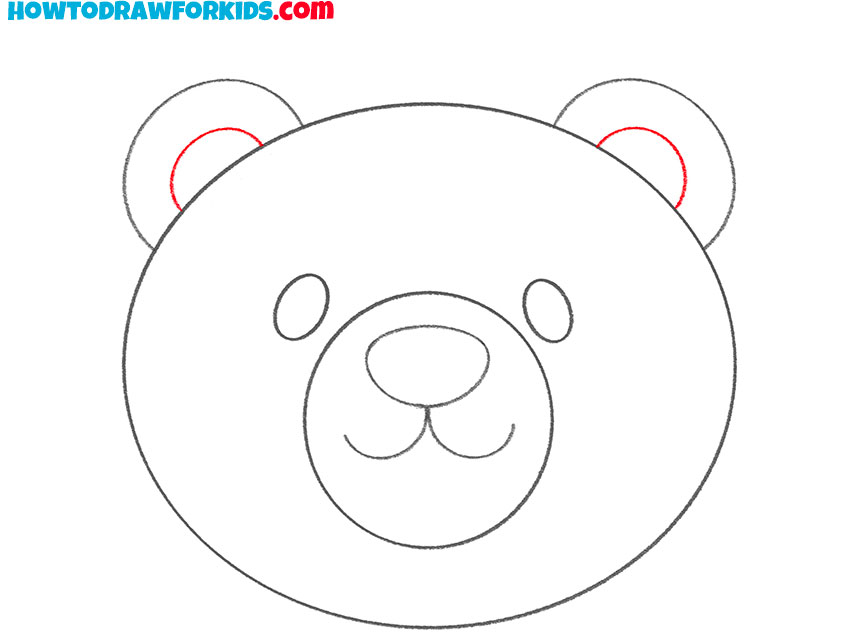
- Correct inaccuracies.
At this point, correct your drawing if necessary and remove any extra lines.
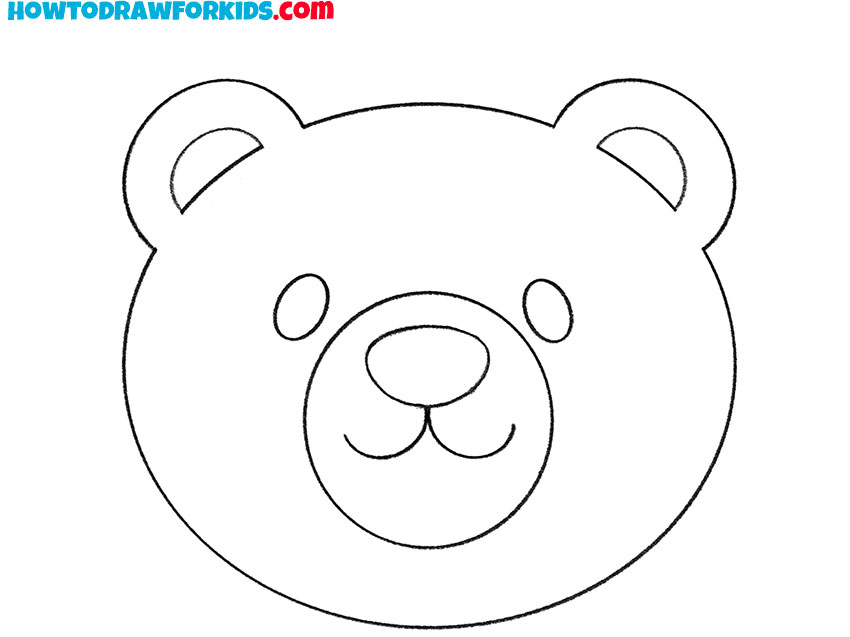
- Color the bear face.
You will need black, beige and shades of brown.

Additional Content
Understanding that art should know no bounds, I’ve created a free PDF file of this lesson for you. This abridged version encapsulates the essentials, structured for offline use so that your artistic exploration can continue uninterrupted.
Download it to your device, and you have an instant reference to help you practice drawing whenever the mood strikes, with no reliance on an internet connection.
Alternative Drawing Techniques
To ensure that everyone has the opportunity to improve their drawing skills, regardless of their current level, I’ve introduced an additional technique for drawing a bear face. This new method is designed to be simpler, providing a more accessible entry point for beginners or those looking for extra practice.
It emphasizes the foundational aspects of drawing, such as shape and line, reducing the complexity to encourage more frequent and focused practice. By alternating between this technique and the more detailed original method, you’ll be able to enhance your artistic skills in a balanced and effective way
How to Draw a Bear Face for Kindergarten
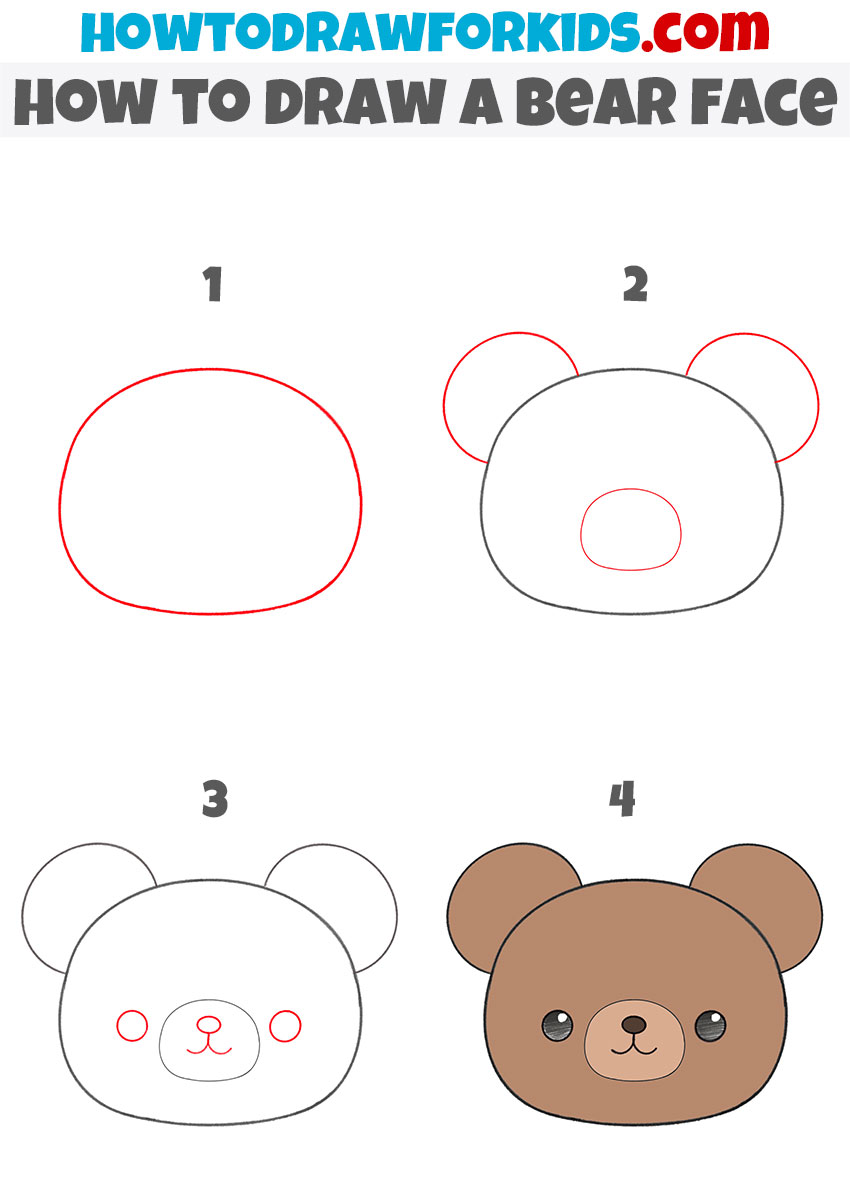
This four-step drawing method is tailored for young learners in kindergarten, focusing on simplicity and fun. It starts with drawing a large oval for the bear’s head, which is the foundation of the face. Then, two smaller circles are added atop the larger oval to represent the ears.
The third step involves adding the facial features: two dots for the eyes, a smaller oval for the nose, and a curved line for the mouth. The final step is about bringing the bear to life with some coloring. This approach is excellent for helping little ones grasp the basics of drawing without overwhelming them.
Enhancing Your Bear Face Sketches
As we wrap up this delightful journey of drawing a bear face, let’s tuck some tips and tricks under our artistic belts to carry into our next creative endeavors.
- Start with Light Strokes: Use gentle pressure for the initial shapes, making adjustments easier as your bear’s face takes form.
- Symmetry is Key: Keep checking that both sides of the face are balanced to maintain a harmonious look.
- Add Personality: Give your bear character by tweaking the expression— a small curve of the mouth or a twinkle in the eye can make a big difference.
- Shading Adds Depth: Use light shading around the edges to give your bear’s face a rounded, three-dimensional feel.
Remember, the beauty of art lies in expression and practice. These tips and tricks are stepping stones to enhancing your drawings, making each new piece a testament to your growing skills. Keep your pencils sharp, your eraser handy, and your imagination wild and free. And above all, enjoy every step of the drawing journey.
Conclusion
Congratulations on completing the bear face drawing! You’ve done an un-bear-lievable job! Now, let’s continue the fun over at my website where you can find a whole world of drawing lessons – like creating your own erupting volcano or bringing Squirtle to life.
Stay in the loop by following my social media pages, where I announce all the exciting new lessons and updates. And I’m always eager to hear from you, so drop your ideas for new drawing lessons in the comments. Your wish might just be my next drawing challenge!

❤❤❤❤❤❤❤❤❤I love it