How to Draw a Belt
I invite you to a new lesson in which I will show you how to draw a belt. I am sure that this lesson will be very useful for each of you.
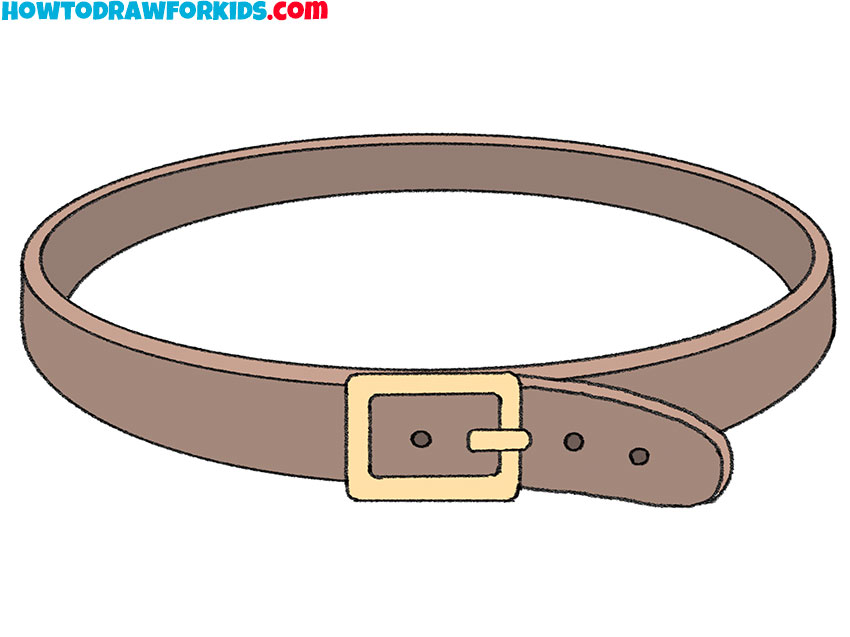
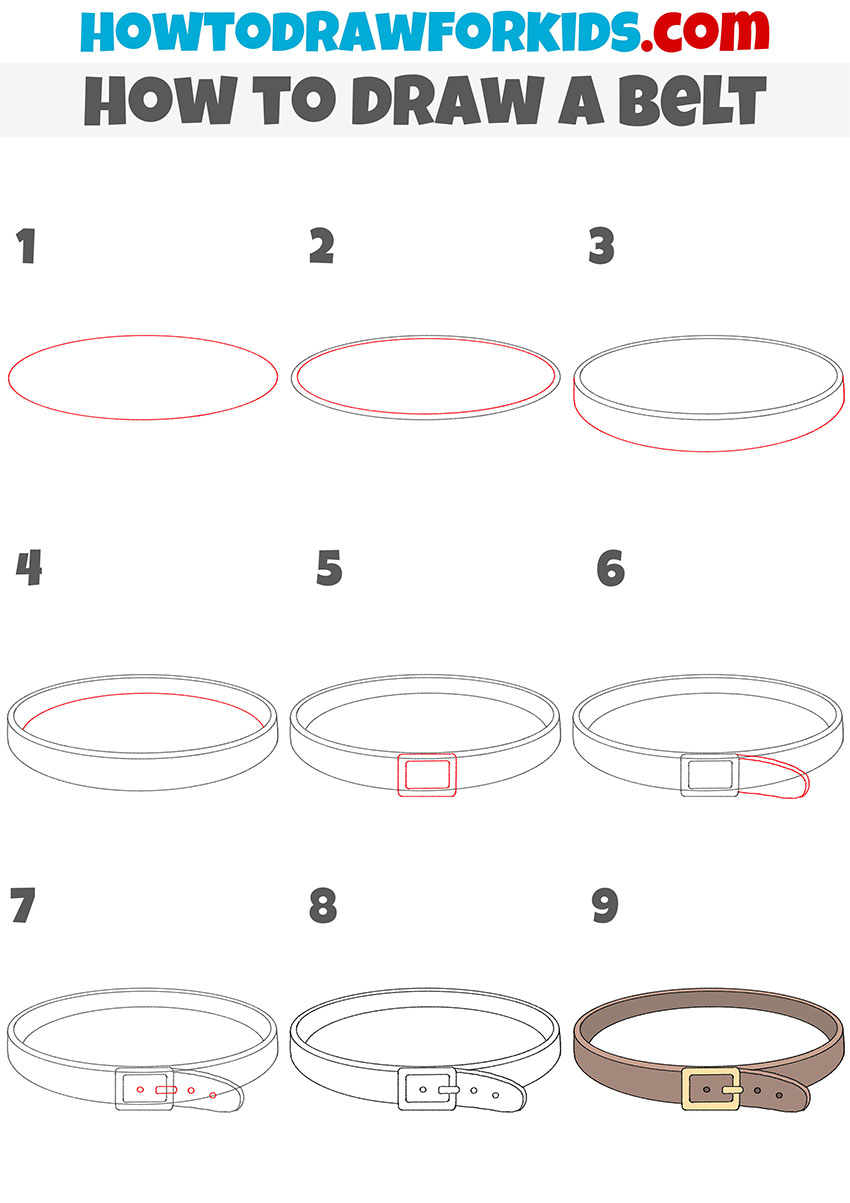
With the help of a clear and accessible instruction, you will learn how to draw a belt step by step. This is a popular item of clothing that is a ribbon, cord, or belt to tie at the waist.
In this case, it is a leather belt with a metal buckle. This belt is worn by both men and women. A leather belt is used to fasten loose-fitting clothes and can be a stylish accessory.
In the picture, the belt is fastened with a buckle and has the shape of an ellipse. In this lesson, you will train your spatial imagination and the acquired skills will be useful to you in the future when you draw other objects.
Materials
- Pencil
- Paper
- Eraser
- Coloring supplies
Time needed: 30 minutes
How to Draw a Belt
- Start drawing the top outline.
Determine the size of the drawing and draw an even oval.

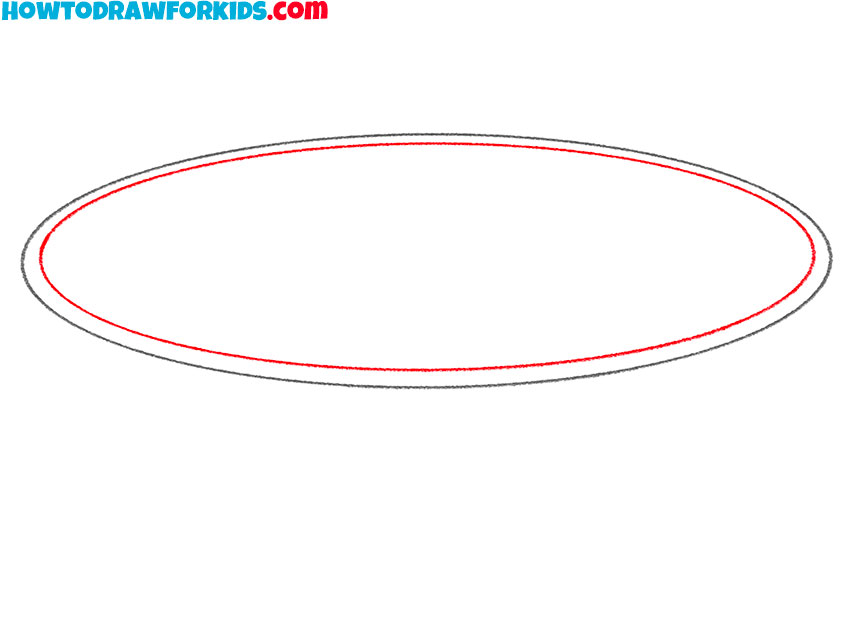
- Draw the thickness of the belt.
Depict another smaller oval to represent the inner contour of the belt.
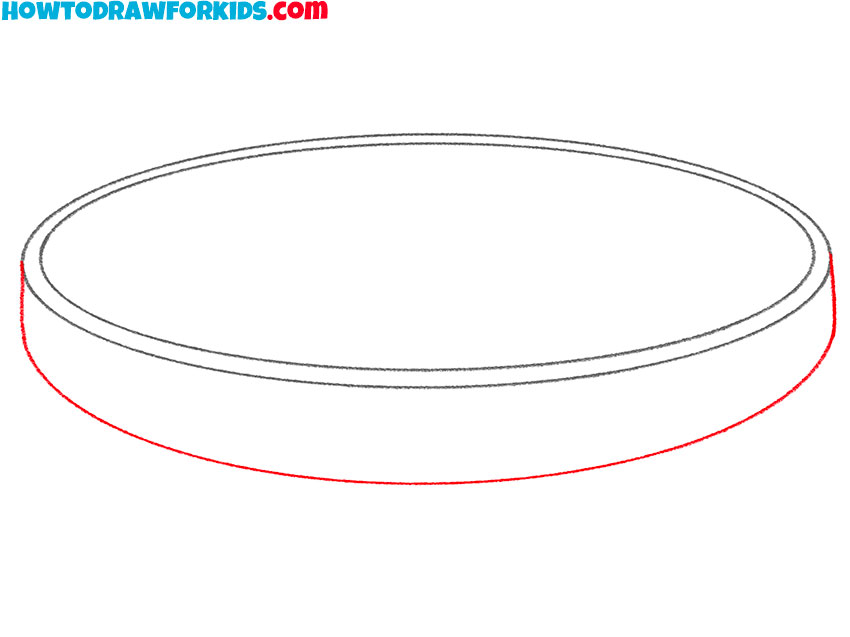
- Depict the main part of the belt.
Draw a smooth line at the bottom to represent the width of the belt.
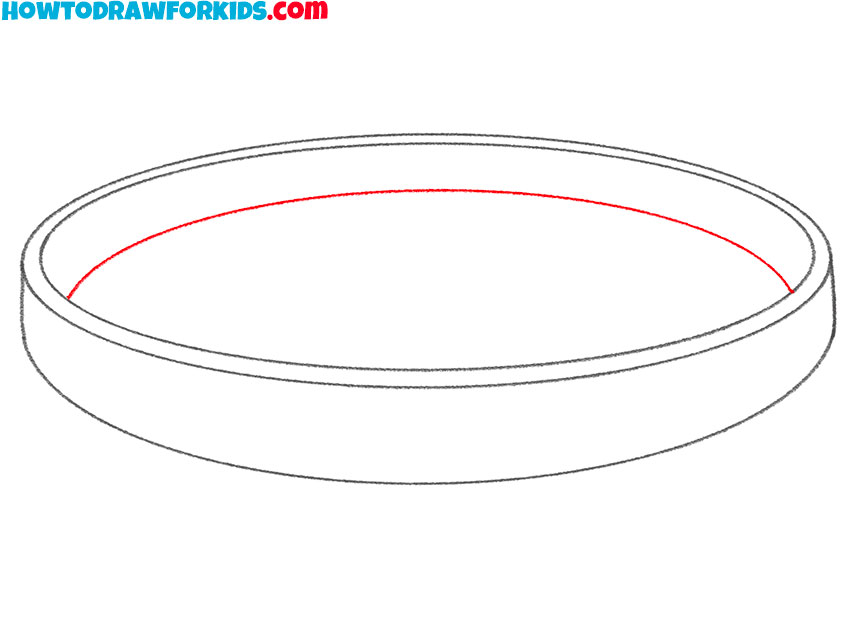
- Add the rest of the outline.
With the help of a smooth curved line, draw a contour that is located farther from us.
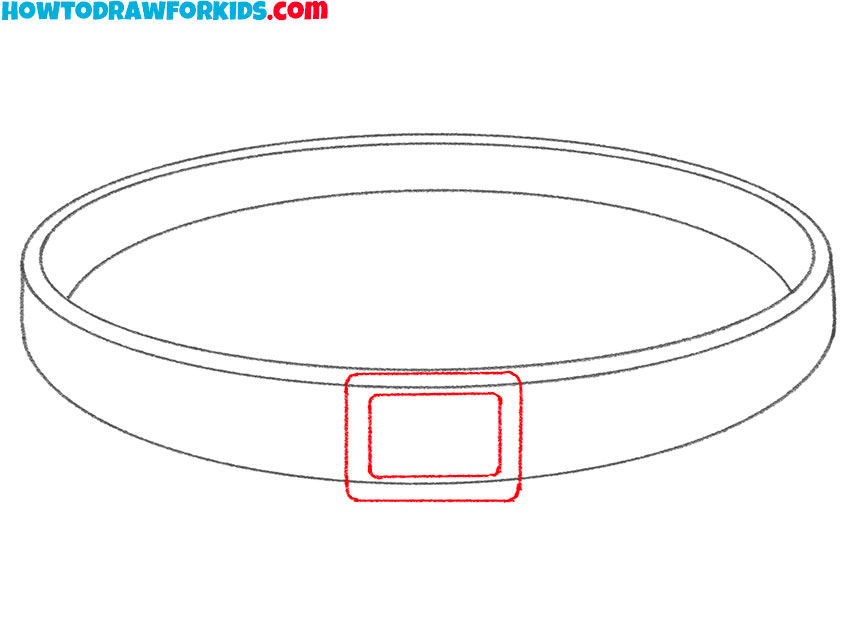
- Sketch out the buckle.
In the middle of the belt add two rectangles of different sizes.
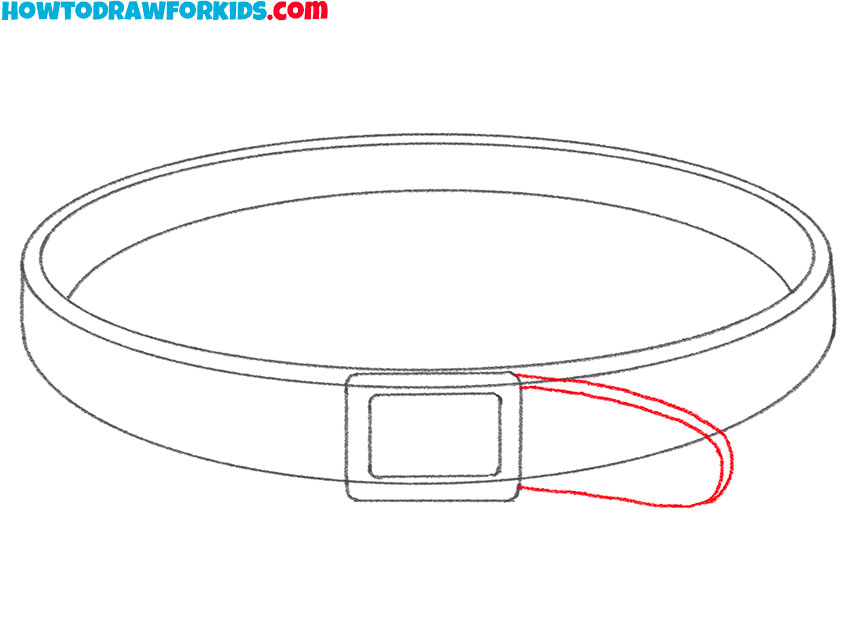
- Draw the end of the belt.
On the right side, depict the short end of the belt, which has a rounded shape.
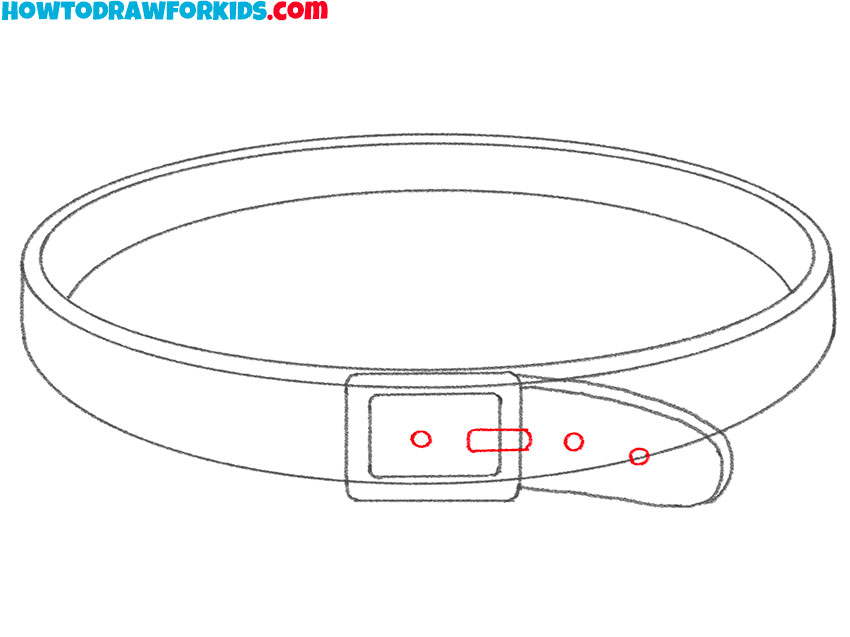
- Depict the hole and tongue.
Sketch out the tongue as an elongated rectangle and add three small circles.
- Correct inaccuracies.
Correct the mistakes in your need drawing and remove all unnecessary lines.
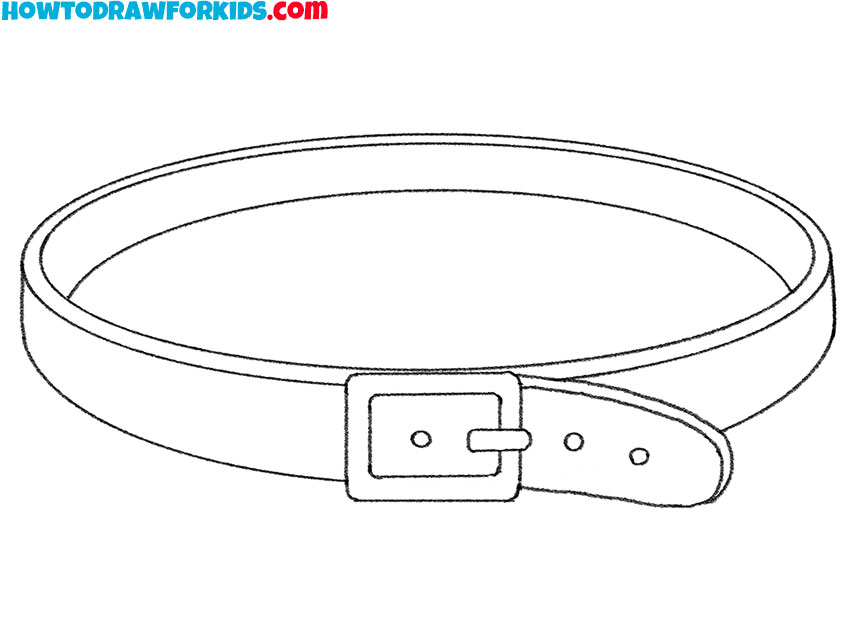
- Color the drawing.
To color the belt, you will need different shades of brown.

It was a fascinating lesson on how to draw a belt step by step. If this lesson was interesting and useful for you, then leave a small review in the comments. At the end of the lesson, I suggest you download a short version of the lesson in PDF format. Use this file at any convenient time, even if the Internet is not available.



Love the site and tutorials. Free is great. Thanks a bunch.