How to Draw a Birthday Card
Here you will learn how to draw a birthday card, a skill that works both for art study and for creating a custom card design.


In this tutorial, I will show you how to draw a birthday card. These cards are usually given to friends and family. Surely you received such cards as a gift or gave them yourself.
Usually, the postcard contains a congratulation and a small wish. The postcard should have an attractive appearance. It can be a ready-made printed or handmade postcard. Very often, a postcard serves as an addition to the main gift.
In the picture, you see a regular postcard, which is folded in half. In the foreground, the card has an attractive design in the form of multi-colored flags, there is an inscription at the bottom. Everything is very simple and attractive at the same time. You can easily complete this drawing lesson and feel the atmosphere of the holiday.
Materials
- Pencil
- Paper
- Eraser
- Coloring supplies
Time needed: 15 minutes
How to Draw a Birthday Card
- Sketch the card side edges.
The first step is about setting boundaries for the card shape. Draw two long, straight vertical lines parallel to each other, leaving space in between. These will act as the sides of your card, and later you’ll connect them to form a rectangular outline.

- Connect the sides with horizontal lines.
Once the vertical sides are in place, complete the basic shape of the card by adding two horizontal lines at the top and bottom. This connects the two sides into a tall rectangle, representing the front view of a card. If you prefer, you can adjust the proportions to create a square card or a wider format, depending on the style you want to illustrate.

- Draw the card’s top folded flap.
Cards are meant to open, so now it’s time to show the folding flap. Sketch a short angled line at the top corner of the rectangle. This small triangular shape shows the card is folded and gives some dimension to your drawing. Without this addition, the card would appear flat.

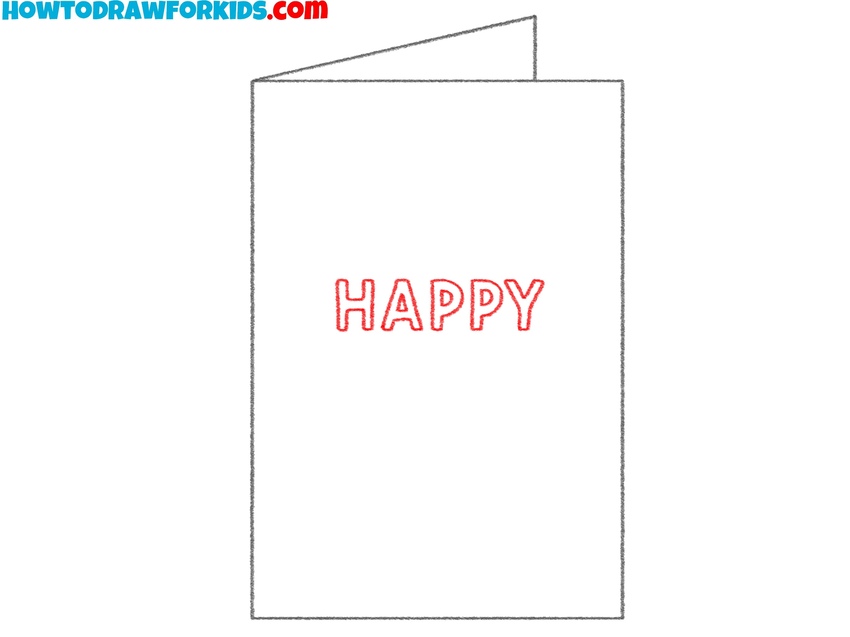
- Add the word HAPPY.
To start decorating the card, add the first word of the greeting. Write “HAPPY” across the middle of the card in bold block letters. Keep the spacing even and the letters large enough to be easily read. But the style I chose is not the only possible option, and you can choose the font you want.
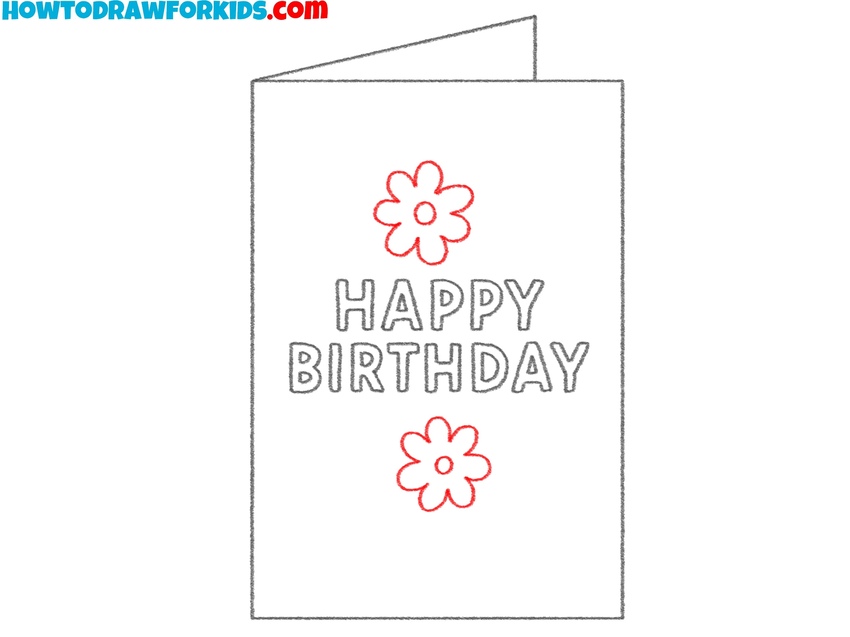
- Write the word BIRTHDAY.
Continue the message by writing the word “BIRTHDAY” directly beneath “HAPPY.” Use the same bold, block-letter style to keep consistency across the card. Make sure the letters align neatly under the first word, creating a centered and symmetrical inscription.

- Sketch flowers around the text.
With the main text complete, you can begin decorating around it. Draw two simple flowers: one above the text and one below. Each flower should have five rounded petals, similar to a daisy, with a circular center. Try to make the lines light and symmetrical. You could swap the flowers for stars, balloons, or hearts depending on the mood you want.
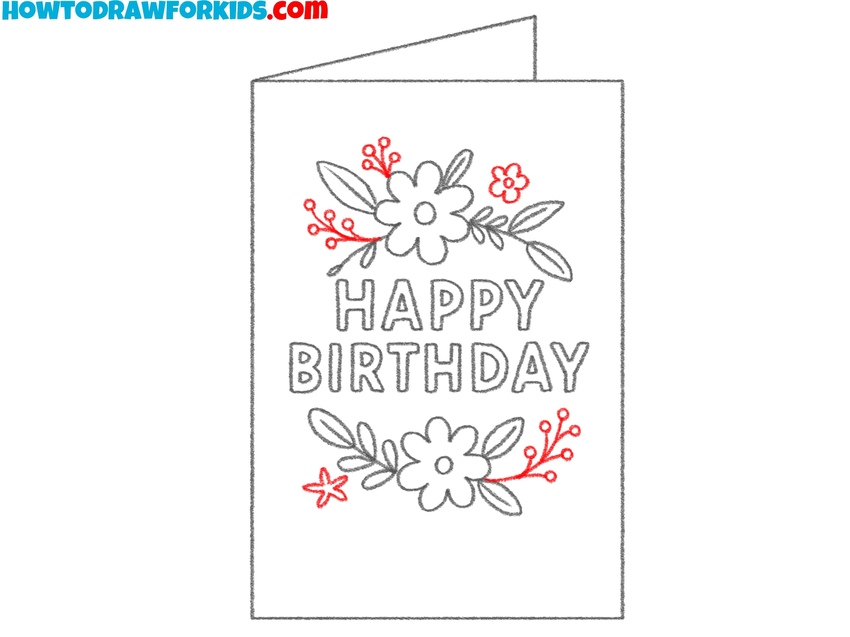
- Add more flowers and leaves.
To make the decoration more detailed, add leaves and additional floral shapes around the existing flowers. Sketch small curved lines extending to the sides for leaves, and fill them with simple oval shapes. Place extra petals or smaller blossoms near the main flowers to create clusters.

- Draw smaller decorative elements.
To enrich the card further, draw small accents like tiny flowers, buds, and extra leaves around the main clusters. Use short, curved lines for twigs or vines that connect the elements. Keep the smaller elements simple, so they complement the larger flowers without overpowering them. You could also add dots or small star shapes as fillers if you prefer.
- Add simple colors to the birthday card.
The last step is to finalize the drawing and paint the card background with a light tone, such as blue. Color the flowers in bright shades like pink, purple, or yellow, and make the leaves green. The “HAPPY BIRTHDAY” text should remain bold and visible. Avoid mixing too many colors, since that can distract from the main message. Stick to a simple palette of complementary tones.

Bonus: Easy Birthday Card Drawing Tutorial
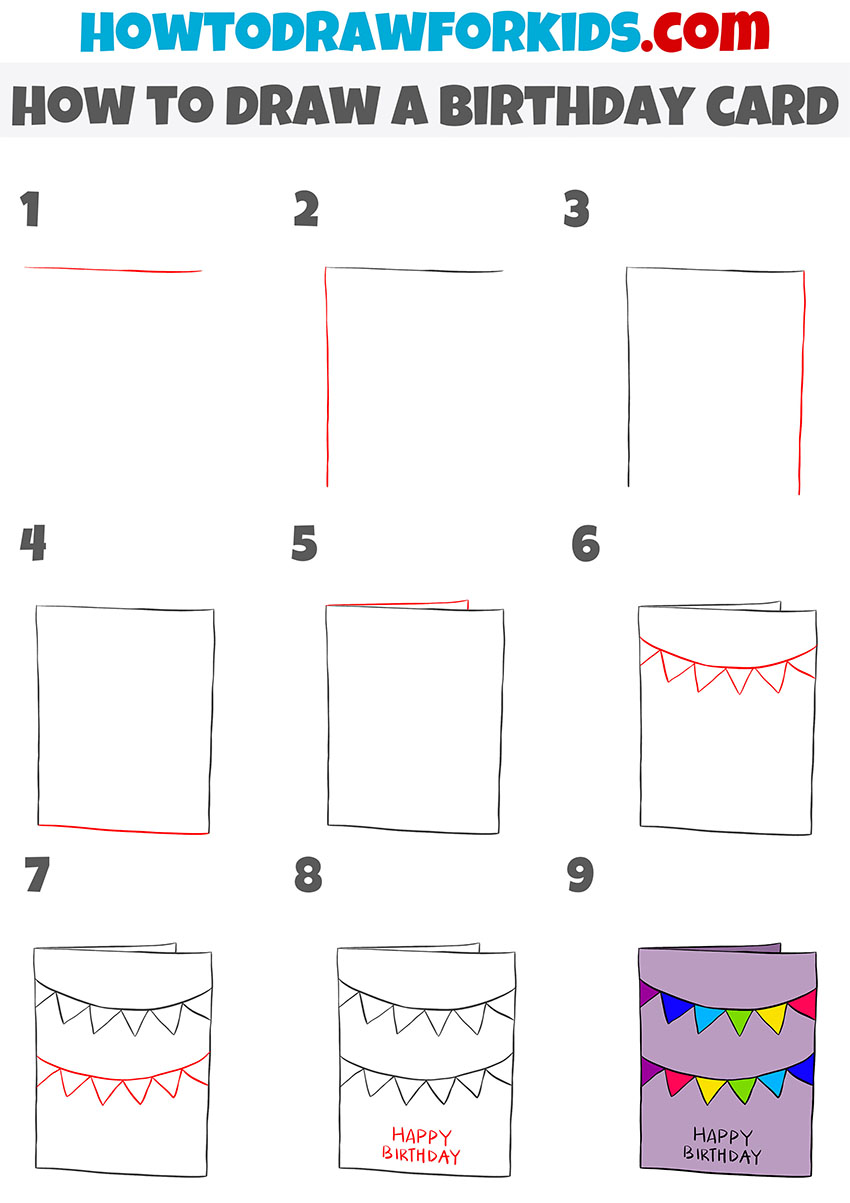
Sketch a straight horizontal line for the top edge of the card. Add a vertical line on the left side to form the left edge. Add another vertical line on the right and connect it with the bottom edge to complete a rectangle.
Next, draw a short angular line at the top to show the fold of the birthday card. Draw a curved line across the upper part of the card, then sketch several small triangles hanging down to create a banner.
Add a second banner below the first, again using a curved line and small triangles. Write “Happy Birthday” in block letters at the bottom of the card to finish the design. Finally, color the banners in bright shades like blue, yellow, red, and green, and fill the card with a purple tone.
Conclusion
I hope that you quickly completed this lesson and got pleasant emotions. You can show your imagination and draw any other image on the postcard. To do this, draw the outline of the postcard itself step by step and make any drawing on the front side, it can be flowers, a rose heart or a beautiful ornament.