How to Draw a Bottle of Soda
In this tutorial you will learn how to draw a bottle of soda, reproducing the legendary drink in a simple but recognizable form.

How to Draw a Bottle of Soda: Introduction
This tutorial will show you how to draw a bottle of soda in eight simple steps. Each stage uses basic lines and shapes, making the process clear and easy to follow. The skills practiced here can also be useful for many other drawing tasks.
Soda is a carbonated soft drink that most people are familiar with. Coca-Cola and similar beverages are often linked with holidays and celebrations, which makes the bottle shape recognizable and a useful subject to practice drawing.
So let’s move on to the step-by-step process of illustrating the most beloved drink around the world.
Bottle of Soda Drawing Tutorial
Materials
- Pencil
- Paper
- Eraser
- Coloring supplies
Time needed: 25 minutes
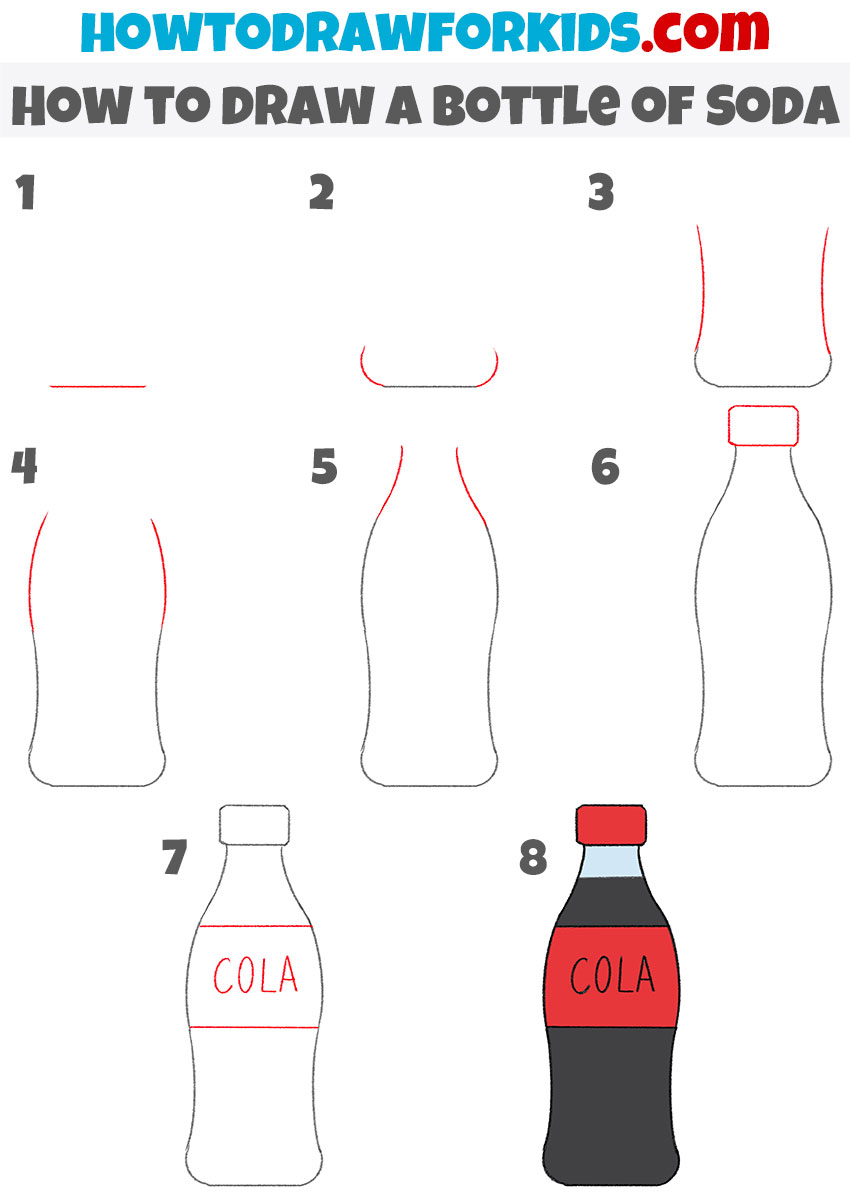
How to Draw a Bottle of Soda
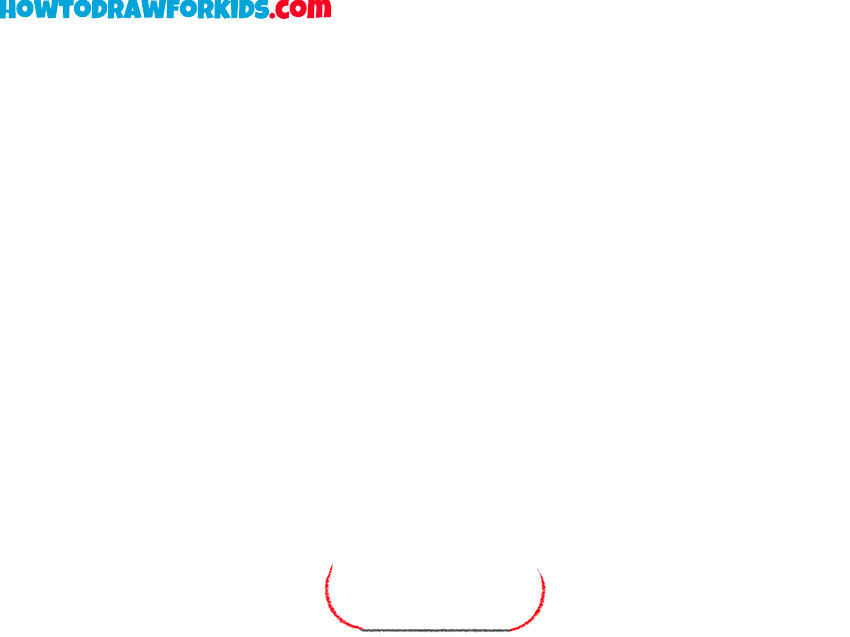
- Sketch the bottom of the bottle.
First, put a straight horizontal line near the bottom of your page. This will serve as the base and the main guideline for the soda bottle’s bottom. This small and seemingly insignificant line can affect your entire drawing, because its location determines both the width of the bottle and its tilt.
- Sketch the bottom edges.
Sketch two small curved lines from the edges of your base line. This shape forms the side edges of your soda bottle base. Don’t forget that glass or plastic bottles are usually smooth and have many curved lines, so try to replicate them in your artwork.
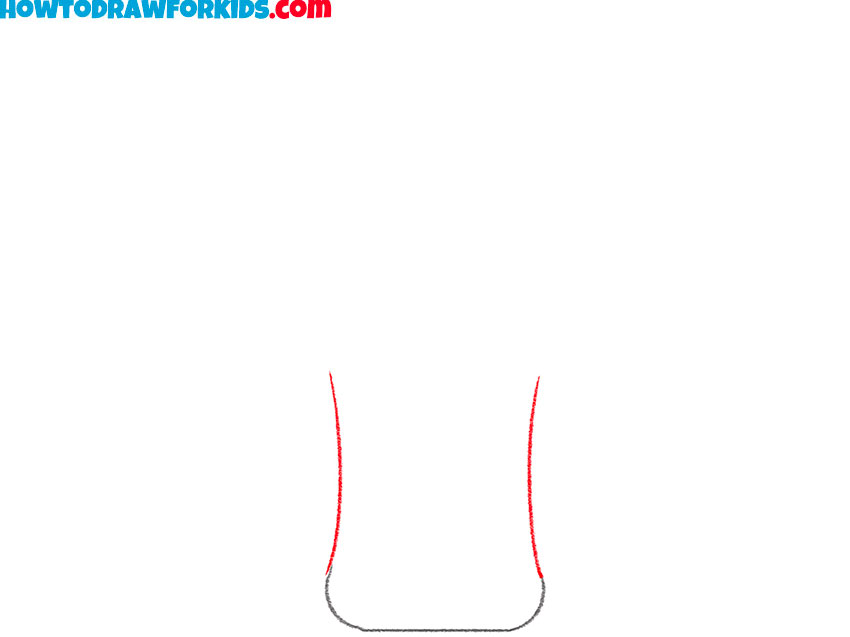
- Draw the waist of the soda bottle.
Next, add two long vertical lines extending down from the curves you just drew. These lines should smoothly curve inward to convey the narrowing waist of the bottle. Notice how most bottles have a classic hourglass structure: wide at the top, narrow in the middle, and wider again at the base.
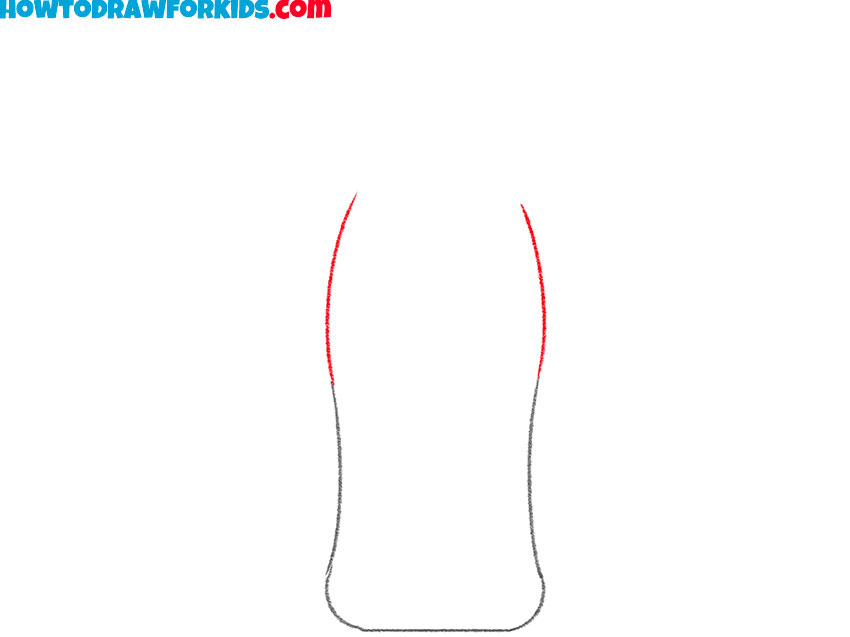
- Sketch the middle part of the bottle.
Continue the lines from the previous step and draw the middle part of the bottle. This is the widest part. Try to maintain accuracy and symmetry between left and right sides, making them mirror each other. Glance at an actual soda bottle if you have one nearby and see how the lines taper and flare.
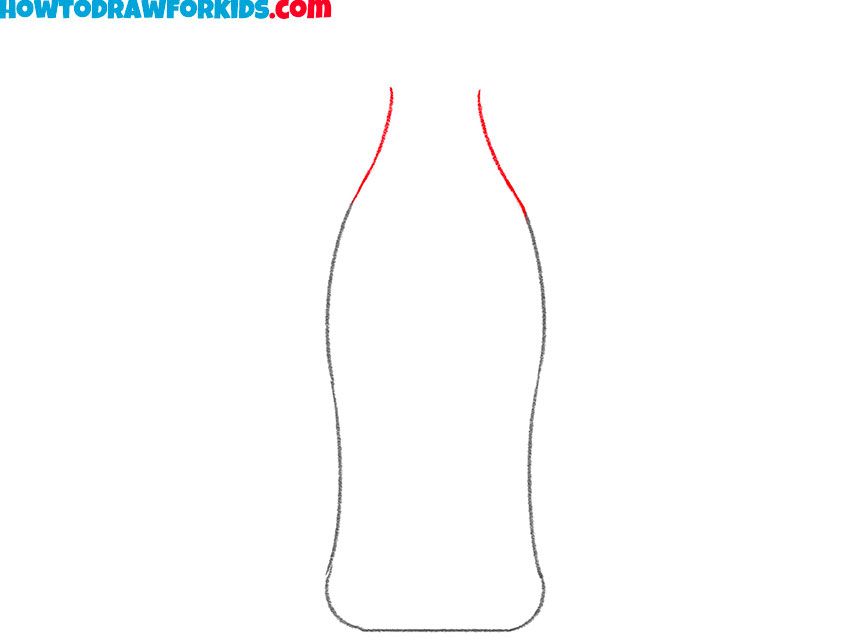
- Draw the soda bottle shoulders.
Add two smooth, curving lines near the top that connect the body of the bottle to the neck. This part creates the shoulder area of the soda bottle. But of course, this is just a variation, and you can draw your soda bottle using any other shape.
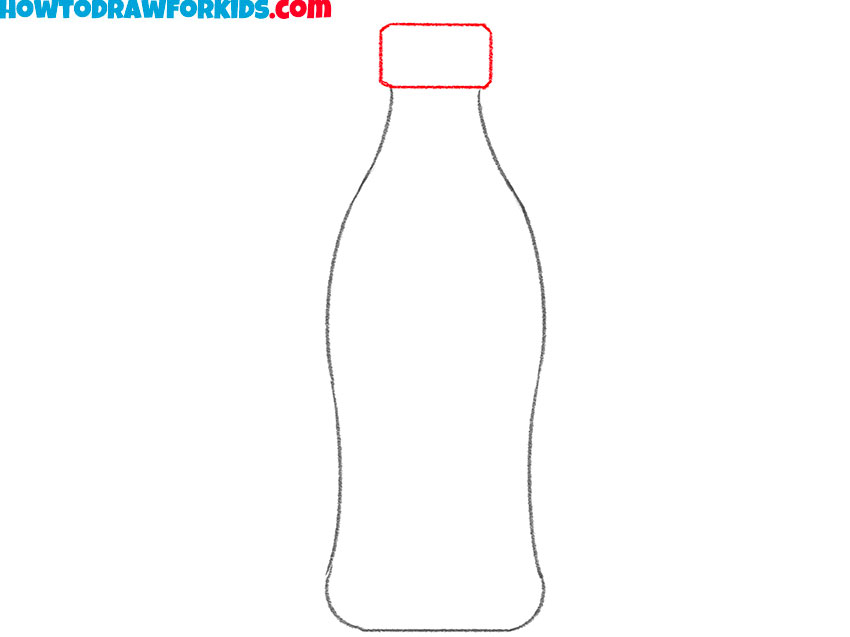
- Illustrate the cap at the top.
Sketch a small rectangle at the top of the neck for the bottle cap. Round the corners to make it more natural, since most soda caps are ridged and not perfectly square. You can vary this shape slightly depending on the type of soda bottle you want to represent. Glass bottles for example often have thinner caps.
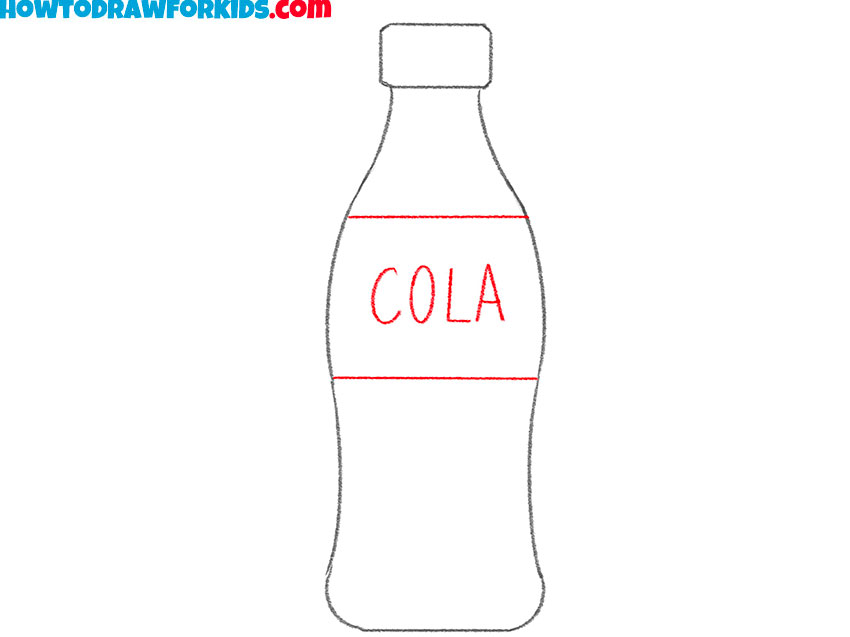
- Draw the soda label.
Across the middle of the bottle, draw a wide horizontal band to represent the label. Inside the label area, sketch the word “COLA” or another soda name in large block letters. This step is especially fun for kids, since they can customize the soda label however they like.
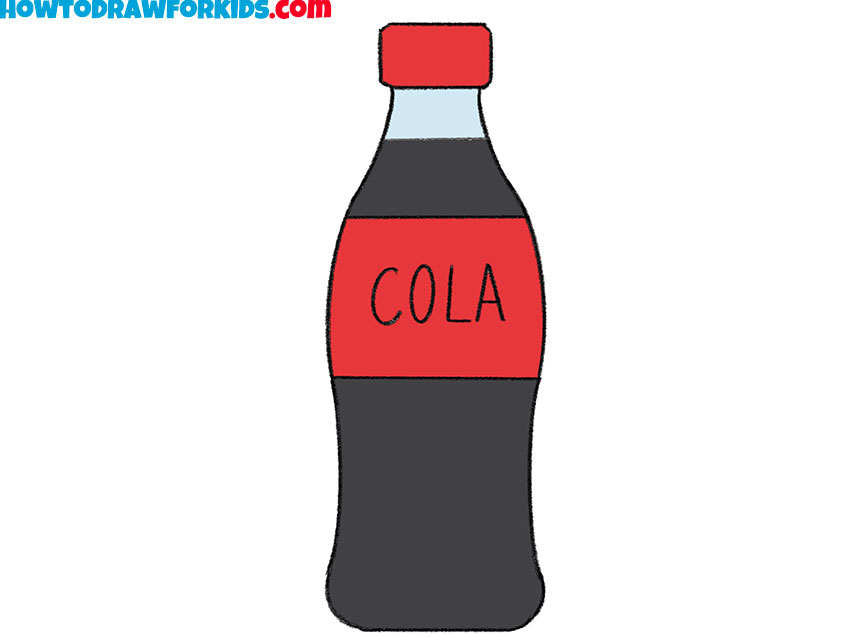
- Fill in liquid, cap, and label.
Most soda bottle illustrations use a dark brown or black for the liquid, red for the label, and a lighter tone for the cap. But this is where you can demonstrate the power of your imagination. Kids can invent new flavors and use greens, oranges, or blues.
Additional Content
This lesson has come to an end. I hope you have had a great drawing of a bottle of soda and that you are now happy with the result of your work. If you liked it, leave a comment and share it with your friends. Also subscribe to us on social media. Don’t forget to download the PDF version of this tutorial.