How to Draw a Bowling Pin
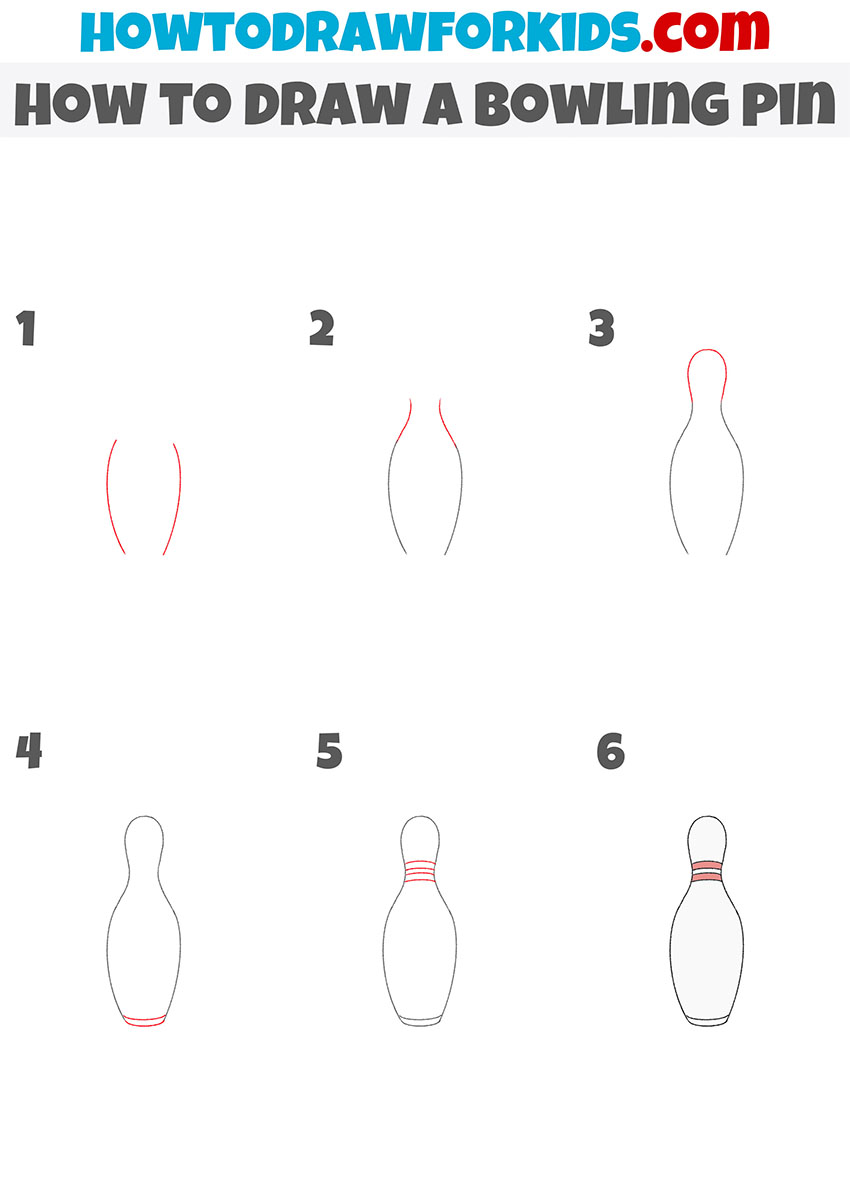
In this tutorial I will show you how to draw a bowling pin. This instruction is very clear and includes six simple steps.
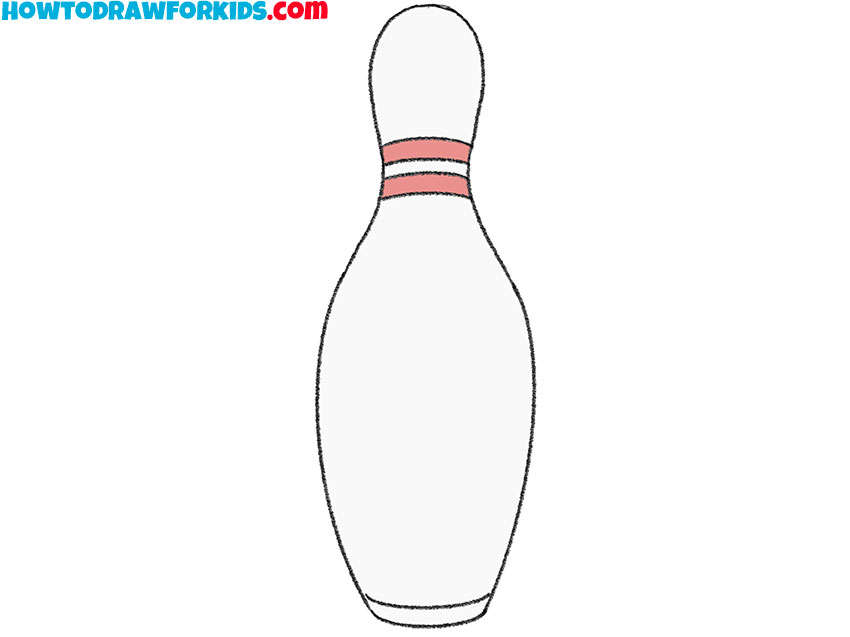
Especially for beginners, I have prepared a new lesson in which I will show in detail how to draw a bowling pin. This is a great object for drawing and during the lesson you will train your creativity.
Bowling is a sport that uses heavy balls and skittles. The object of the game is to knock down as many pins as possible with the ball. There are uniform standards regarding the size and weight of the pieces used in the game. The bowling pin must have a certain height, a certain base diameter, girth at its widest point, and a standard weight.
Now you have to draw a regular bowling pin. Drawing such a pin is not at all difficult, and now you will see for yourself. Your task is to correctly depict the outer contour of the skittle and ensure that both sides are the same. Now prepare all the art supplies and start the lesson.
Materials
- Pencil
- Paper
- Eraser
- Coloring supplies
Time needed: 30 minutes
How to Draw a Bowling Pin
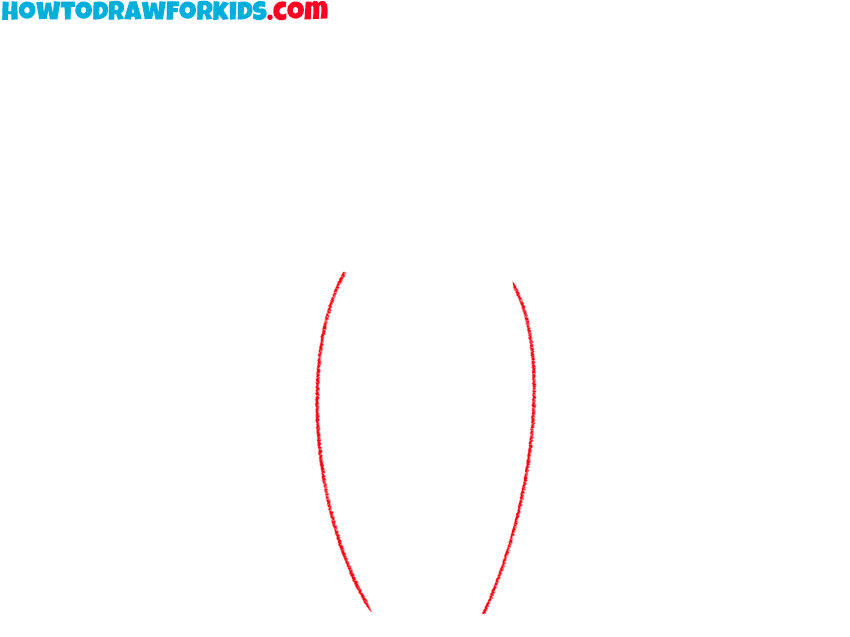
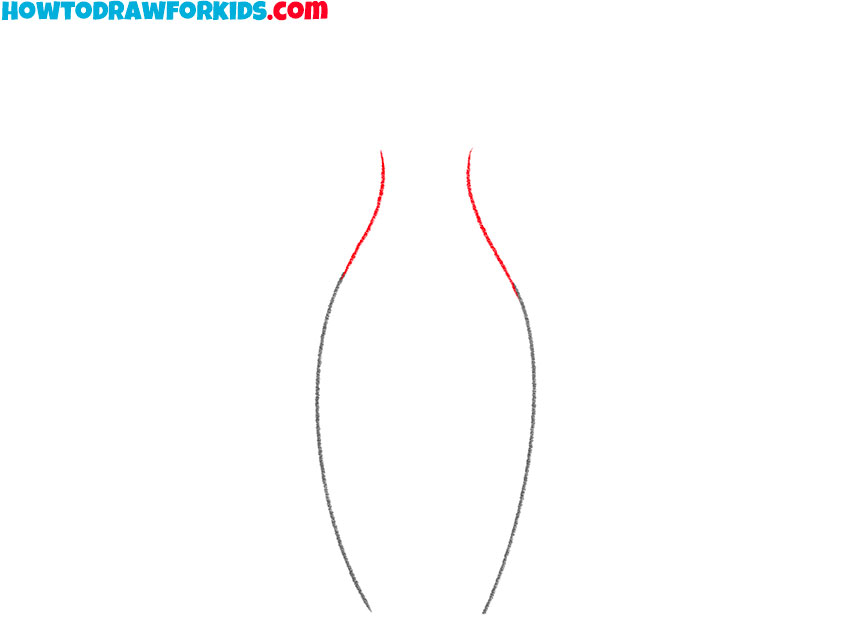
- Draw the sides.
Depict two symmetrical semicircular lines at some distance from each other.
- Add the narrowest part of the pin.
Continue the lines and draw a slight narrowing at the top.
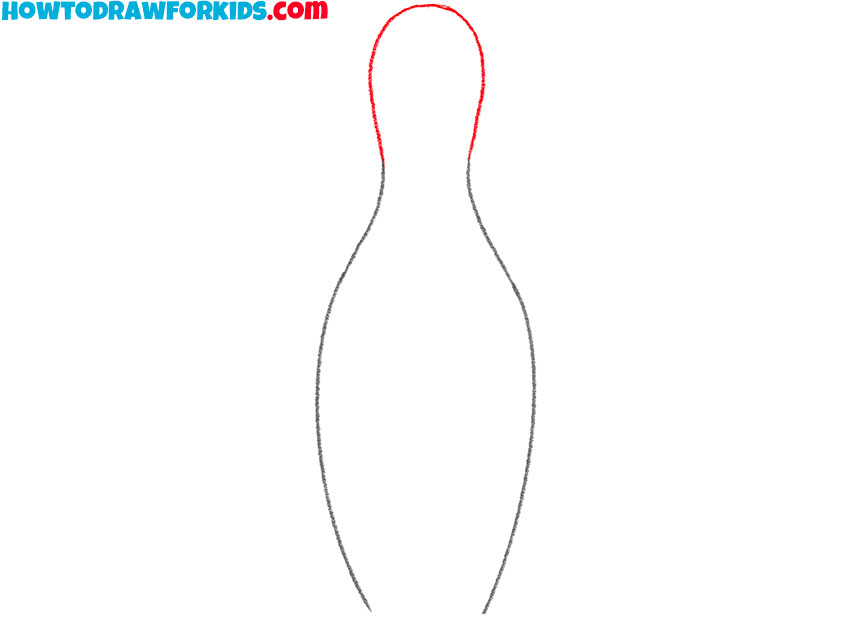
- Sketch out the top of the skittles.
Using a smooth, curved line, draw the top of the skittle, which has an oval shape.
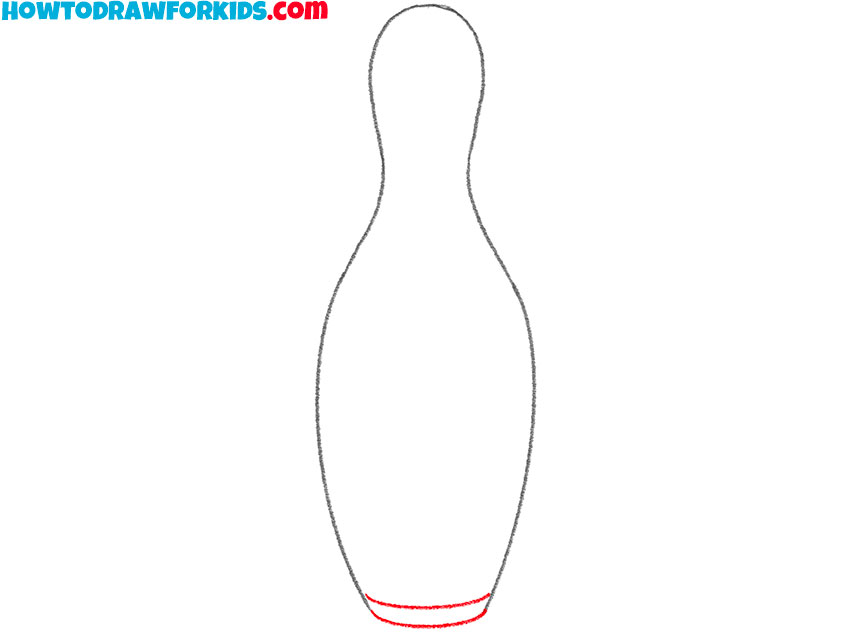
- Depict the bottom of the skittles.
At the bottom, draw two smooth curved lines to end up with a closed path.
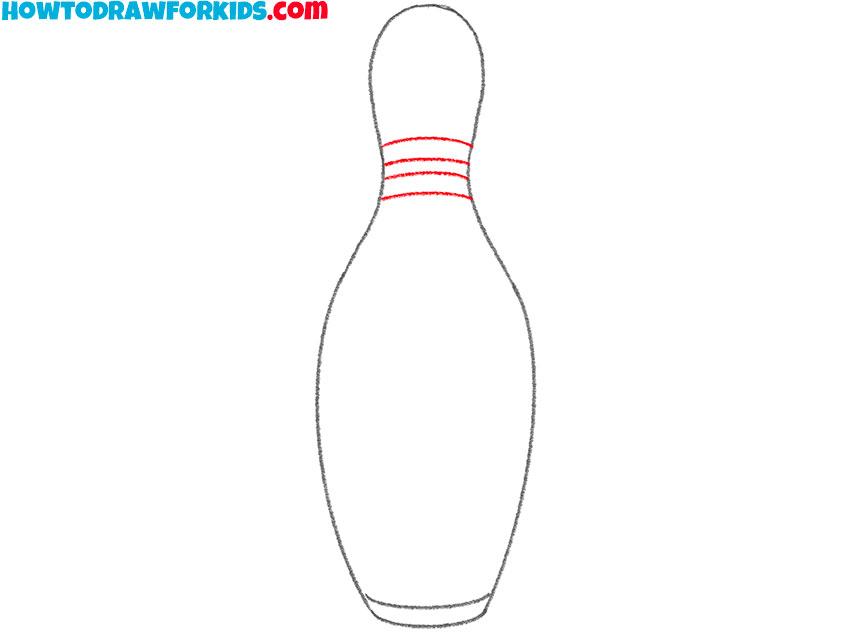
- Add the stripes.
In the narrowest part, successively draw several transverse strips.
- Color the drawing.
You will need a light blue and a pink.

By tradition, I prepared a PDF file with a short version of the lesson in advance for you. Keep this file for yourself so that you always have access to the lesson, regardless of the Internet connection.

