How to Draw a Can
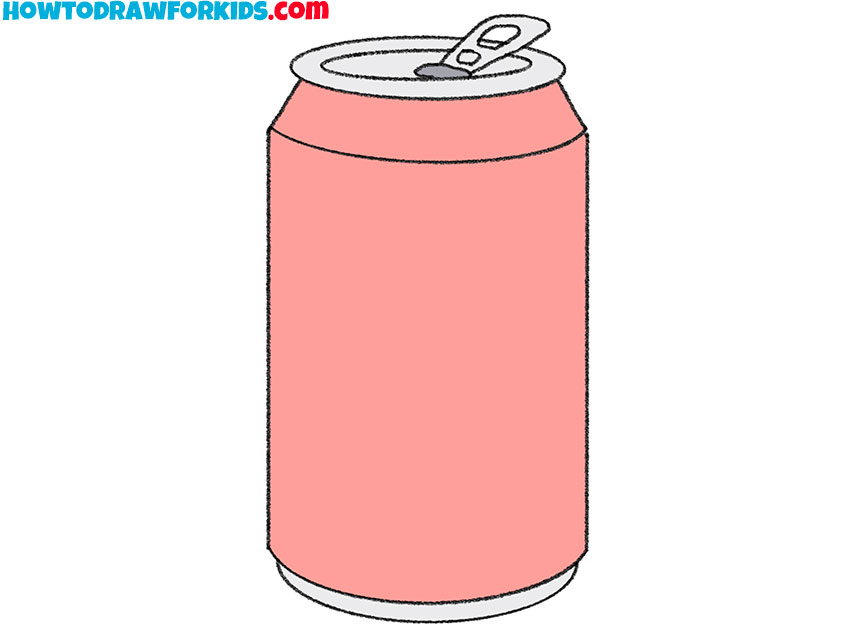
In this tutorial, I’ll share my knowledge on how to draw a can and explain how you can incorporate this artwork into more complex compositions.
How to Draw a Can: Basic Information
This lesson on how to draw a can is a valuable exercise for young artists, as it teaches how to illustrate cylindrical objects with texture and functional purpose.
One of the first skills young artists develop is drawing basic geometric shapes like cylinders. The next step is learning to create simple objects, such as the can we’ll be drawing today.
Aluminum cans, like other everyday objects, are a common part of our daily lives. Any artist should be able to accurately depict these items, as they can serve as both complementary elements in a more complex composition or as the central focus of a piece.
At the end of the lesson, I’ll share tips on how to further improve your skills and apply the knowledge you’ve gained. So, if you’re ready, let’s begin.
Can Drawing Tutorial
Materials
- Pencil
- Paper
- Eraser
- Coloring supplies
Time needed: 30 minutes
How to Draw a Can
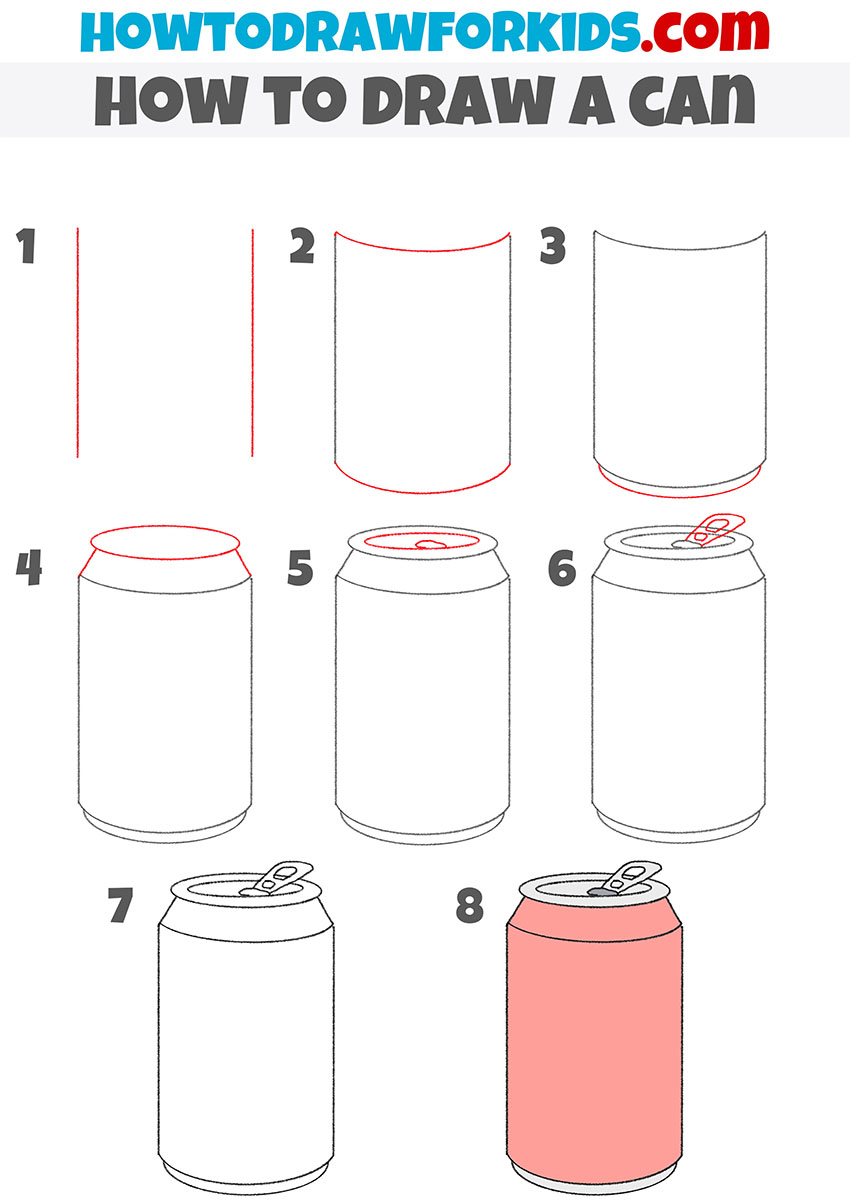
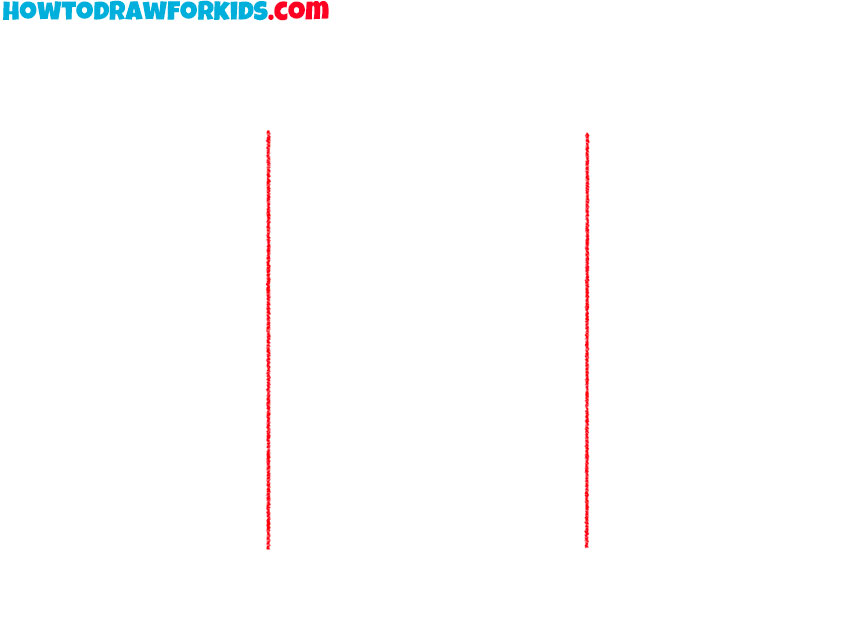
- Sketch the side edges of the can.
Begin by drawing two straight, vertical lines parallel to each other. These lines will form the sides of the aluminum can. Make sure the lines are of equal length and spaced evenly apart, as this will determine the overall width and height of your can.
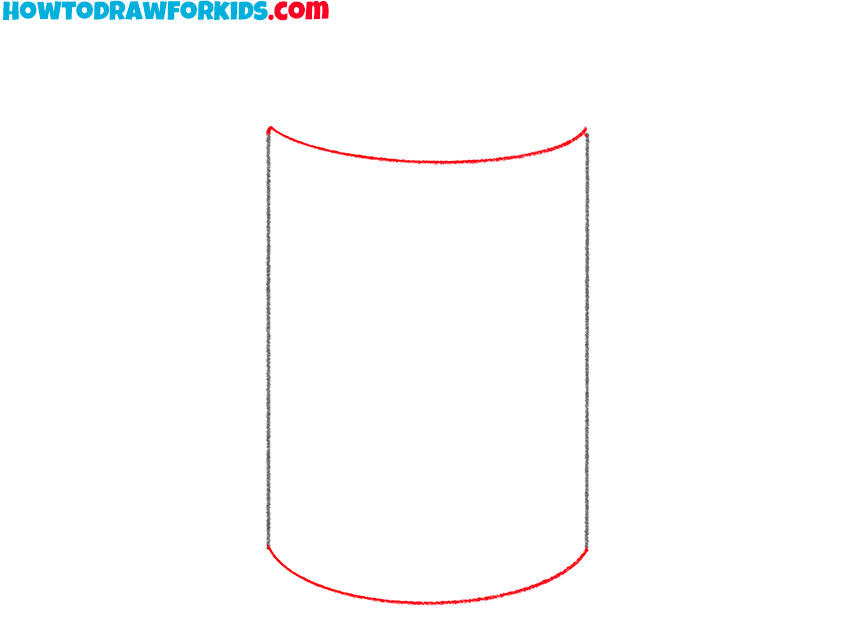
- Add the top and bottom curves.
Now, connect the tops of the two vertical lines with a slightly curved horizontal line. This line will represent the top edge of the can, where it starts to round out. Then connect the bottoms of the vertical lines with a similar curve to create a cylindrical shape of the can.
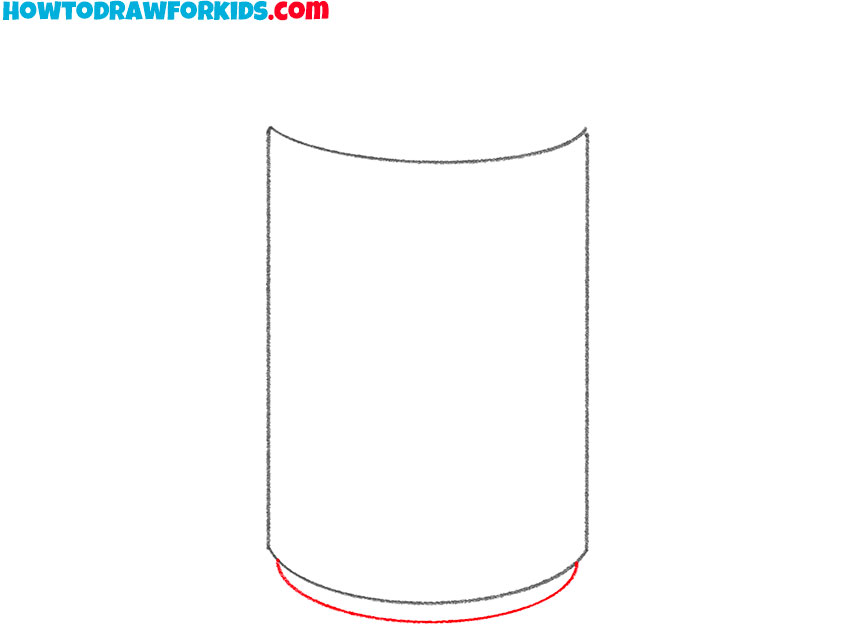
- Detail the bottom of the can.
Next, draw a curved line at the bottom to form the base of the can. This line should follow the curve at the bottom, helping to complete the recognisable shape. The bottom curve of the base should have a similar arc to the top curve, giving the can a realistic appearance.
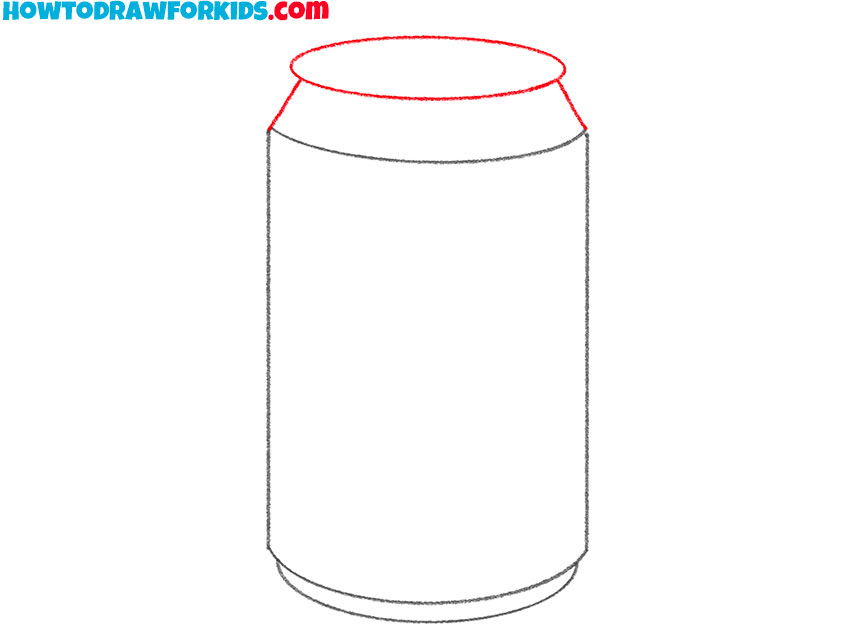
- Draw the rim at the top.
In this step, you’ll add the top rim of the can. Start by drawing a slightly smaller oval above the top curve, parallel to the edge. This oval will represent the raised rim found on the top of most cans. The oval should be centered within the top curve and should follow the same curvature.
- Detail the top of the can.
Now, draw the details inside the top rim to show the opening of the can. First, sketch another small oval within the rim to represent the inner edge of the rim. Then, add a small, oval-shaped geometric figure to the inside of this new oval, representing the opening of the can.
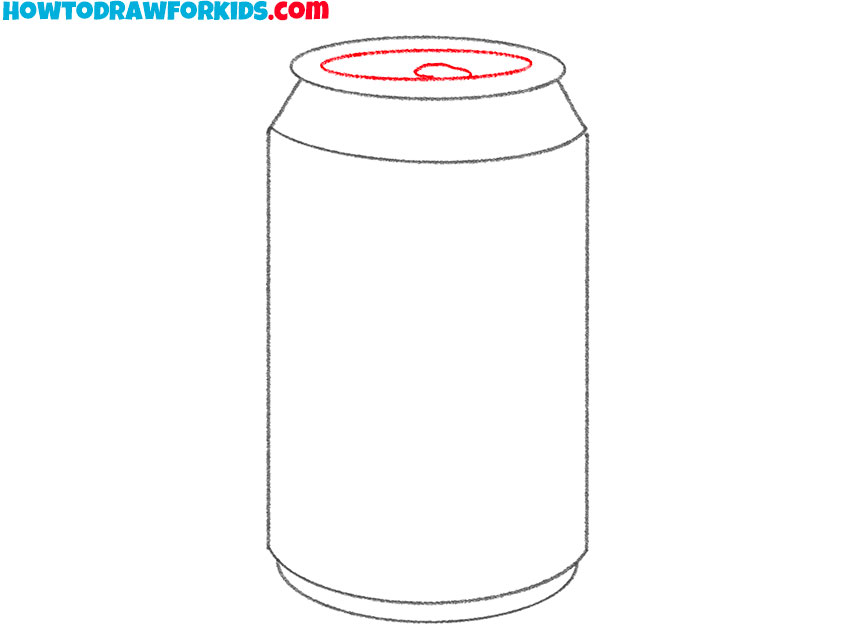
- Draw the pull tab of the can.
Extend a small, curved line from the tab you drew in the previous step to create the hinge area. Then, add a small, oval-shaped opening within the tab to indicate where the tab would be pulled up to open the can. These small details give the pull tab and entire can a more realistic appearance.
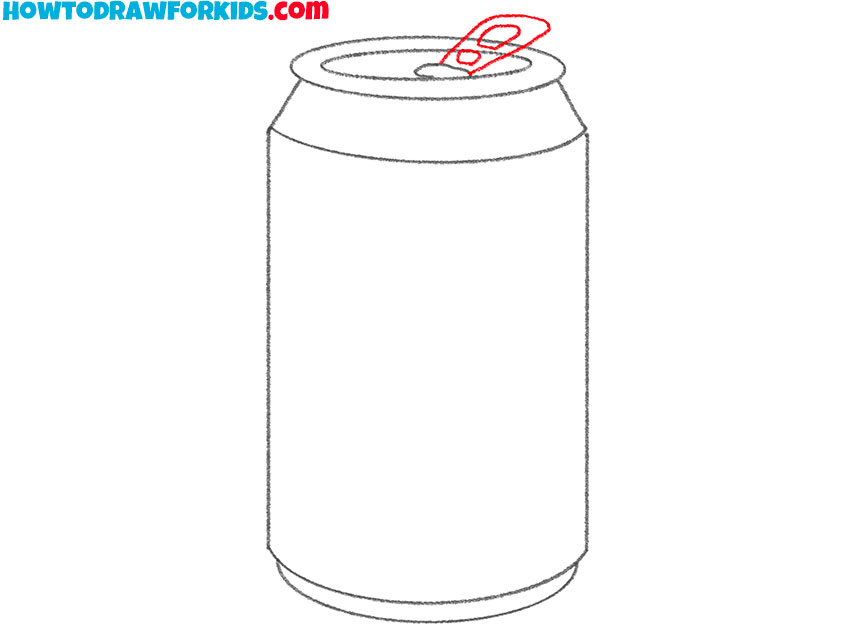
- Finalize the sketch.
In this step, go over your entire can drawing, refining the lines and curves to finalize the outline. Ensure that the curves at the top and bottom are smooth and symmetrical, and that the vertical sides are straight and even. Clean up any rough edges or uneven lines to make the can look polished.
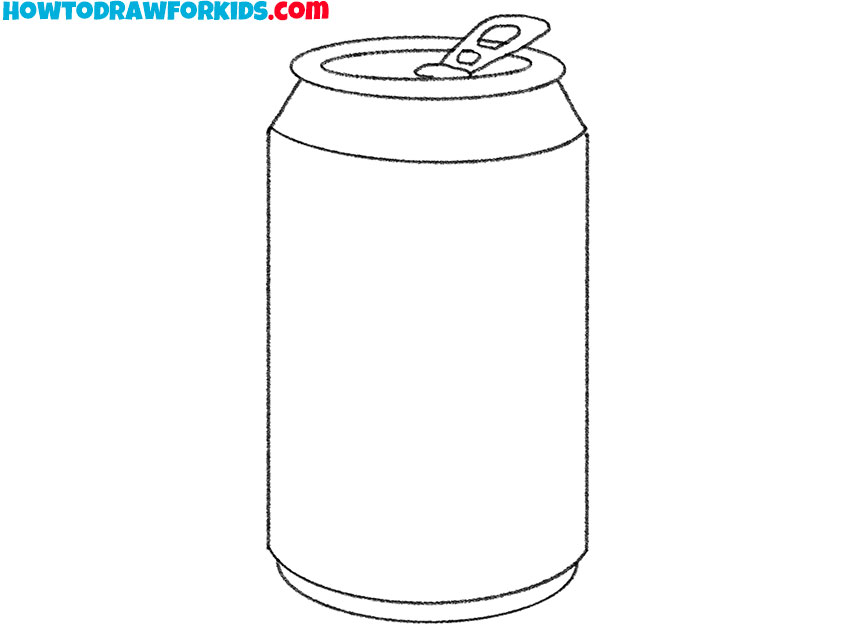
- Add some colors and final details.
Choose a single, solid color for the body of the can. Fill in the entire body of the can with this color, keeping it uniform and smooth. For the pull tab and top rim, use a slightly darker or lighter shade to differentiate these parts subtly.
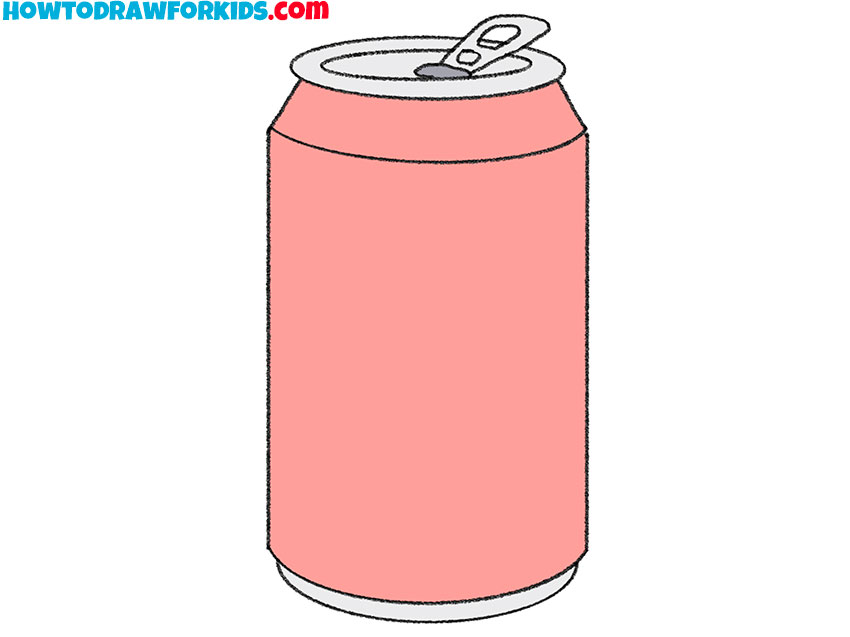
Additional Content
You can download a free PDF version of this can drawing lesson for convenient offline use. The PDF includes all the steps of the tutorial, a coloring page, a tracing worksheet, and a grid drawing worksheet. This allows you to practice drawing a can and improving your skills anytime, even without an internet connection. Download it now to continue improving your drawing skills at your own pace.
How to Draw a Can: Advanced Tips
The top and bottom curves of the can are ellipses. To maintain a realistic cylindrical shape, practice drawing ellipses with consistent curvature. The top ellipse should slightly mirror the bottom one, ensuring both are evenly curved and aligned with the vertical sides of the can.
Pay close attention to the pull tab on the top of the can. Ensure the tab’s shape and placement are proportional to the rest of the can. Small adjustments to the tab’s angle and size can significantly improve the realism of your can drawing.
The height-to-width ratio is crucial for the can’s realistic appearance. Typically, the height should be about twice the width. Maintaining this ratio ensures that your can doesn’t look too short or too elongated.
The can’s top lip where the rim meets the body should be drawn carefully. Make sure the lip is slightly raised and has a clear boundary from the body, which adds to the overall realism.
The tab should be placed slightly off-center on the top ellipse, aligned with the can’s perspective. Its position should reflect how a real can’s tab would appear when viewed from the same angle.
If you add any label or text, make sure it follows the curve of the can. The label should wrap around the cylinder, with the text or design elements curving to match the can’s form for a more natural look.
To incorporate this can drawing into a more complex composition, place it as a foreground or background object in a still life arrangement. Surround it with related items like fruits, books, or other everyday objects, ensuring that the can’s cylindrical shape and details contribute to the overall look of the composition.
Conclusion
This concludes the can drawing tutorial. If you’d like, you can try drawing other popular every day objects, for example a bottle or a cup. More guides are available on my website for further practice.
I regularly update with new lessons, so feel free to follow along on social media for the latest content. Keep practicing, training your skills and open new possibilities with each drawing.

