How to Draw a Clover
In this lesson, I want to show you how to draw a clover. I am sure that this step-by-step guide will be useful for any beginner.
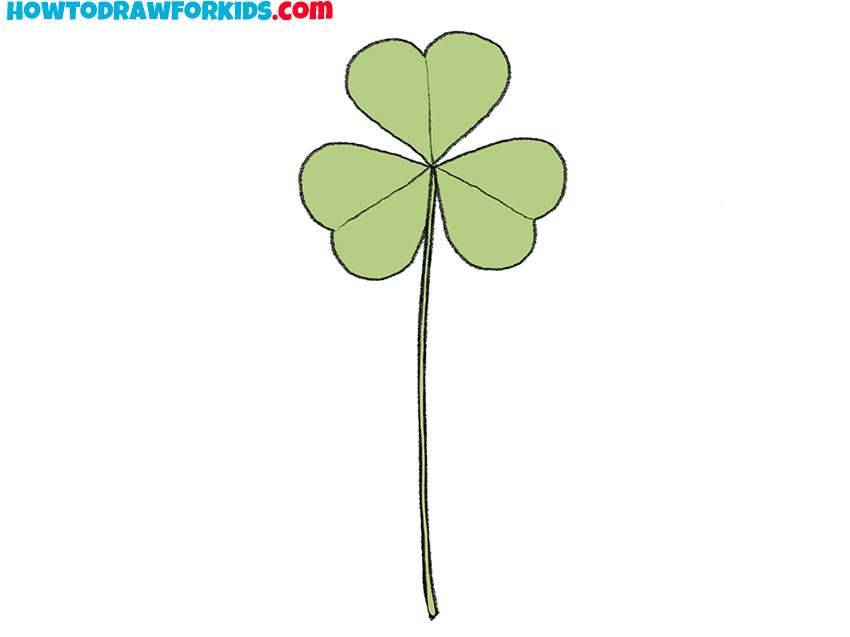
I suggest you complete a new interesting lesson on the theme of plants, and in this lesson you will learn how to draw a clover. This is a beautiful and useful plant that is widespread and grows on all continents except Antarctica.
Clover has a round, lush inflorescence and small leaves, which consist of several elements. Clover is very popular with beekeepers, widely used in folk medicine and as feed for farm animals.
In this lesson, you will draw one thin stem, which has three leaves. Please note that all leaves have the same shape. Be patient and careful during this tutorial to get a good result.
Materials
- Pencil
- Paper
- Eraser
- Coloring supplies
Time needed: 30 minutes
How to Draw a Clover
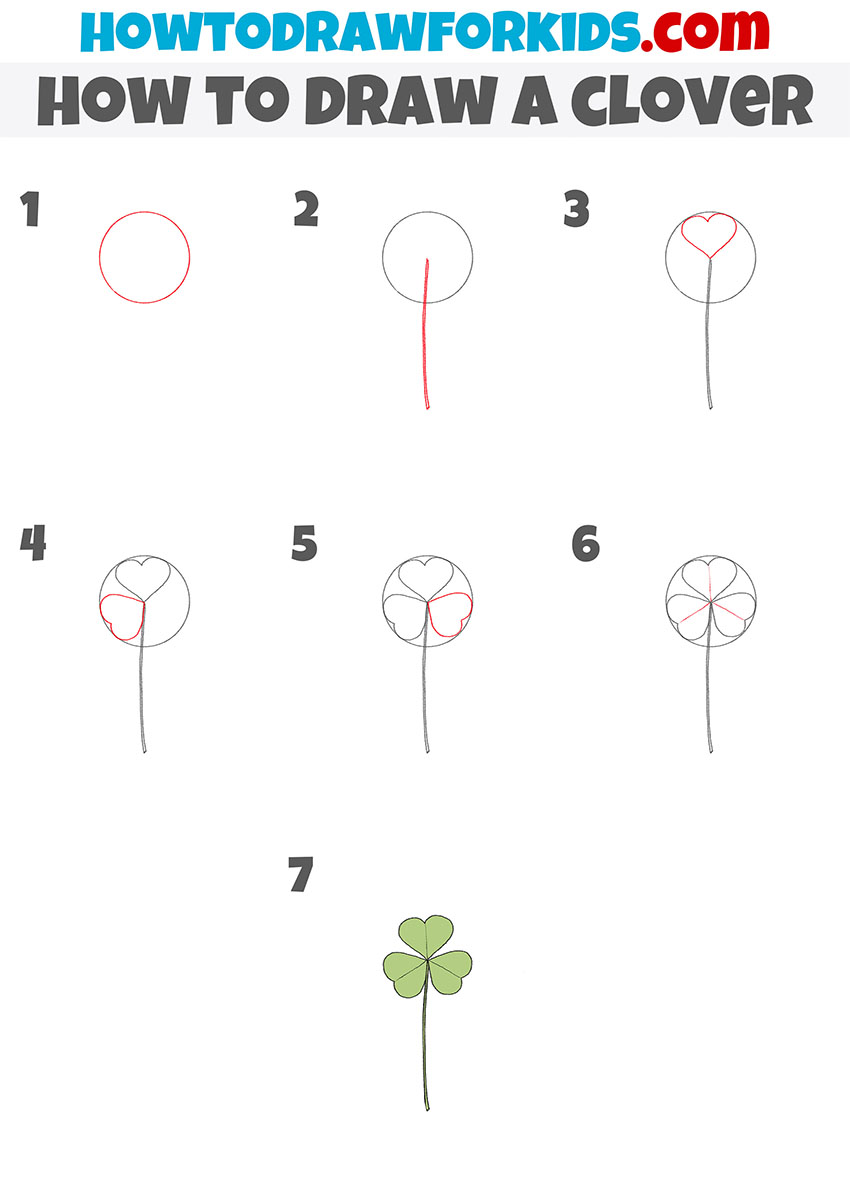
- Mark the outer contour.
Determine what size your drawing will be and draw an even circle.

- Depict the stem.
Draw two long lines that are located side by side.

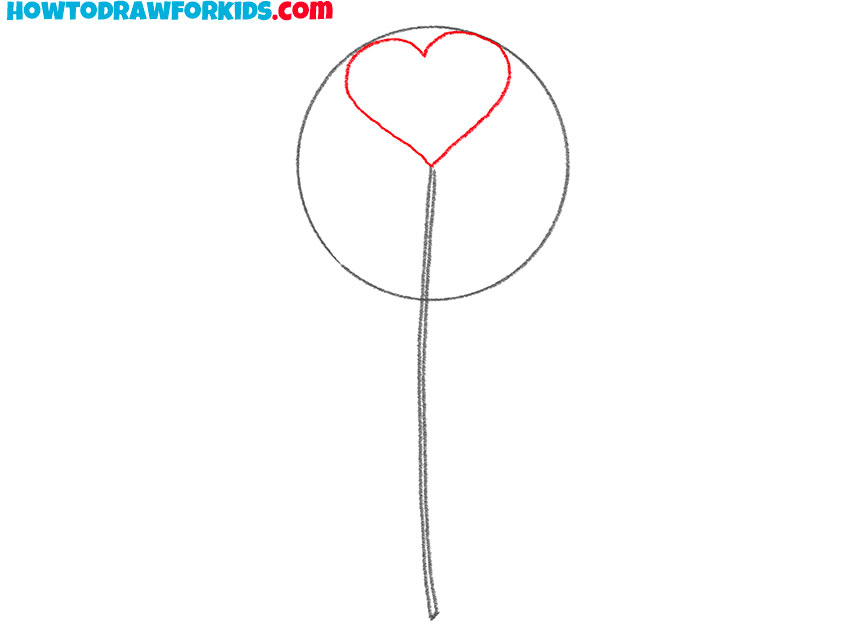
- Add the first leaf.
Within the outline, draw a heart-shaped figure.
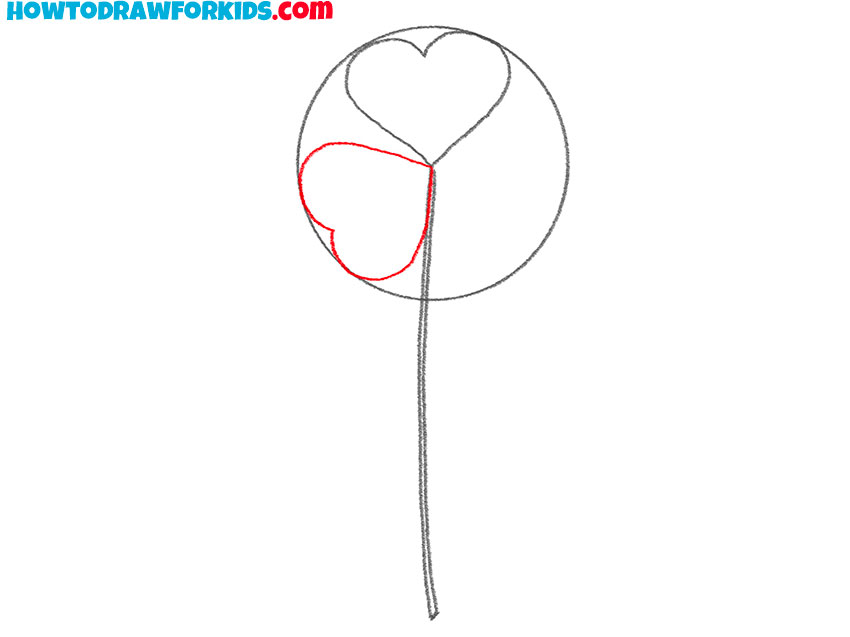
- Sketch out the second leaflet.
In the lower left part, draw the second leaflet of the same shape.
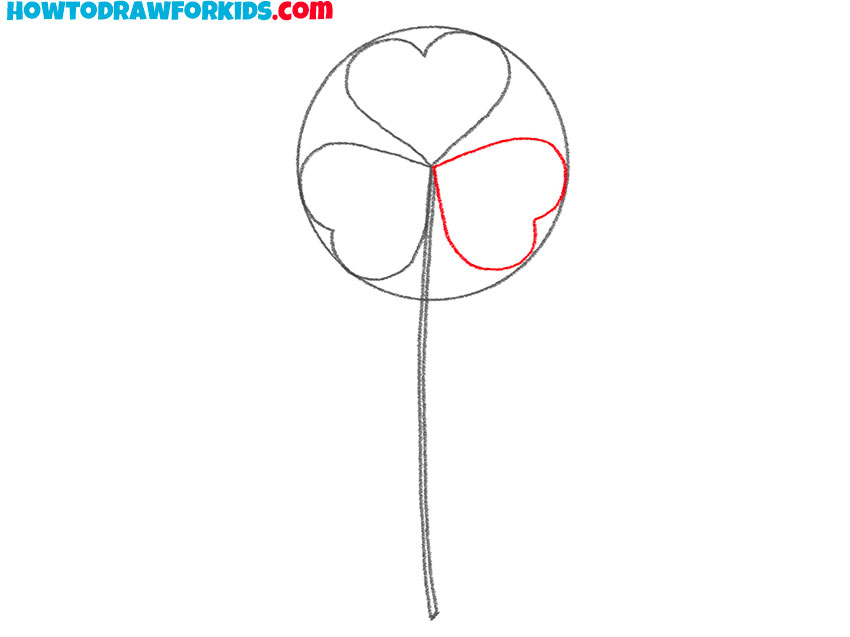
- Add the third leaflet.
Repeat the previous step and depict the third leaf in the lower right part.
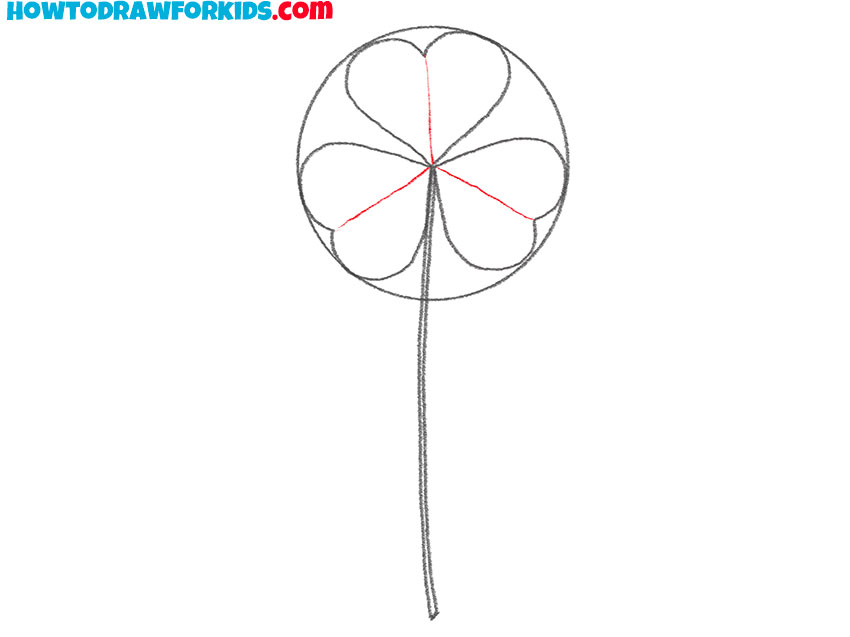
- Draw the veins on the leaves.
Sketch out thin lines in the middle of each leaflet.
- Color the clover.
All you need is light green.

The next lesson has come to an end, and now you have learned how to draw a clover. I hope that it was not difficult for you and you quickly coped with the task. Share your impressions about the lesson in the comments. At the same time, write what other plants you know and would like to learn how to draw. I will take into account all your wishes when compiling new, exciting lessons.
Finally, I suggest you download a short version of the lesson in PDF format. If you save this file, you can return to the lesson at any time to repeat it.

