How to Draw a Cowboy Boot
Use this guide on how to draw a cowboy boot to create a simple western-style boot with a signature shape and decorative stitching.

How to Draw a Cowboy Boot: Introduction
Cowboy boots are a distinct type of riding footwear that originally served a practical purpose for North American cowboys. Designed for horseback riding, they feature a high shaft, a signature heel, and a rounded or pointed toe. While they were once tied strictly to ranch work and cattle herding, today cowboy boots are worn more broadly as part of fashion and culture.
In this drawing, we’ll learn how to draw a cowboy boot on the classic side view with a raised shaft, a slanted heel, and decorative stitching. Pay close attention to the size of the heel and the placement of the foot curve. Keeping the sole level and the toe shape clear is important for getting the overall silhouette right.
Western boots also sometimes feature spurs, although they’re not included in this version. If you’d like, you can add spurs or additional design lines after finishing the base form. The decorative stitching on the shaft can also be changed or expanded depending on the look you want.
Once your cowboy boot drawing is complete, you can change the decoration or turn the boot into part of a character. You can also check out my basic boot drawing tutorial to learn more about this type of shoe.
Cowboy Boot Drawing Tutorial
Materials
- Pencil
- Paper
- Eraser
- Coloring supplies
Time needed: 30 minutes
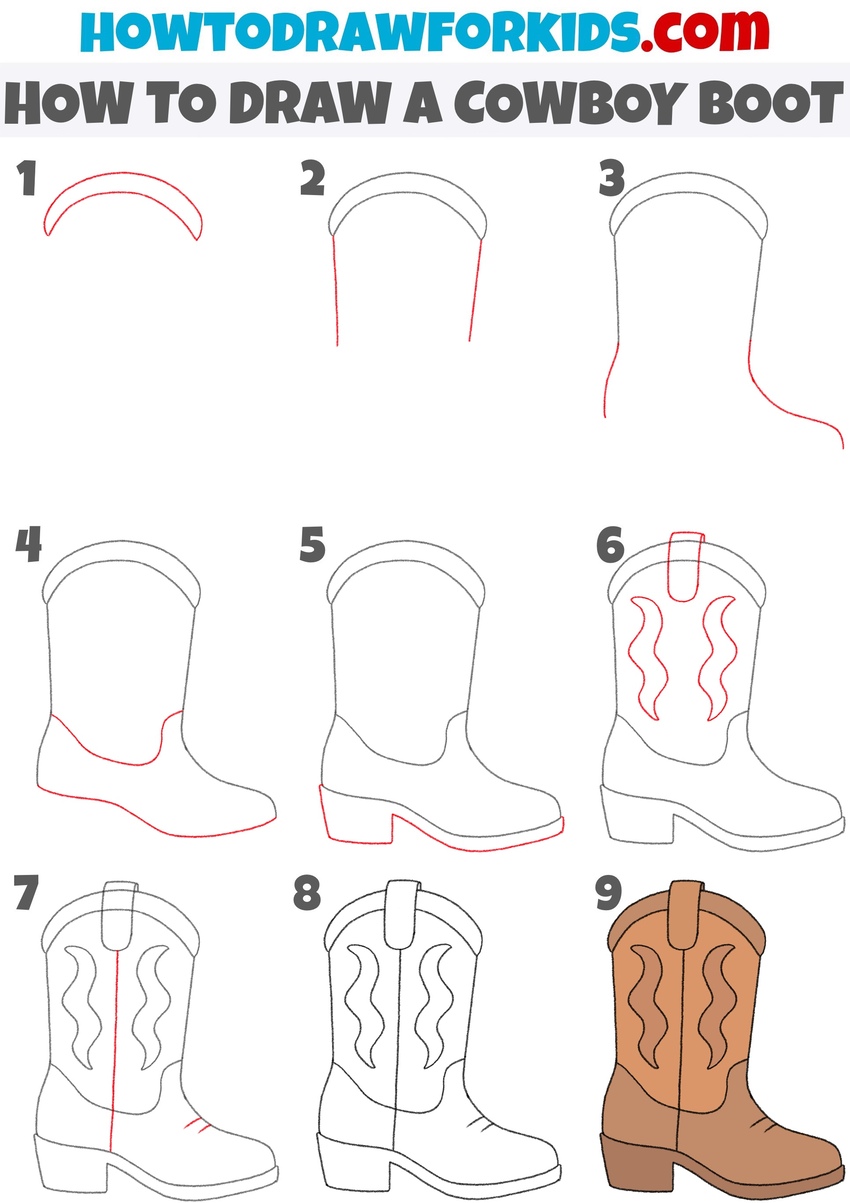
How to Draw a Cowboy Boot
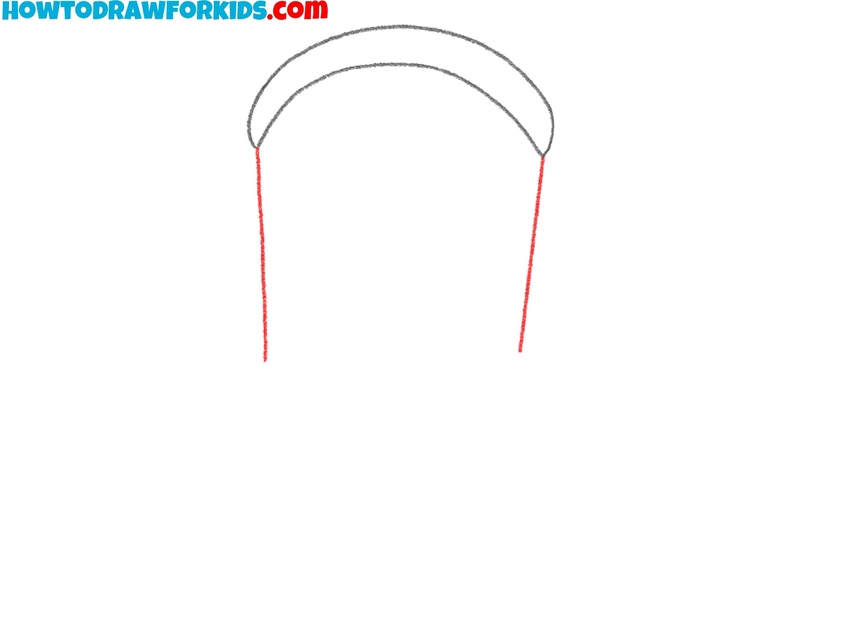
- Draw the top curve of the cowboy boot.
To draw a cowboy boot, sketch a wide, curved shape resembling an upside-down bowl. This shape forms the top opening of the cowboy boot. Try to keep both sides even and symmetrical. If you’re aiming for a different style, such as a taller boot or one with a sharper edge, adjust the curve accordingly.

- Sketch the sides of the shaft.
From each end of the curved top, draw straight lines going downward. These lines form the sides of the upper shaft of the cowboy boot. They should be roughly vertical, but you can slightly angle them depending on the style you want to achieve. Keep both sides the same length to preserve symmetry.
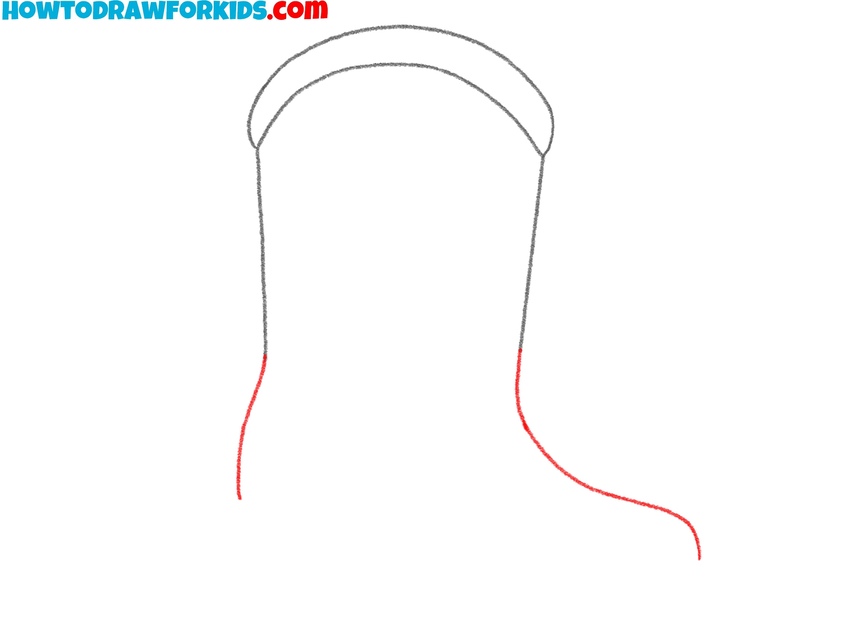
- Draw the lower cowboy boot shape.
Now draw long, sweeping curves from the bottom of the shaft lines to form the heel and toe of the boot. These flowing shapes define the bottom of the cowboy boot and give the shoe its characteristic Western look. If you’re planning to draw other boot styles, adjust the shapes of these parts.
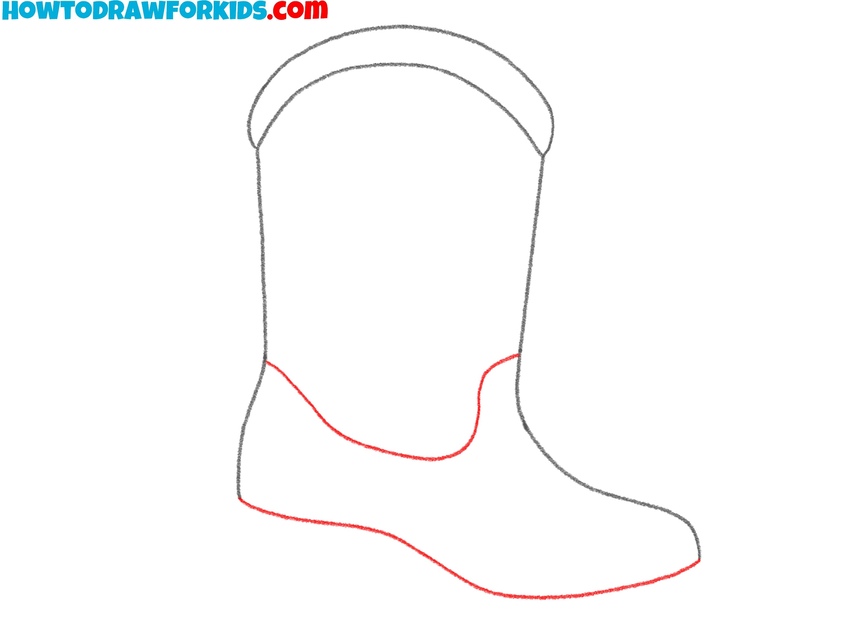
- Finish the boot’s silhouette.
Finish the basic shape of the boot by connecting the lines from the previous steps to the curve of the foot. Use a smooth line to illustrate the sole area. Also, draw a smooth line to illustrate the transition between the leather layers of the upper and lower part of the cowboy boot.
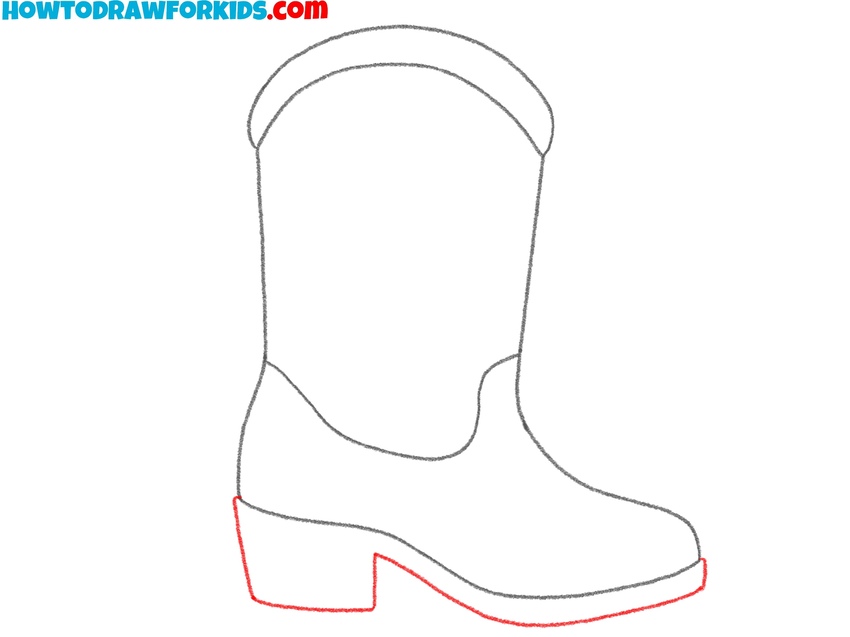
- Draw the base of the cowboy boot.
Now, add the sole by drawing a thin horizontal band under the boot. Then draw the heel by creating a vertical rectangle shape under the back part of the foot. This gives the cowboy boot its signature lifted heel, often thicker and more angular than regular boots.
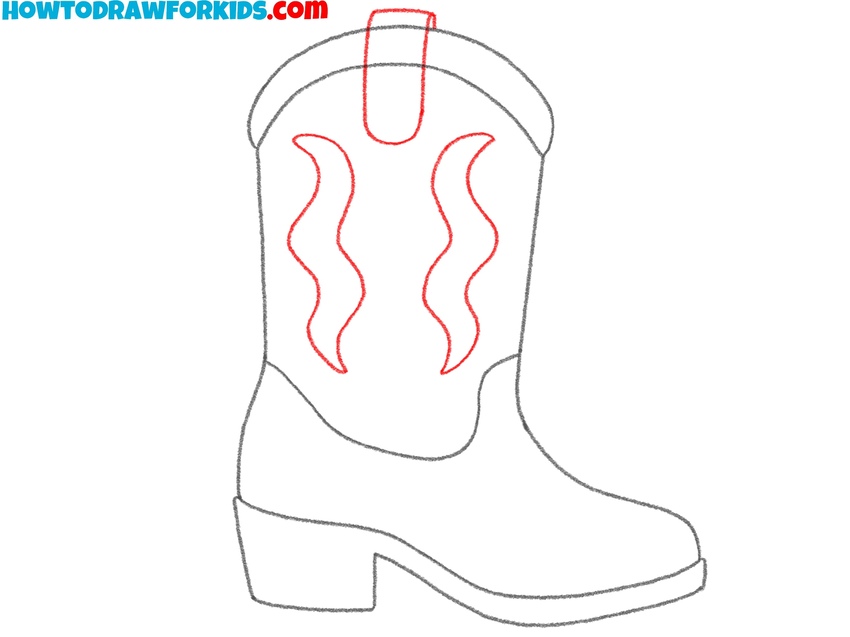
- Add the pull strap and stitching.
Draw a rectangular pull strap at the top center of the shaft. This strap sticks up slightly and is used to pull the boot on. Next, add decorative stitching – usually a Western-style pattern – on the shaft. For this version, draw two mirrored wavy lines on the shaft of the boot.
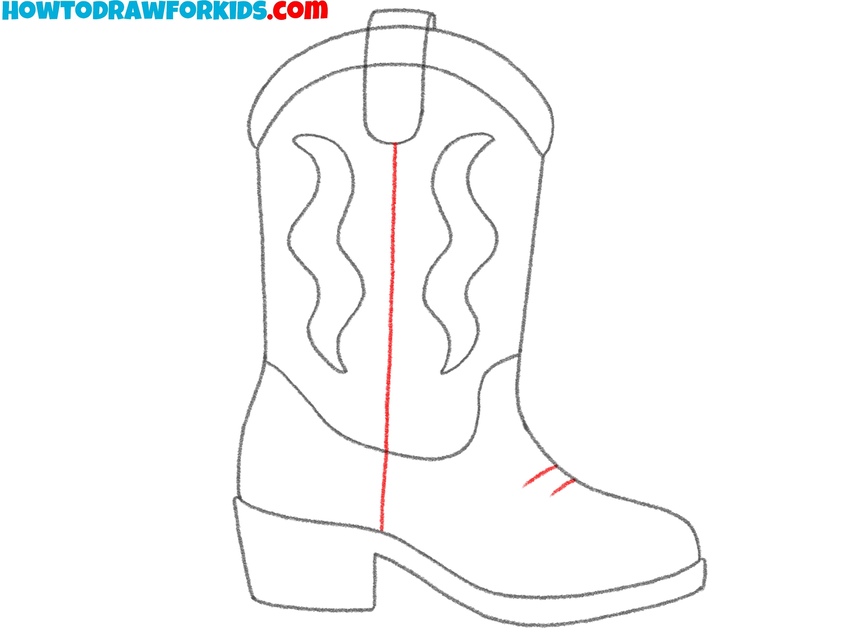
- Add the seam and creases.
Draw a straight vertical line down the center of the boot shaft to represent a seam. Then, add two short curved lines just above the heel to show fabric folds or stress marks from wear. You don’t have to overdo it – just a few well-placed marks are enough in this stylized version.
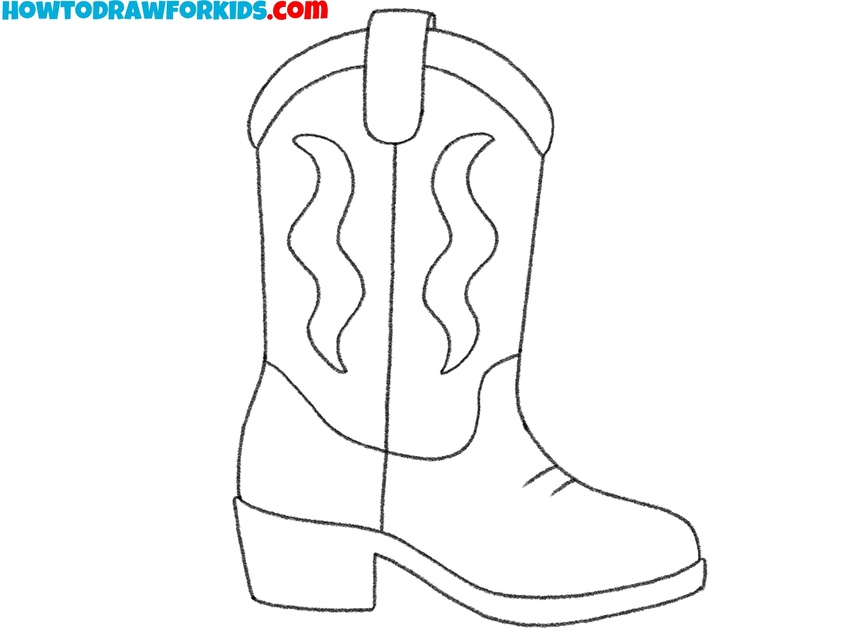
- Clean up and finalize the lines.
Now, remove any unnecessary construction lines from earlier steps. As you trace your cowboy boot drawing, you can subtly adjust any curves that look uneven. This is your opportunity to fine-tune the lines, reinforce symmetry, and clean up any inconsistencies.
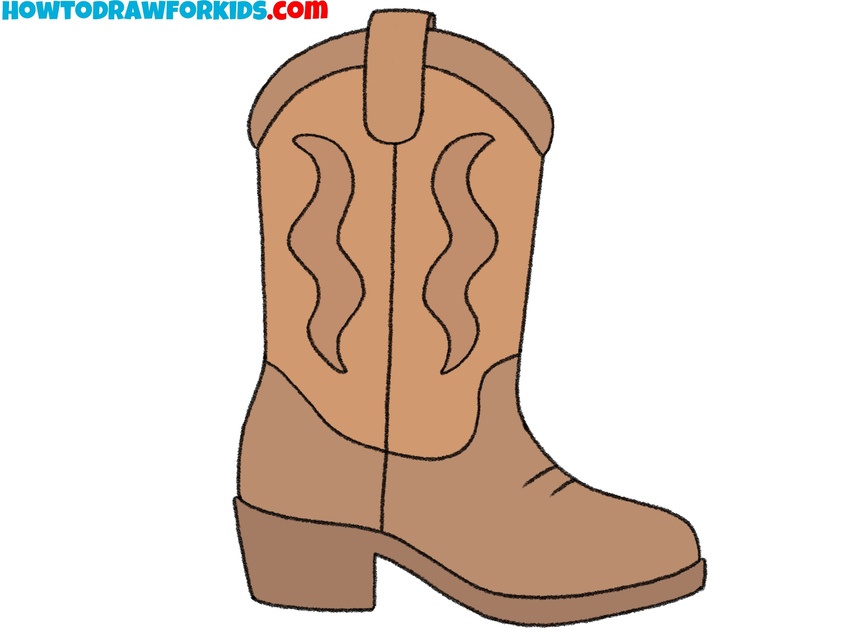
- Fill in the cowboy boot with color.
Color the main boot body in a rich brown color and use a slightly darker tone for the heel and sole. The stitching and pull strap can be kept lighter, darker, or in a complementary shade like tan or gold. You can color the interior of the pull strap loop slightly darker.
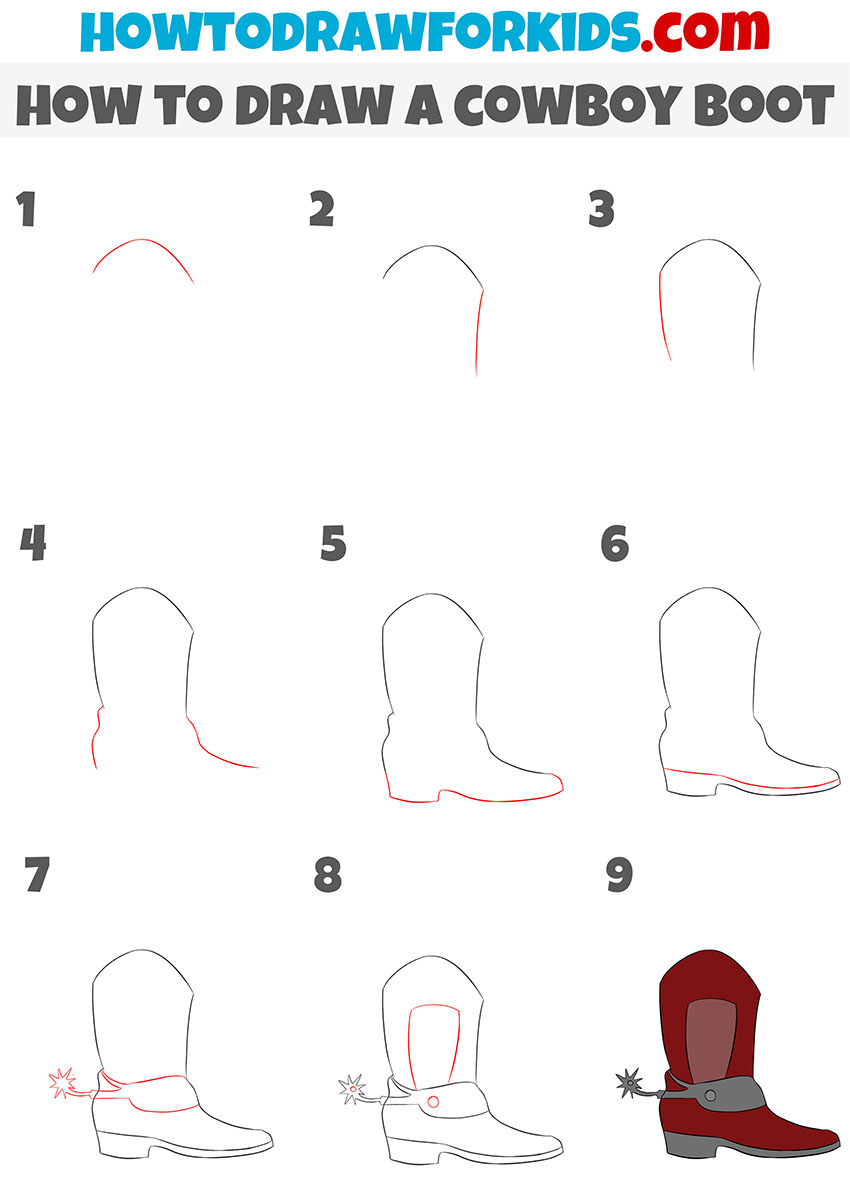
How to Draw a Cowboy Boot With a Spur
This version of the cowboy boot drawing tutorial uses simplified forms and introduces a spur as a key visual element. Unlike the first cowboy boot tutorial, this one follows a different sequence.
To learn how to draw a cowboy boots with a spur, sketch the upper outline of the boot shaft using a curved arch. Extend two vertical lines downward to define the boot’s sides, then connect the lower portion with a curve for the ankle and a longer stroke to form the front of the foot.
Add the heel with a short block shape and complete the outline of the foot and toe. Add a wide horizontal band across the ankle to indicate a strap, then attach a spur at the back using a small star shape and simple bracket. Draw a large panel within the shaft to add structure and then add a button to the strap. Finish the cowboy boot drawing by adding color, keeping the spur metallic and the boot in classic deep brown tones.
Conclusion
If you’d like to improve your drawing skills, and learn more about drawing shoes, try placing the boot next to a full cowboy-themed character or draw it as part of a scene. You can also combine it with my horse drawing tutorial to create a Western setting or show the boot in use.
For contrast, try drawing a more modern shoe using my sneaker drawing tutorial, and see how different types of footwear are structured and styled. These comparisons are a useful way to understand proportion, design variation, and train your overall drawing skills.