How to Draw a Knight
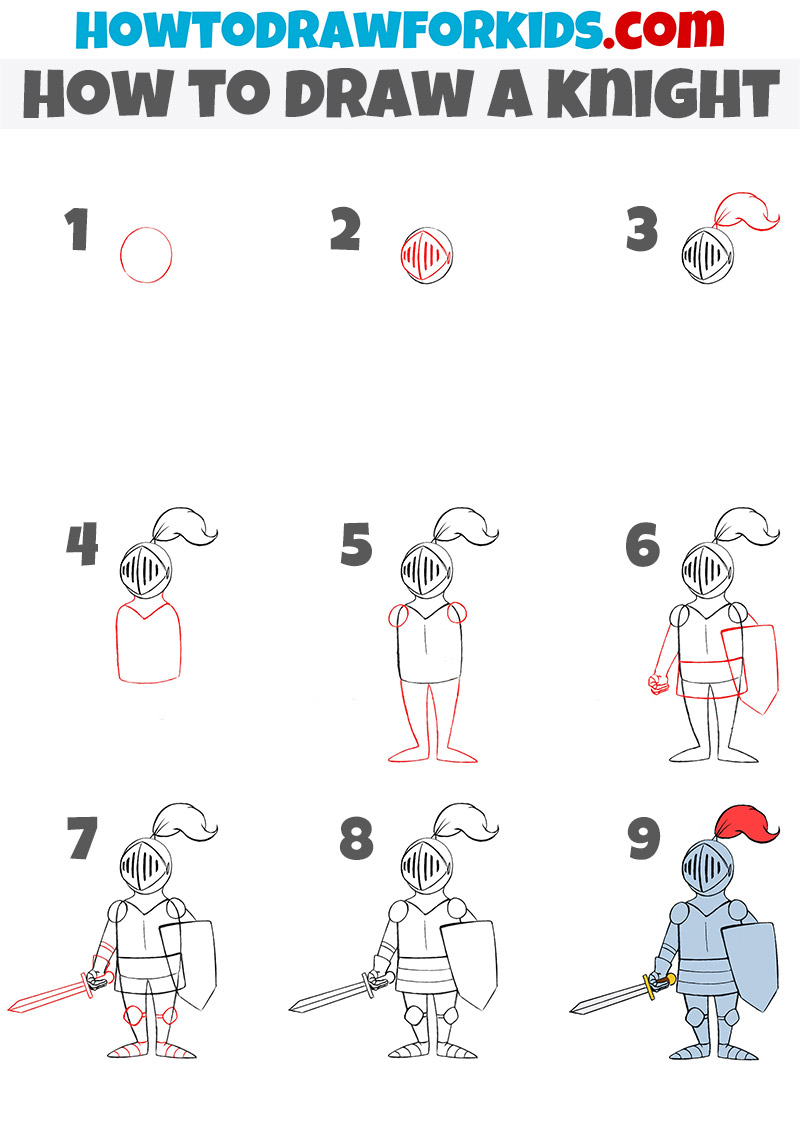
Today I will show you how to draw a knight for kids. This lesson consists of nine super simple steps and is created especially for children.
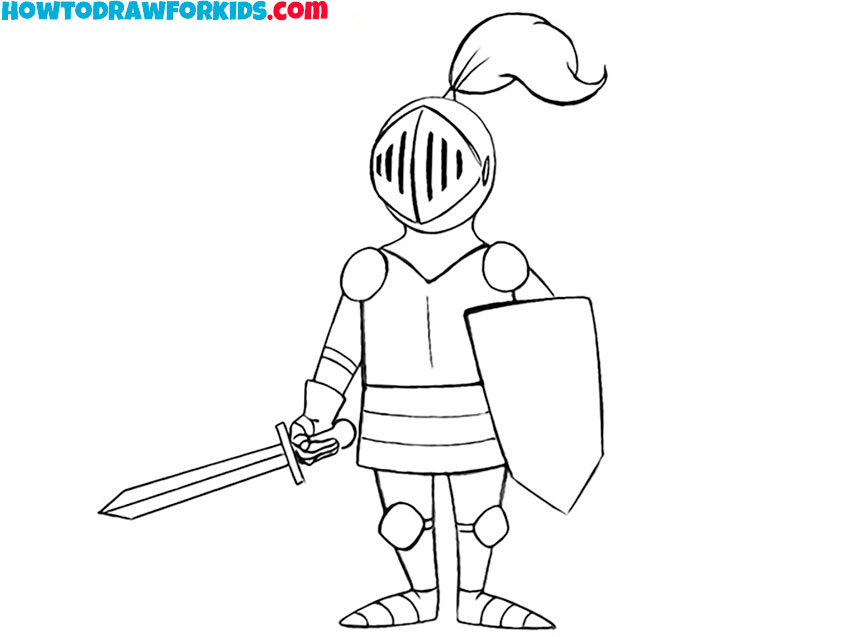
In this guide on how to draw a knight for kids, I tried to use fairly simple geometric shapes. Using nine easy steps, a young artist can learn how to draw a pretty realistic warrior.

How to Draw a Knight: Introduction
In this lesson on how to draw a knight for kids, I used a classic technique for my site – from simple to complex. It is by using such tactics that you can teach children fine arts without making them bored.
We will move from the first to the last steps, gradually adding more and more details until the circle turns into a full-fledged drawing of a knight.
In addition, this lesson will help the child learn to maintain proportions when drawing a human figure, without being distracted by the details of the face.
Over the centuries of the existence of knights, a huge variety of different types of armor have been created, but I decided to choose the most recognizable type for this lesson.
Knight Drawing Tutorial
Materials
- Pencil
- Eraser
- Paper
- Coloring supplies
Time needed: 40 minutes
How to Draw a Knight
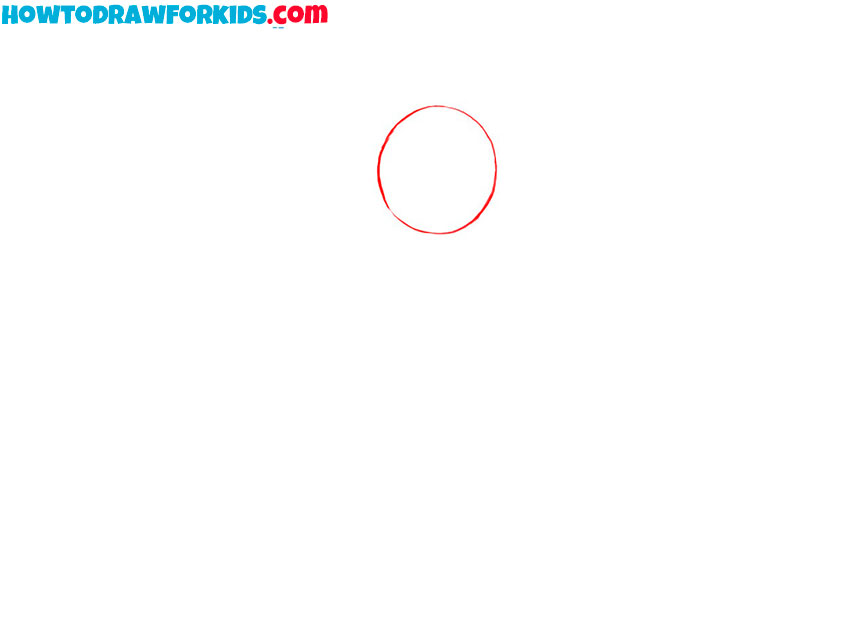
- Sketch the head of the knight.
Draw a circle as a guide for the head (or rather the helmet) of the knight. The shape of the head can be either round or oval. Make sure the circle is centered on your paper to leave enough space for the body and other details.
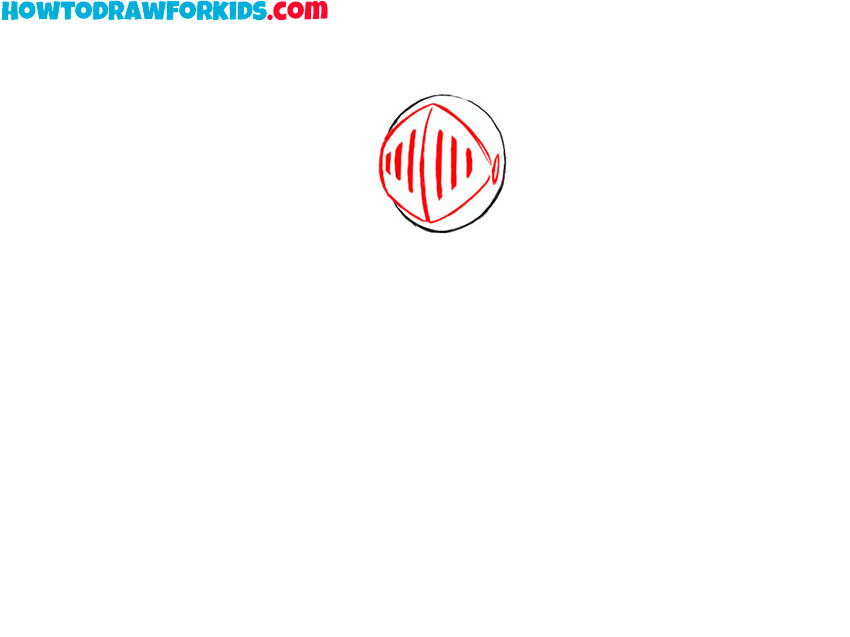
- Sketch the visor of the helmet.
Draw the visor with vertical openings at the front of the helmet. These lines of the openings should be evenly spaced to give a realistic look to the helmet. By the way, you can draw this part not in the form of vertical stripes but in the form of round holes.
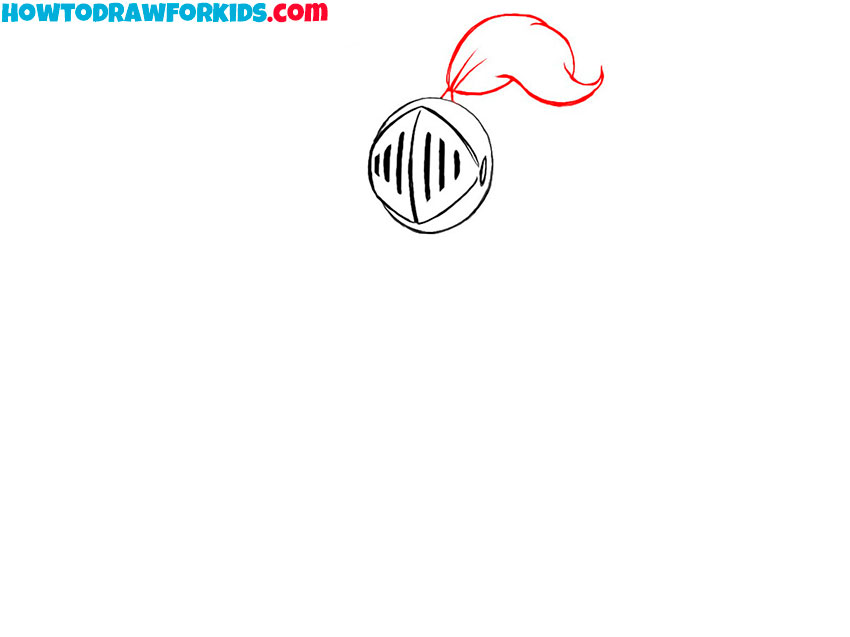
- Add the plume.
At the top of the helmet draw wriggling feathers. Draw a wavy line on the top right of the helmet, curling it to the right to represent the flowing crest. This plume should be freeform and can vary in size according to your preference. Use long and smooth lines to make this part of the knight’s helmet as realistic as possible.
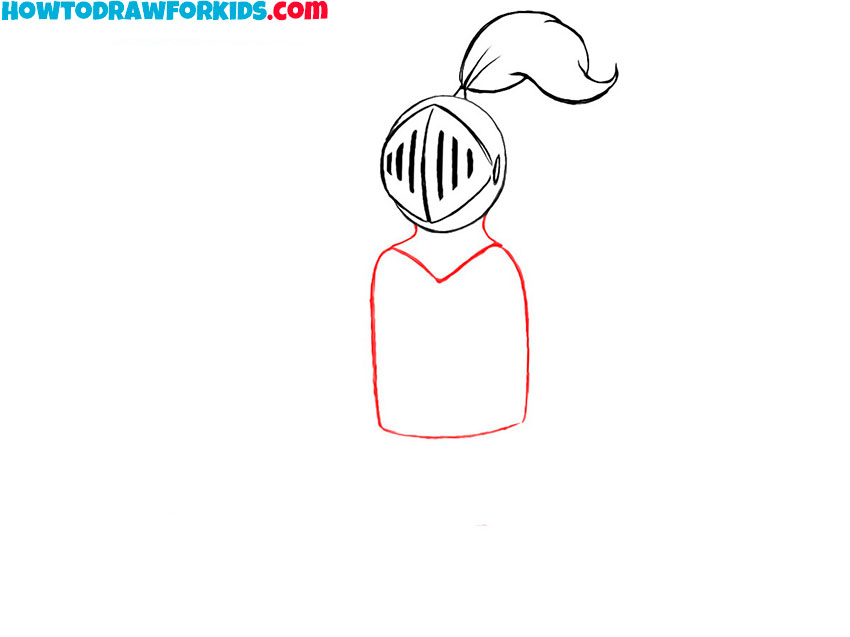
- Draw the gorget of the helmet and the torso.
Below the helmet, sketch a simple torso shape. Draw a curved line down from each side of the helmet to form the shoulders and upper body. Then, connect these lines with a slightly curved horizontal line at the bottom to represent the chest area.
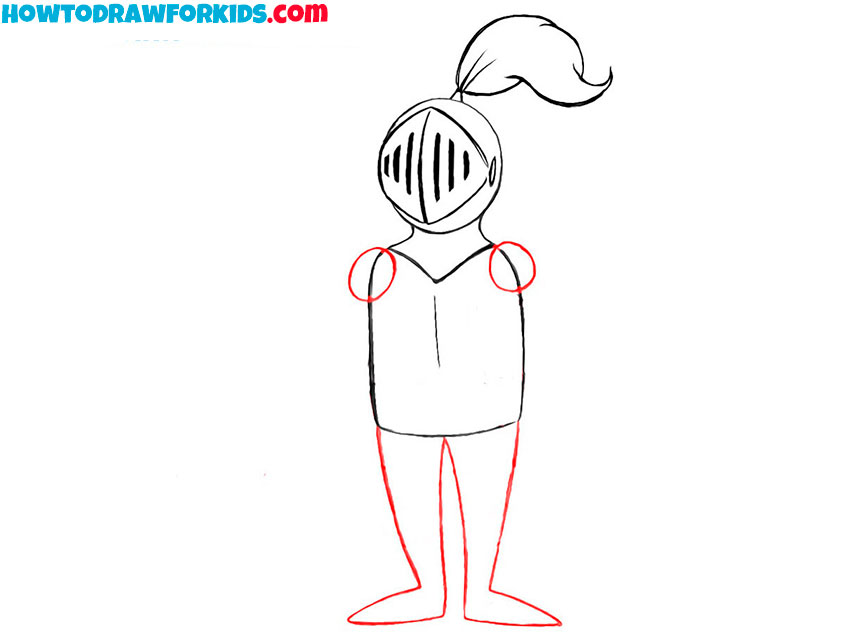
- Add the shoulders and legs.
Draw simple lines extending from the torso to outline the shoulders and legs. For the shoulders, sketch small circles. For the legs, draw straight or slightly curved lines down from the bottom of the torso, slightly angled outward to represent the stance.
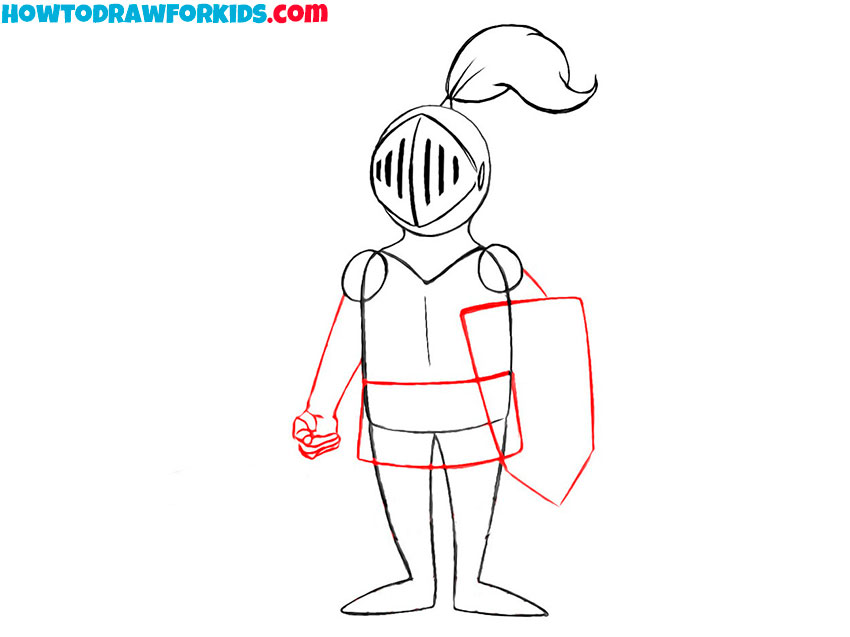
- Draw the arm and shield.
On the right side of the knight, draw a rectangular shape with slightly curved edges for the shield. On the left side, sketch the outline of the knight’s right arm. You can add some extra elements to the shield, for example some engravings or patterns.
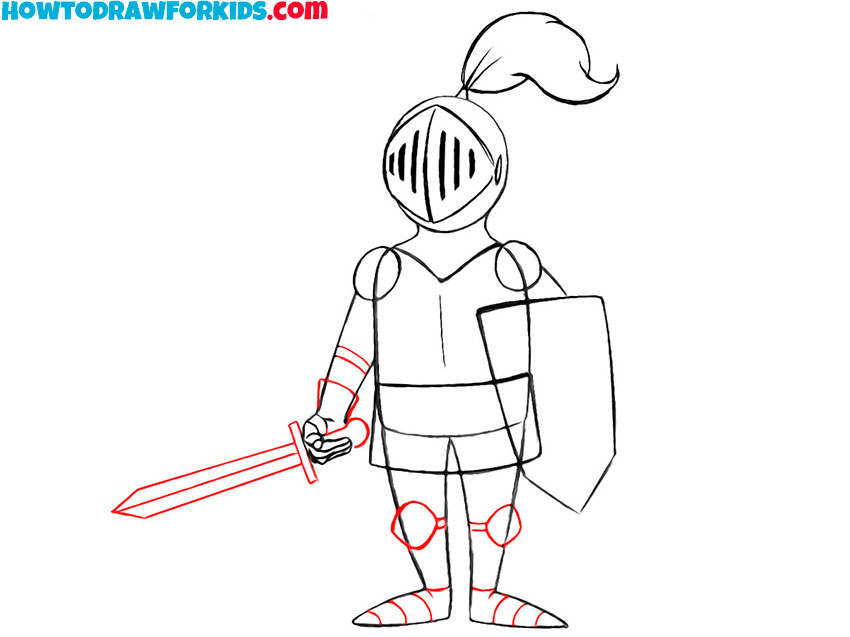
- Add the sword and detail the armour.
First, draw the sword, then sketch the elbow pads and knee pads. Draw lines on the arms and legs to show the joints and plates of the armor. Draw armor lines on the feet. When drawing details, try to maintain proportionality and symmetry.
- Erase the guidelines.
Refine the knight by going over the outline and adding final touches. Ensure the proportions are correct and that the details are symmetrical. After erasing the guidelines, you can trace your knight drawing to make it more expressive. By the way, you can add some details, for example a coat of arms on a shield.
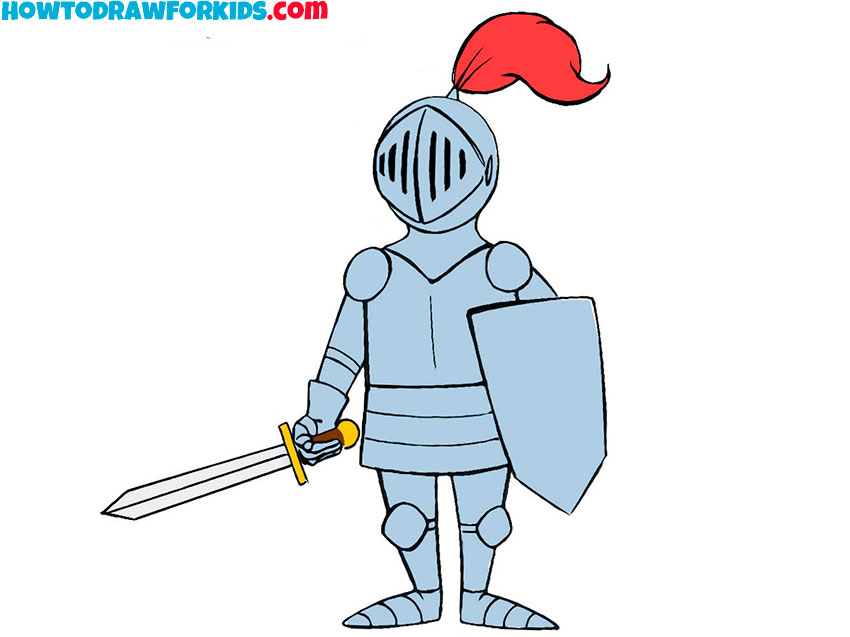
- Color the knight drawing.
Use shades of gray and silver for the armor, blue or red for the plume, and brown or gold for the sword hilt. You can the shield in a contrasting color to make it stand out. Adding shadows and highlights will make the knight look more three-dimensional. Also color the symbol on the shield if you drew it earlier.
How to Draw a Knight: Video Tutorial
Improve Your Artwork
So, this was a lesson in which I tried to show you in 9 super simple steps how to draw a knight for kids. And of course, the learning process is not complete.
So what can you do to improve your knight drawing skills?
- Draw a few more knights in different poses and with different details. This will help you not feel constrained in the creative process.
- Draw the warrior in motion. Let the warrior run, jump, or stand in some heroic pose.
- Add details. This can be either a background in the form of forests, hills and castles, or other characters. This will help the young artist depict not individual objects and characters, but entire scenes.
- Try to draw this warrior in detail. That is, draw a helmet, gloves, weapons, shield, etc. separately. This exercise will help you learn to concentrate on the necessary details.
- And of course, it’s worth trying to portray a knight on a horse or fighting with another warrior.
Additional Content
And of course the free PDF version of this tutorial with all the necessary additions, including the tutorial itself, coloring page, tracing worksheet, and grid worksheet.
Conclusion
The lesson on drawing a knight for kids has come to an end, and it’s time to draw conclusions. What did we learn from this guide?
- Firstly, the young artist learned how to depict warriors clad in armor. This was the main goal after all.
- Additionally, if you completed all the steps successfully and completed additional tasks, then you have improved your skills in drawing plots and characters in motion.
So, don’t forget that you can follow me on social media like Pinterest, Facebook, and YouTube. There you will find tons of additional content and announcements for upcoming articles.


thank you so much
You’re very welcome! Glad you liked this lesson.
it’s not working for me either because we can’t draw
this is cool im 13 and i drew it good
Nice work! It’s great to see young artists drawing confidently.
hello ninjas brother here i like this website can i please have your opinion on it please
Thank you-our whole class was able to draw a knight!
Thank you too! I am always glad that my lessons are useful and interesting, especially for the whole class.
thanks i used this for a musical
That’s great! I hope the drawing worked well for your musical project.
thanks this was soooo helpful (:
I’m glad it helped! Thanks for trying out the tutorial.
hi this was very helpful (:
Thanks, I’m glad you found it useful.