How to Draw a Cute Owl
In this drawing lesson, you will learn how to draw a cute owl step by step. This lesson is sure to please each of you.
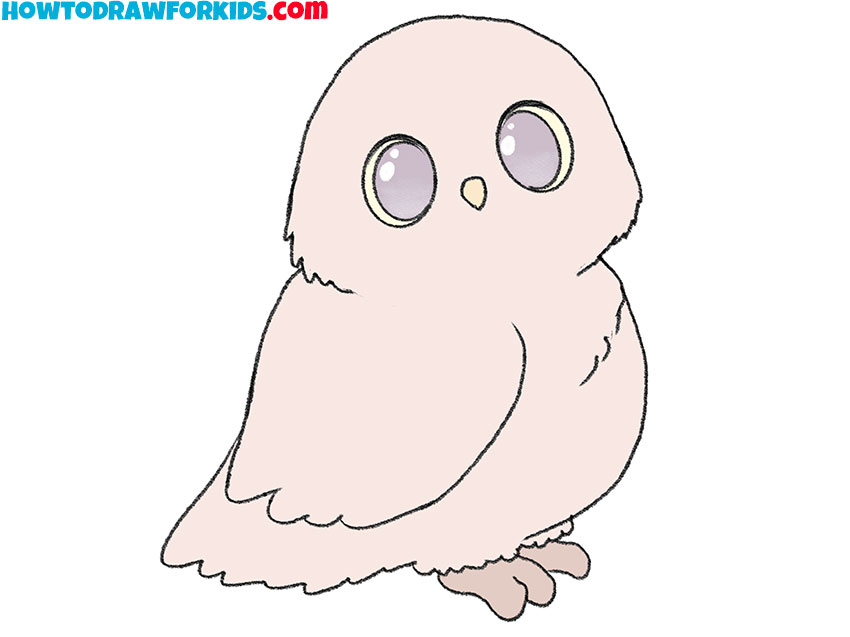
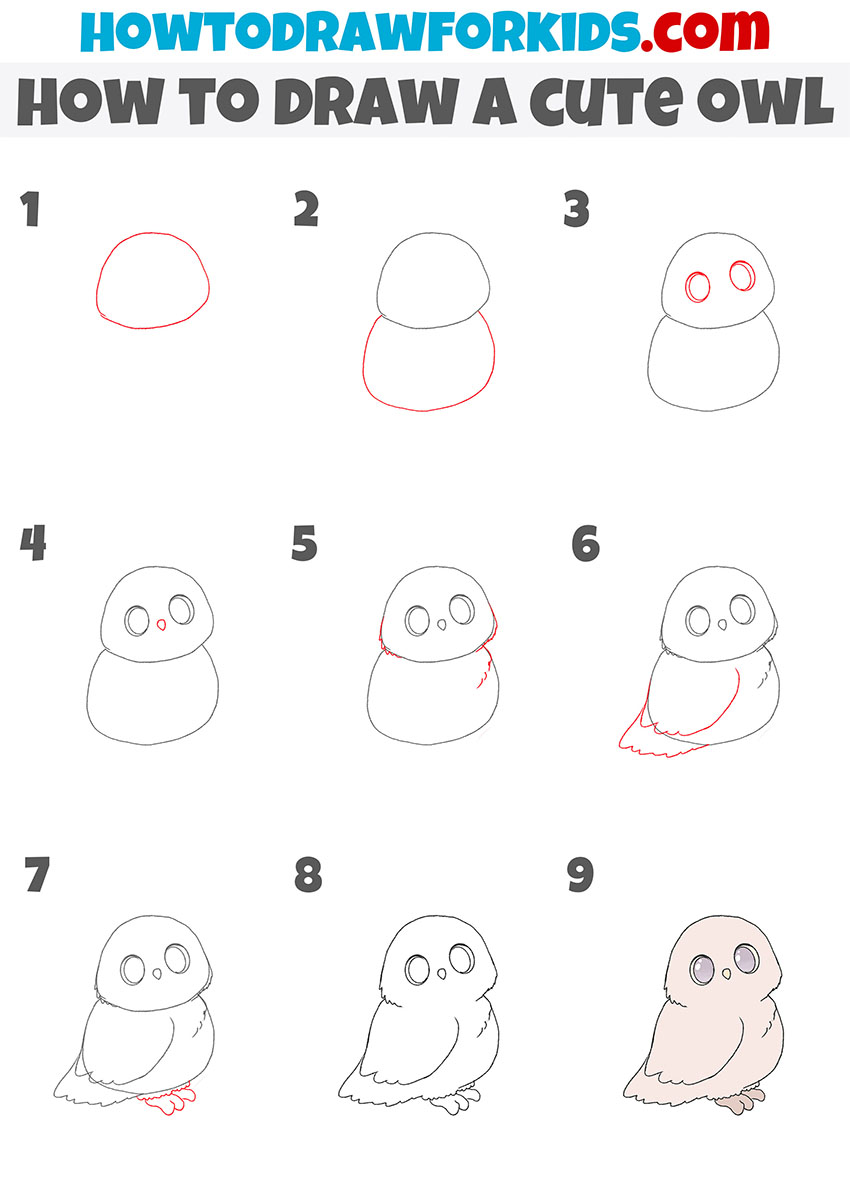
I am glad to offer you an excellent and very useful drawing lesson in which I would like to tell and show you how to draw a cute owl step by step. This instruction consists of nine simple steps and is perfect for beginners and children. Learn how to draw this cute owl in order to depict it in the future against a natural landscape, a tree, a forest, or some other drawing of yours. You can also use this cute bird as the main subject of your drawing.
Owls have a memorable appearance and lead an unusual lifestyle that contains a lot of features. The color of most species contains dark tones, which allows you to go unnoticed at night and makes hunting easier.
I recommend that you prepare the necessary art supplies right now, and then start drawing a cute owl with the help of this instruction. I wish you good luck with this drawing lesson and I hope you get a great result of your work.
Materials
- Pencil
- Paper
- Eraser
- Coloring supplies
Time needed: 30 minutes
How to Draw a Cute Owl
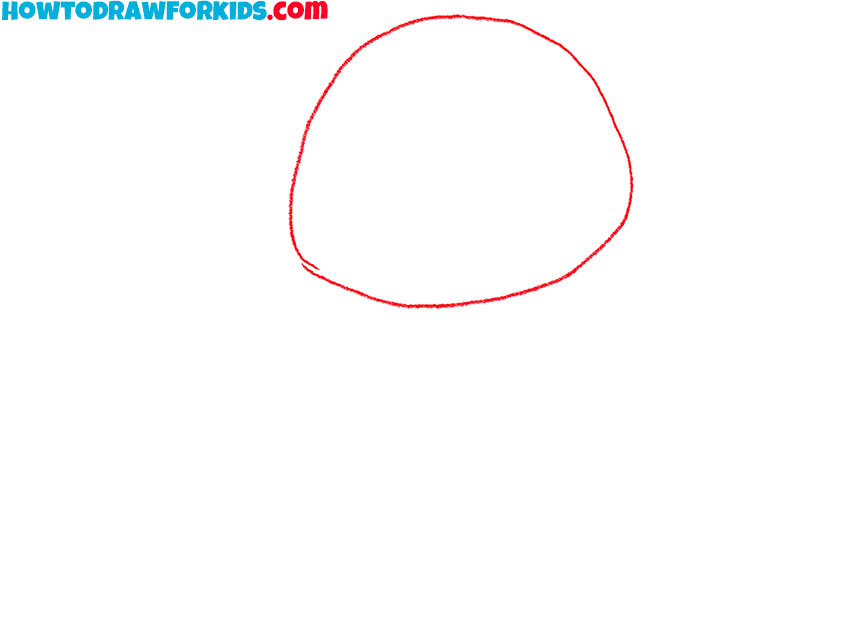
- Draw the outline of the cute owl’s head.
Depict the head of the owl as shown in the picture using one long, curved line.
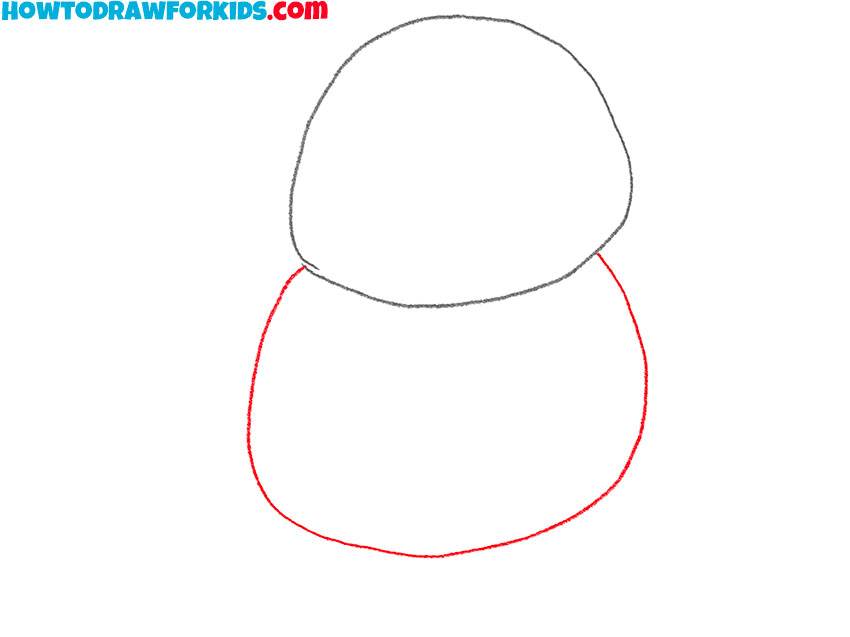
- Add the outlines of the torso.
Below the previously drawn head, depict the torso of the cute owl using another curved line.
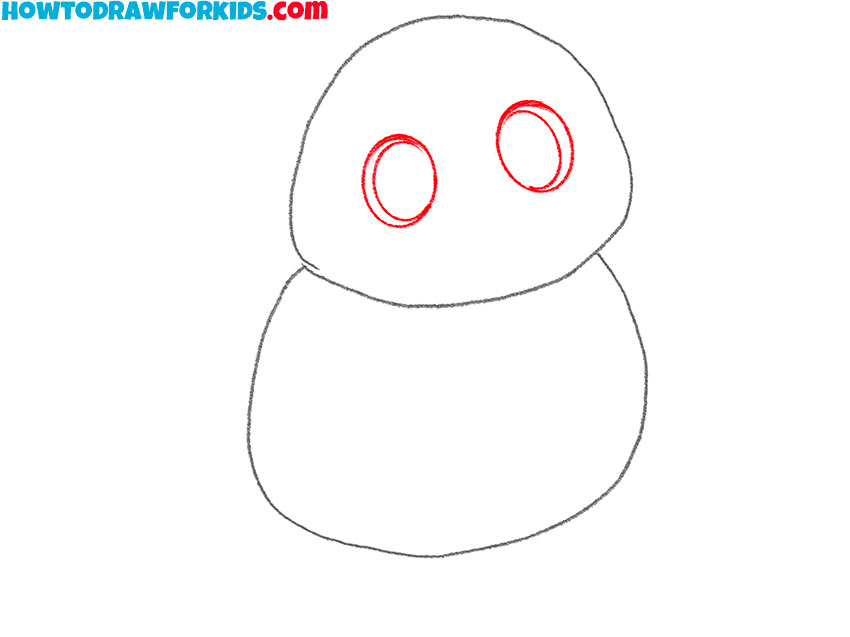
- Depict the eyes.
Inside the drawn head, draw two large identical eyes, using an oval and an incomplete oval.
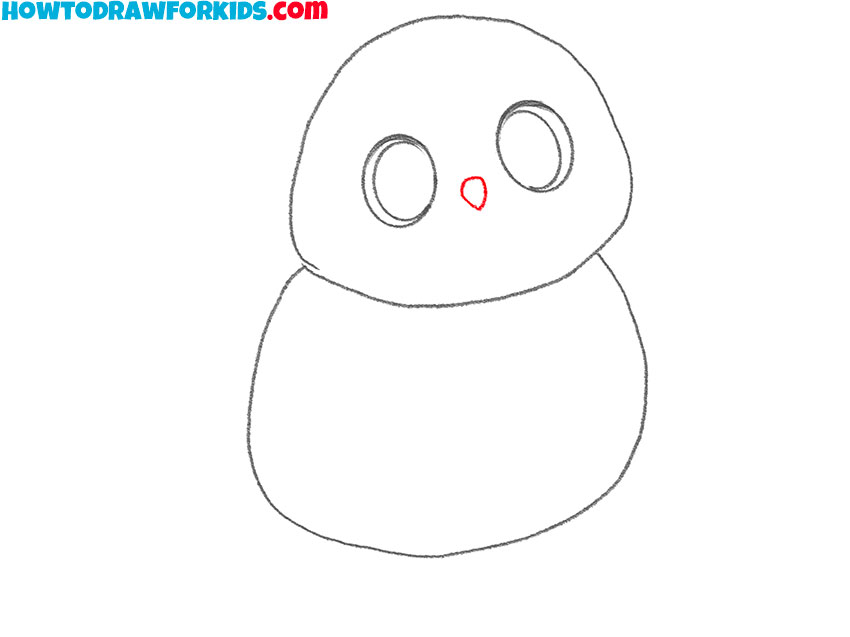
- Sketch out the cute owl’s beak.
Between the two previously drawn eyes of the owl, draw the small beak using a curved line.
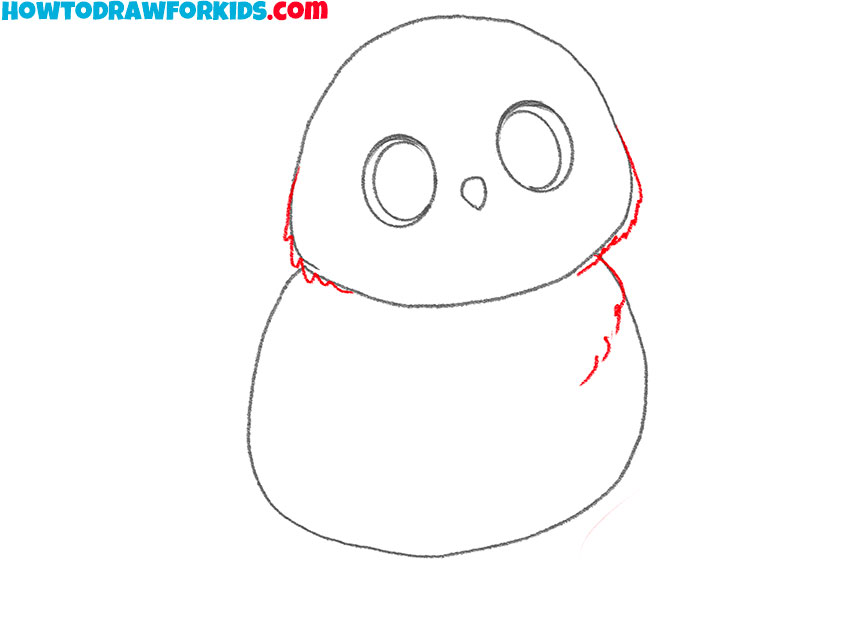
- Draw the plumage.
On the sides of the head and on the right side of the body, draw a few curved and zigzag lines.
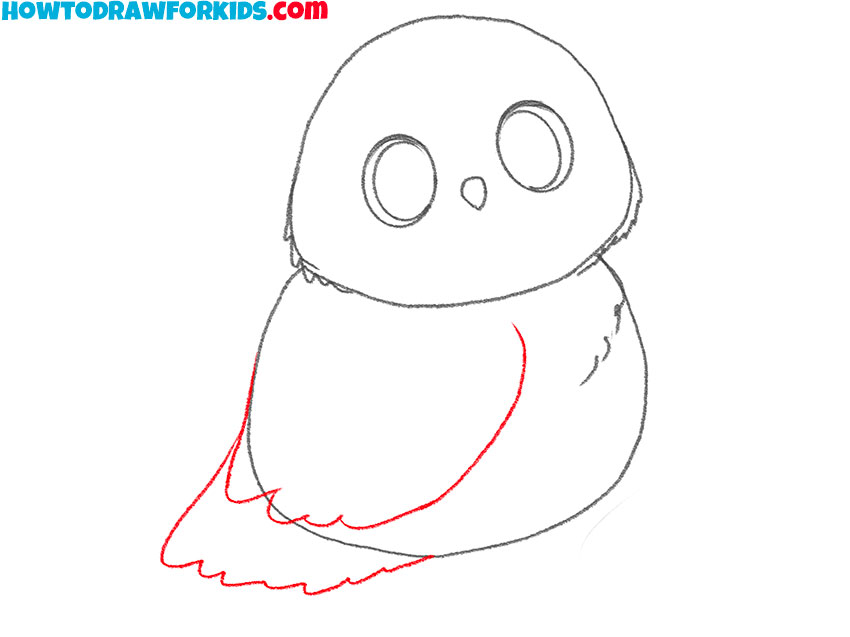
- Add the outlines of the tail and wings of the cute owl.
Draw the tail at the bottom of the torso, and also add the wing a little higher than it.
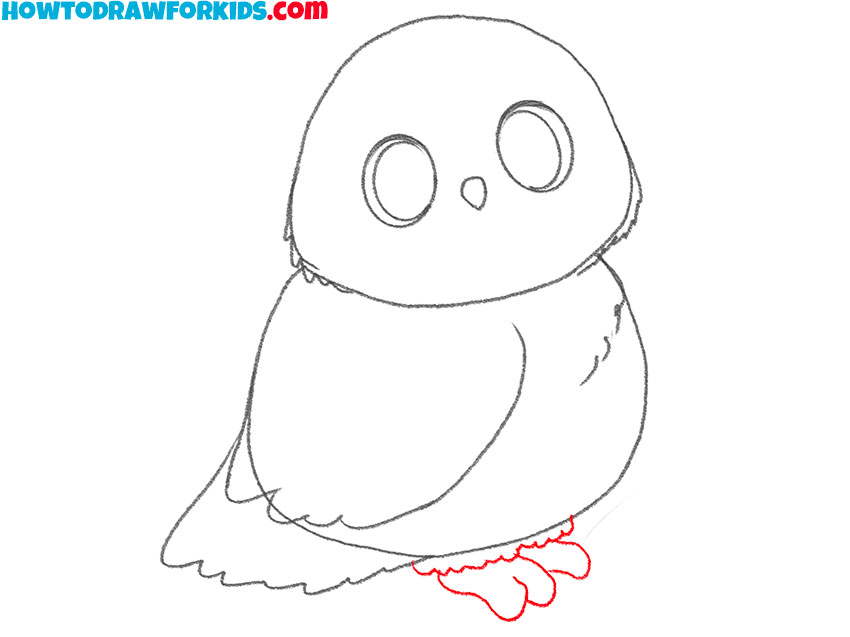
- Depict the paws of the owl.
On the right side of the drawn tail, depict two paws and feathers above them using curved lines.
- Correct inaccuracies.
Use an eraser to remove any extra lines from this drawing and prepare it for coloring.

I also recommend that you become our subscriber on social networks, if you have not subscribed to us yet. Now you can download the PDF file that I have prepared for your convenience. This file contains all the necessary useful materials for this lesson so that you can not lose this lesson in the absence of an Internet connection, and also return to it at any time convenient for you.

