How to Draw a Deer Head
The deer is one of the most noble looking animals, and now we will convey this in a lesson on how to draw a deer head.

Now I will show you how to draw a deer head step by step and help you to train your overkill deer drawing skills. Deer is an amazingly beautiful artiodactyl animal.
The main feature of this animal is its large branched horns. Every year a deer sheds its antlers and then grows new ones.
Very often, the image of a deer is associated with the onset of the Christmas or New Year, and various attributes are used on this holiday, where the image of a deer is present.
In the picture, the deer head is presented in a cartoon style and looks very cute. This step by step guide will help you draw a deer head easily and quickly. Simple shapes and lines will be used here, which you can easily repeat.
Materials
- Pencil
- Paper
- Eraser
- Coloring supplies
Time needed: 25 minutes
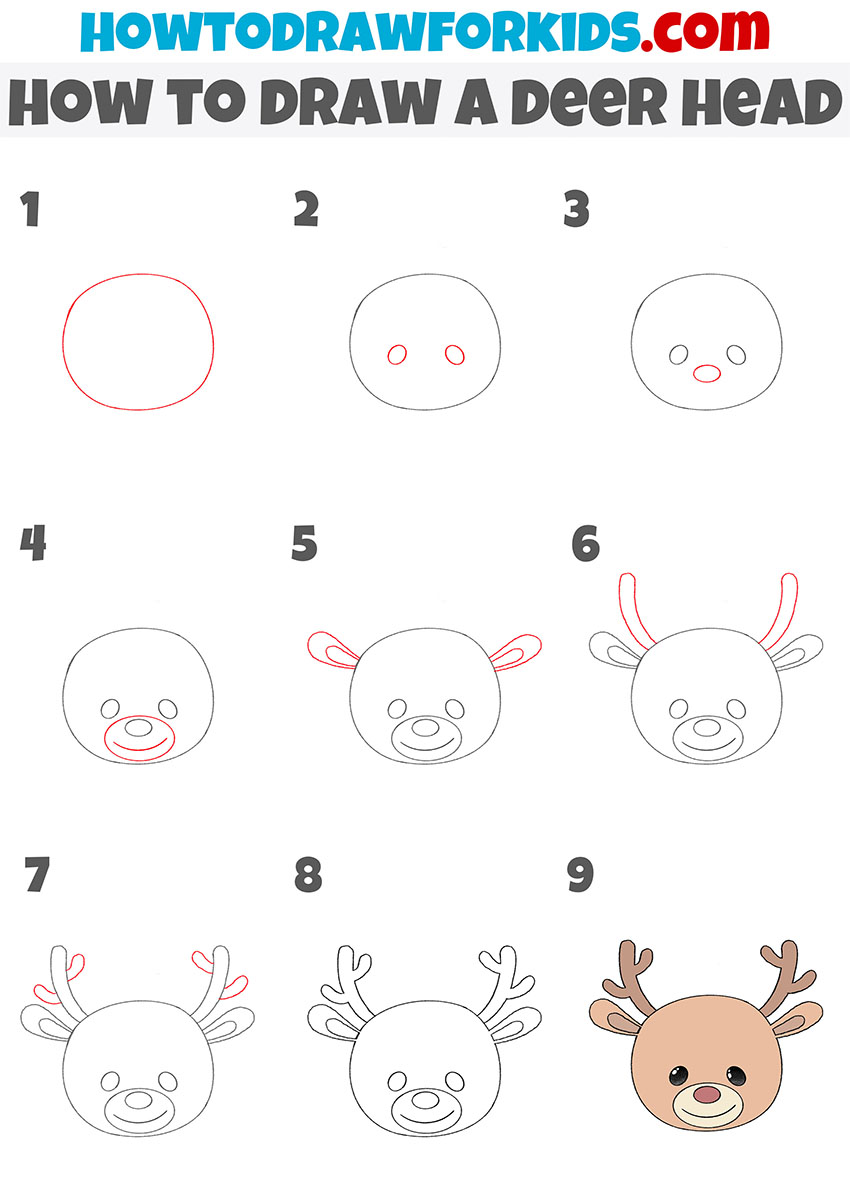
How to draw a deer head step by step
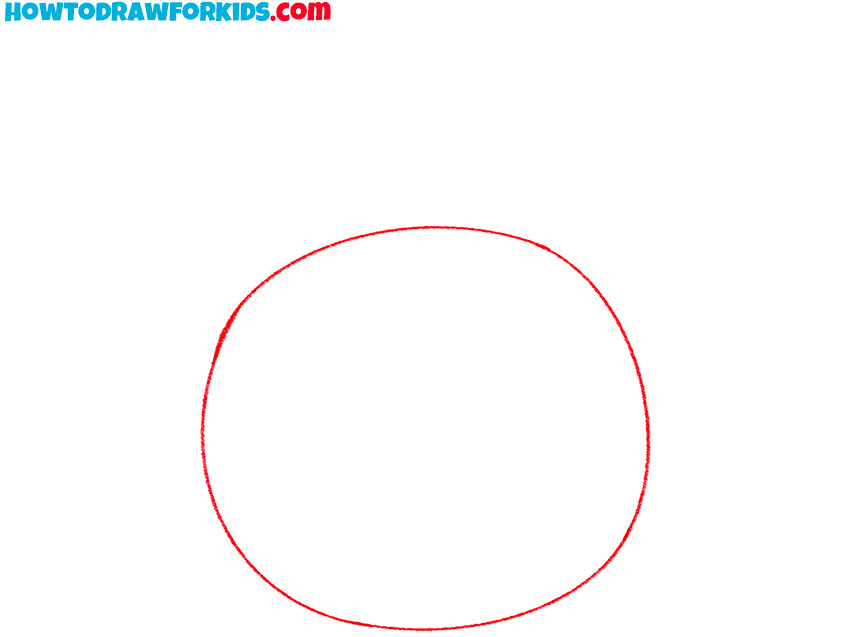
- Sketch the main shape for the head.
To place the deer head correctly on the page, start with a simple shape that fixes proportion and orientation. Sketch a wide, rounded oval for the head of the deer, checking that the left and right sides feel symmetrical. If you prefer a younger look for the face of a deer, enlarge the width of the oval a little.
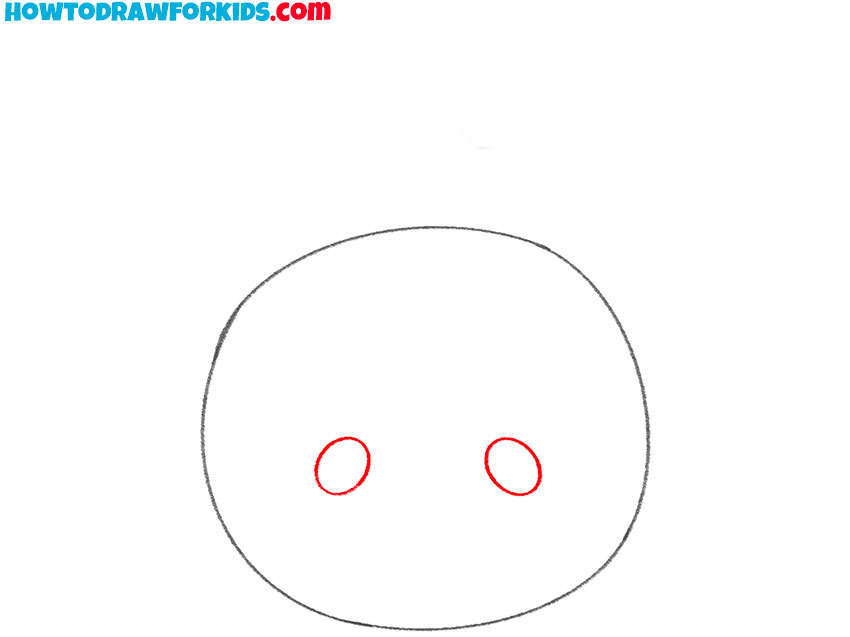
- Sketch two round eyes on the face.
Draw two small, even circles inside the deer head to indicate the eyes. Sketch the circles a touch above the midline. Outline each eye with the same pressure so they match in weight. If you want a baby deer (fawn) feel, increase the eye size slightly and bring them a bit lower.
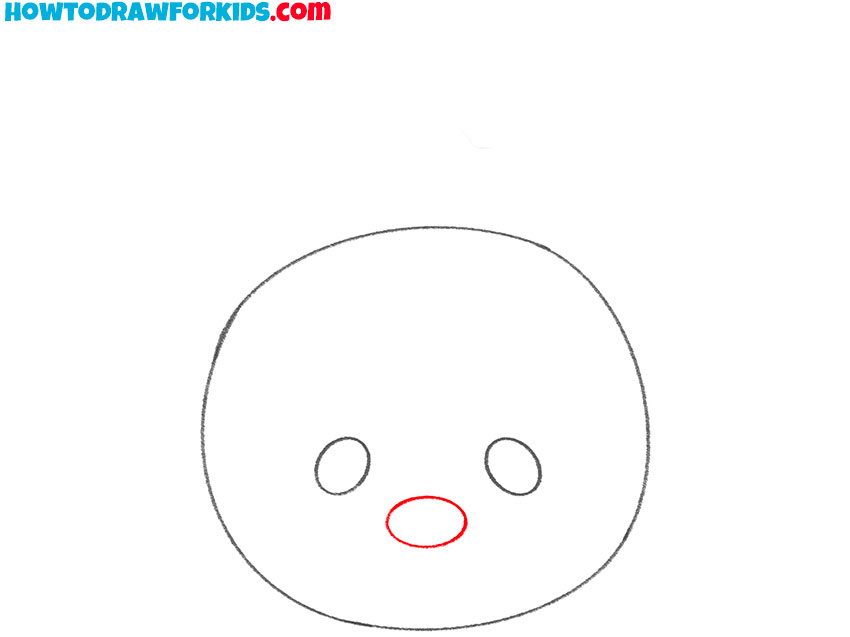
- Draw the small nose on the deer’s face.
To define the snout and breathing area, block in the nose before the mouth. Draw a small horizontal oval centered below the eyes. To make this part centered, you can lightly outline a short vertical axis through the oval. You can adjust the nose position until the spacing from eyes to nose feels even.
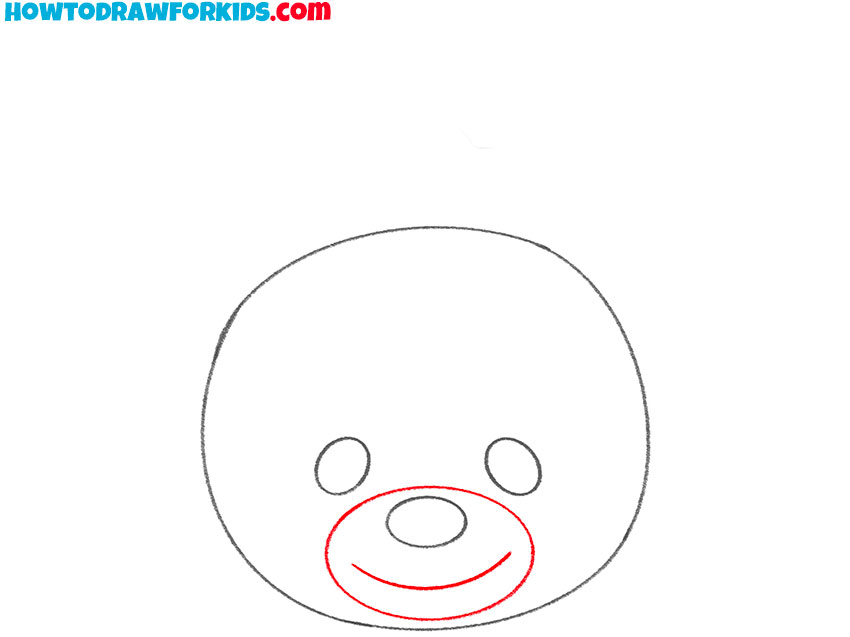
- Add the mouth and outline the muzzle.
To give the deer face area a complete look and readable anatomy, enclose the snout. Draw a long, shallow smile curve that sits just under the nose. Then, outline a larger oval around the nose and mouth to form the complete muzzle pad.
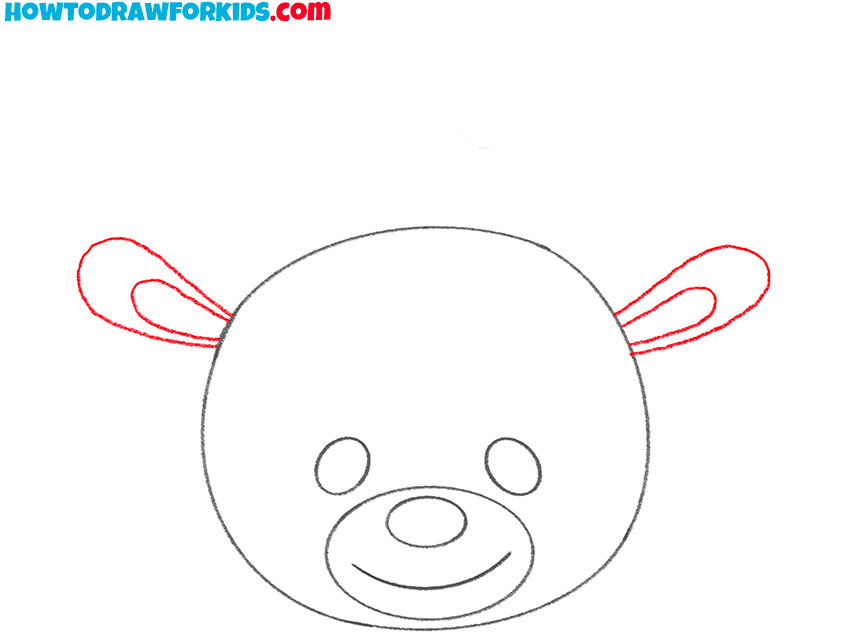
- Sketch the ears on the sides of the head.
From each upper side of the head, sketch a smooth ear. Try to make both ears similar in size but allow tiny asymmetries so the deer head drawing stays natural and believable. Inside each ear, draw a smaller inner-ear shape that follows the outer contour.
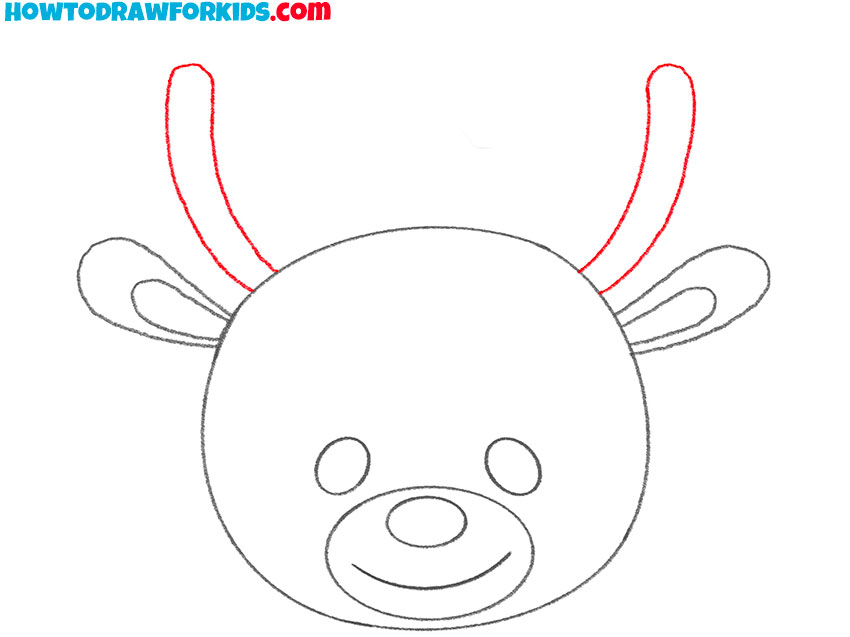
- Draw the main beams of the deer antlers.
From the crown area, draw two tall, smoothly curving beams that rise and arc. Keep their thickness consistent at the base and taper gradually toward the tips. Ensure both antlers reach roughly the same height so the deer head stays symmetrical.
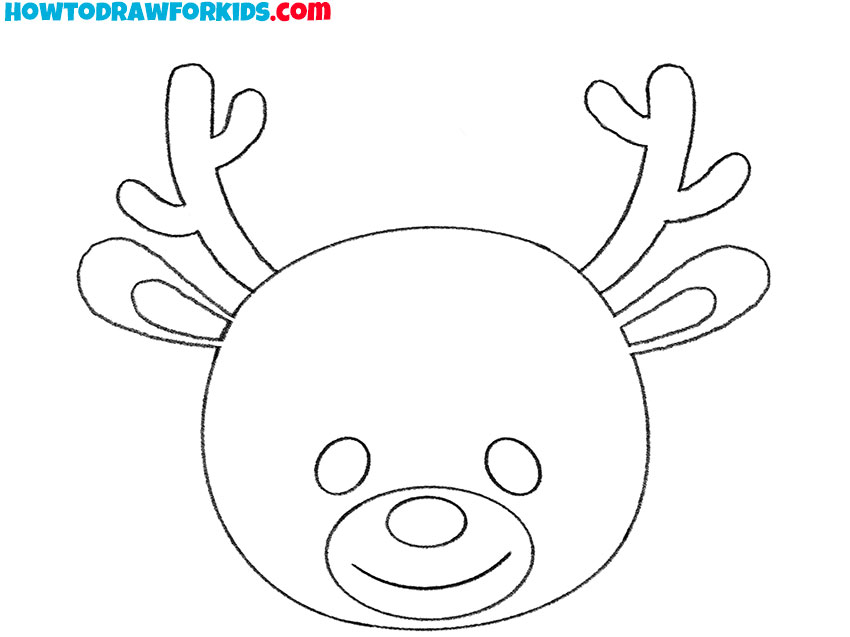
- Sketch the smaller antler branches.
Draw two to three smaller branched prongs that grow upward or to the sides from the main beams, spacing them irregularly. Vary lengths: one short, one medium, one longer. Keep all tines smoothly fused into the beam with rounded junctions. Mirror the overall count left to right without making them identical so the deer drawing looks organic.

- Refine and clean the animal face outline.
To give the deer face drawing a finished look, remove any unnecessary construction lines or overlapping marks from first steps. Try to keep the important shapes neat and consistent, to give the sketch a polished look. This prepares the sketch for the final coloring step.
- Add warm brown tones to the deer face.
Add warm brown tones to the main part of the deer head and slightly lighter shades for the muzzle area. Color the inner ears of the animal in a soft pink and make the antlers a darker brown. The eyes should be black or dark brown with small white highlights.

It was a simple lesson in which you learned how to draw a deer head. By tradition, I have prepared a PDF file with a short version of the lesson for your convenience. Download the file and use it when you want to return to this lesson.

COOOOOL