How to Draw a Drum
Music and visual art share much in common, and in this lesson we connect the two as you learn how to draw a drum and sticks.
How to Draw a Drum: Introduction
I prepared a new lesson on how to draw a drum. This is a popular shock tool that has a big story. In all parts of the globe, drums are used during ritual rituals or military processions. Currently, the drum is used as part of many musical ensembles.
The drum has a cylindrical shape. The sound is extracted using a wooden wand over the drum surface. The hull of the drum can be made of various materials – from wood, plastic, or metal. The leather or plastic membrane is stretched from above. In the picture, you see that the drum is beautifully decorated and has bright colors.
Do not worry if you have never previously draw this musical instrument. The lesson is built in such a way that any child and a novice artist will draw a drum easily and quickly.
Drum Drawing Tutorial
Materials
- Pencil
- Paper
- Eraser
- Coloring supplies
Time needed: 25 minutes
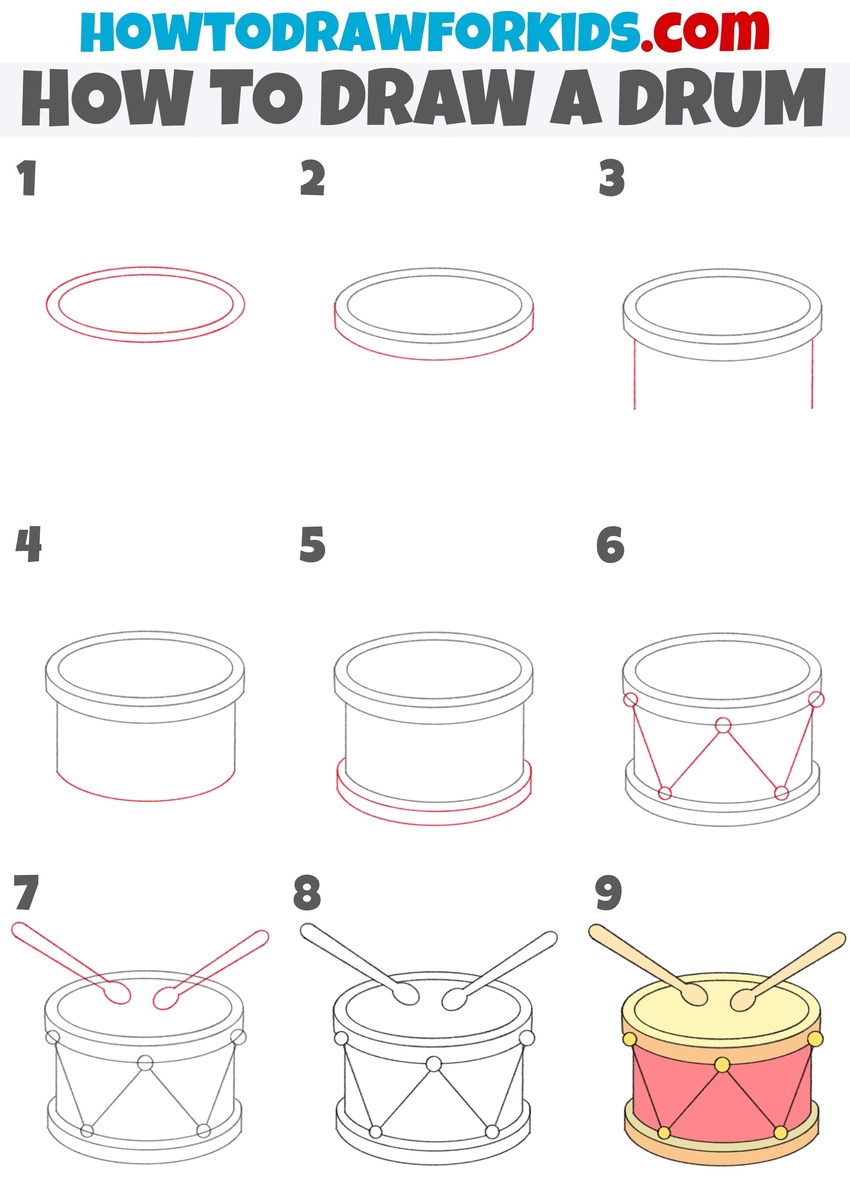
How to Draw a Drum
- Sketch the drumhead outline.
To create a realistic drum, it helps to begin with the surface where the sound is produced. To do this, sketch a smooth horizontal oval. Pay attention to symmetry because any distortion here will affect the rest of the drawing. Think of it as looking down on a circular object at an angle.
- Draw the top band of the drum.
The upper rim needs to be shown as a solid edge, so draw a smooth half oval shape below the upper surface from the previous step. Connect them along the sides with short straight lines. This simple action makes a thin band that indicates the thickness of the drumhead frame.
- Draw the vertical edges of the drum.
To show the body of the drum, draw two vertical lines downward from each side of the oval. Keep them parallel to maintain the symmetry of the cylinder. The length of these lines will determine the height of your drum.
- Complete the bottom edge.
Since the drum is cylindrical, the curve of the bottom should mirror the curve of the top in shape. Connect the two vertical sides from the previous step with a smooth curved line that follows the same arc as the top oval. This line represents the bottom edge of the body.

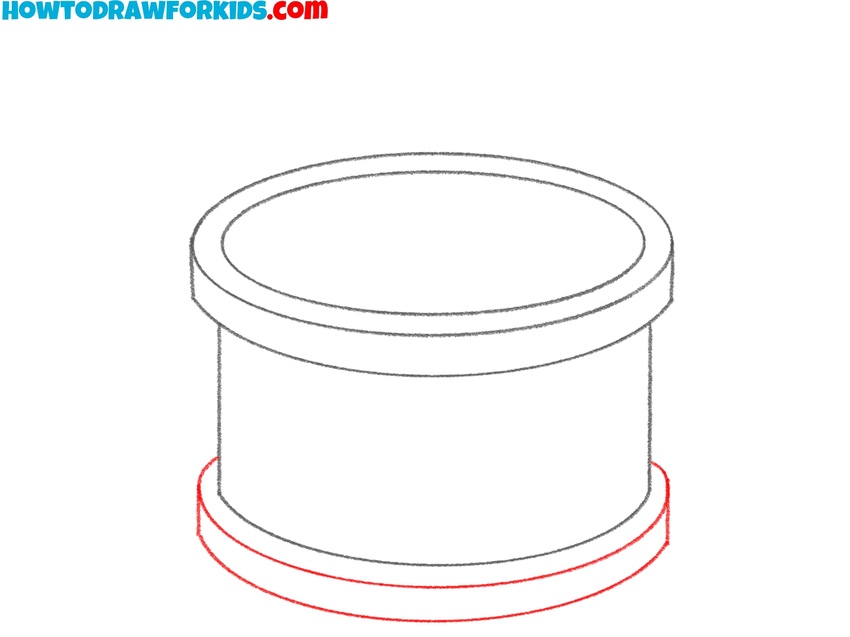
- Draw the drum’s lower rim.
Just as the top had a rim, the bottom of your drum needs one too for symmetry. To do this, draw another set of curved lines parallel to the top curve. At this point, your drum risk should look like a cylinder with a voluminous top and bottom edge.
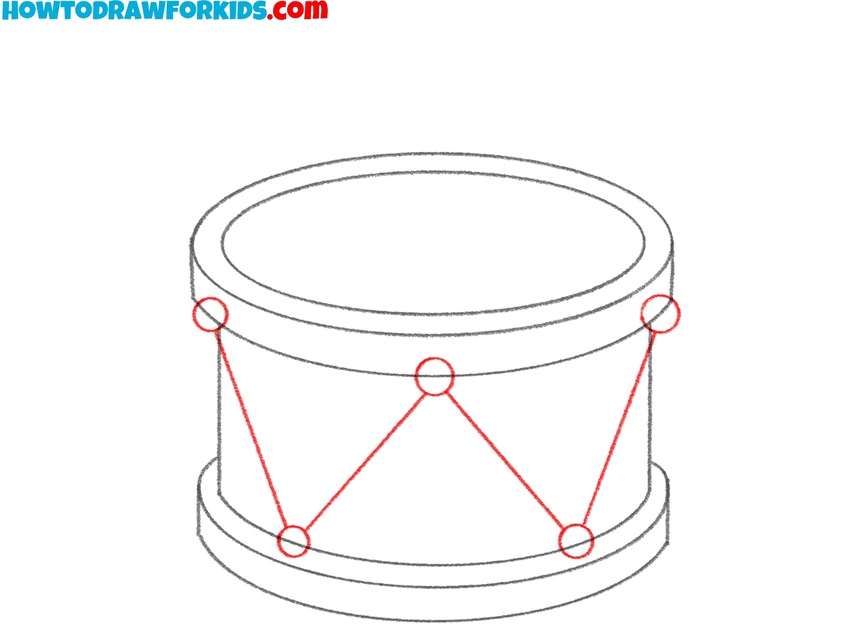
- Sketch the tuning points and tension cords.
Most drums have ropes or lugs that hold the drumhead tight. Sketch small circles around the top and bottom sides for attachment points. Connect these with diagonal lines to form a crisscross pattern. These lines should be symmetrical and clean.
- Add the drumsticks above the top.
To complete the scene, place two drumsticks above the drum. Sketch them as long narrow rectangles with rounded ends. Position them at angles so they look natural. Overlapping the sticks slightly with the drumhead helps integrate them into the drawing and create a complete composition.

- Erase construction lines from the drum and sticks.
Before coloring, it’s important to clean up the sketch. Trace over the main lines of the drum and drumsticks with a darker pencil or pen, removing extra guidelines. Double-check the rope pattern for symmetry and fix any uneven points.

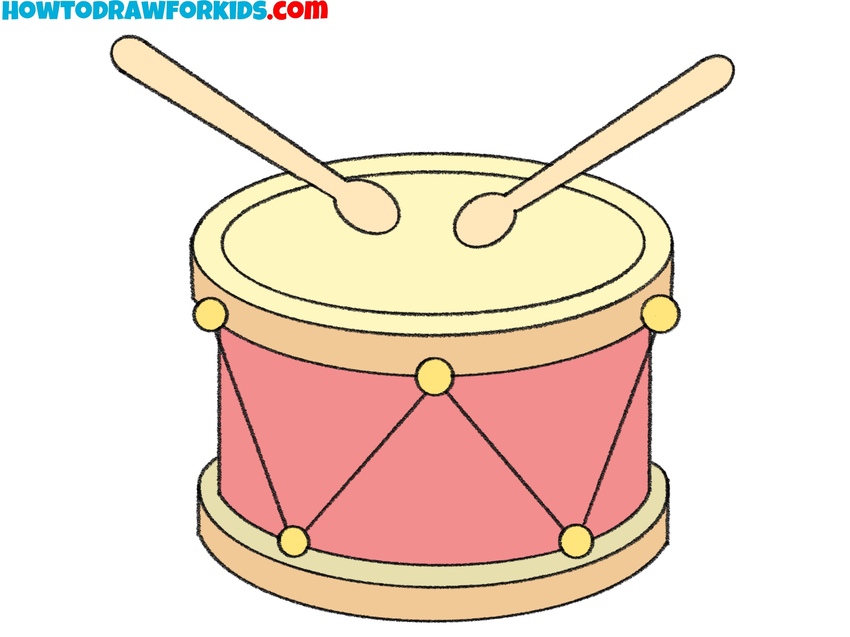
- Color the drum and sticks.
To complete your drum drawing, add a bright red or another simple color to the body, and use a lighter shade, such as beige or yellow, for the drumhead. The rims can be shaded with gray or gold tones. The drumsticks can be filled with light brown to resemble wood.

Bonus: Easy Drum Drawing Tutorial
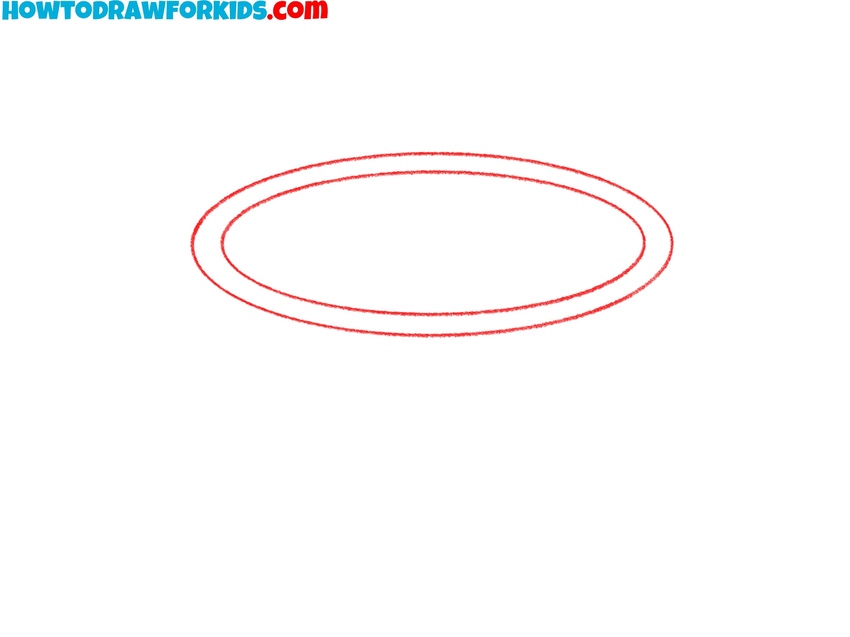
Continuing the theme of percussion instruments from the main tutorial, this additional tutorial on how to draw a drum shows a simplified variation with a very simple cylindrical body.
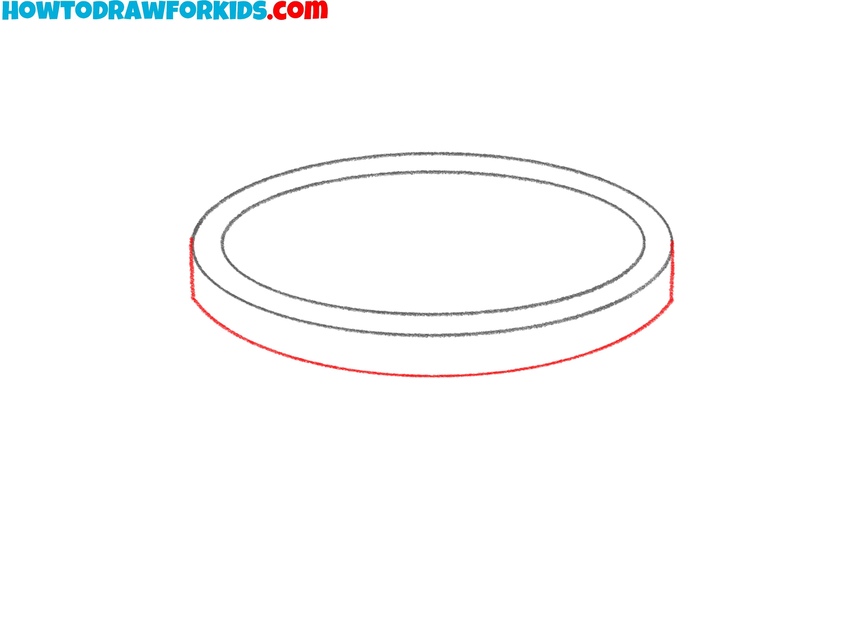
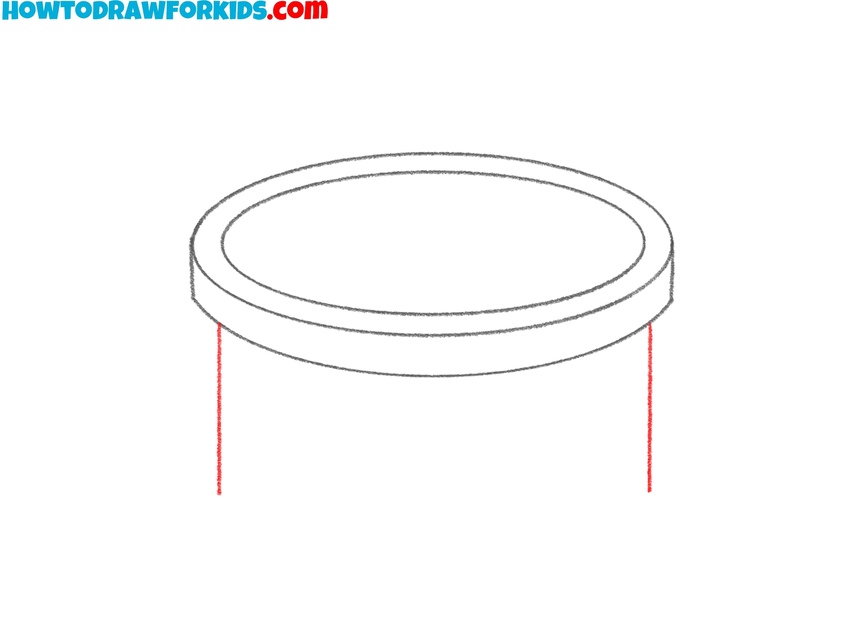
To make the drawing look professional, outline the top of the drum with two ovals placed one inside the other. Extend straight vertical lines downward to define the sides, then close them with a smooth curved line to create the bottom edge.
Illustrate the lower rim with another curved band. Add small circles for the rope lugs and connect them with diagonal lines to represent the tension ropes in a zigzag arrangement. Position two drumsticks at the top.
Finally, add color, making the head a light shade and the body in a darker tone.

Conclusion
To continue with related topics, you can check the violin drawing tutorial for more practice with different objects, or the guitar drawing tutorial to work on a more complex shape.
Now you know how to draw a drum in two methods. I hope you did a good job with this task and are happy with the result. Share your finished work, leave a comment, and keep practicing with new tutorials. Also, you can write what musical instruments you would like to draw in the next lessons.