How to Draw a Field
In this lesson, you will learn how to draw a field. The instruction is very simple and includes only five steps in detail.
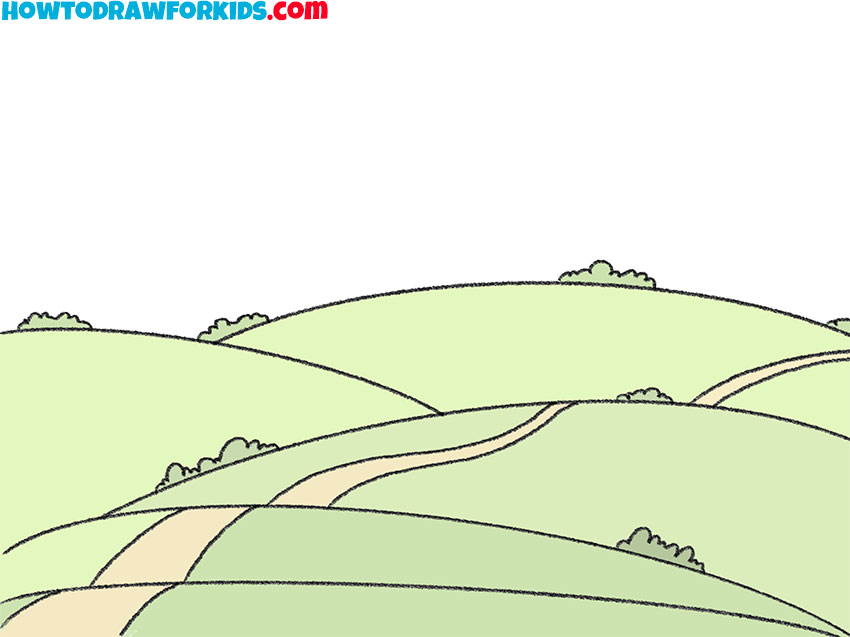
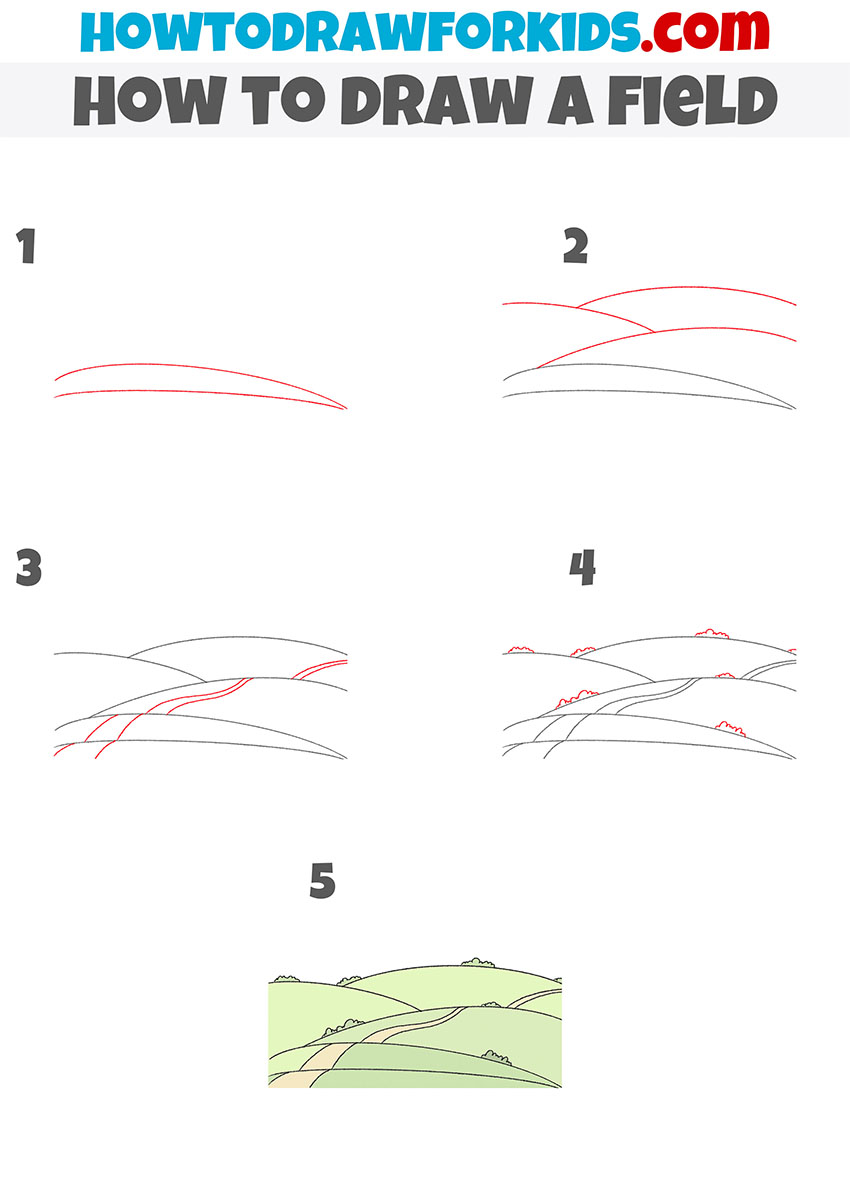
I bring to your attention a fascinating lesson in which I will show you how to draw a field step by step. In this picture, you see a wide field that has small bushes. The road runs through the field. Please note that the road is not a continuous strip, but is divided into several sections.
You see only those areas that are located on the hills. Sections of the road that are closer appear wider, while sections of the road that are far away appear as narrow lanes. Consider these features when you draw any landscape.
In this lesson, you will acquire useful skills that will definitely come in handy in the future when creating new drawings. Consistently follow all the steps in this instruction and carefully draw the lines that are marked in red. Grab your art supplies and get to work.
Materials
- Pencil
- Paper
- Eraser
- Coloring supplies
Time needed: 30 minutes
How to Draw a Field
- Draw the part of the field that is closer.
Depict two smooth curved lines at the bottom of the drawing.

- Add the part of the field that is further away.
Depict some more smooth curved lines as shown in the example.

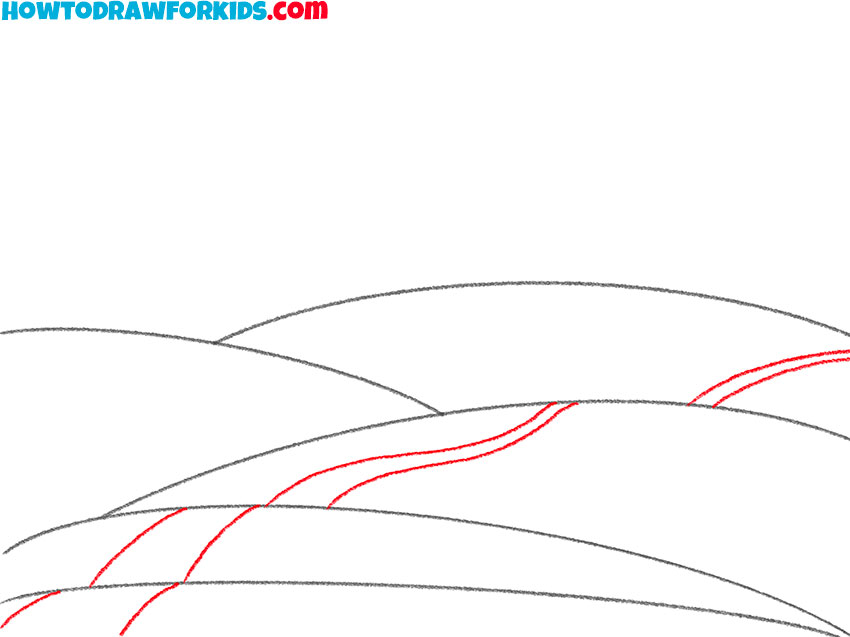
- Sketch out the road.
With the help of several smooth lines, depict sections of the road.
- Sketch out the green spaces.
With the help of a jagged wavy line, depict several bushes in different parts of the field.

- Color the drawing.
For coloring, you will need different shades of green and light brown.

By tradition, I prepared a PDF file for you in advance, in which you will find all the necessary information about this lesson. Download the file so that the lesson is available to you at any time, and you can repeat it if necessary.


