How to Draw a Fork
In this tutorial, I will show you how to draw a fork. You have to follow eight simple steps to get new useful skills.
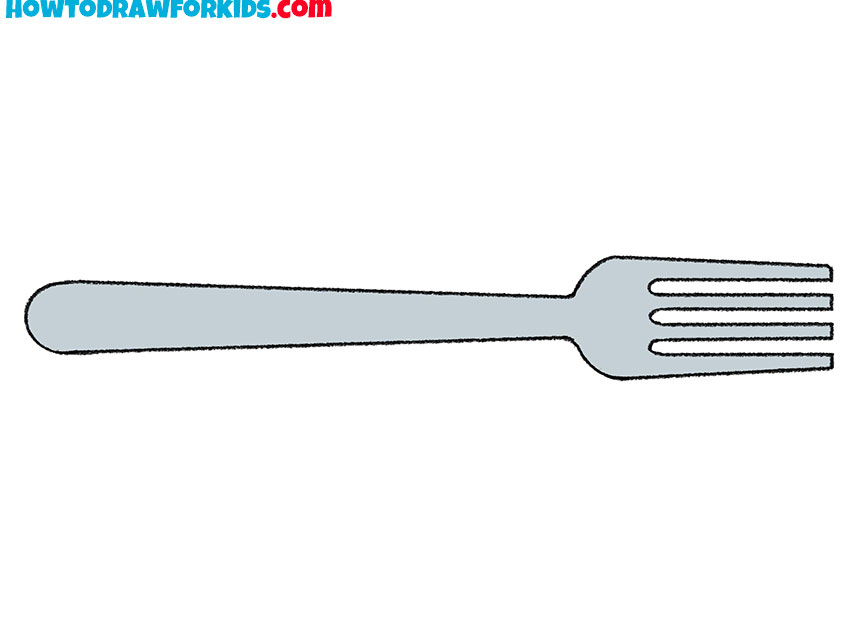
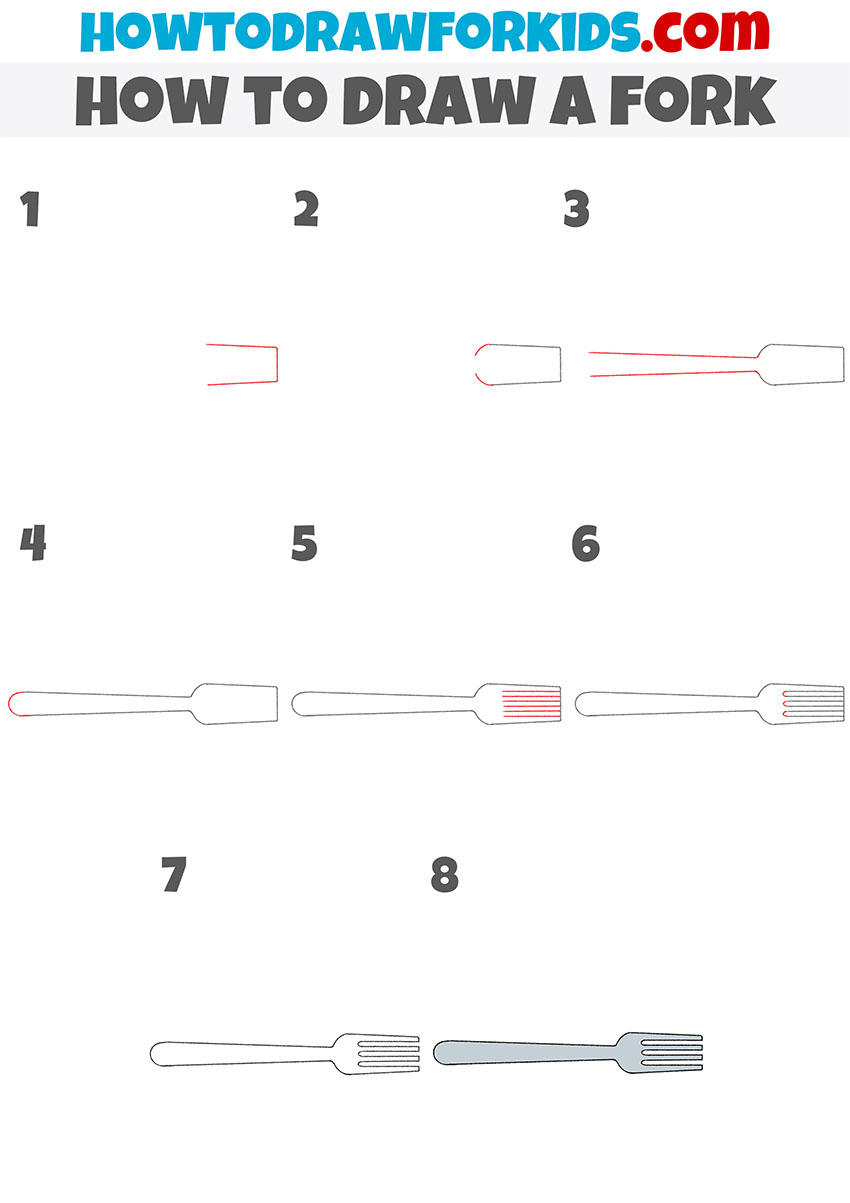
I have prepared a simple step-by-step guide that shows you in detail how to draw a fork step by step. Today, the fork is considered an indispensable attribute on the dining table.
The fork consists of a handle and several narrow prongs at one end. Usually there are three or four teeth, much less often there are two teeth. The fork makes it easy to pick up solid food.
The figure shows a standard fork that has four prongs. With the help of a simple instruction, you will quickly and easily draw this cutlery. Make sure all teeth are the same size.
Materials
- Pencil
- Paper
- Eraser
- Coloring supplies
Time needed: 20 minutes
How to Draw a Fork
- Draw the outline of the front of the fork.
Depict three straight lines to get a figure of the same shape as in the example.

- Add a transition to the narrow part of the fork.
To do this, sketch out two small rounded lines on each side.

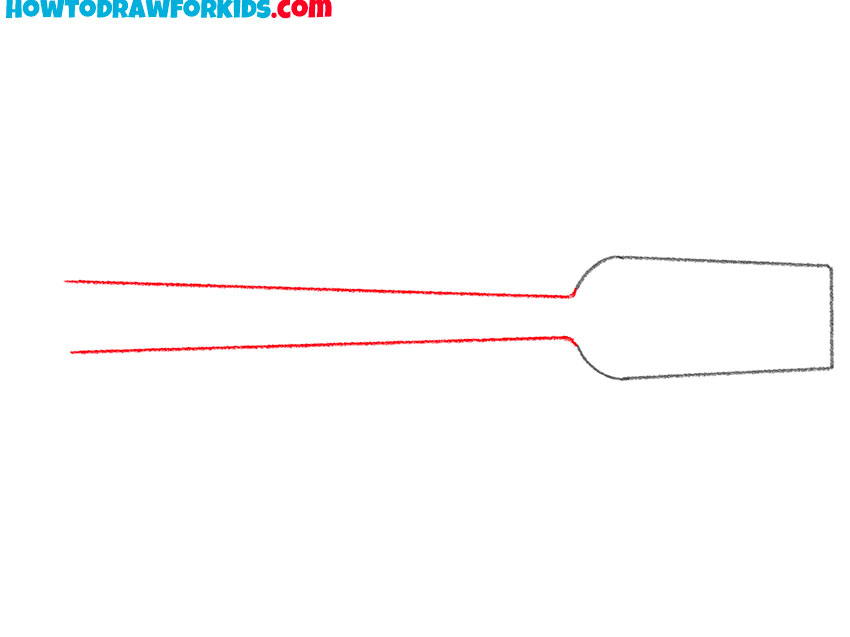
- Depict the handle.
Draw two straight lines.
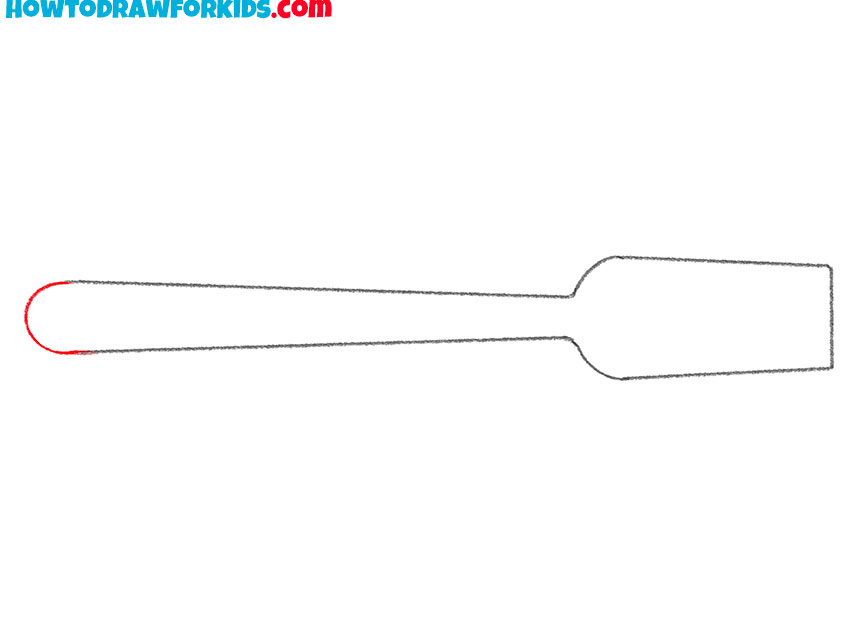
- Draw the end of the fork.
Sketch out a rounded connecting line to make a closed path.
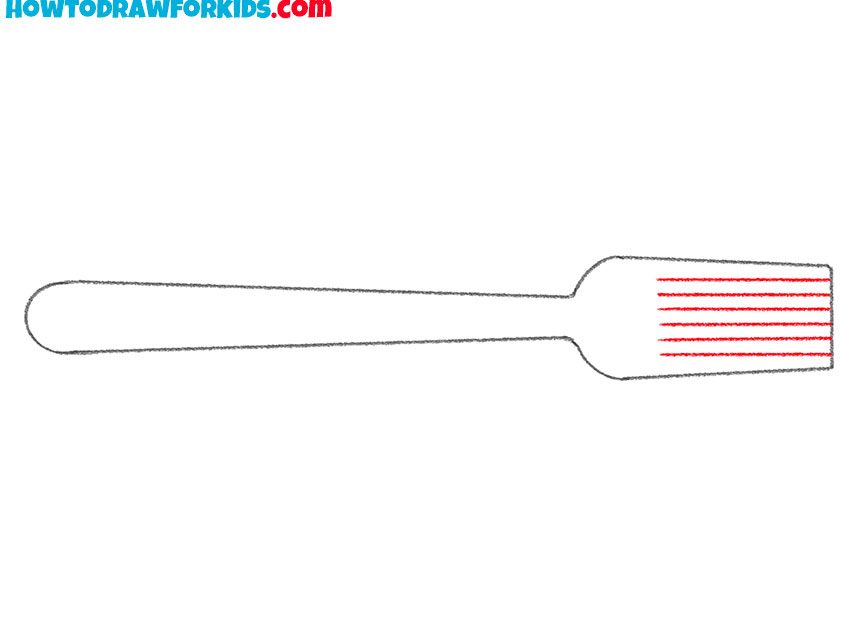
- Sketch out the teeth.
Sequentially, draw six straight parallel lines.
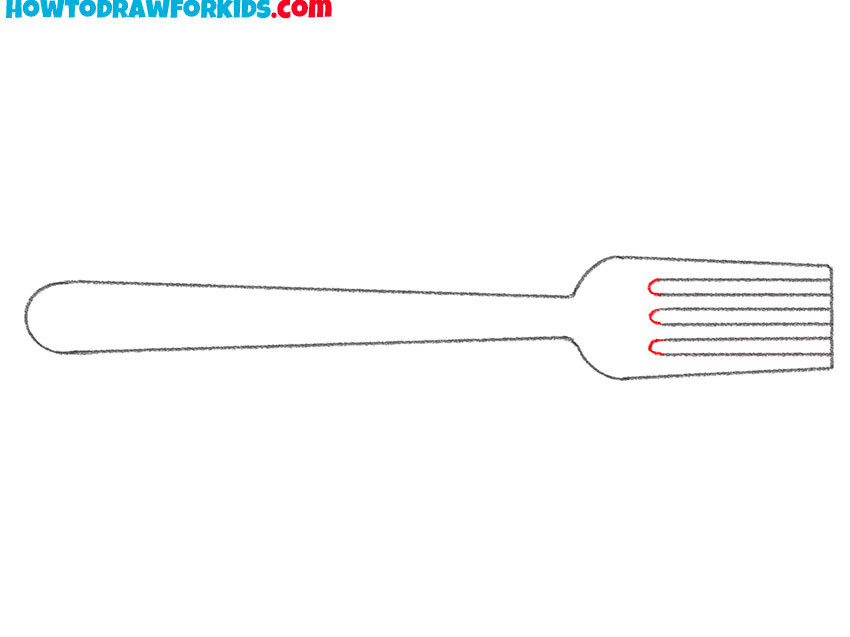
- Detail the teeth.
Draw small connecting lines to separate the teeth.
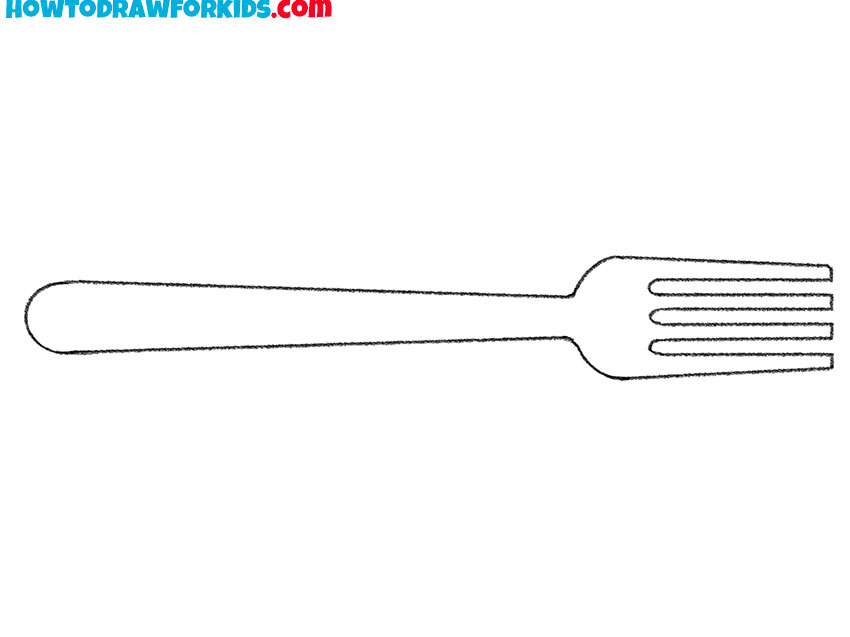
- Correct inaccuracies.
Carefully remove all extra lines in the drawing.
- Color the fork.
At this stage, use a light gray.

Excellent! Now you know how to draw a fork step by step. Hope you get a great drawing. I would be interested to know your opinion about this tutorial, and I will be glad if you leave a little feedback in the comments. At the same time, write down what other objects you would like to draw.
You can now download the short version of the lesson as a free PDF file. Thus, you can return to the lesson and repeat it at any time, even if the Internet is not available to you.

