How to Draw a Girl
In this tutorial I will demonstrate you how to draw a girl step-by-step, and also show you an additional method to improve your skills.

How to Draw a Girl: Basic Information
Drawing the human figure, as well as creating facial portraits, is a fundamental skill that every artist should master. Moreover, an artist should be capable of drawing both adults and children, as well as both girls and boys.
In this tutorial I will show you how to draw a girl using very simple techniques and a minimalistic cute style. Through nine simple and fundamental steps, we will cover everything an artist needs to know to depict a girl.
Furthermore, I will share with you some subtle techniques and tips that will make your drawing of a girl even more interesting.
Moreover, at the very end of the tutorial I will demonstrate an additional, more detailed way to draw a girl. This will help you consolidate the acquired skills and master an alternative technique for drawing a figure.
Girl Drawing Tutorial
Materials
- Pencil
- Paper
- Eraser
- Coloring supplies
Time needed: 50 minutes
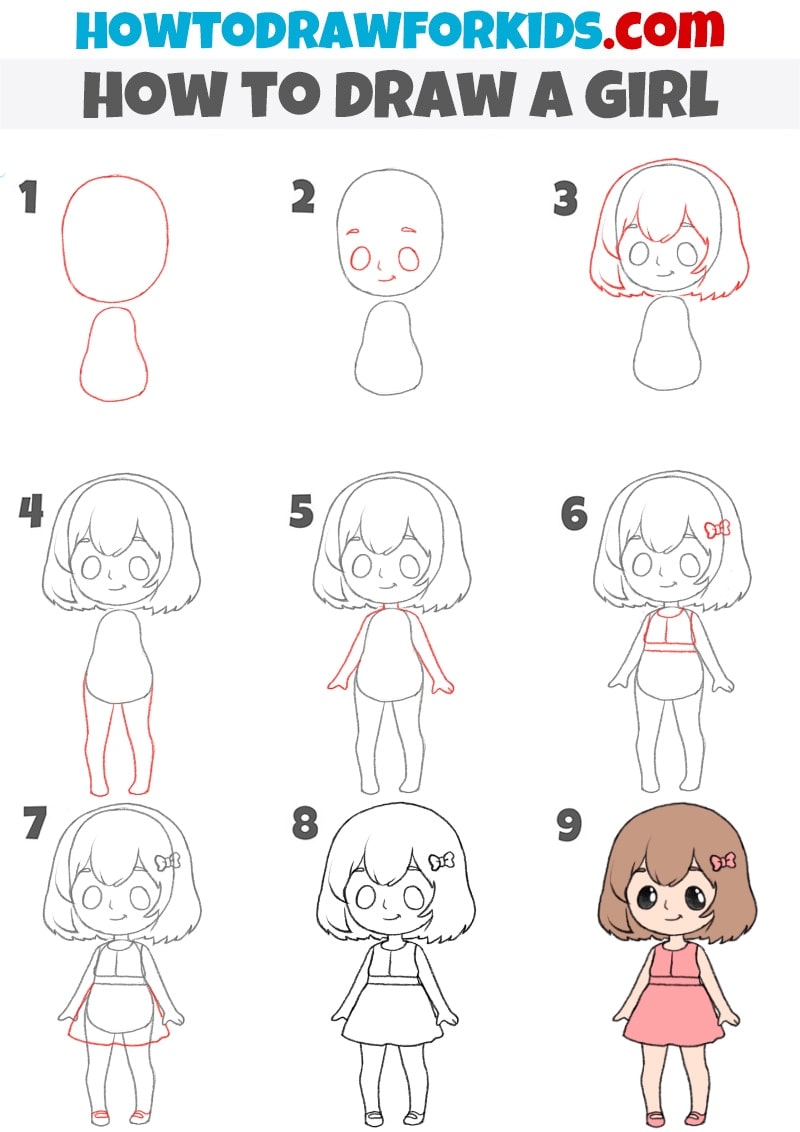
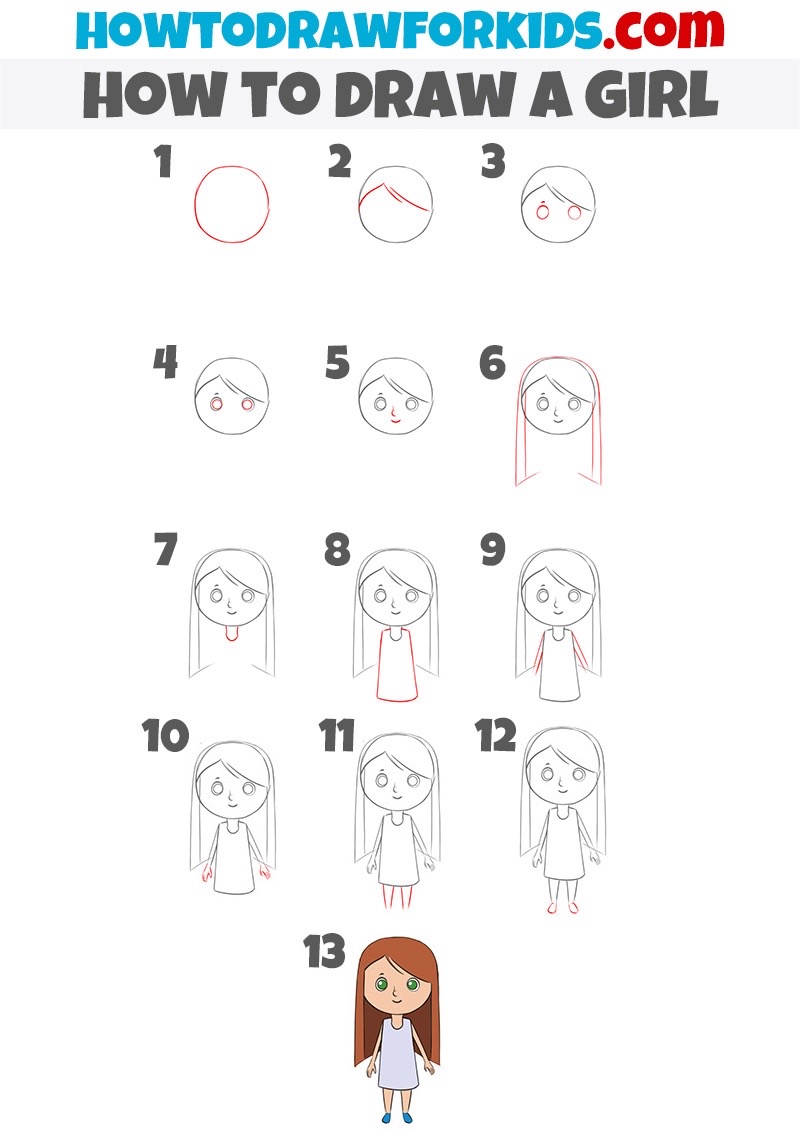
How to Draw a Girl Step-by-Step
- Draw the basic shapes.
Begin by sketching the foundational shapes for the girl’s head and body. Draw a large oval for the head, ensuring it is slightly rounded at the top and tapers a bit towards the chin. Below the head, draw a smaller, bean-like shape to represent the body.

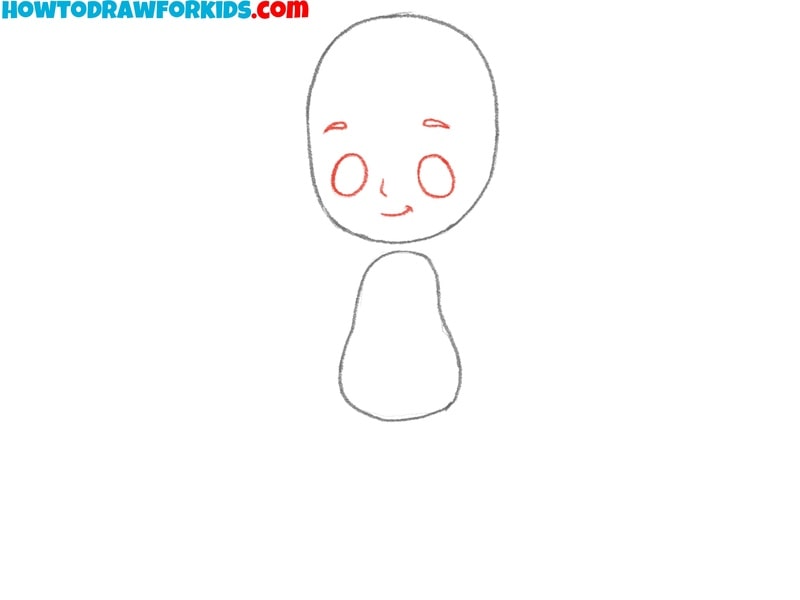
- Draw the facial features of the girl.
Draw two small circles for the eyes, positioned symmetrically across the middle of the face. Below the eyes, add a small, curved line to form the mouth. Then, place two tiny lines above the eyes to indicate the eyebrows, slightly curved for a gentle expression. Finally, add a slight curve for the nose.
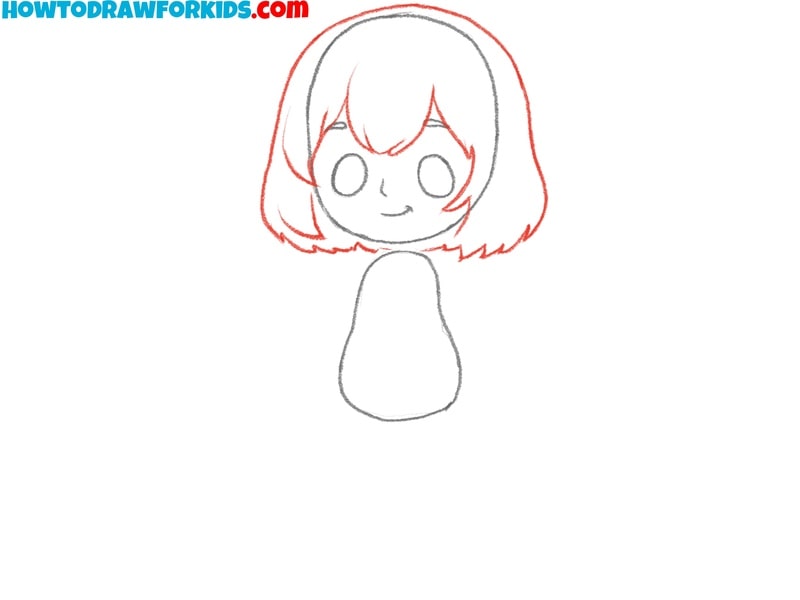
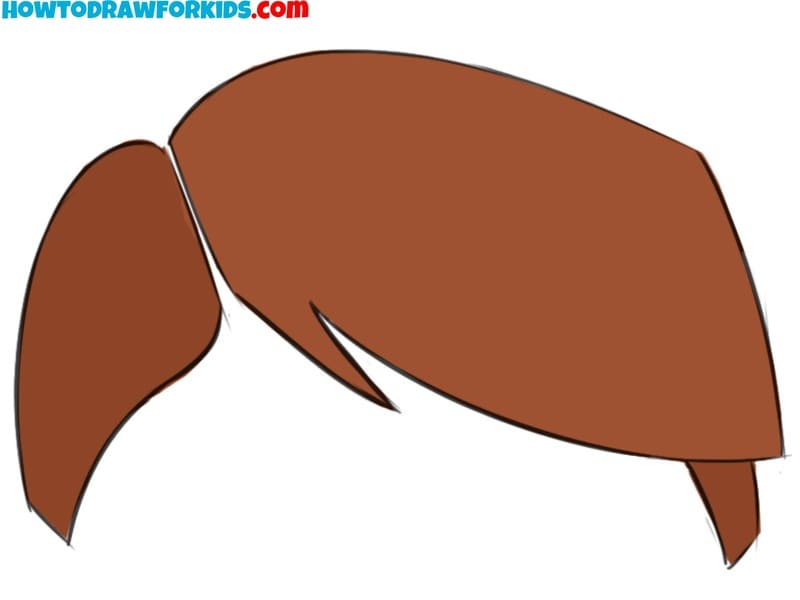
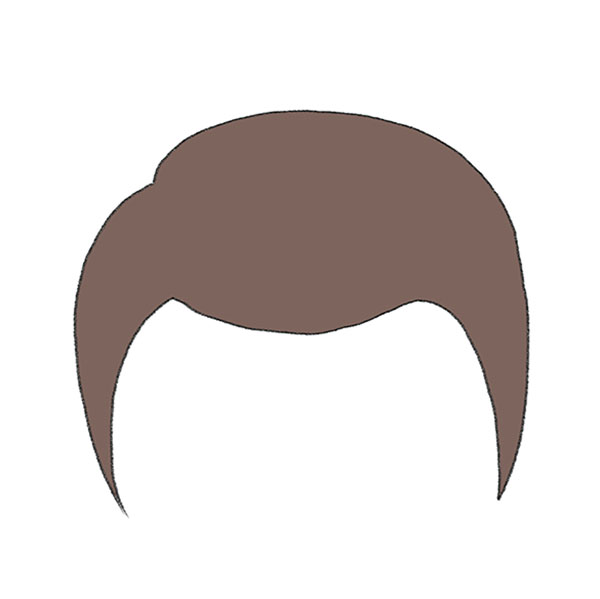
- Sketch the hair of the girl.
Begin by drawing the outline of the hair around the head, using soft, wavy lines. The hair should extend slightly beyond the head shape, with a fringe or bangs covering part of the forehead. Ensure that the hair has a smooth flow and that it frames the face nicely, with some strands extending down towards the neck.
- Draw the legs.
With the head and body in place, it’s time to add the legs. Starting at the bottom of the body shape, draw two elongated, slightly curved geometric shapes on each side to form the legs. The legs should taper slightly as they go down, giving them a natural appearance.

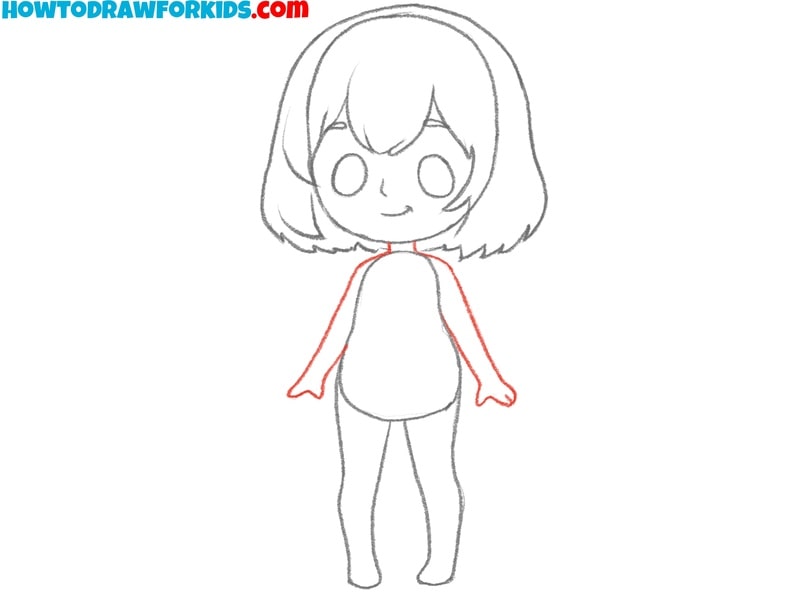
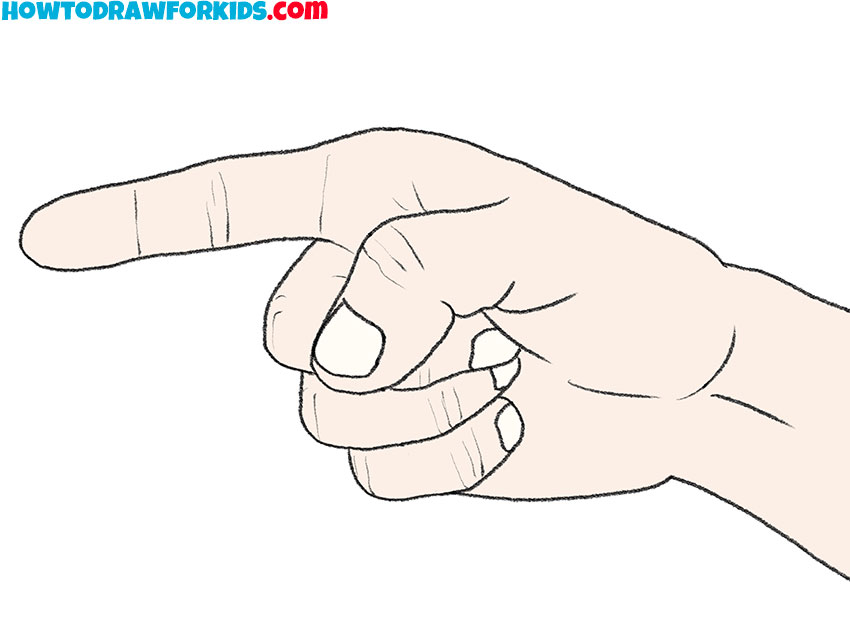
- Add the arms.
Next, draw the arms of the girl, starting from the sides of the body. Draw two elongated and slightly curved geometric shapes from the shoulders. Add small, simple hands at the ends of the arms, keeping the fingers together for a more stylized look. The arms should be noticeably smaller than the legs.
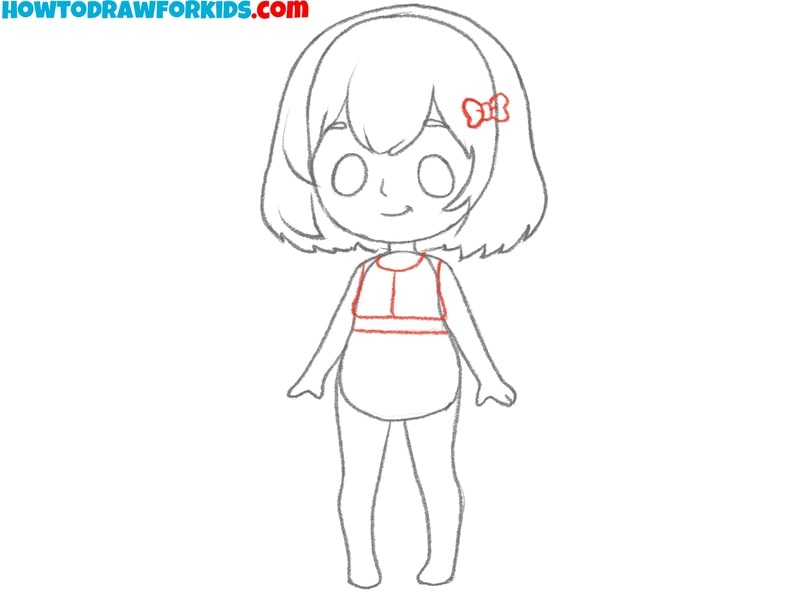
- Illustrate the clothes of the girl
Now, begin adding details to the clothing. Start by drawing a simple dress or top, adding a horizontal line across the chest to indicate a waistline. Add small details like a bow or buttons to make the girl drawing more interesting and unique.
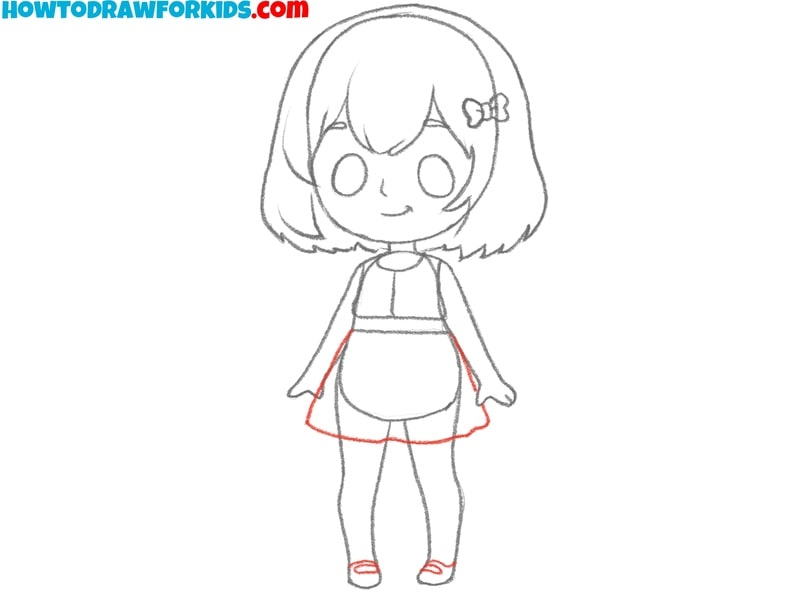
- Refine the outfit.
Continue refining the outfit by adding more details to the dress or top. Draw the lower part of the dress, adding a slight flare to suggest fabric movement. Add simple shoes by drawing small curves at the bottom of the legs. Next you can add any accessories, like a necklace or bracelet.
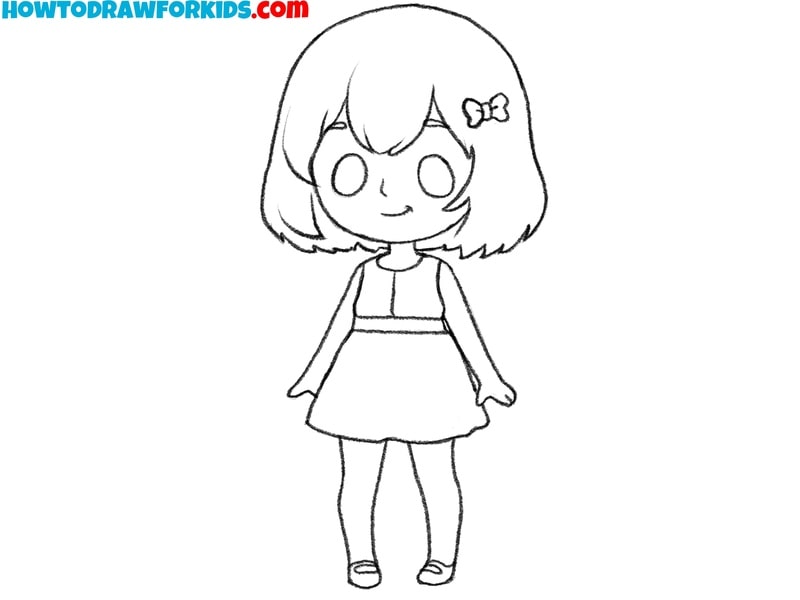
- Finalise the girl sketch.
At this stage, go over all the lines to finalize the outline of the girl drawing. Make sure the character’s proportions are natural and that all elements, from the hair to the clothing, are nice and polished. Clean up any unnecessary sketch lines, and add any final touches to the details.
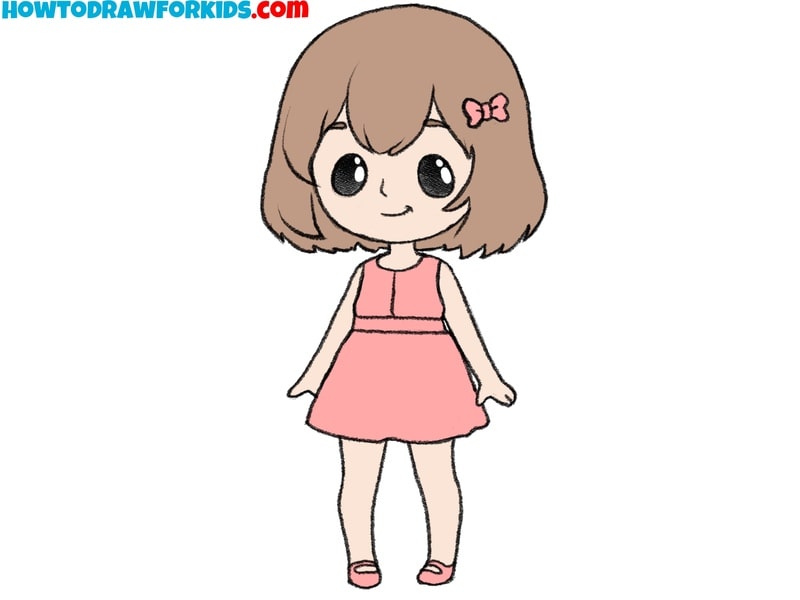
- Add some colors.
Choose soft, natural tones for the skin, hair, and clothing. Apply the colors evenly, ensuring that they complement each other. You can also add simple shading to give the drawing more realistic look. To make your eyes look more alive, add highlights.
Advanced Techniques
To make the drawing of a girl more professional, you can focus on mastering the proportions of a girl’s body, adjusting for age and style. Use a head-to-body ratio to maintain consistency, typically ranging from 5-7 heads tall depending on the character’s age.
Practice subtle changes in the facial structure to convey different emotions. Pay attention to the positioning of eyebrows, eyes, and mouth to achieve the desired expression.
Focus on the flow, volume, and texture of hair. Instead of drawing individual strands, which can make the hair appear overly complex or unrealistic, break the hair into larger shapes.
Study how different types of fabric drape and fold according to the body’s movement. Incorporating realistic folds, creases, and tension lines will make the clothing look more natural, adding believability and detail to your figure.
How to Draw a Girl: Alternative Method
Begin by drawing a simple circle for the head of the girl. Next, add a diagonal line across the top of the circle to outline the hair’s parting, which will help define the hairstyle. Add two circles for the eyes, positioning them evenly on the face, and draw small curved lines for the eyelids above them.
Below the eyes of the girl, draw a tiny circle for the nose and a simple curved line for the mouth to create a friendly expression. Extend the hair downwards in long, straight lines on both sides of the face. Then, draw a rectangular shape for the body, which will serve as the dress.
Add small arms extending from the sides of the body. Draw the hands as small curved shapes at the end of the arms. Finally, add two straight lines below the dress to indicate the legs, and draw small ovals at the bottom for the shoes. Color the hair, dress, and eyes to complete the girl drawing.
Conclusion
In this lesson, we covered the steps to drawing a girl. By paying close attention, you also gained an understanding of the fundamental techniques for creating a human figure in a minimalist style. This skillset is versatile and will enable you to draw not only a girl but any other figure as well.
If you found this girl drawing tutorial helpful, consider sharing it with your friends to help them get more involved in art as well. Also, don’t forget to follow me on social media to stay updated on new drawing tutorials and to learn more about various art techniques directly from me.


😐
it is really good and inspiring
This helped a lot! Thanks 🙂
wow i did it for my sister’s homework and it was good
It was the best
It’s so hard
I love it is so easy
Super
Good and nice
EXCELLENT
Many thanks, Christy!