How to Draw George Washington
This lesson will teach you how to draw George Washington, the first President of the United States and one of the Founding Fathers.

How to Draw George Washington: Introduction
To honor one of the most prominent figures in U.S. history, this tutorial will guide you on how to draw George Washington in a simplified, but at the same time very realistic style.
To draw a portrait of George Washington, or any historical and political figure, it is essential to adjust distinct features to make the face as recognizable as possible.
George Washington has a highly recognizable profile, notable facial features, an 18th-century hairstyle, and attire typical of that era. In this lesson, we will work to accurately represent these details.
Additionally, I will provide guidance on selecting a suitable color palette for coloring the portrait of George Washington. I will also share useful professional tips to help you confidently draw portraits of presidents and other historical figures, making them clearly recognizable.
George Washington Drawing Tutorial
Time needed: 45 minutes
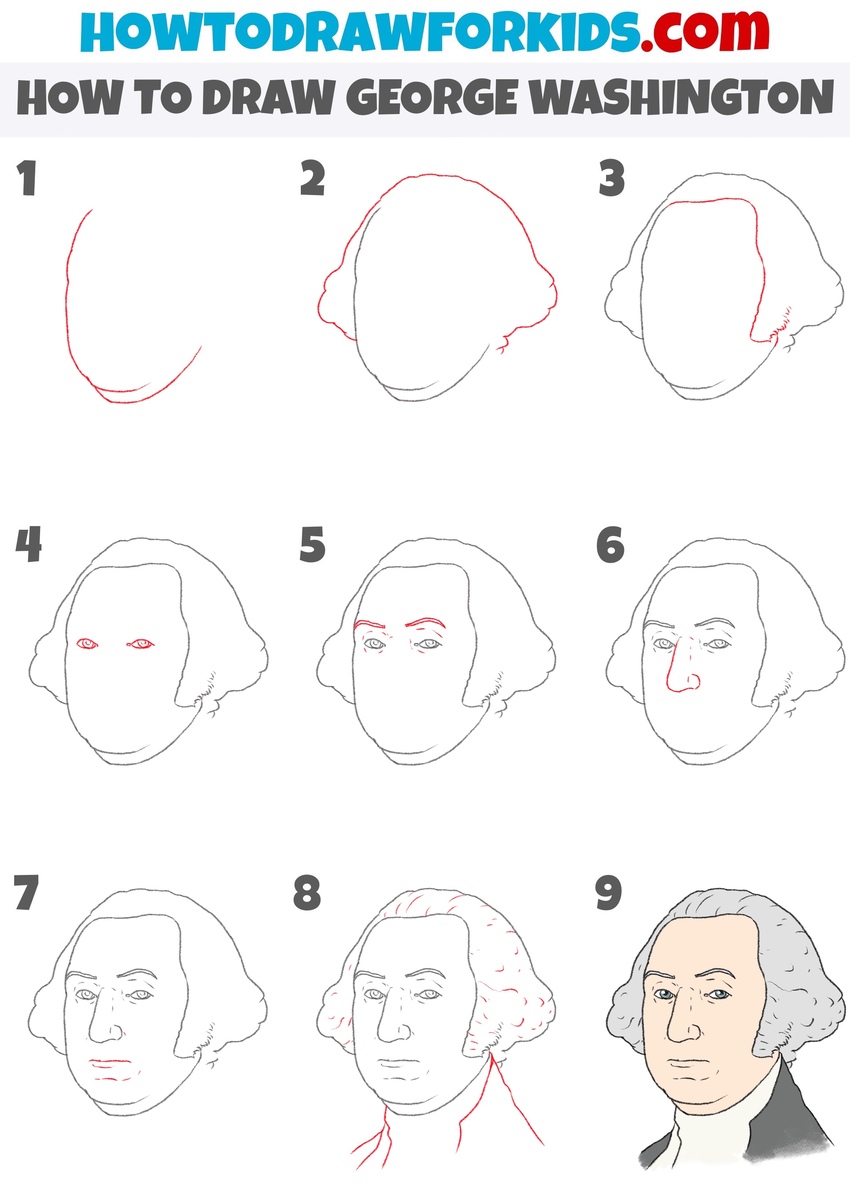
How to Draw George Washington
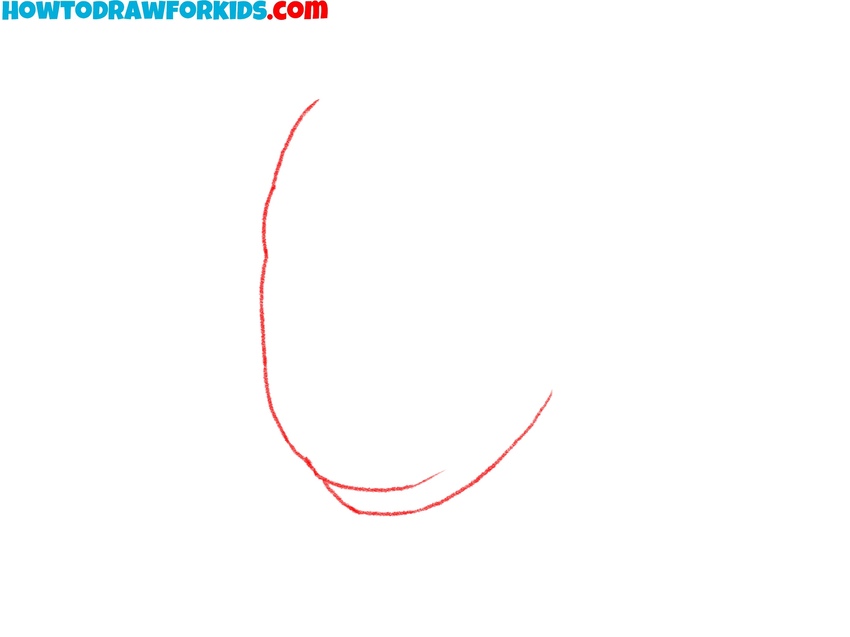
- Create the shape of George Washington’s face.
To draw the face of George Washington, sketch a soft, rounded shape, similar to a semi oval. The chin area should be slightly squared off to convey his recognizable jawline. Use light pencil strokes to make this outline, so it can easily be adjusted later if needed.
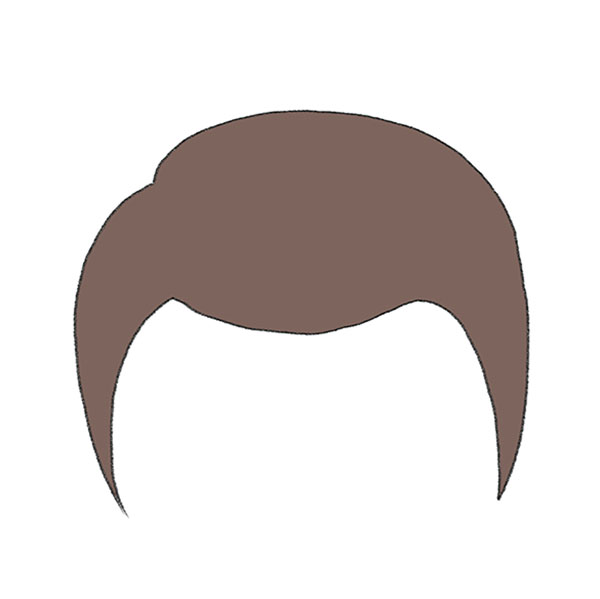
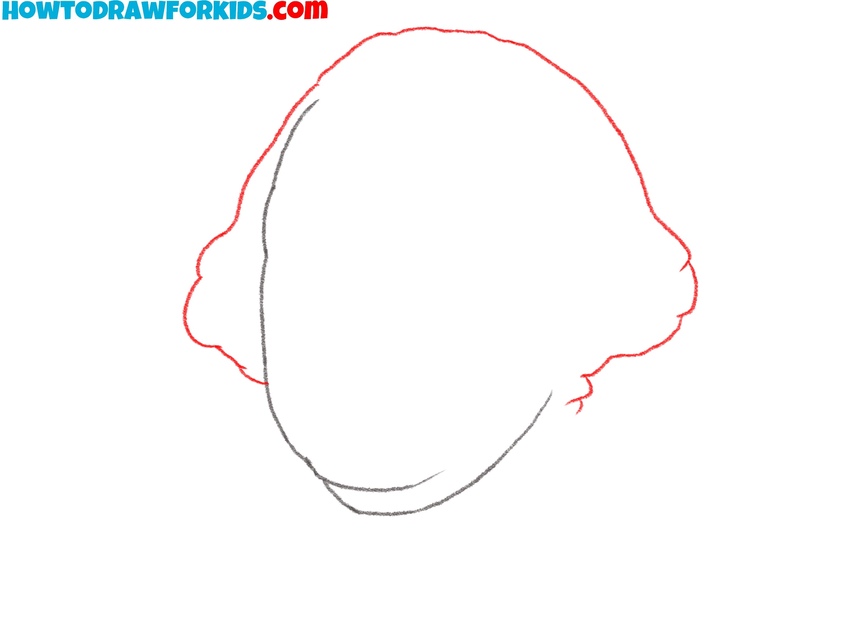
- Start drawing George Washington’s hair.
George Washington’s hair is is one of his recognizable features. Create soft, curved lines on each side of the head to draw hair, which frames his face in a distinctive colonial fashion. His hair should appear slightly wavy and voluminous, with two rounded sections on each side.
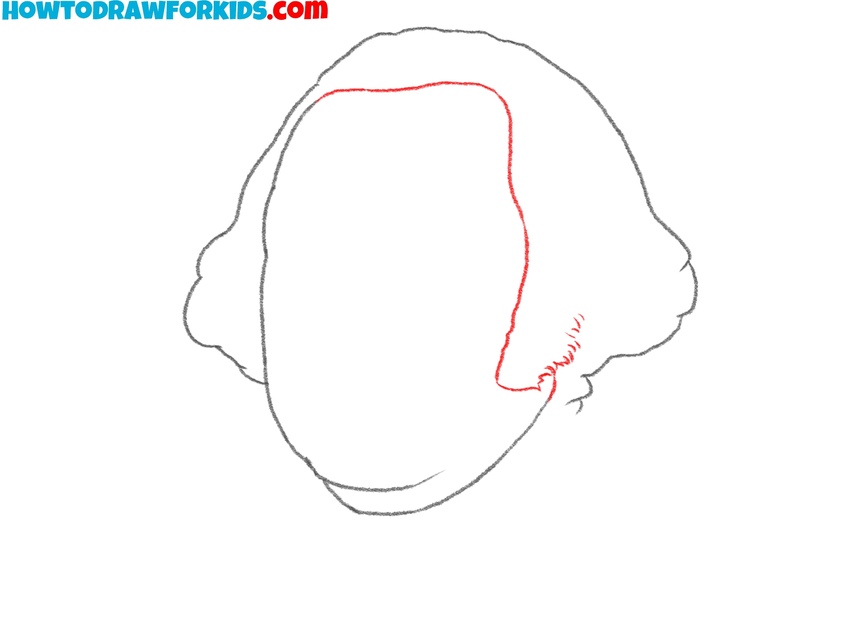
- Finish the outline of the hairstyle.
With the outer hair shape in place, now add an inner hairline to define the border between his hair and face. The hairline should curve around the forehead and extend toward the sides of the face, mirroring the outer hair shape. Then, draw the sideburn at the bottom of the face.
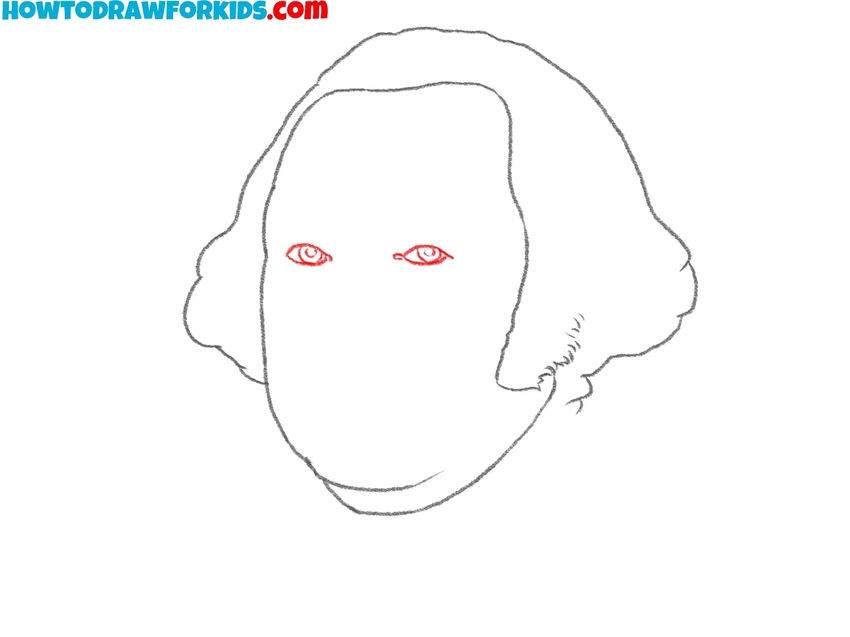
- Draw George Washington’s eyes.
To draw the eyes of George Washington, sketch almond shapes with slight curves to indicate his eyelids. Add small circles or dots within each eye shape to represent the pupils. The placement and shape of the eyes are very important to convey George Washington’s expression.
- Sketch the president‘s eyebrows.
Above each eye, draw the eyebrows of George Washington. Place them just above the eyes, following the natural curve of his brow line. His eyebrows should be slightly arched, with a thicker appearance toward the inner edge and tapering outwards.

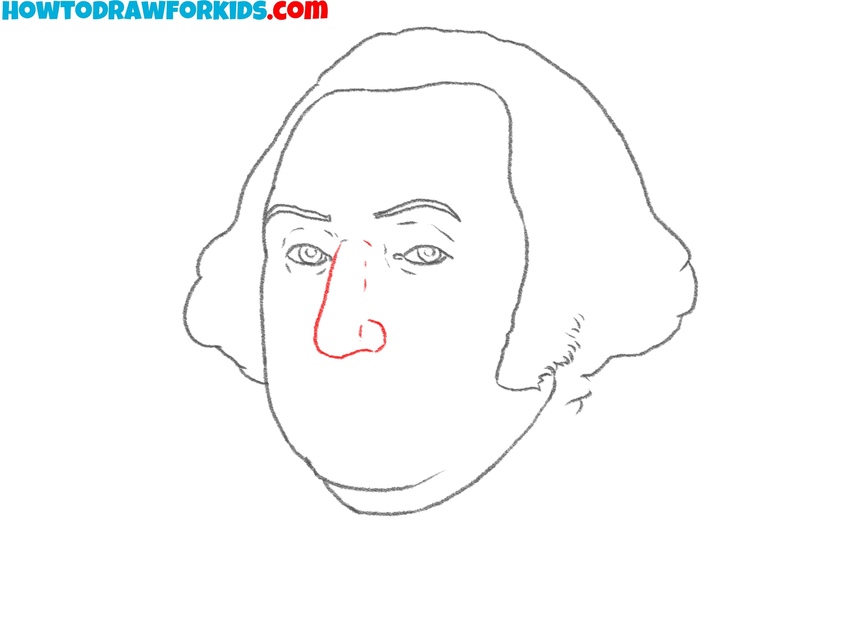
- Sketch the nose of the president.
To draw the nose, sketch a slight curve from the bridge of the nose between the eyes, gradually extending downwards to create the main shape. Add a small, subtle curve at the bottom to represent the nostrils. The nose should be straight with a slight bulge in the middle.
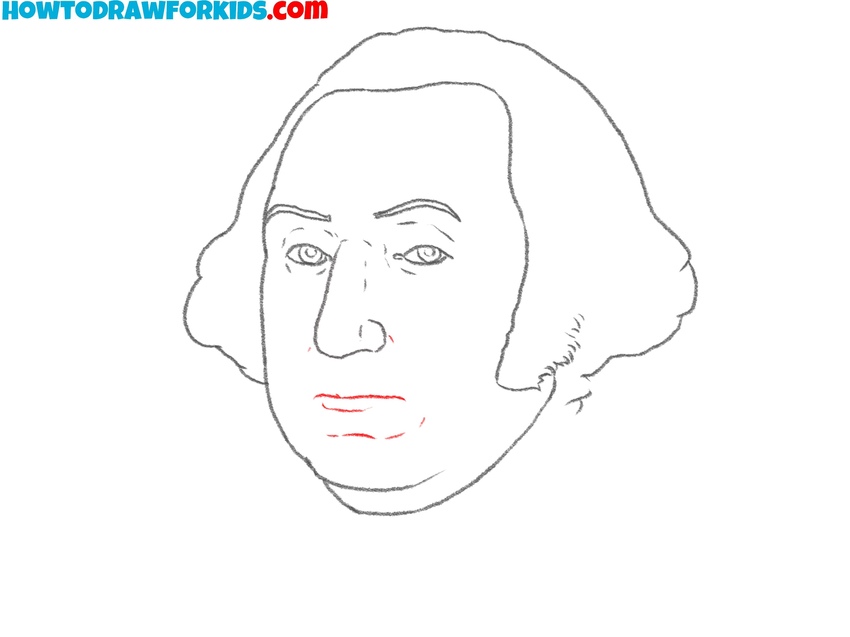
- Draw the mouth and chin.
Now, using a simple line, draw the mouth, making the lower lip slightly fuller than the upper. Below the mouth, add a short line to illustrate the shape of his chin. Arrange all the details of George Washington’s face as accurately as possible, using this example or his portraits found on the Internet as a reference.
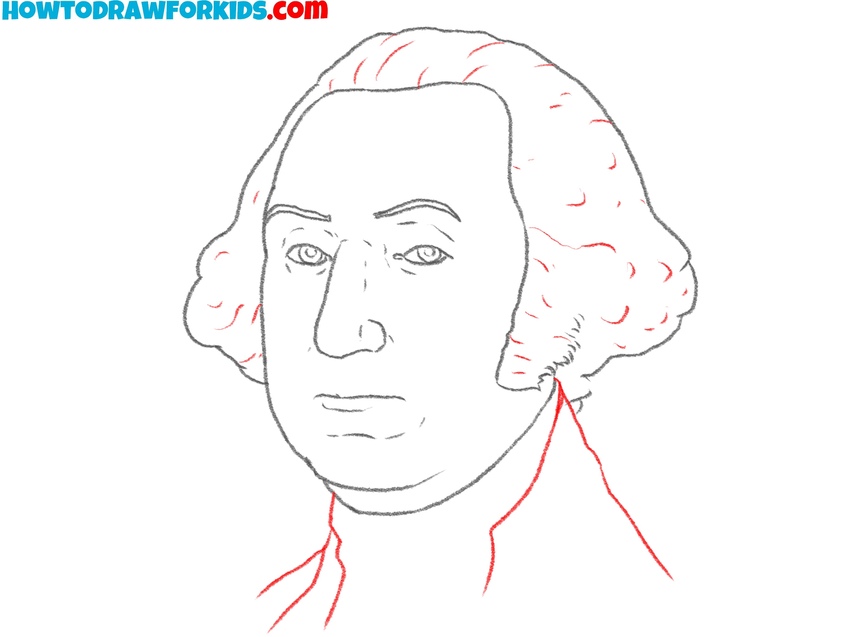
- Add hair texture and collar.
Now, detail the hair by adding texture within the outer hair shape. Use small, wavy lines to indicate the natural volume of George Washington’s colonial hairstyle. Once the hair is detailed, draw the collar of his attire just below the face. This collar should frame the jaw, representing the historical attire he wore.
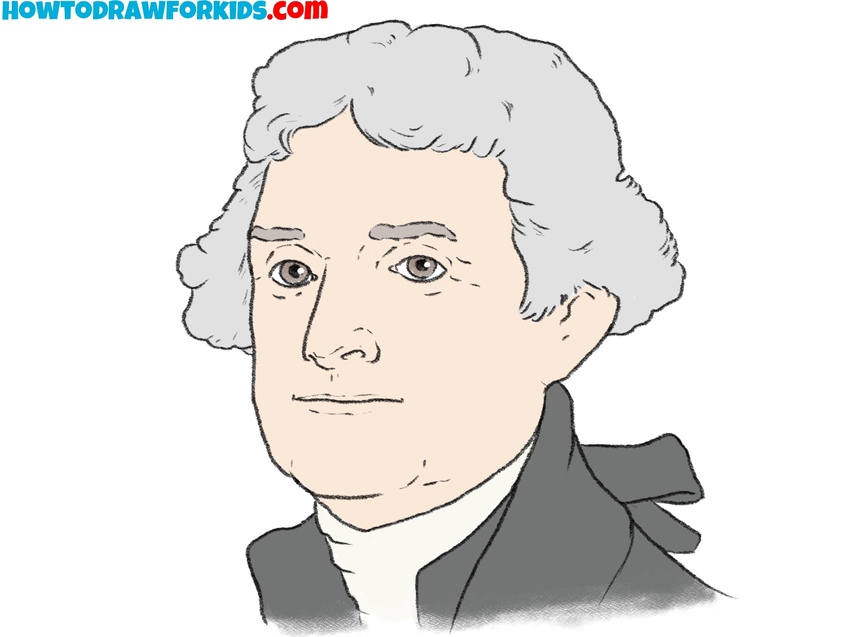
- Color the portrait of George Washington.
For the skin, use a light, natural skin tone. Color his hair a soft gray, as seen in historical portraits. Use a dark color, like black or deep gray, for his coat and a lighter shade, such as white or off-white, for his collar to represent traditional colonial attire. Color the eyes blue, drawing small highlights in them.

Draw George Washington With Video Tutorial
Advanced Tips and Techniques
Before you start, look at several reference images of the person from different angles. Pay attention to the features that appear consistently, such as facial proportions, expression, hairstyle, and the shape of the eyes.
For presidents, official portraits are especially useful because they usually show the most recognizable version of the person. For George Washington, focus on his high forehead, strong jawline, lower lip, and deep-set eyes.
Many well-known historical figures are remembered not only for their appearance but also for the expressions seen in their most famous portraits.
Paying attention to the eyes and mouth can help make a portrait feel more recognizable. George Washington is usually shown with a composed expression rather than a strong smile or dramatic emotion. Try to keep this quiet, confident look in your drawing, as it is one of the details most often associated with him.
Hair and clothing details are often just as important as facial features when drawing a recognizable historical figure. George Washington is especially known for the distinctive hairstyle seen in many of his portraits.
Notice the full shape of the hair at the sides of the head, the soft waves, and the tied section at the back. Taking time to draw these details carefully will help the portrait look more recognizable and closer to the appearance most people associate with Washington.
Pay attention to the details around the eyes, as they are a key feature in making a face identifiable. Washington’s eyes are deep-set, with a neutral gaze that often appears both reflective and strong. Carefully illustrating the shape and placement of his eyes will contribute to a lifelike and accurate portrayal of the president.
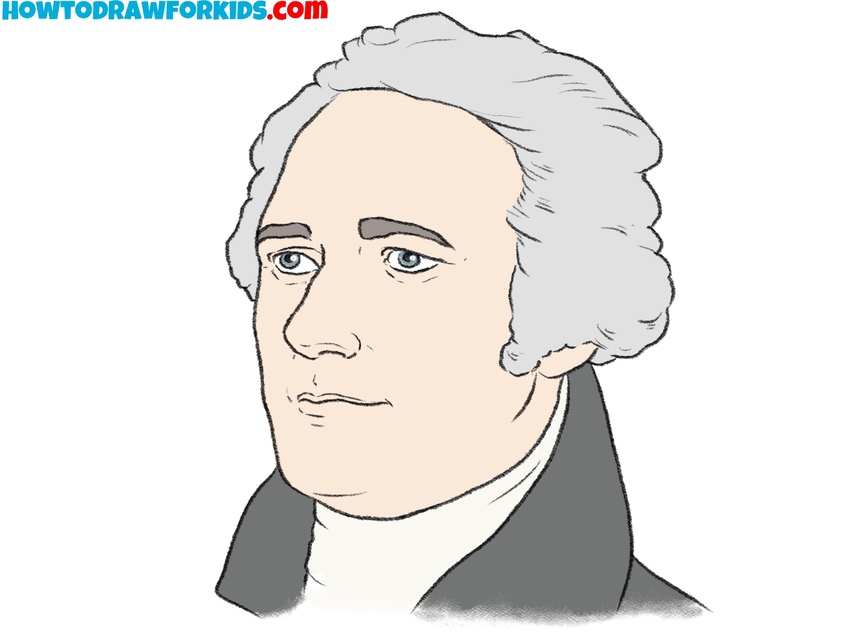
Continue Drawing US Presidents
Now that you’ve finished drawing George Washington, you can continue practicing with other U.S. presidents. Each historical figure has unique facial features, hairstyles, and details that will help you gain more experience with portrait drawing.

Conclusion
Today, we have gone through a detailed, step-by-step process on how to draw a president – specifically, the first President of the United States. By following each step closely, you should now have the skills to draw George Washington.
This tutorial is part of a collection of US Presidents drawing tutorials, featuring some of the most notable figures who have made significant contributions to the country. Be sure to study the entire collection and follow on social media for updates on new tutorials.