How to Draw a Hawaiian Flower
Beginners can improve their skills by working with floral shapes, so let’s do it with this tutorial on how to draw a Hawaiian flower.
How to Draw a Hawaiian Flower: Introduction
Now you will learn how to draw a Hawaiian flower. The Hawaiian Islands are rich in flora and fauna, but some species are endangered. Some plants only grow in Hawaii and are not found anywhere else in the world. A wide variety of plants grow in this area, including very beautiful flowers. One of these flowers you will paint in this tutorial.
This lesson is adapted for children and aspiring artists. Simple lines are used here that can be easily repeated. The leaves have an unusual shape. The flower consists of five petals and a stamen in the middle. Follow all the steps consistently and you will have excellent results.
Let’s get down to doing this fun tutorial.
Hawaiian Flower Drawing Tutorial
Materials
- Pencil
- Paper
- Eraser
- Coloring supplies
Time needed: 25 minutes
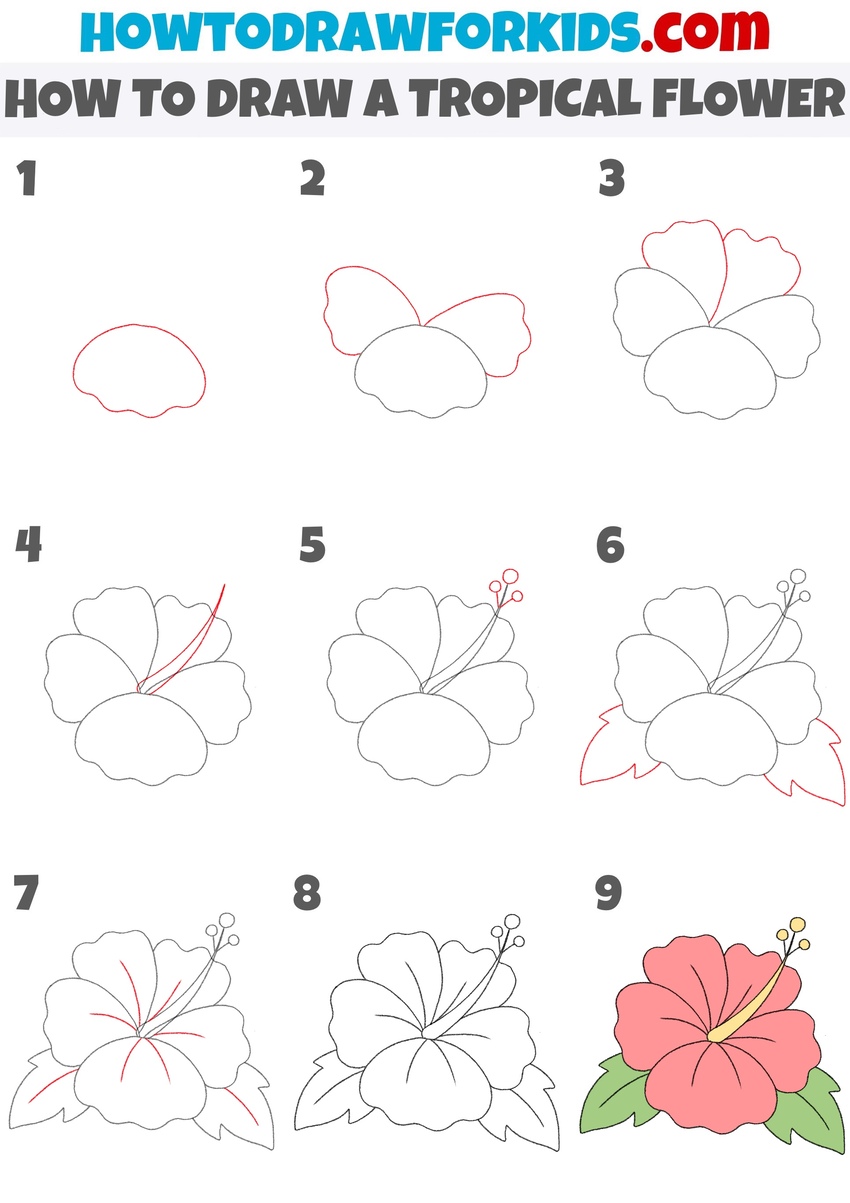
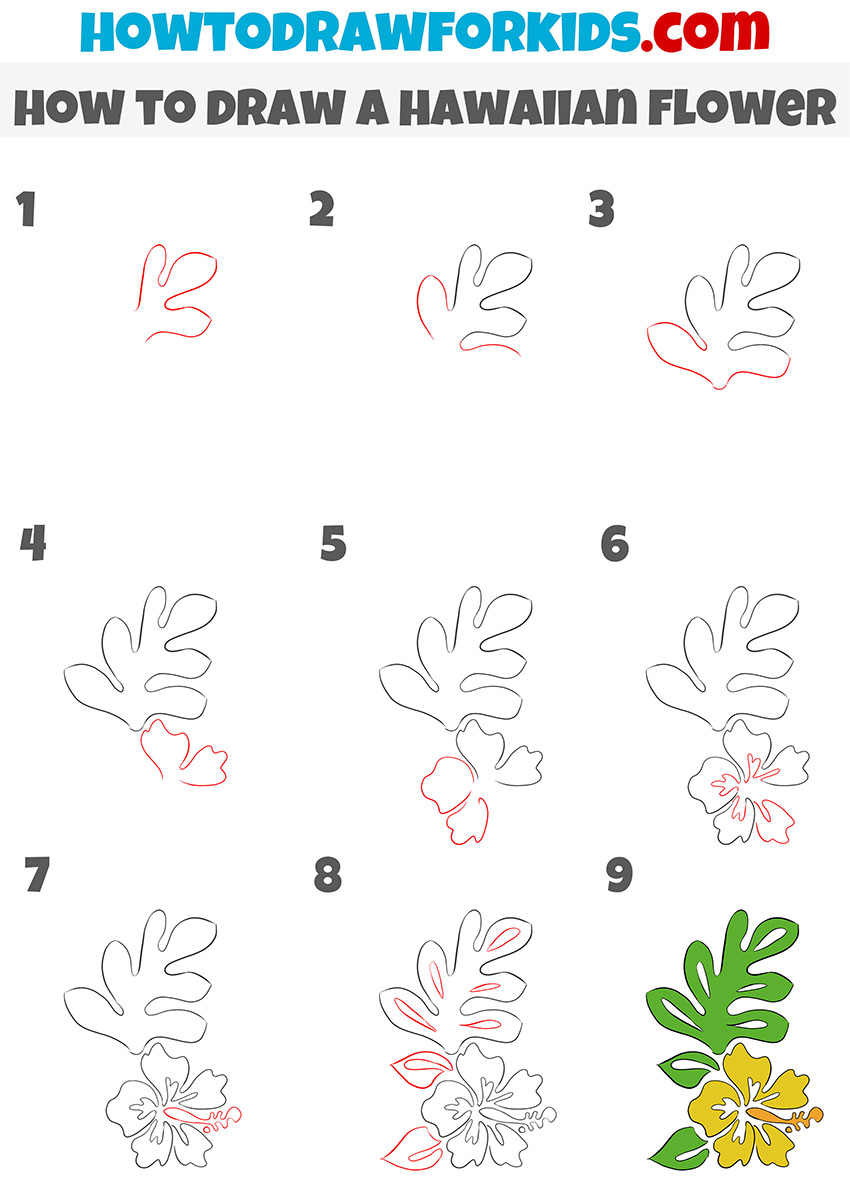
How to Draw a Hawaiian Flower
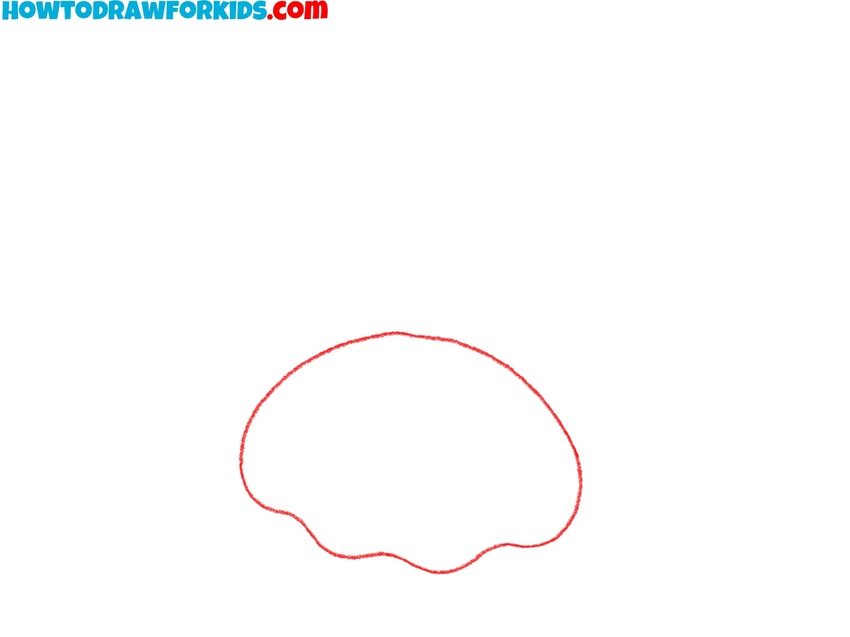
- Sketch the first flower petal.
Every flower drawing needs a starting point, and here it comes from a single petal. This first petal sets the size and flow of the whole flower. Sketch a wide, rounded petal with a wavy bottom edge. You don’t need to make it perfectly symmetrical, because natural petals almost always curve differently on each side.
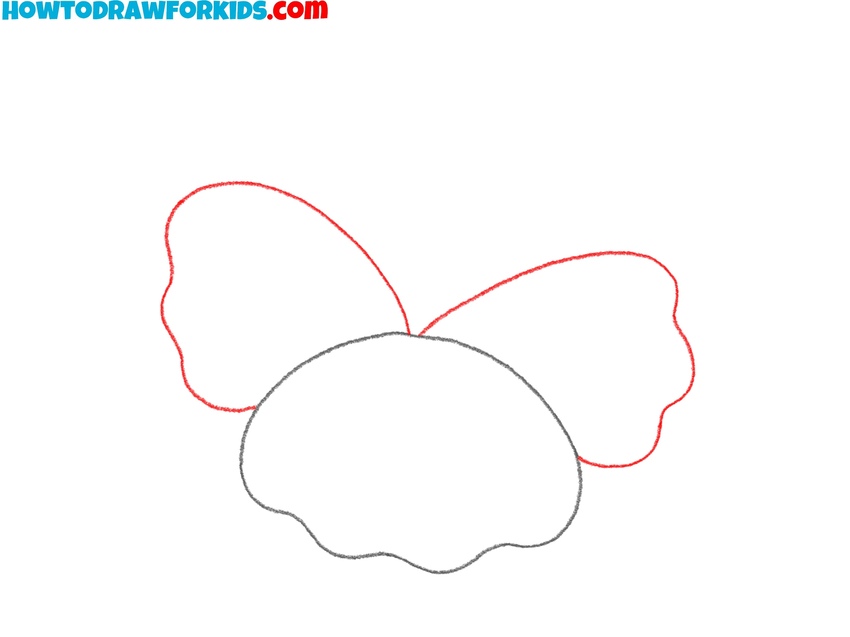
- Add more petals beside the first.
Place additional petals on both sides of the first. These petals help form the circular arrangement typical of a Hawaiian bloom. Sketch one on the left and one on the right, letting them overlap slightly with the first petal at the base. Keep their size close to the original.
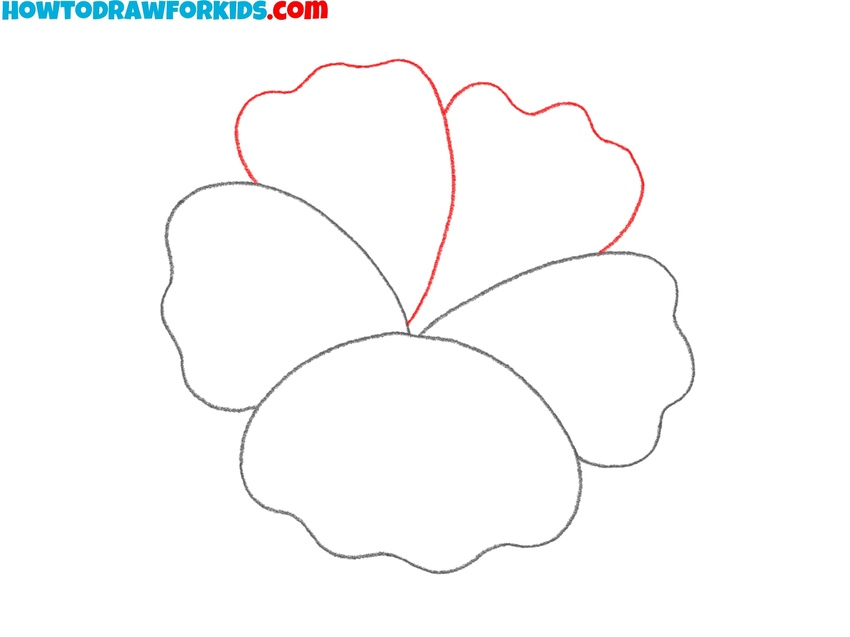
- Draw the upper flower petals.
A flower feels unfinished with only three petals, so adding more completes the natural look. Place two more petals behind the ones already drawn, moving them up so they peek out above the others. Only the top edges need to be visible, since they sit behind.
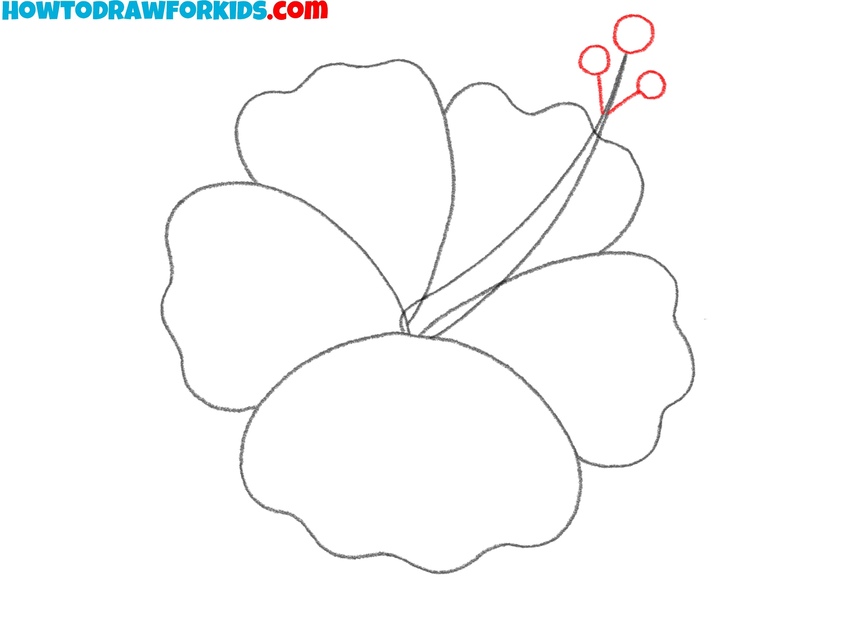
- Sketch the flower stamen shape.
Flowers aren’t just petals, they also have inner details that give them a realistic appearance. The stamen is the most noticeable feature in a Hawaiian flower, so adding it now gives your drawing more interesting and believable appearance. Sketch a thin, curving shape starting from the base of the petals.

- Sketch small circles at the top.
To finish off the stamen structure, the tips need detail. Sketch three small circles at the end of the line, not trying to make them identical. These represent the rounded ends of the stamens, and they should be simple but visible.
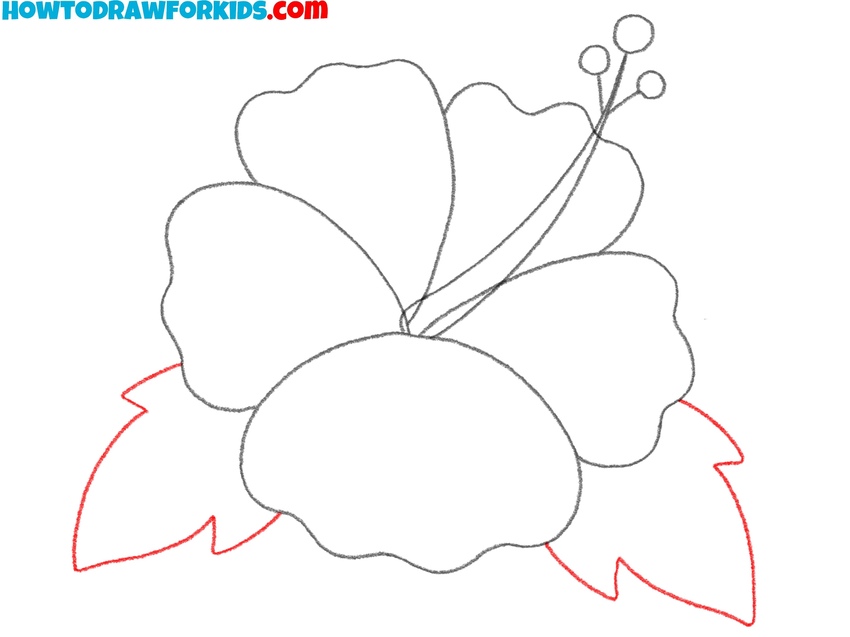
- Draw two leaves under the Hawaiian flower.
Without leaves, the flower can look like it’s floating, so adding them at the base grounds the drawing. Sketch two large leaves pointing outward from below the petals. Make them wide and pointed at the ends. Make them similar to the petals in size.
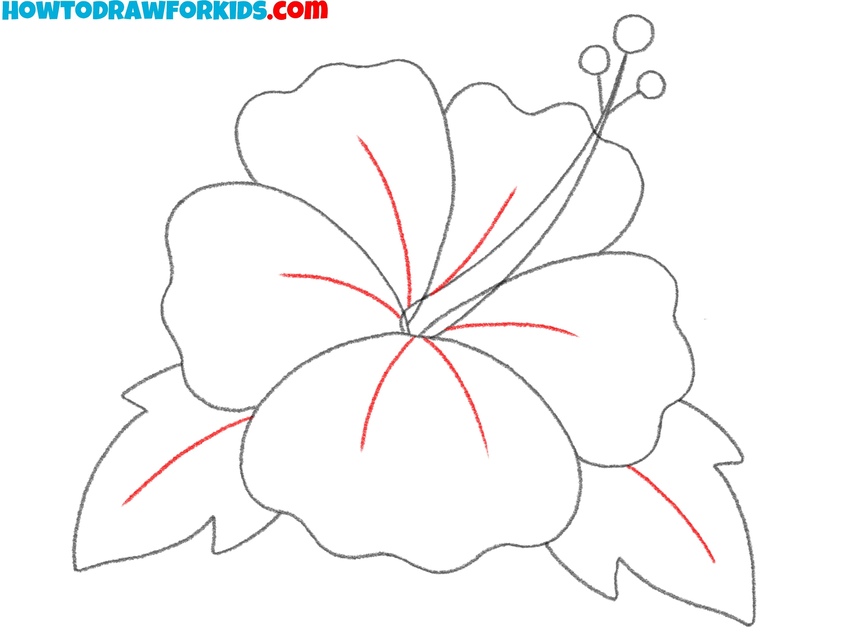
- Sketch thin petal and leaf veins.
Petals look more realistic when they have inner structure, so light vein lines are important here. Sketch thin, curved lines radiating outward from the flower’s center to the edges of each petal. Let them follow the petal’s curves. Also, add similar veins to the leafs around the bud.
- Clean the drawing with eraser.
Before coloring, the flower needs a clean outline, so this step will help you to refine what you already have. Carefully erase extra sketch marks, unnecessary lines, or uneven edges left from earlier steps. Smooth the contours of the petals, keeping their wavy look but making the curves look more finished.

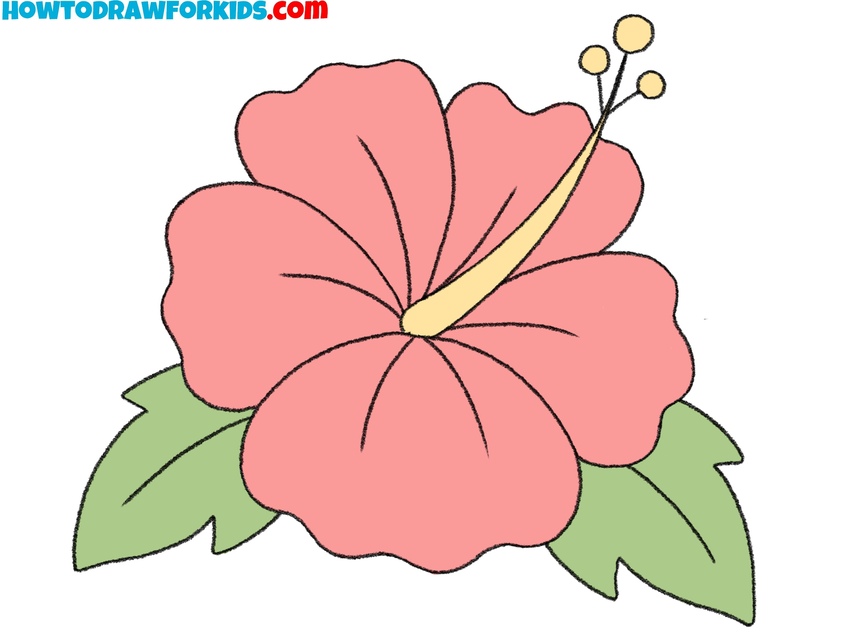
- Paint the petals, stamen, and leaves.
Adding color will transforms the Hawaiian flower sketch into a finished picture. Choose bright or pastel shades, such as pink or red for the petals, yellow for the stamen, and green for the leaves. You can use darker and lighter tones to create the effect of shadows and highlights.

Easy Hawaiian Flower Drawing Tutorial
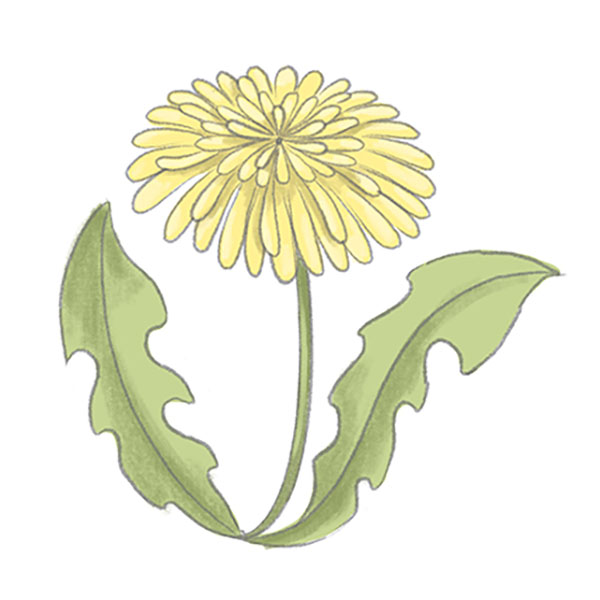
Outline the top leaf by sketching large lobes with curved divisions. Keep the edges smooth but uneven enough to illustrate a decorative plant form. Continue the base by adding more rounded shapes. Position the flower below, drawing wide petals with gentle folds.
Each petal should overlap with the others to form a circular arrangement. Add smaller details like the inner petal lines and the central stamen. Introduce additional leaf shapes around the flower, placing them at different angles.
Erase unnecessary lines and refine the contour so the composition looks unified. For coloring, use a strong green for the leaves and bright tones such as yellow or red for the flower.
Conclusion
I hope this tutorial has inspired some great new work. You can use the acquired skills in the future. The Hawaiian flower can decorate any greeting card. If you liked this tutorial, then you can write your review in the comments.
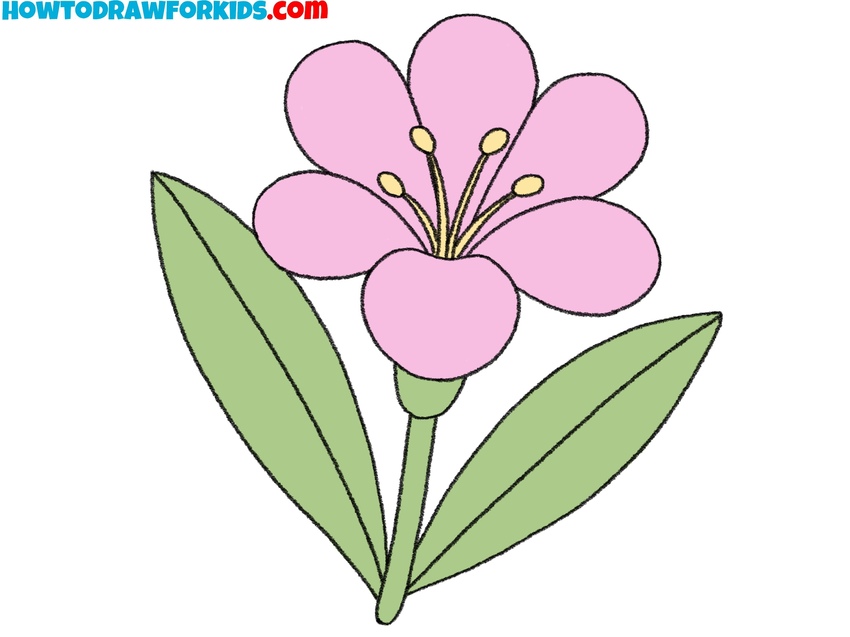
Also, visit other flower drawing tutorials to boost your floral sketching skill. For example, you can draw a poppy flower using a very similar method.