How to Draw a Helmet
This simple tutorial on how to draw a helmet will teach you how to depict this headgear in any shape or for any purpose.
How to Draw a Helmet: Introduction
To learn how to draw a helmet in the most detailed and accurate way, I used a very simple method, an already simple object even simpler. As I mentioned earlier, this helmet drawing lesson is suitable for drawing any type of helmet, whether it’s a military helmet, a construction helmet, or any other kind.
To give your helmet drawing the correct look, simply adjust the necessary elements. For example, to turn this helmet into a construction helmet, slightly modify its shape to make it less deep, and color it yellow or orange. You can also remove the straps on the sides of the helmet. These small changes will help you customize the helmet for different purposes.
By making these simple adjustments, you can easily adapt the basic shape to represent various types of helmets. This approach allows you to draw a wide range of helmet styles without difficulty.
At the end of this helmet drawing tutorial, you will find additional instructions to deepen your knowledge and gain new skills. These will help you confidently draw different types of helmets in various styles, without facing any challenges.
Helmet Drawing Tutorial
Materials
- Pencil
- Paper
- Eraser
- Coloring supplies
Time needed: 25 minutes
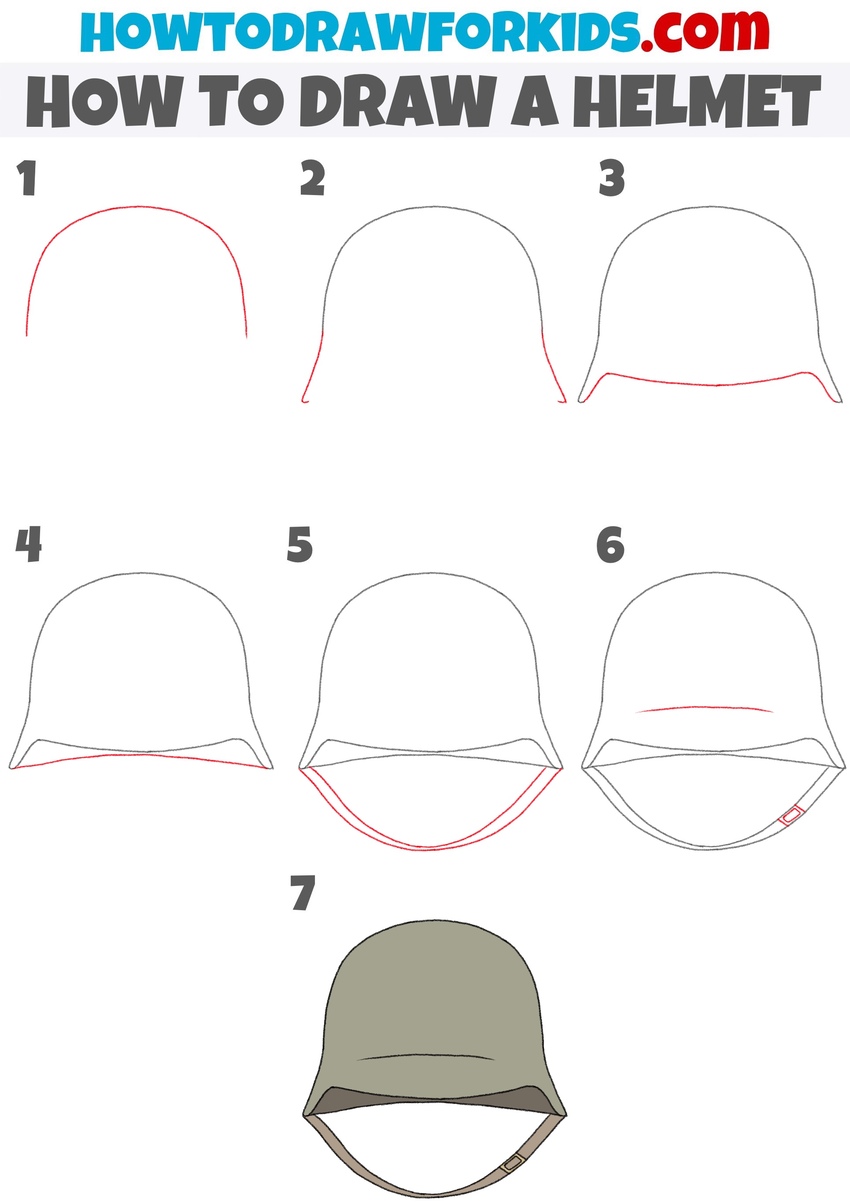
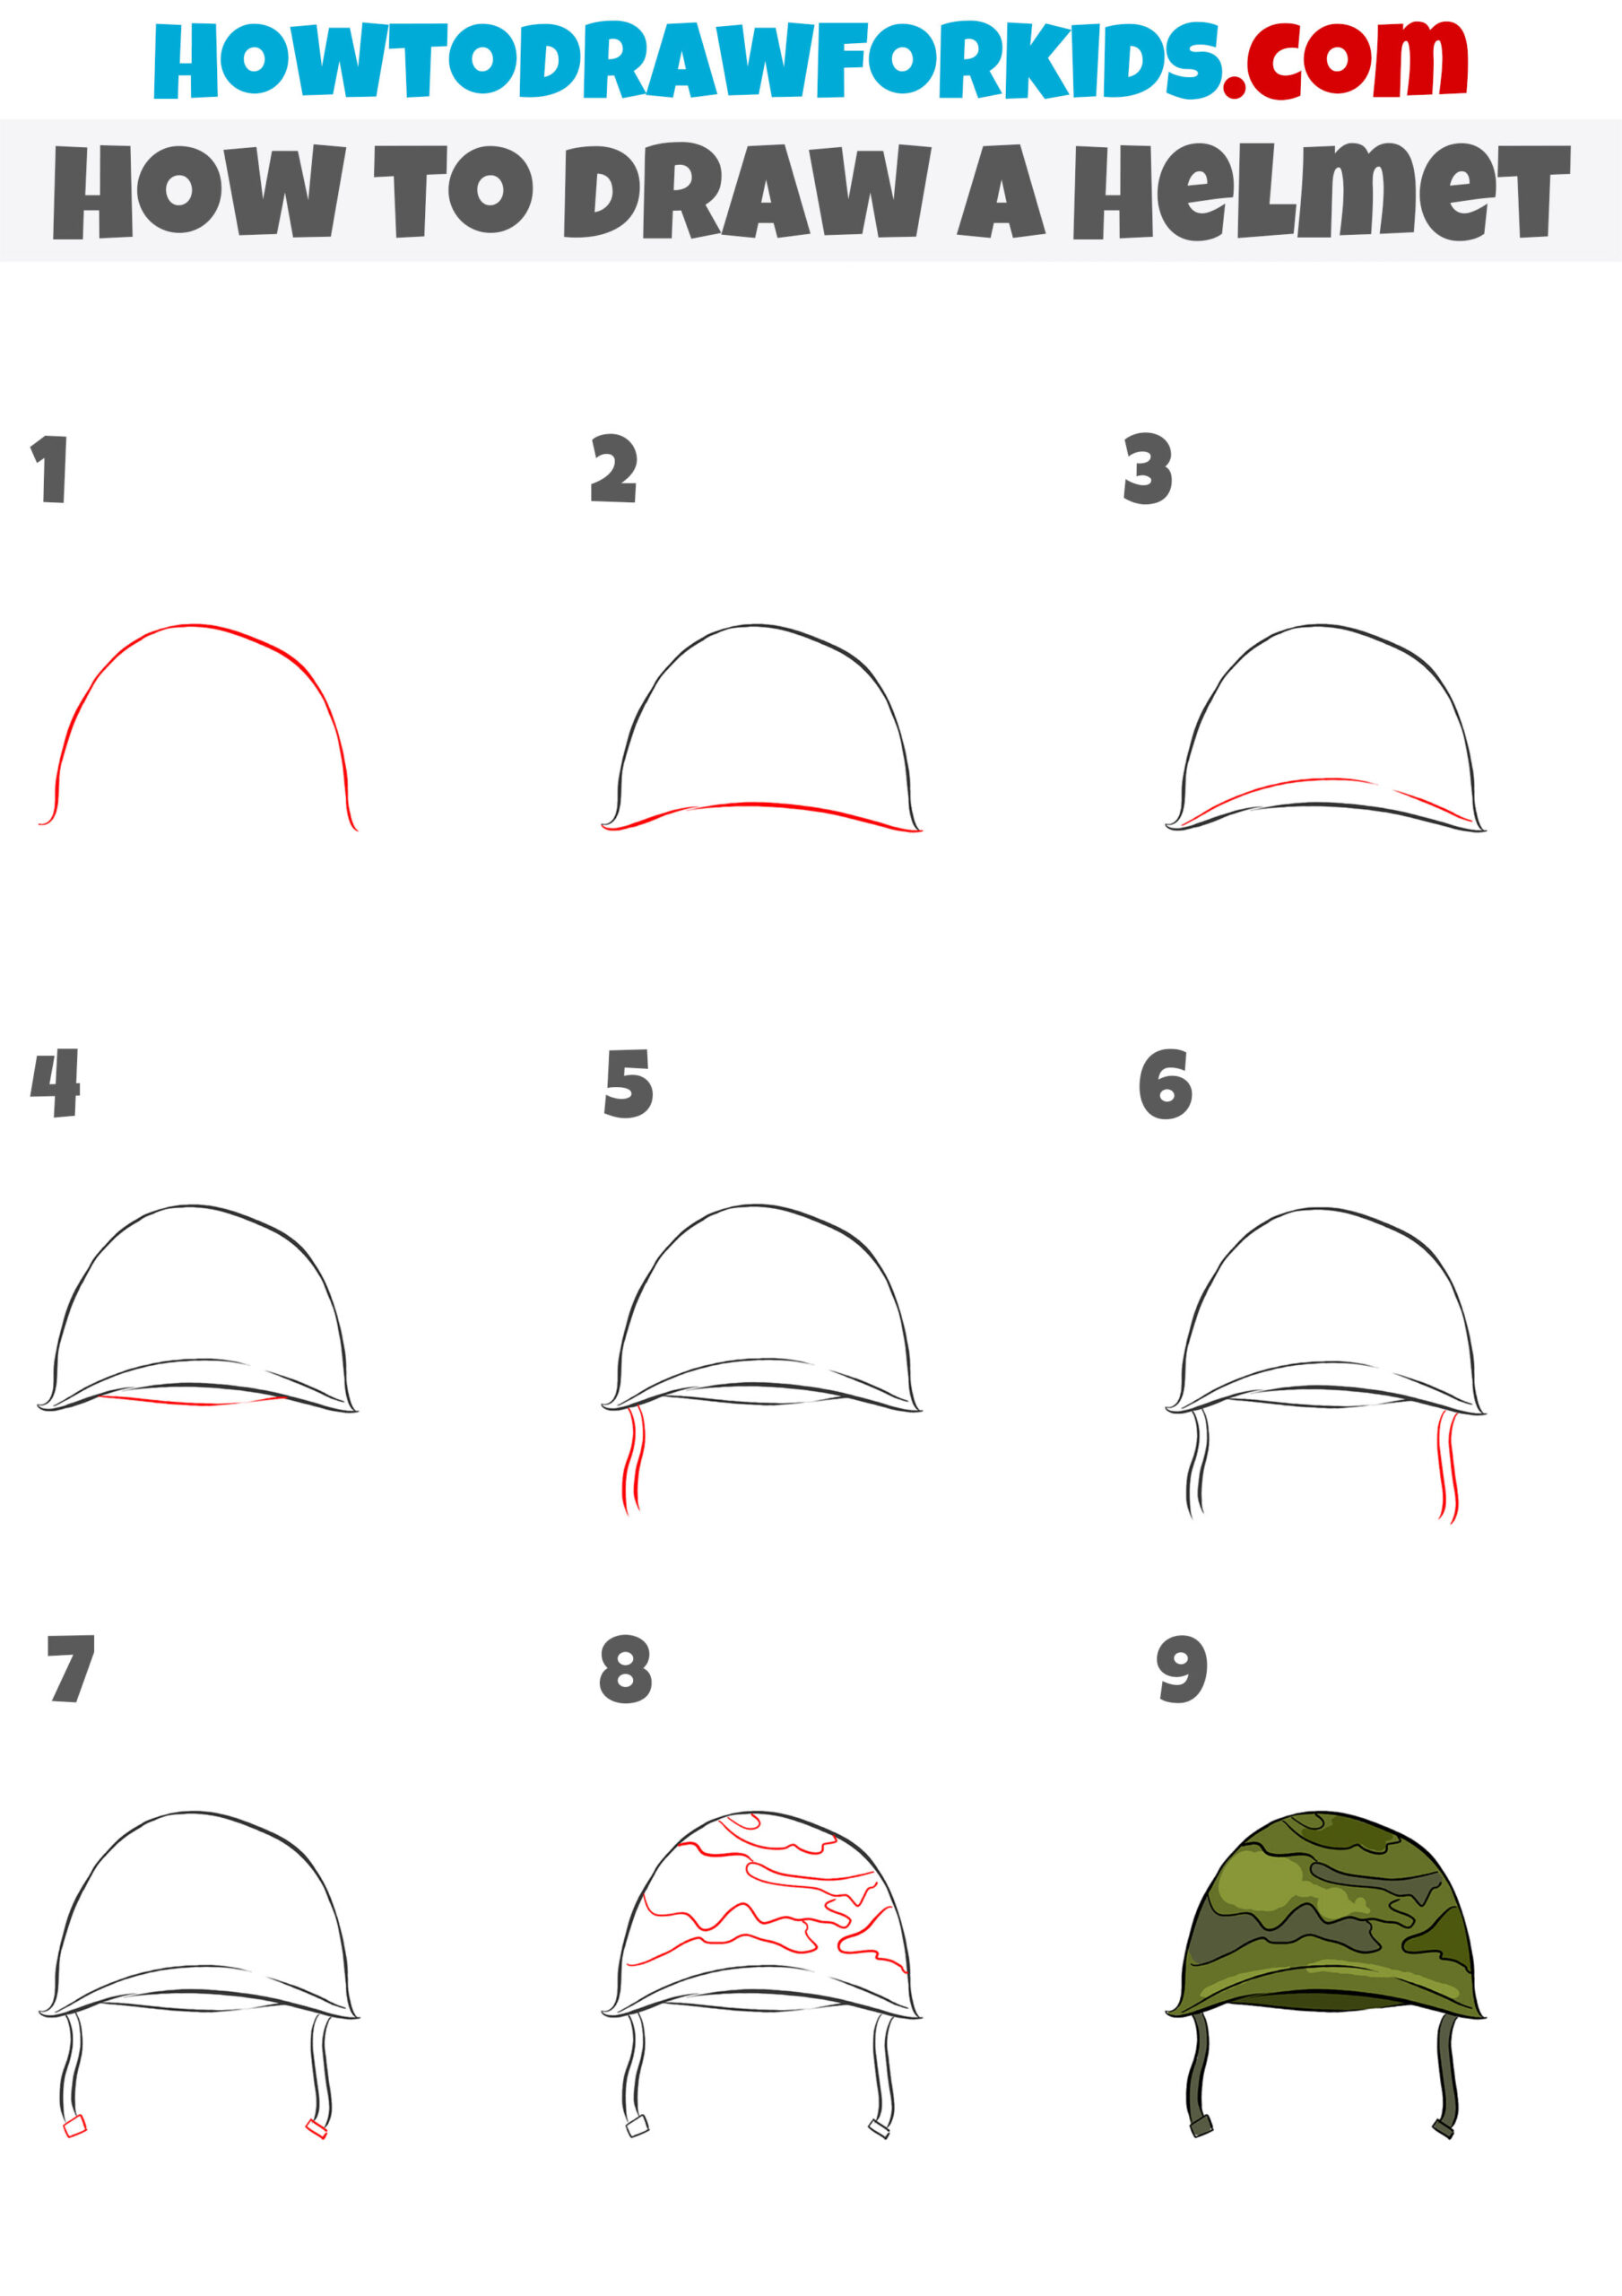
How to Draw a Helmet
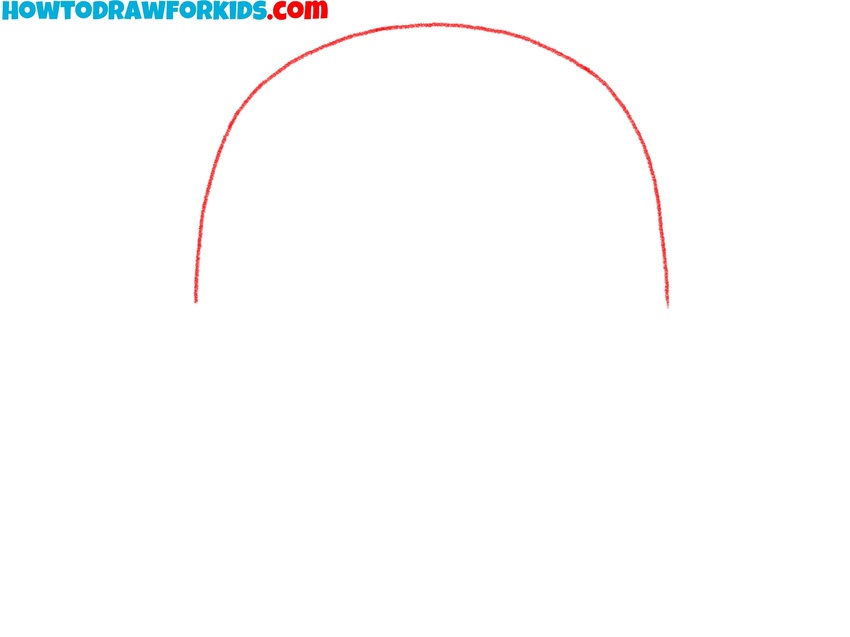
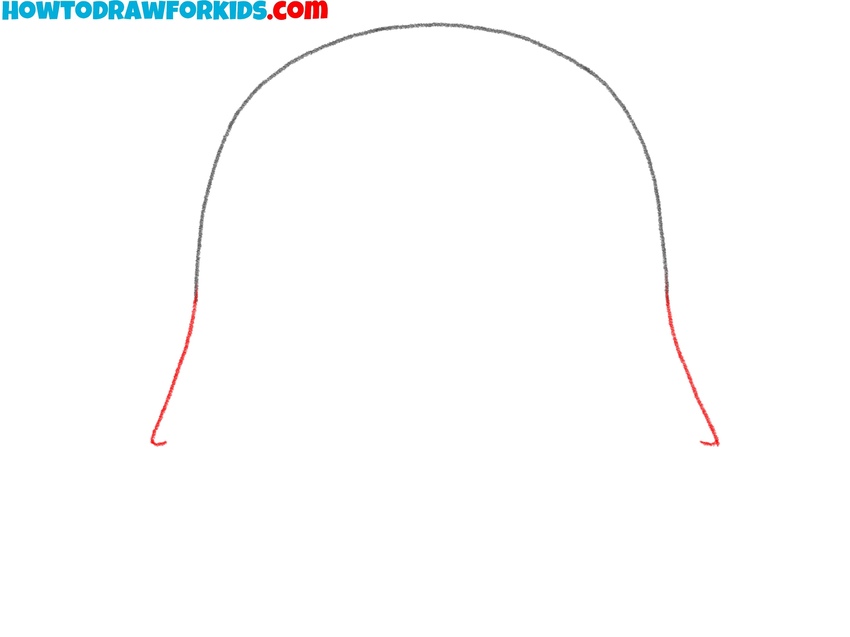
- Draw the top of the helmet.
Start this tutorial on how to draw a helmet by sketching a smooth, curved line at the top part. This will form the basic outline of the helmet’s crown. To give your helmet drawing a different appearance, adjust the shape and curve of the this part.
- Illustrate the sides of the helmet.
Next, draw two curved lines extending downward from the ends of the top curve to form the sides of the helmet. These lines should slightly angle outwards as they descend to create the shape of the helmet. At the bottom of each side, add a gentle curve to create the edge where the helmet will rest on the wearer’s head.
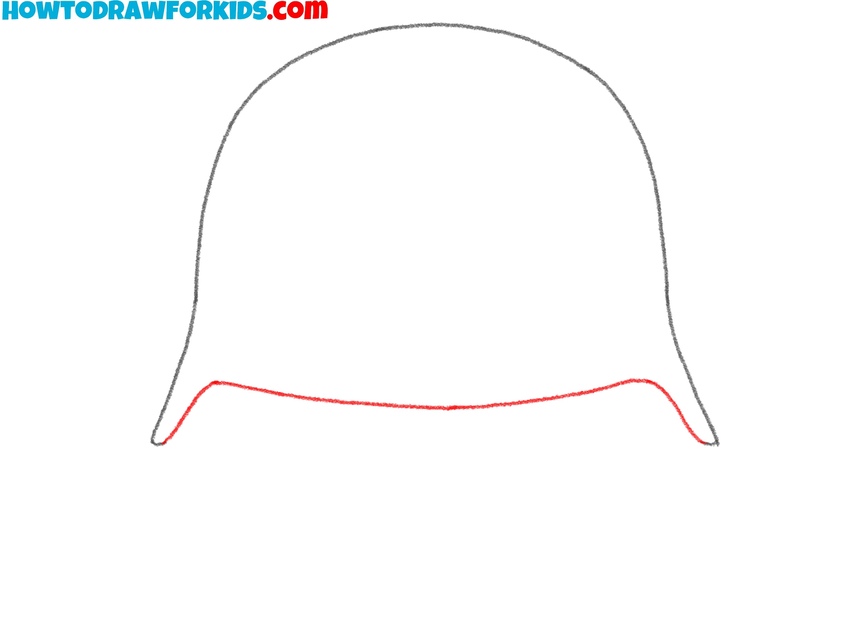
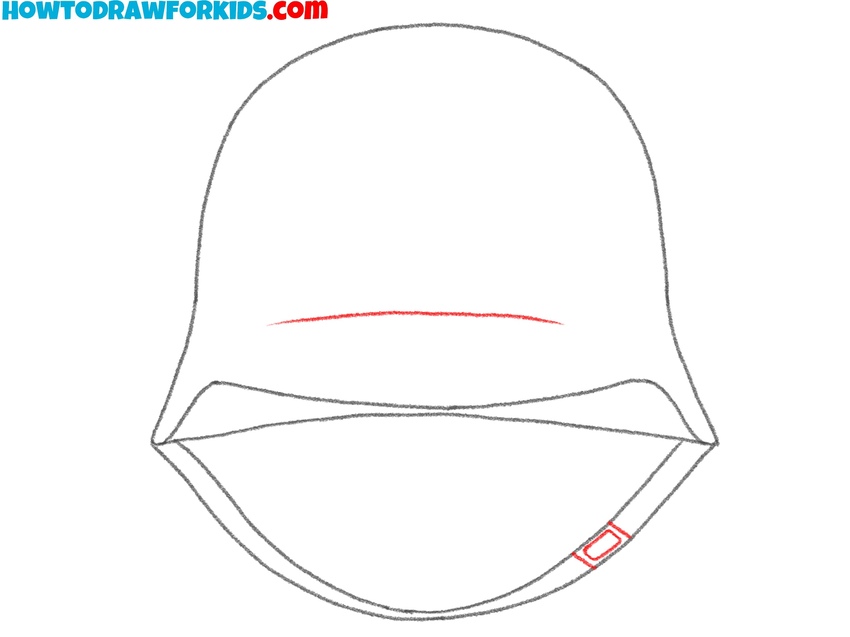
- Sketch the front edge.
For this step, connect the two side curves with a horizontal line to form the bottom edge of the helmet. The curve should be subtle but enough to give the helmet a slight dip. And again, to give your helmet drawing another look, you can adjust the shape of this line.
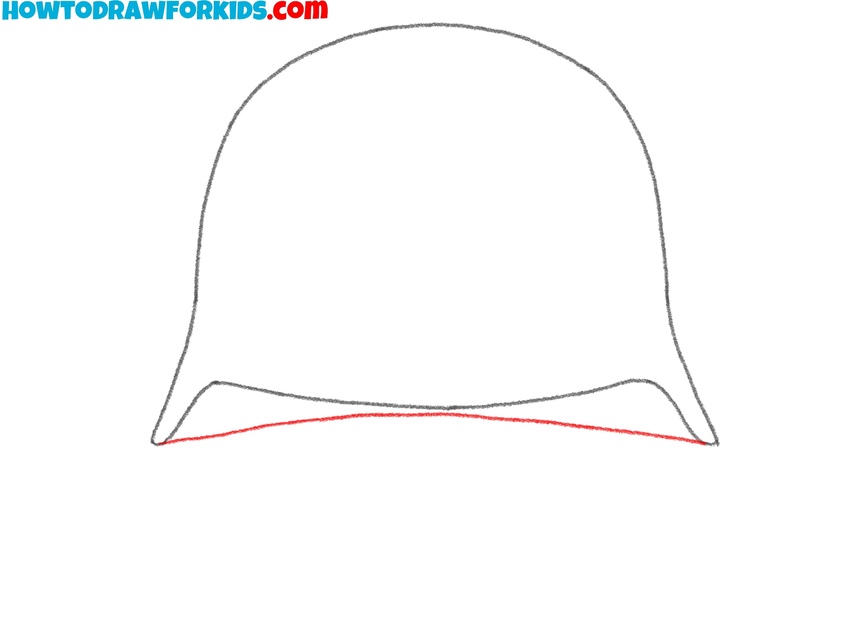
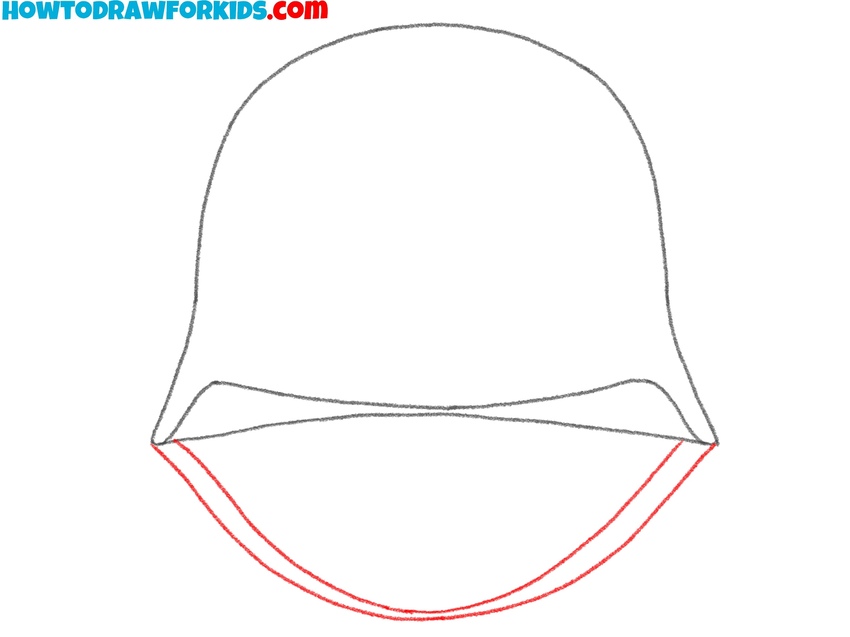
- Illustrate the back edge.
In this step, add a second curve just below the first one you drew in the previous step. This will represent the back edge of the helmet, where it meets the back of the head or the neck. To make the helmet look deeper, make the curve of the line more pronounced.
- Add the chin straps.
Now, draw couple of a curved lines extending from each side of the helmet’s bottom edge to represent the outline of the chin strap. The distance between the lines should be consistent along the entire length of the strap. You can adjust the shape and length of the strap as needed.
- Add details to the sketch.
In this step, add an additional small curve on the front side of the helmet to show a bit of detail. This line represents the top edge of the helmet visor. Next, add a small buckle at one side of the strap to make the overall helmet drawing look more detailed and realistic.
- Color your helmet drawing.
Now, erase any unnecessary lines and solidifying the shape of the helmet. Add a strap details to the helmet and strap. Once the outline is complete, add color to the helmet. You can color it with a green or army-style color to resemble a military helmet, or choose another color that fits your design.

Alternative Helmet Drawing Tutorial
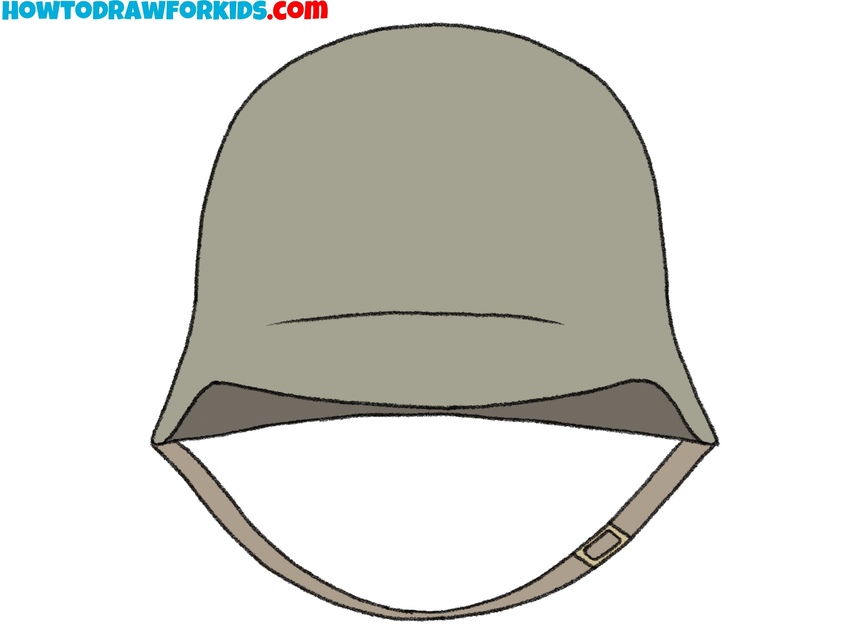
This tutorial on drawing a helmet demonstrates a simple, step-by-step approach to creating a military-style helmet, with additional details like camouflage and chin straps. Compared to the first drawing tutorial, this one introduces more distinctive elements, such as the straps and a detailed texture.
To start this tutorial on how to draw a helmet, sketch a curved line to outline the top of the helmet. Then, draw a smaller curved line at the bottom to form the helmet’s base. Add a small curve inside the bottom to show the rim. For the chin straps, draw two vertical lines on each side of the helmet. Continue by adding small rectangles at the ends of the straps to represent the fasteners.
To make the helmet look realistic, add a camouflage pattern to the surface by drawing irregular, wavy shapes that mimic the look of a military helmet. The final step involves shading the helmet. Color the helmet green, using darker shades for the camouflage and lighter shades for highlights. Don’t forget to color the chin straps with a brown or beige color to match the military style.
Conclusion
So, this was a simple yet detailed tutorial on how to draw a helmet for kids and beginners. In this lesson, we learned how to depict this headgear using basic lines. Now, try customizing your helmet drawing a bit. For example, you can add some elements or details.
Or, try drawing a person and placing this helmet on their head. To continue your learning process, visit other sections of my website to learn how to draw additional clothing details. Also, don’t forget to check out the coloring pages section, where you can spend your time coloring fun illustrations created especially for you.
To stay updated with all the new content on my site, make sure to follow me on social media, such as Pinterest. And to explore the video version of the lessons, be sure to subscribe to my YouTube channel.