How to Draw a Hood
Today in this lesson I want to show you how to draw a hood step-by-step. This instruction will be very simple for you.
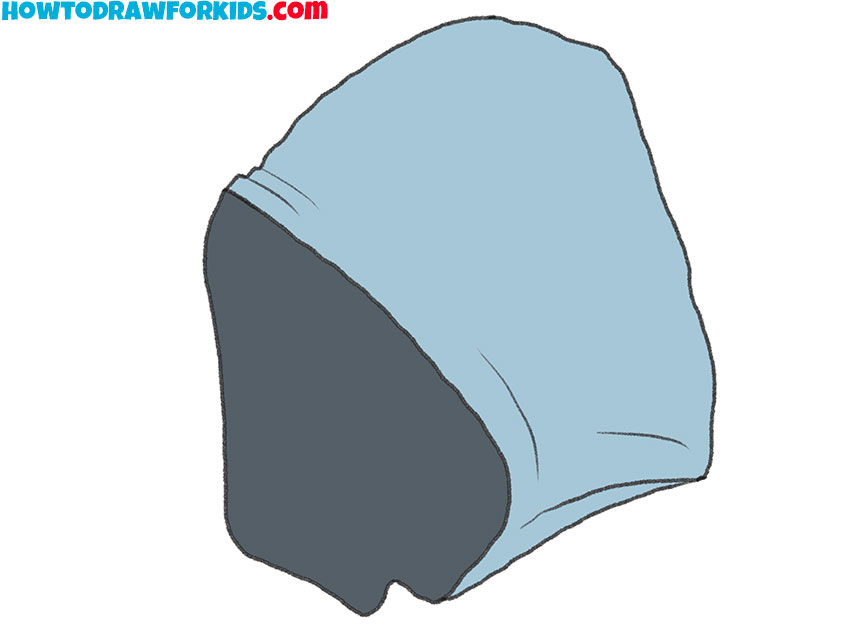
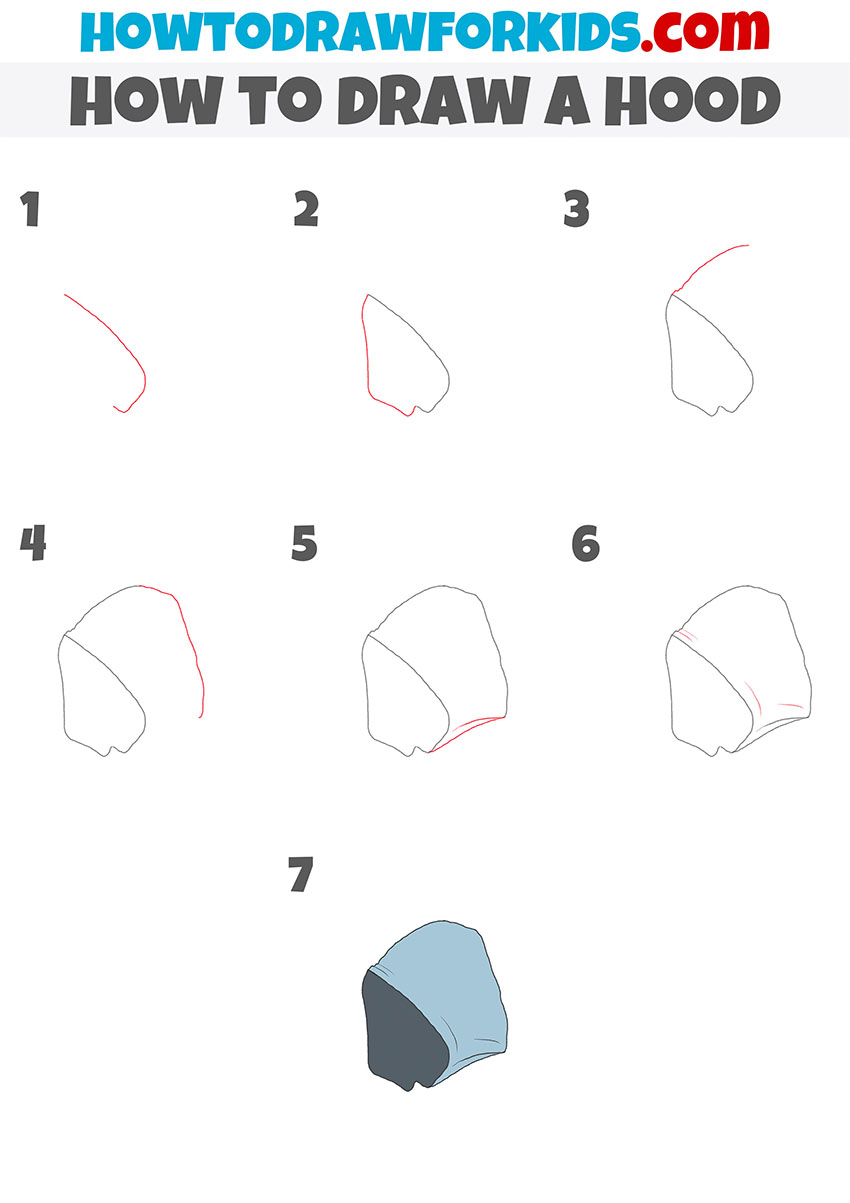
I suggest you draw a popular element of clothing, and in this lesson you will learn how to draw a hood. Thanks to this piece of clothing, you can protect your head from wind and frost.
The hood can be firmly sewn in or fastened to the collar of outerwear with a zipper or buttons. At the same time, the hood can be used both on light summer windbreakers and on warm winter jackets. Surely you also have hooded clothes in your wardrobe, and you know that it is very convenient.
The step-by-step guide is designed specifically for beginners, so it uses simple lines that you can easily follow. All you need is patience and care. Any color can be used to paint the hood, but the inside must be painted in a darker shade.
Materials
- Pencil
- Paper
- Eraser
- Coloring supplies
Time needed: 20 minutes
How to Draw a Hood
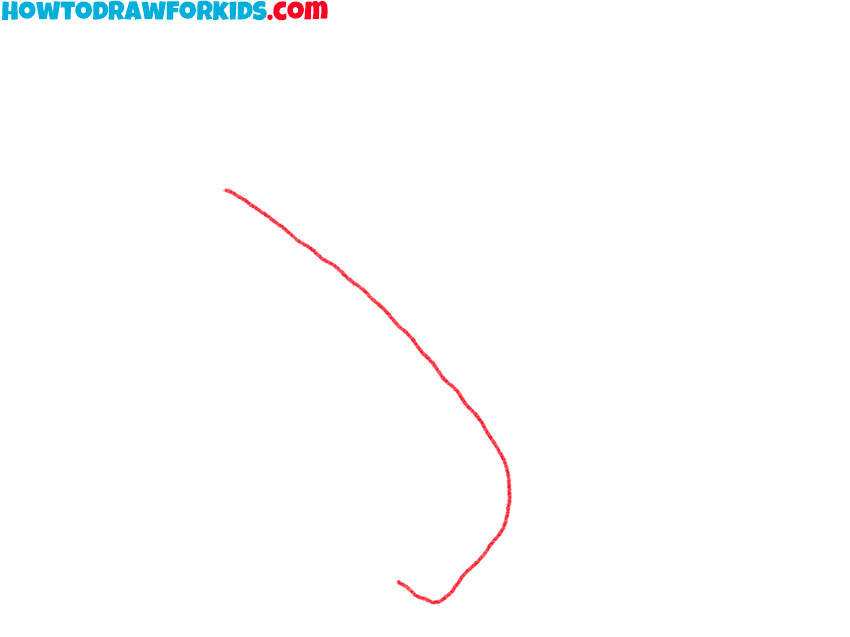
- Start drawing the inside of the hood.
Depict a smooth curved line as shown in the example.
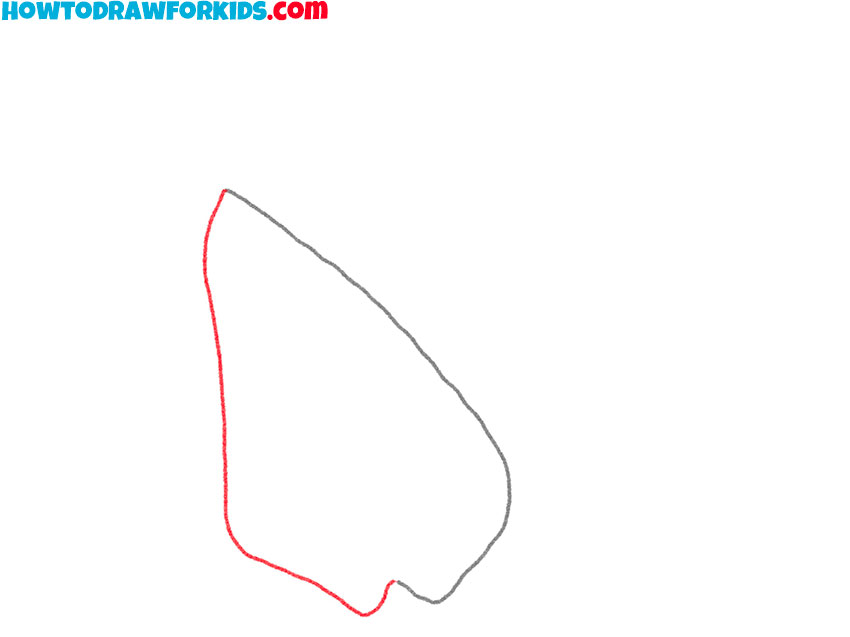
- Continue drawing the inside.
Repeat the previous step and draw a curved line from the left side.
- Depict the top of the hood.
Sketch out a small line at the top.
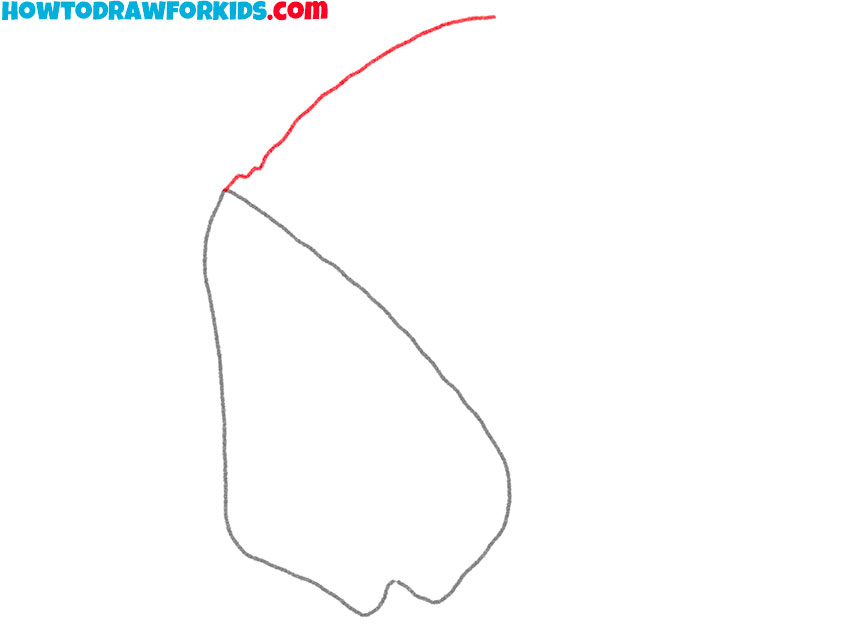
- Draw the back of the hood.
Continue the line and go down to depict the back of the hood.
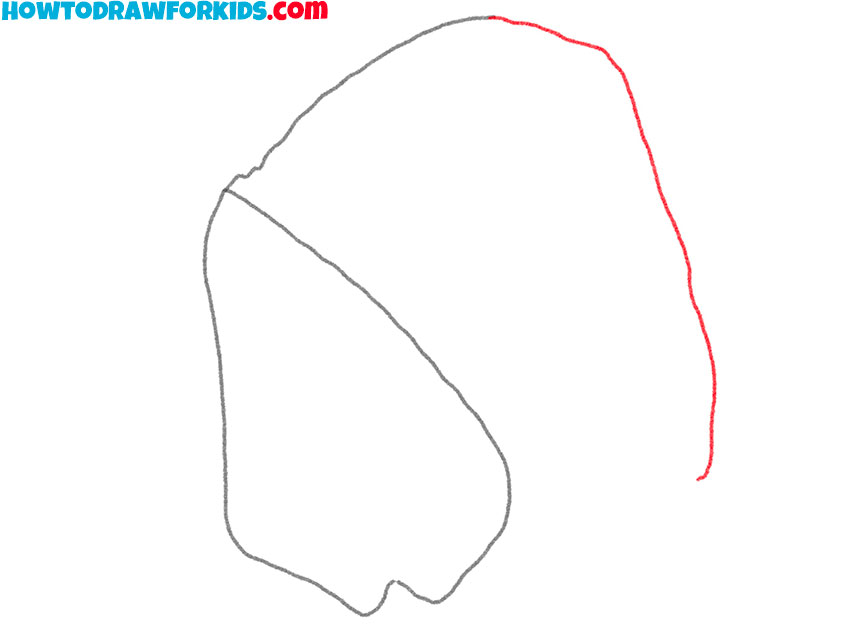
- Add the bottom of the hood.
Depict a connecting line at the bottom.
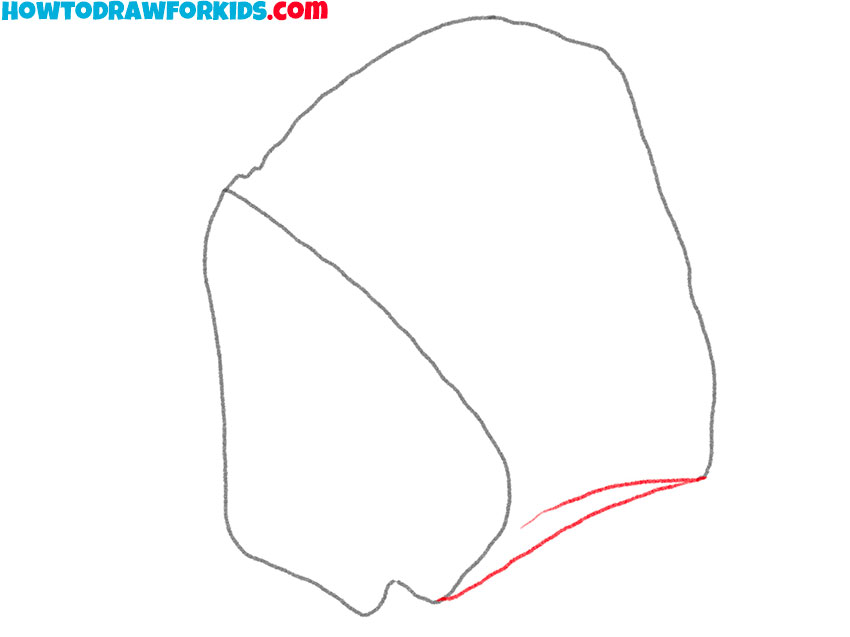
- Sketch out the folds.
Draw thin, short lines to depict the folds in the fabric.
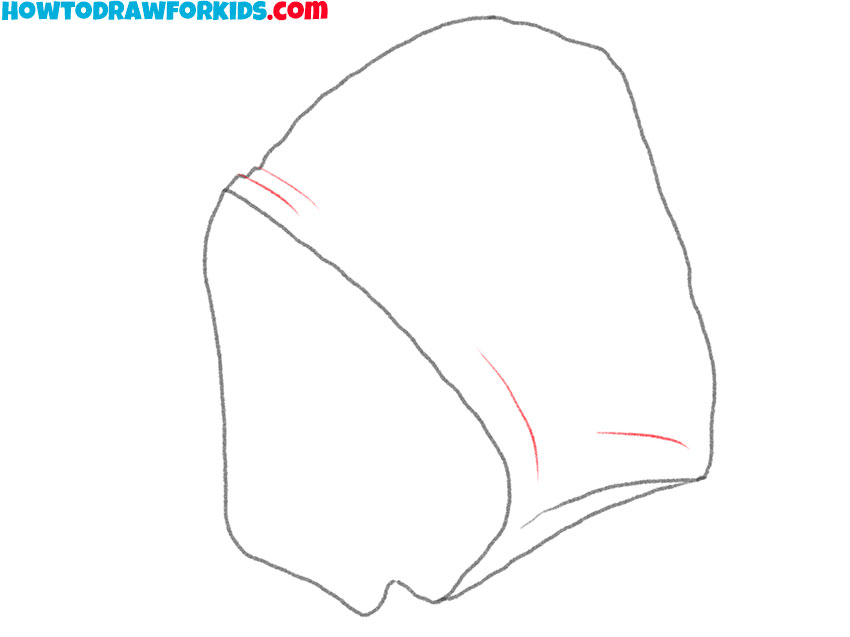
- Color the hood.
Use blue or any other colors you like.

If you want the lesson to be always available to you, then download the PDF file, which contains a brief instruction and additional useful materials.


