How to Draw a Hoodie
Learn how to draw a hoodie with a very simple tutorial. This guide is very helpful and consists of only nine easy steps.
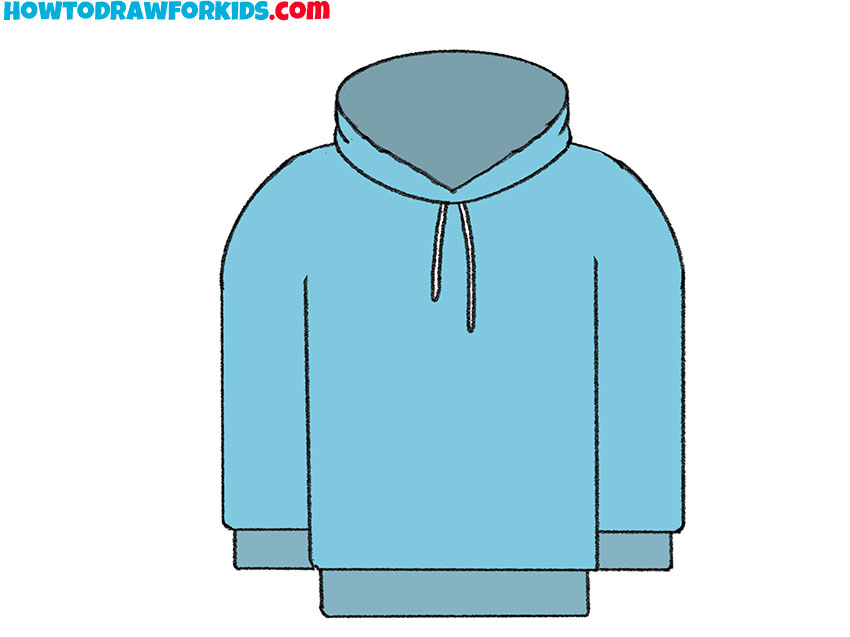
In this step-by-step instruction, I want to tell you how to draw a hoodie step by step. I promise that this lesson will be very simple. You can easily draw a great hoodie even if you have very little drawing experience.
A hoodie is a sweatshirt with a hood. Hoodies often include a muff sewn onto the lower front, and usually a drawstring to adjust the hood opening. It covers most of the head and neck and sometimes the face. Hoodies may be worn for protection against the environment and bad weather.
If you learn how to draw a hoodie, then in the future you will be able to portray a person wearing this item of clothing. Follow my instructions, then you can easily draw this hoodie. You can start doing this great lesson right now!
Hoodie Drawing Tutorial
Materials
- Pencil
- Paper
- Eraser
- Coloring supplies
Time needed: 20 minutes
How to Draw a Hoodie
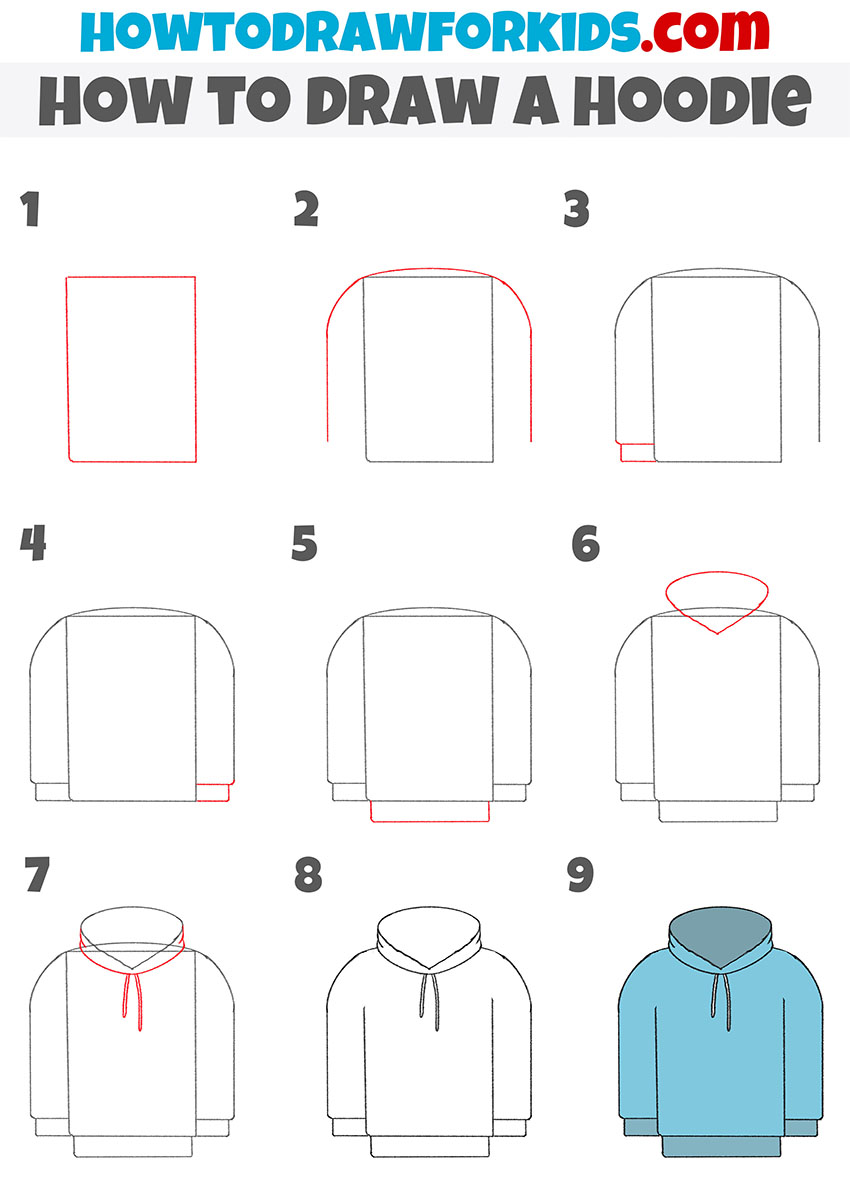
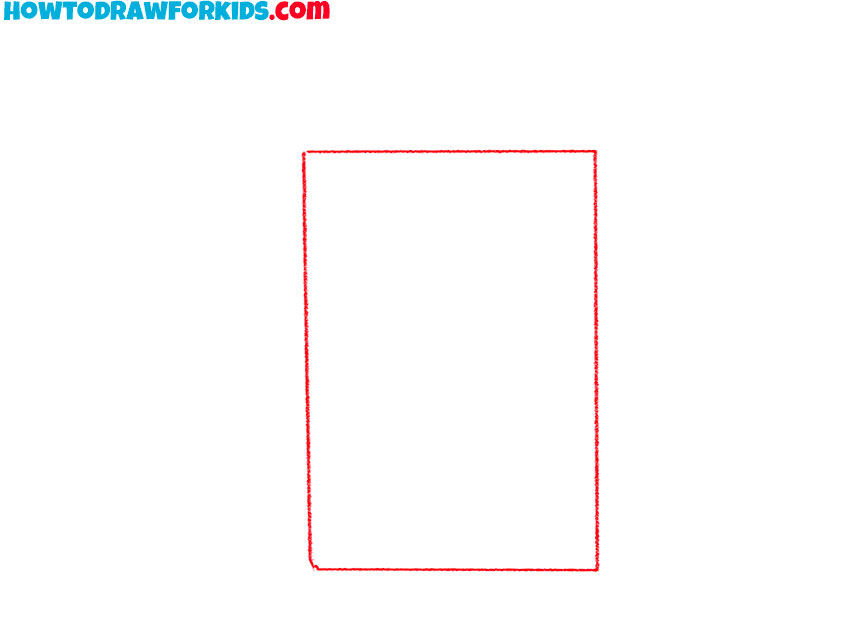
- Draw the outline of the main part of the hoodie.
To complete this step, you have to draw a rectangle using straight lines.
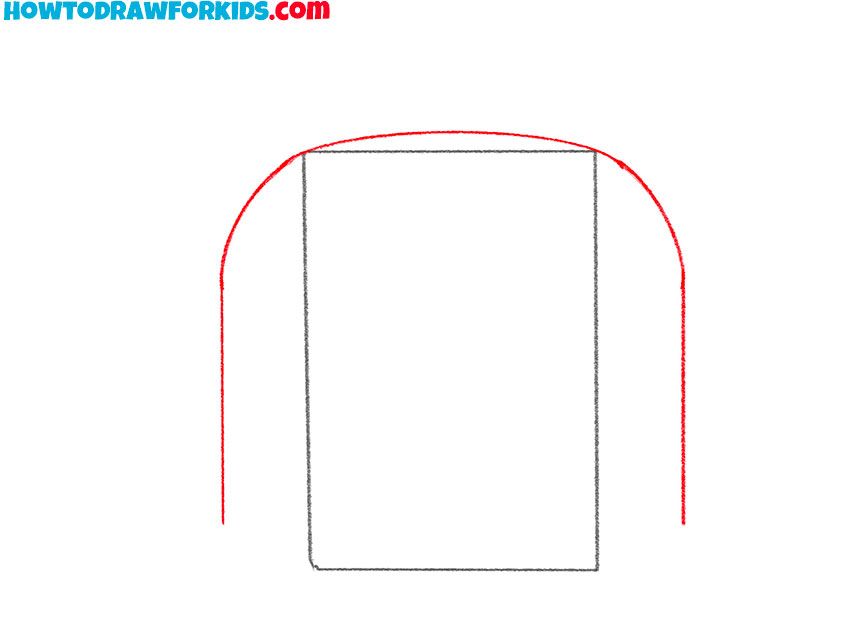
- Picture the line of shoulders and sleeves.
Draw an arch and straight lines below the previously drawn rectangle.
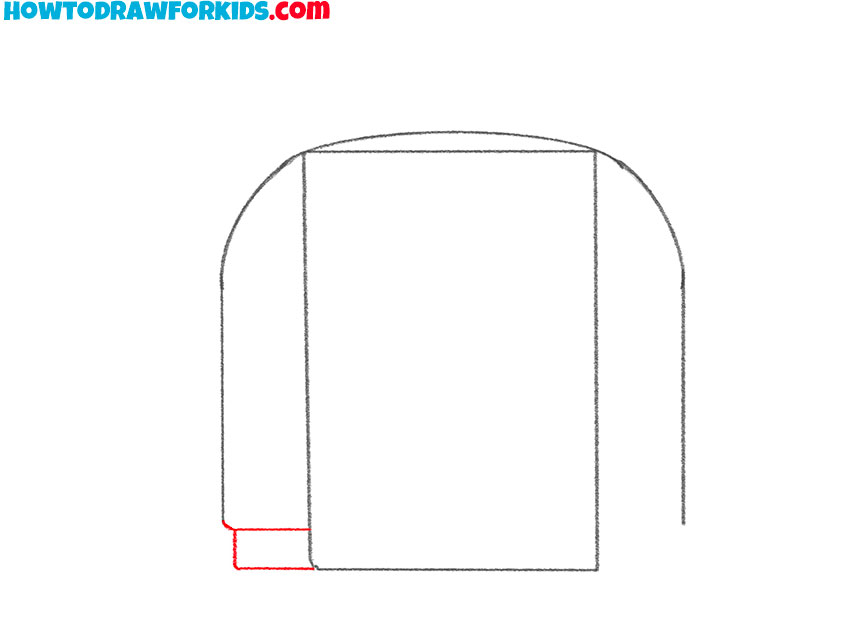
- Depict the bottom of one of the sleeves.
On the left side add a straight line and an angle drawn with straight lines.
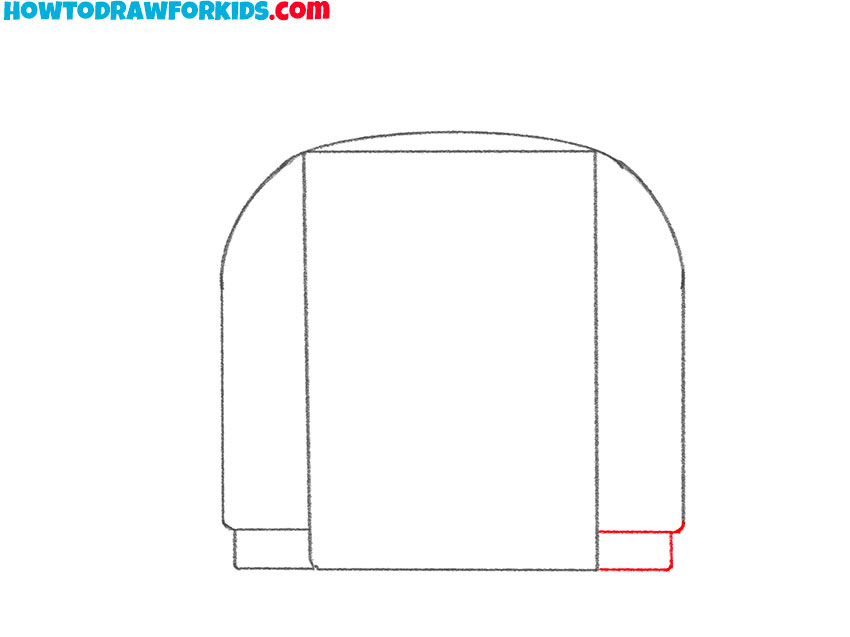
- Add an outline of another sleeve.
Draw the same details on the right side as in the previous step, using straight lines.
- Picture the bottom of the hoodie.
At the bottom of the rectangle add an element similar to a long rectangle without one base.
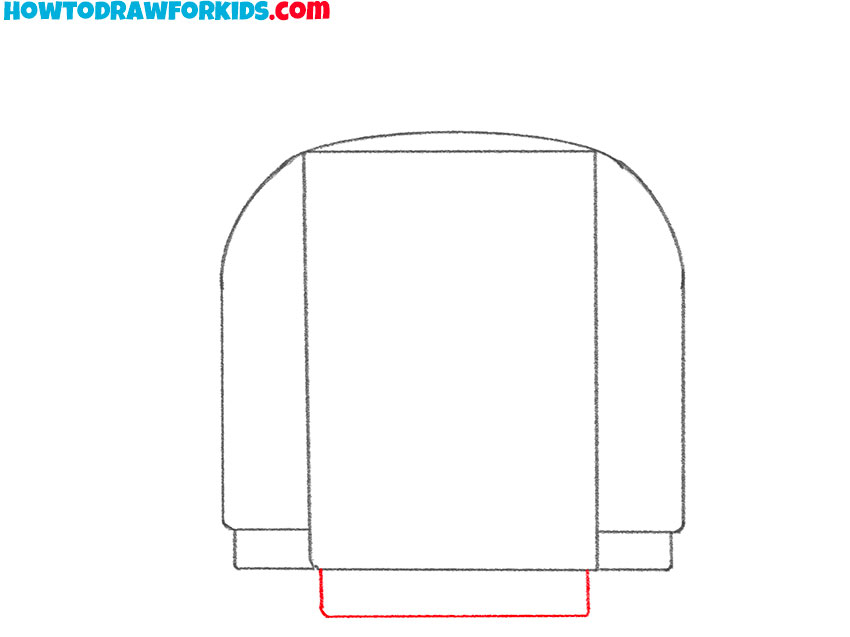
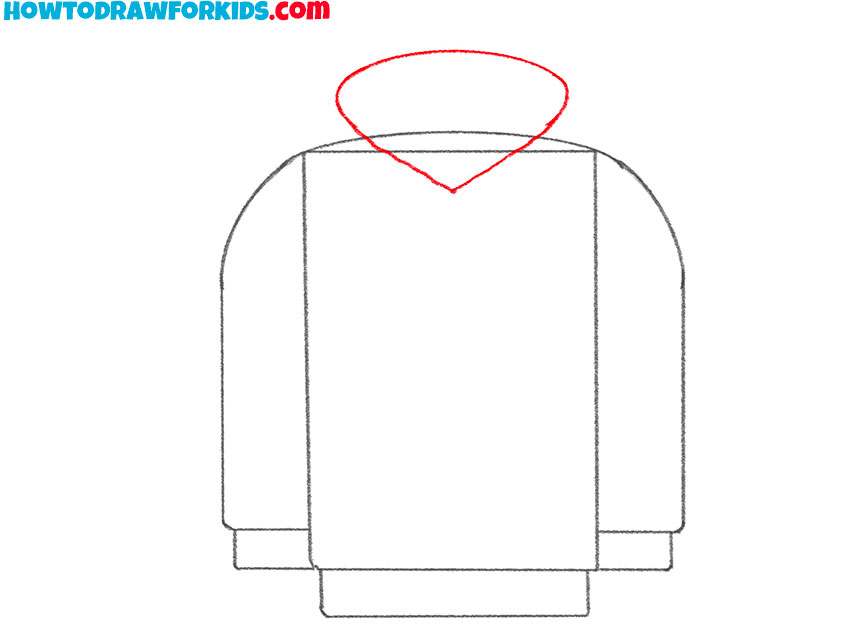
- Draw the top outline of the hood.
At the top of the hoodie add a figure drawn with a curved line.
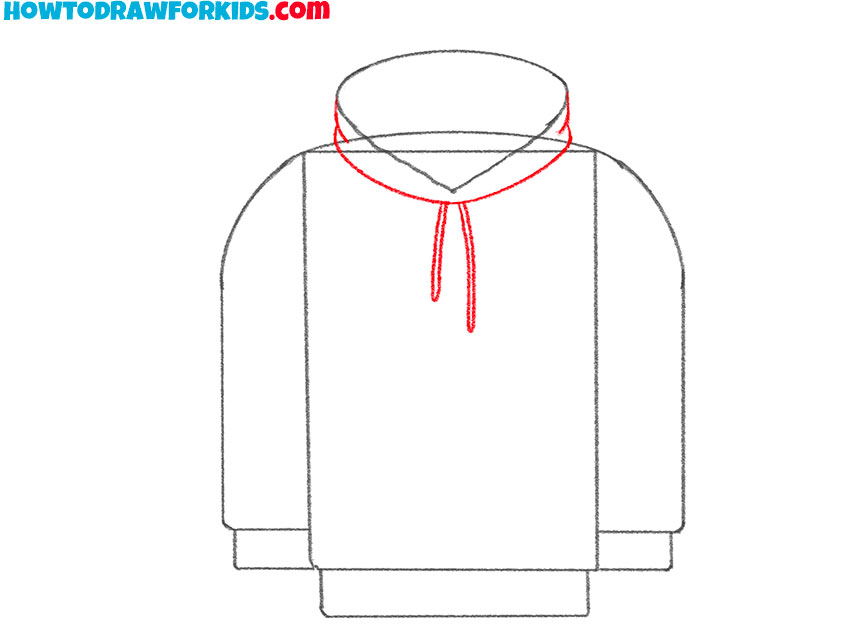
- Add the lower part of the hood.
Below the curved line, add an arch and curved lines, and draw laces with curved lines.
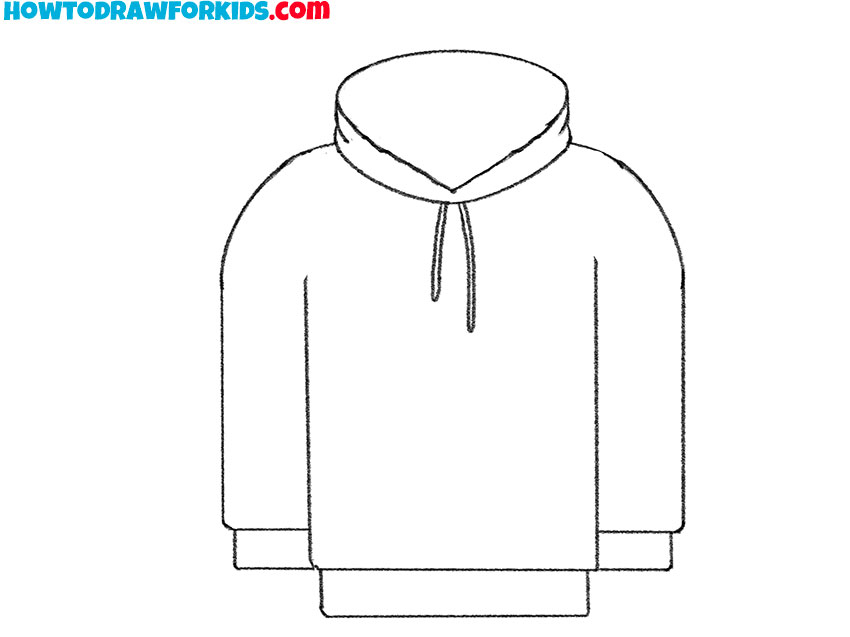
- Erase unnecessary lines.
Use an eraser to remove auxiliary lines that appeared during the drawing process.
- Color the drawing.
To color this hoodie, you should use blue and gray-blue.
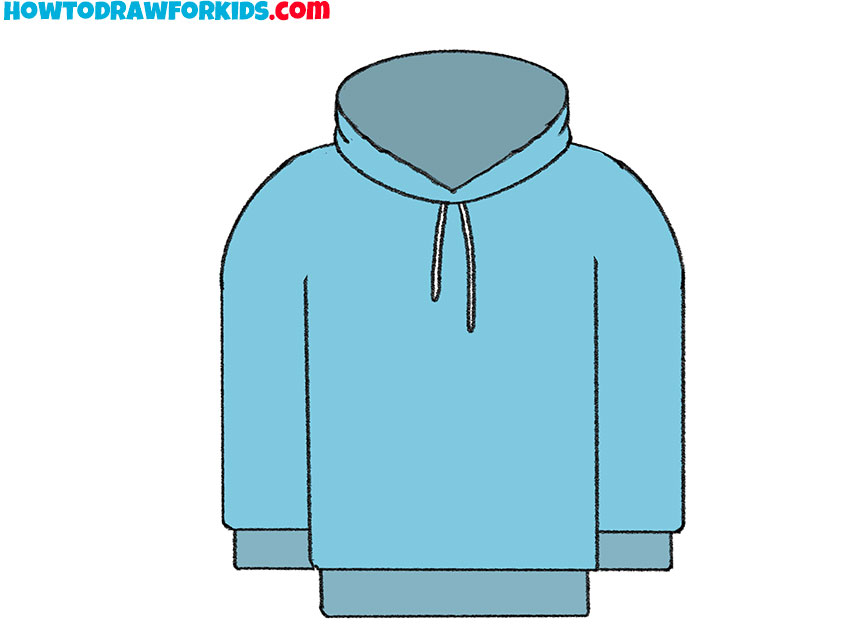
This interesting drawing lesson has come to an end. Don’t forget to download the PDF file below, which I prepared especially for you so that you can use the short version of this lesson and other useful additions at any time.