How to Draw a Jeep
I have prepared for you another fascinating drawing lesson in which I will tell you how to draw a jeep step by step.
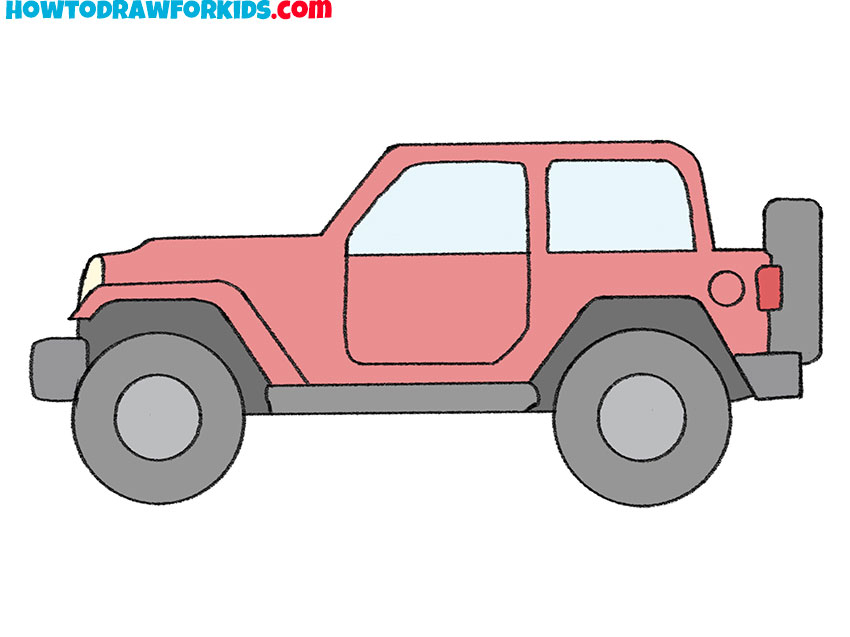
In this lesson, you will learn how to draw a jeep step by step. Jeep is a light off-road vehicle. This means that it can pass in places where it would be difficult for other cars to do so. It is designed to carry passengers or any cargo.
Learn to draw a jeep perfectly, so that later you can apply these skills while drawing any road or city landscape.
In this lesson, you will practice drawing circles, as well as straight and rounded lines. Prepare your art supplies and feel free to proceed with this lesson.
Materials
- Pencil
- Paper
- Eraser
- Coloring supplies
Time needed: 30 minutes
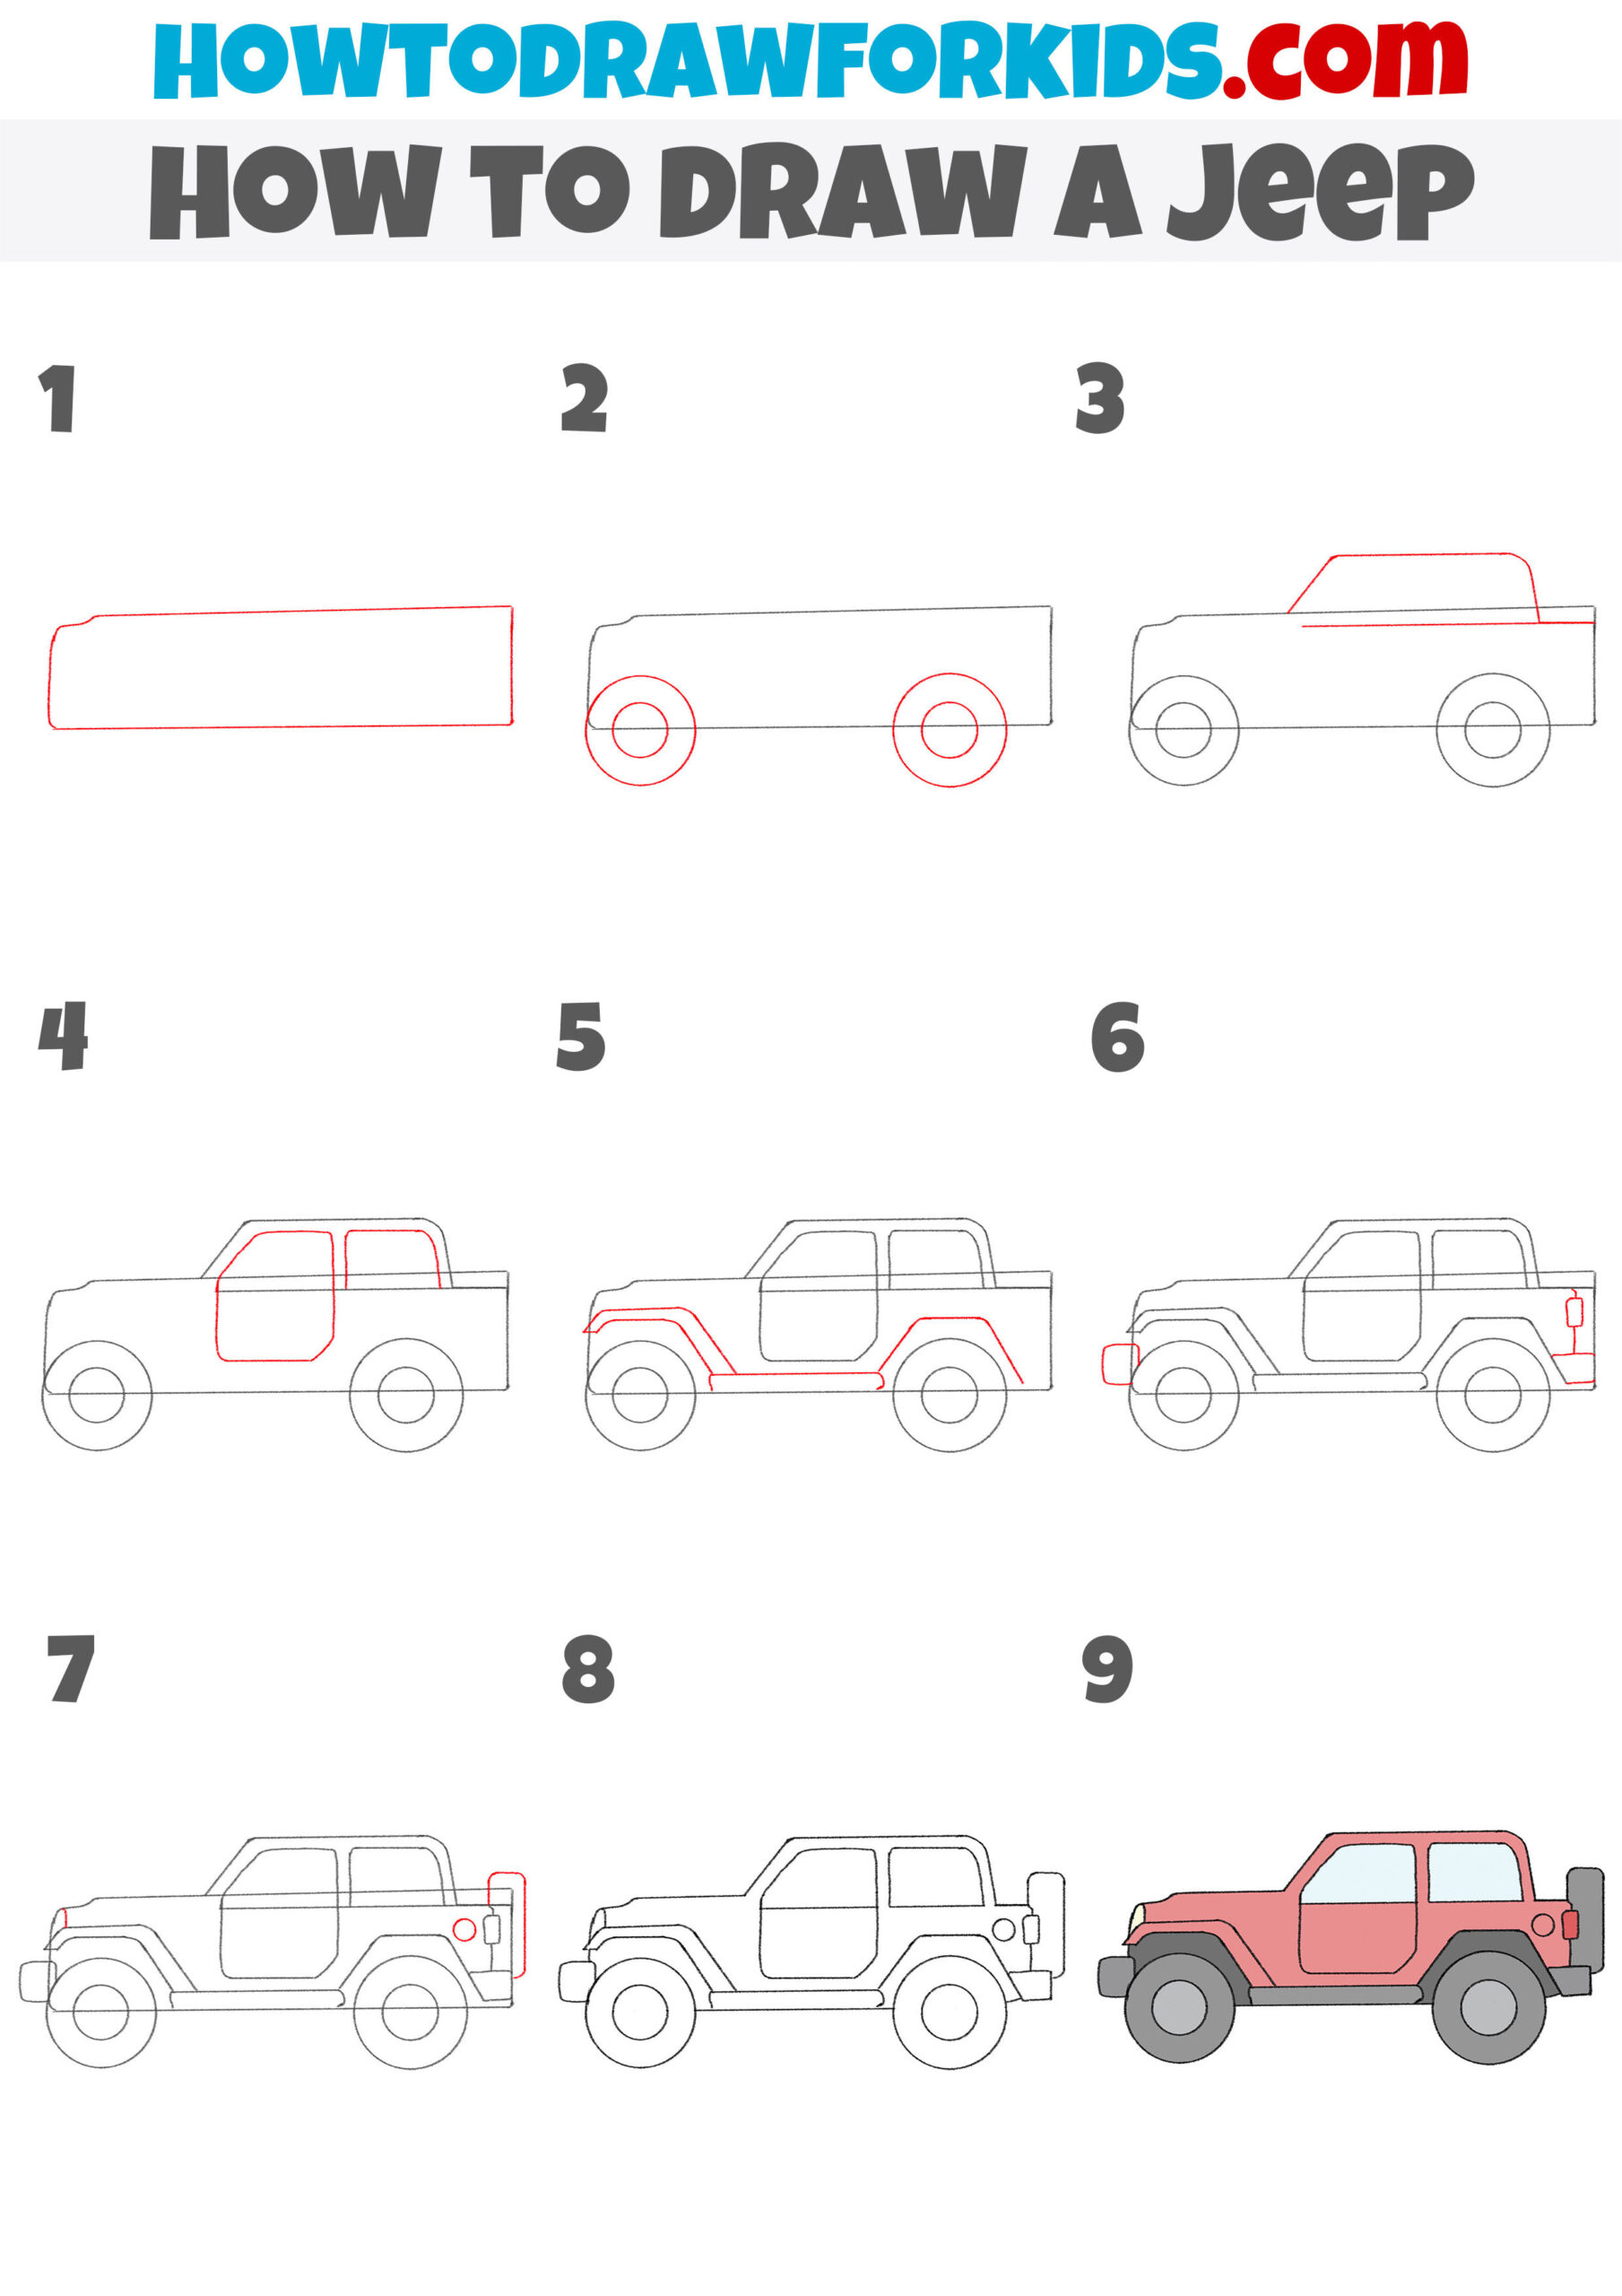
How to Draw a Jeep
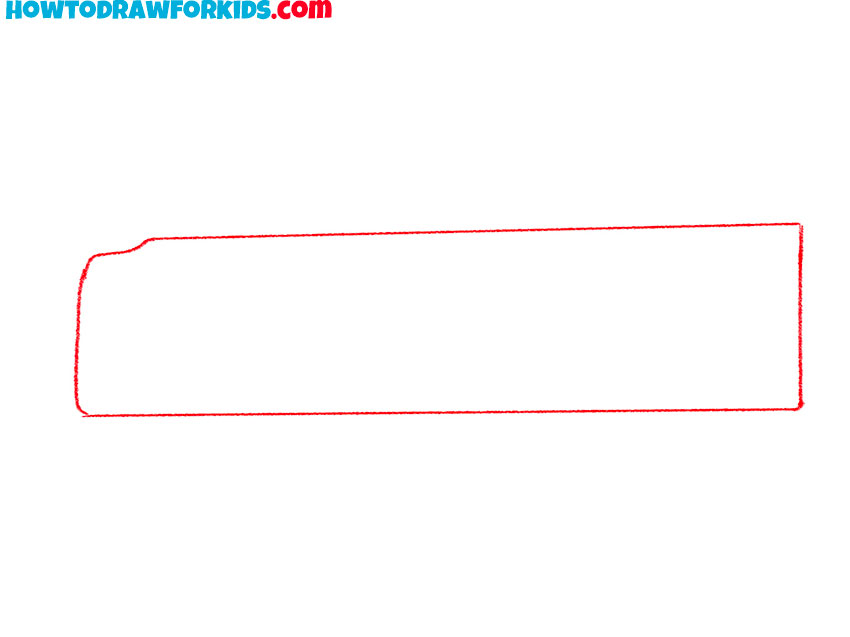
- Draw the main part of the jeep.
Depict a rectangle-like shape using straight and slightly curved lines.
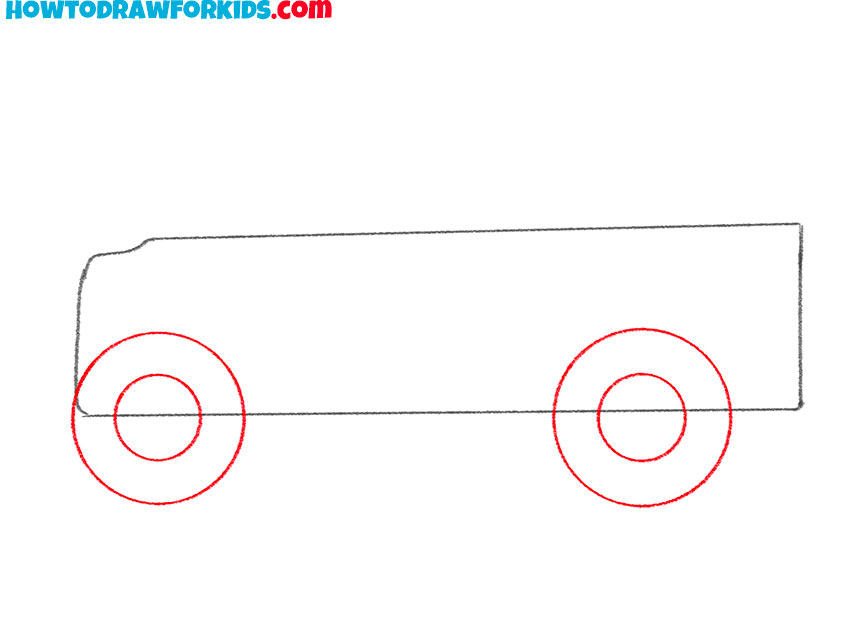
- Add the jeep wheels.
Draw two identical large circles and two identical small circles inside them.
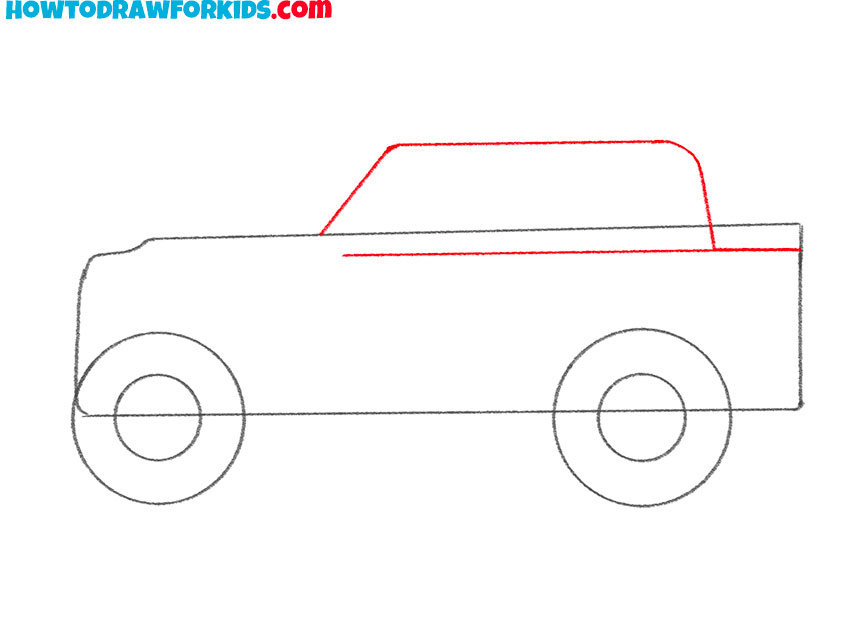
- Depict the roof of the jeep.
Above the previously drawn shape, add some straight lines, as well as a rounded line.
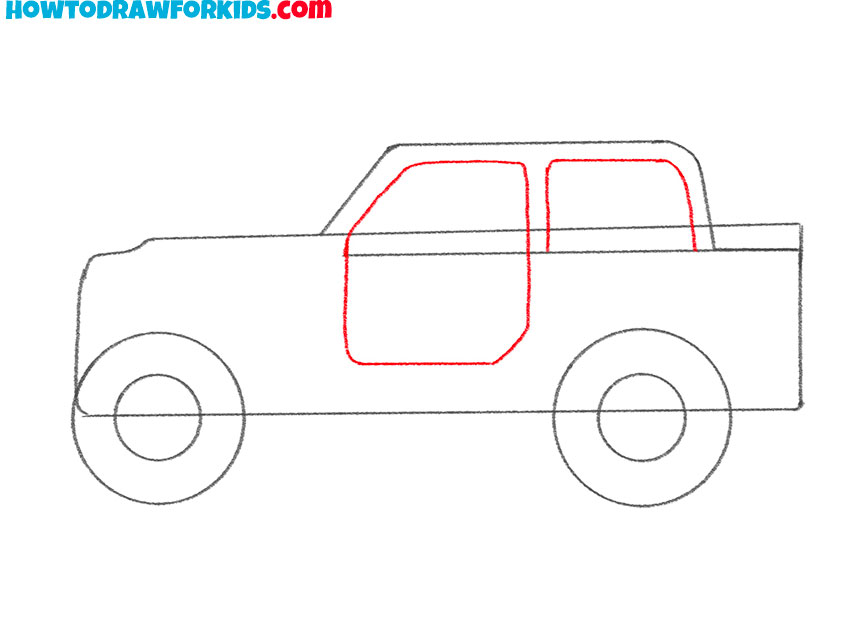
- Add the outline of the door and window.
Draw two shapes using straight lines with rounded lines at the corners.
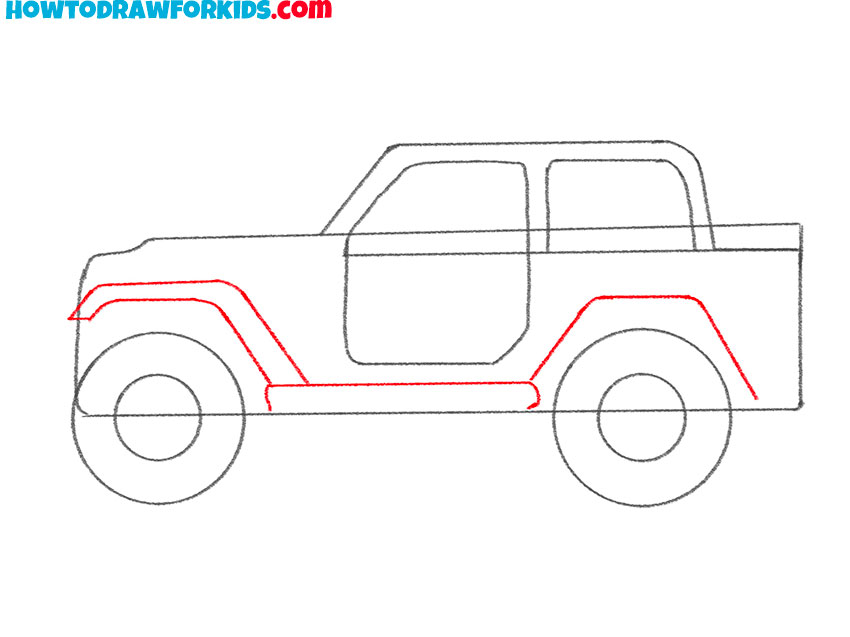
- Draw the frame at the bottom of the jeep.
Depict arcs, straight and curved lines to the bottom of the car.
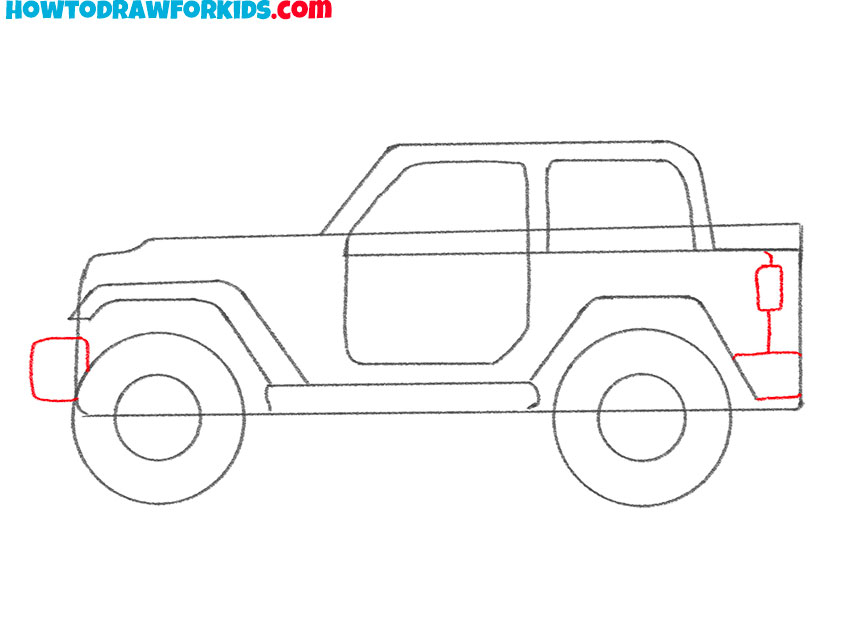
- Add headlights and other details.
At the front and back of the jeep, add elements using straight and rounded lines.
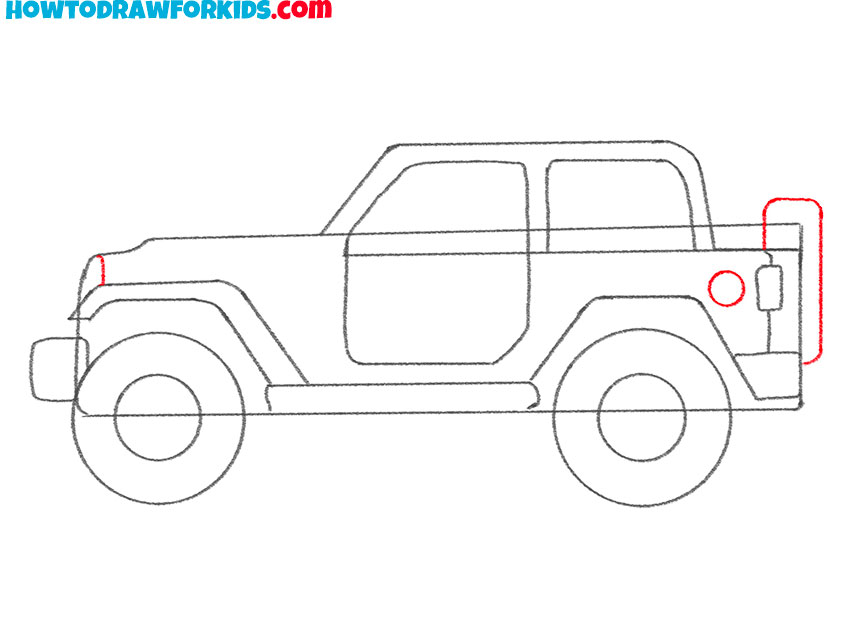
- Sketch out the few elements.
At the back of the jeep, draw a circle, straight and curved lines.
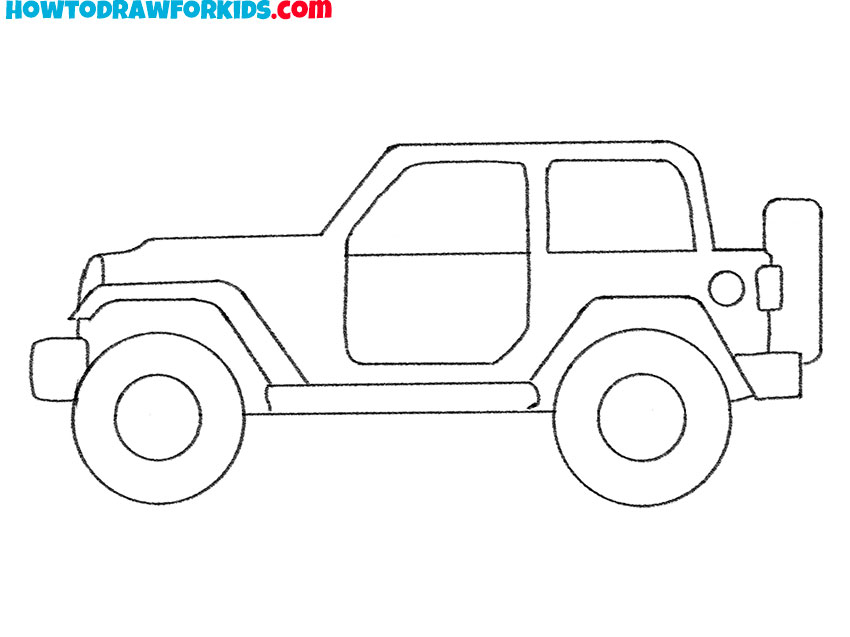
- Correct inaccuracies.
Use the eraser to remove all unnecessary guidelines.
- Color the drawing.
To color the jeep, you need to use red, black, blue and shades of gray.

As a reminder, you can download a PDF file that contains a short version of this tutorial and additional helpful resources. You can use this any time you want to go back to this lesson, even if you don’t have an internet connection.

