How to Draw a Jersey
This step-by-step tutorial will focus on how to draw a jersey and will appeal equally to young artists and young athletes.
Are you a young sports enthusiast with a passion for drawing? My lesson on how to draw a jersey is just for you! Learn the basics of jersey design, add your favorite team colors, and draw a jersey that looks ready for game day. This detailed guide is created for kids looking to combine their love of sports with art.
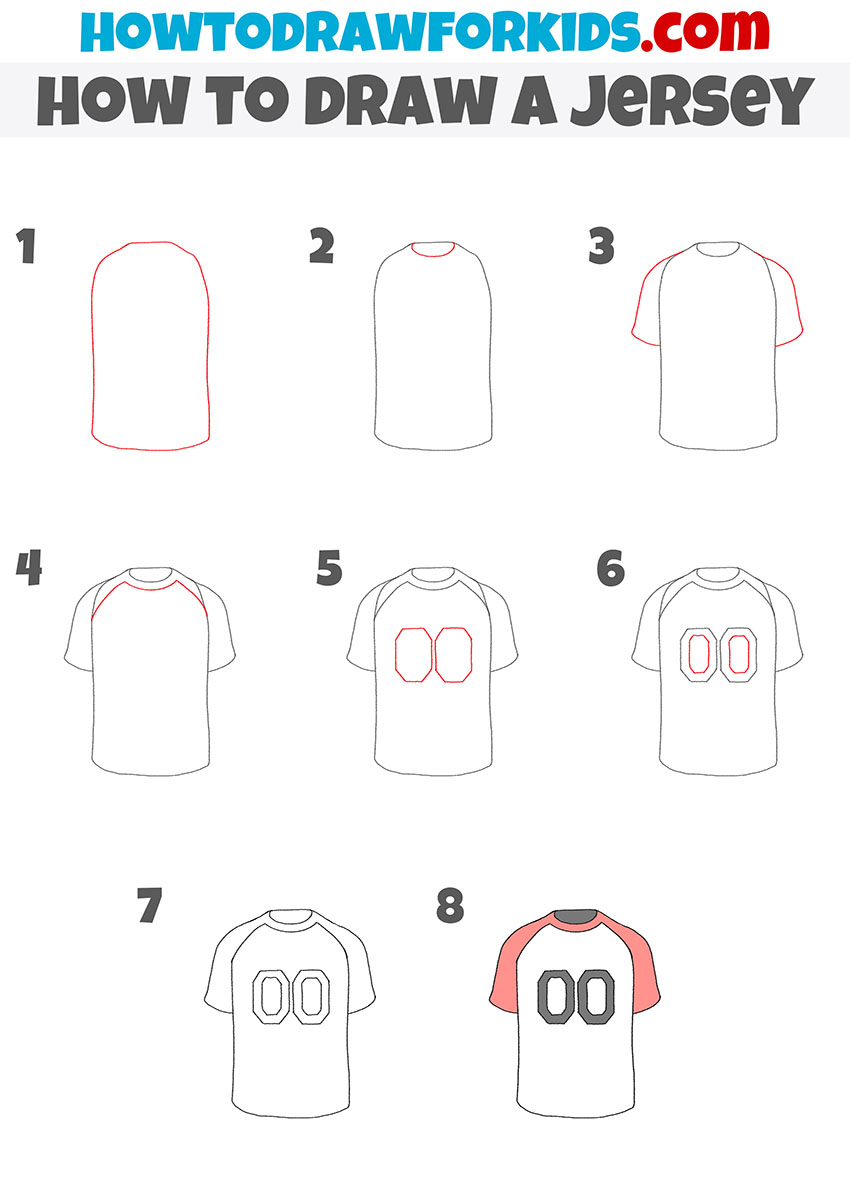
How to Draw a Jersey: Basic Information
Hey team, lace up your sneakers and grab your pencils! It’s time to draw a jersey that’ll make you feel like you’re part of the league! Today, we’re suiting up in our artistic uniforms to learn how to draw a jersey, and it’s going to be as thrilling as a buzzer-beater!
As an art teacher, I often emphasize the importance of mastering fundamental drawing skills through the depiction of everyday objects and clothing, such as a jersey. The process of drawing a jersey, with its simple yet distinctive features, offers a valuable exercise in understanding and applying key principles from the theory of fine arts.
In this tutorial, we will learn the basic geometric shapes and how these can be manipulated to create more complex forms. This skill is essential as it relates to the principle of form, which is foundational in creating a visually convincing piece.
The jersey’s fabric also provides an excellent opportunity to study and render different textures, enhancing one’s ability to convey tactile qualities through visual media.
Moreover, the addition of details such as stripes and numbers introduces the concept of rhythm and repetition, which are crucial in creating movement and unity within an artwork. The careful placement of these elements requires an understanding of balance and proportion, principles that are critical in achieving a harmonious composition.
So, with all the aforementioned points in mind, let’s begin this tutorial and learn how to draw a jersey.
Jersey Drawing Tutorial
Materials:
- Pencil
- Paper
- Eraser
- Coloring supplies
Time needed: 30 minutes
How to Draw a Jersey
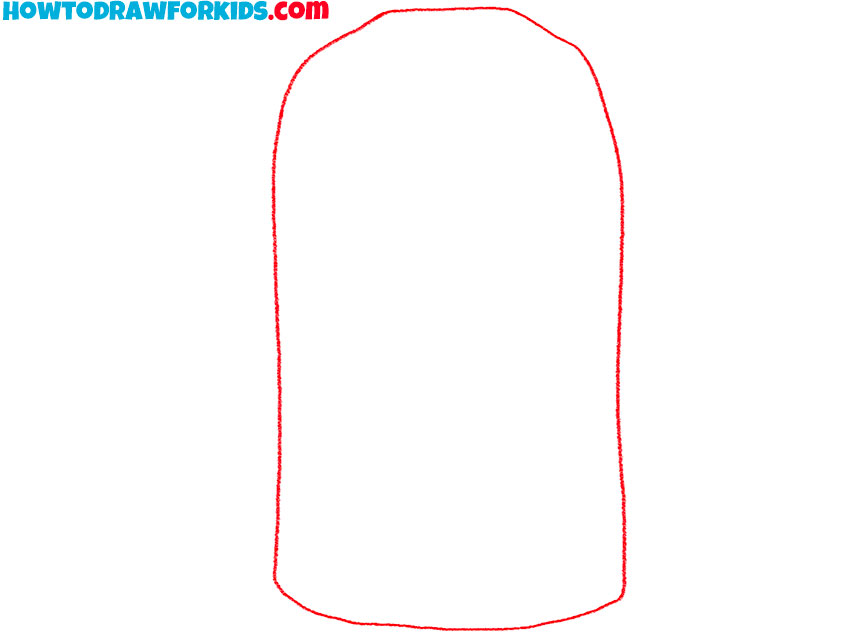
- Draw the basic outline of the jersey.
Start your drawing by sketching a vertical, rounded rectangle to form the basic outline of the jersey. This rectangle should have gentle curves on the sides to simulate the natural flow and drape of a fabric. Ensure that the top and bottom edges are slightly rounded as well, avoiding sharp corners.
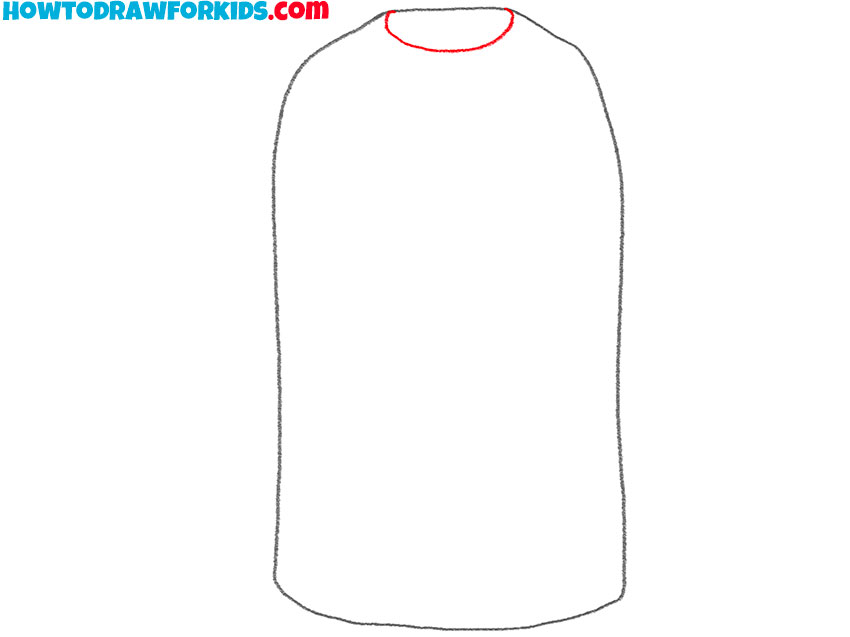
- Sketch the neckline.
Focus on the top of the rectangle you drew in step 1, and carefully sketch a shallow, curved line across it to create the neckline of the jersey. This line should be a smooth, rounded U-shape that dips slightly lower in the center, resembling the neckline of a typical sports jersey.
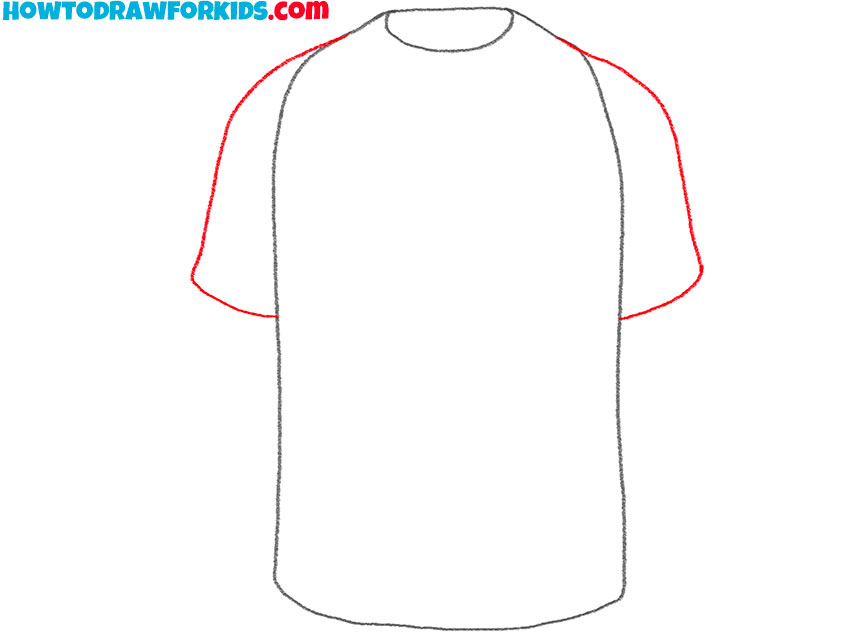
- Add the sleeves.
To add sleeves to your jersey, draw two short, curved lines extending from each side of the neckline. These lines should arc downwards and then outwards, mimicking the gentle slope of the shoulders on a real jersey. The bottom edge of the sleeves should be slightly above the middle of the rectangle from the first stage.
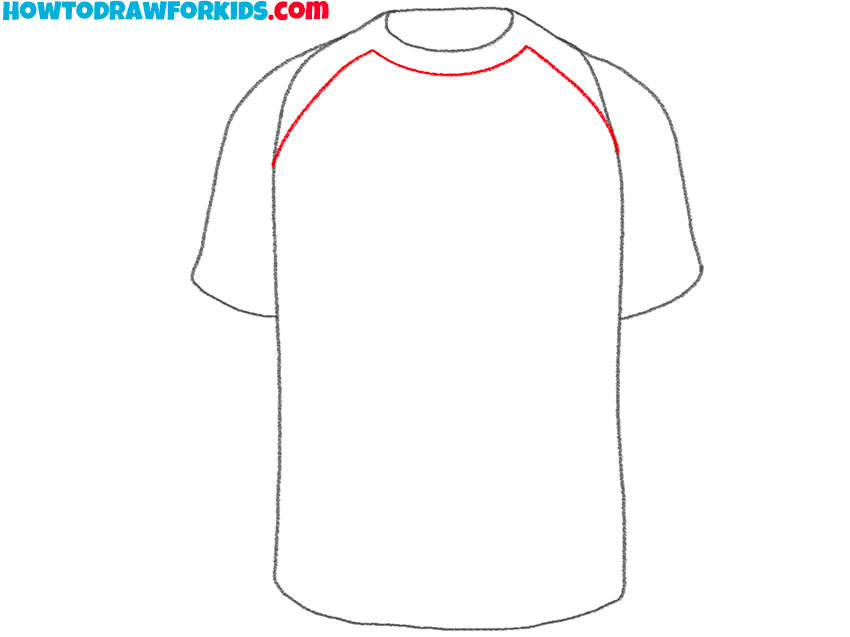
- Detail the top of the T-shirt.
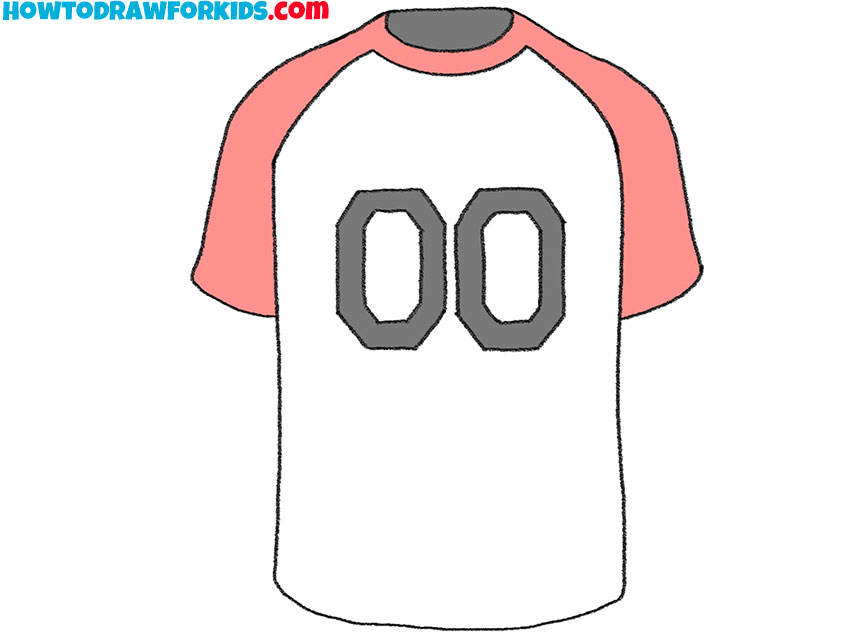
Draw two lines from each sleeve to represent sleeve stripes, a common design element in sports jerseys. These should be positioned near the ends of the sleeves and should be evenly spaced to maintain symmetry. Since this is just a design element, it can have any shape.
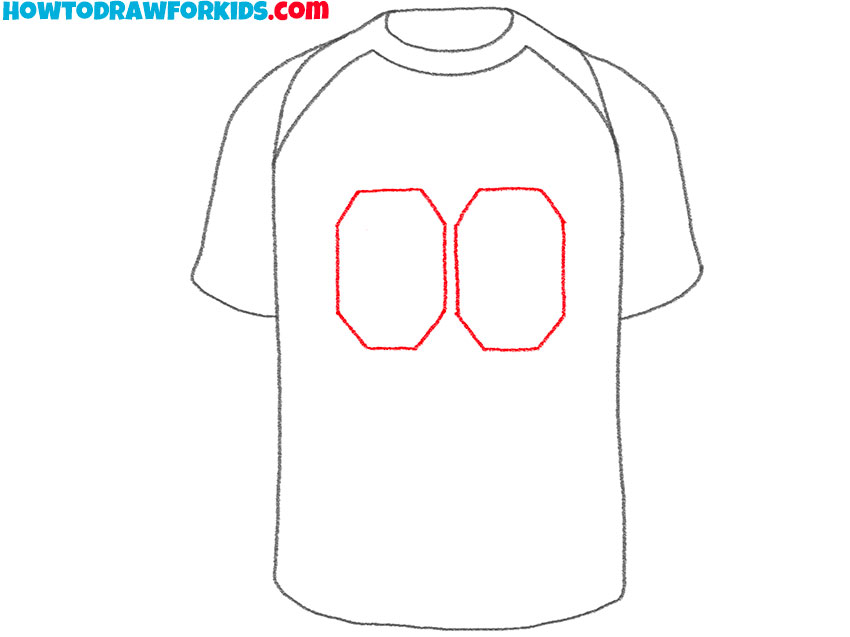
- Illustrate the sport’s number.
Inside the torso part of the jersey, sketch two large, slightly rounded rectangles to depict the numbers typically seen on sports jerseys. The size and placement of these numbers are key to mimicking the look of a professional sports jersey, as they often carry significant visual weight in the design.
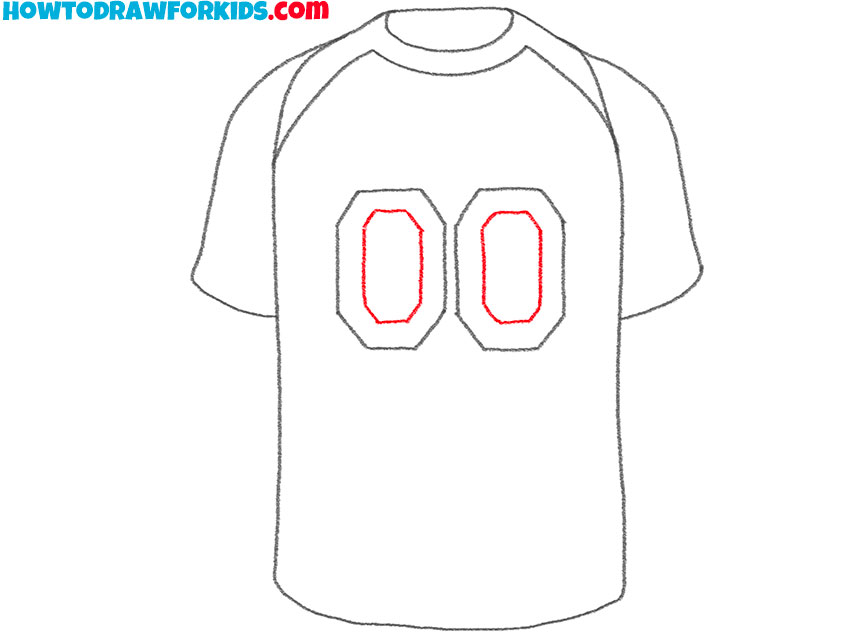
- Add the inner outlines of the numbers.
Within the outlines drawn in step 5, carefully draw the two more 00 shapes in a bold, block-style font. These numbers should be large and clear, filling most of the space within the torso shape to ensure they are prominent and easily readable.
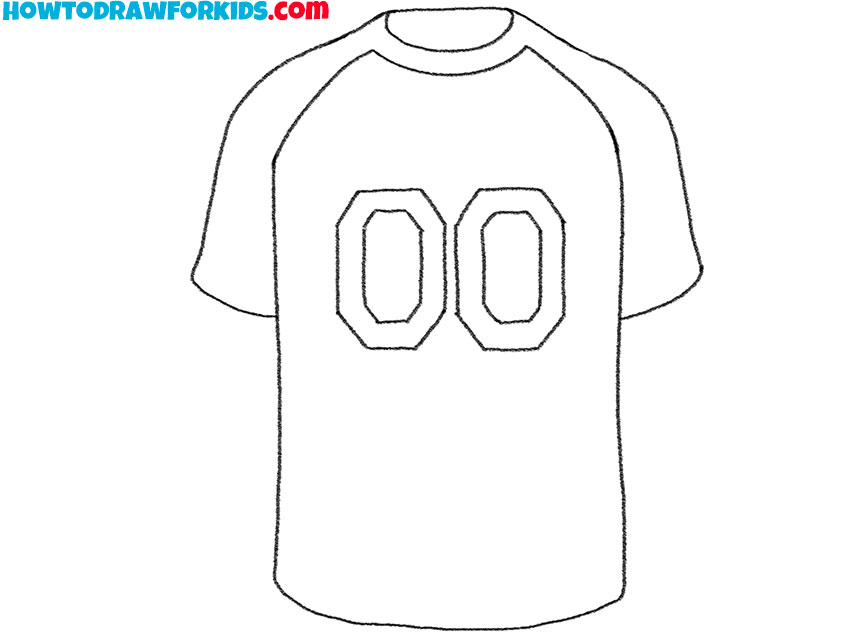
- Prepare the jersey drawing for coloring.
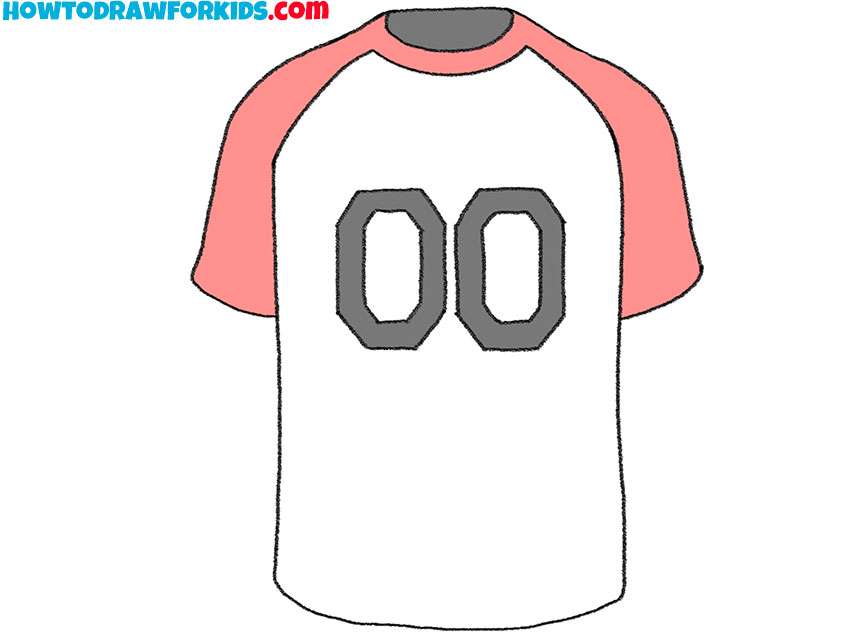
Before adding color, carefully erase all preliminary guidelines and sketches that helped shape the jersey. Use a soft eraser to gently remove lines, taking care not to smudge or tear the paper. Focus on leaving the essential outlines and details intact, such as the numbers, stripes, and edges of the jersey.
- Color your jersey drawing.
Use a contrasting shade for the sleeves and the neckline compared to the main body to highlight these features effectively. This helps to differentiate the various elements of the jersey clearly. Additionally, fill in the numbers with a bold color that stands out against the background.
Additional Content
I’ve prepared for you a super cool PDF version of this jersey drawing lesson! It’s a mini guide that you can download and take everywhere no internet needed.
So, whether you’re chilling in your backyard or on a road trip, your art fun doesn’t have to wait for anything. Hit that download button and download the PDF with all needed for learning art!
Jersey Drawing Lesson FAQs
When drawing any objects, a young artist may encounter a number of questions to which the teacher will always have answers. And when learning to draw a jersey, questions may also arise to which I will now give answers.
To maintain proportion in your jersey drawing, start by deciding the actual size of the jersey on your paper. You can a light grid or reference lines that divide the jersey into sections (like the torso, sleeves). Measure these parts in simple ratios to keep everything aligned and balanced.
For complex designs like camouflage or intricate logos, start with a light outline of the basic shapes within the design. Gradually add details, paying close attention to the spacing and size. Use a fine tip pen or a sharp pencil for precision, and consider using a magnifying tool if working on particularly small or detailed areas.
To make the jersey appear worn or in motion, sketch lines that show the fabric stretching or creasing. Consider the natural movements associated with wearing a jersey, like stretching across the chest or bunching at the waist. Slightly curved lines can simulate these effects convincingly.
Common mistakes include not paying attention to symmetry, especially with numbers and logos, and misjudging the scale of different elements like the collar or sleeve bands. Also, avoid over-complicating the shading and texturing – less is often more when it comes to realism.
Studying different sports jerseys can provide insights into how different materials behave, how logos are integrated, and how color schemes are used. Pay attention to details like stitching, fabric folds, and how numbers are styled. This knowledge will inform your drawings and make them more accurate and dynamic.
How to Draw a Jersey: Conclusion
You’ve just scored big in the art league by completing this jersey drawing lesson. If you’ve got questions buzzing like bees or wishes for our next drawing tutorial, just leave a comment. Your thoughts are the secret ingredient to making these lessons even more fantastic!
Hungry for more drawing guides? Zip on over to my website where you can learn to draw everything from a bouncing basketball to a fast-moving soccer player.
Finally, don’t forget to join me on social media! It’s the best way to catch the latest news on my new drawing lessons. Think of it as your VIP pass to all the art action.


