How to Draw a Kite
In this step by step tutorial you will learn how to draw a kite. I am sure that you will really like this lesson and will be useful.
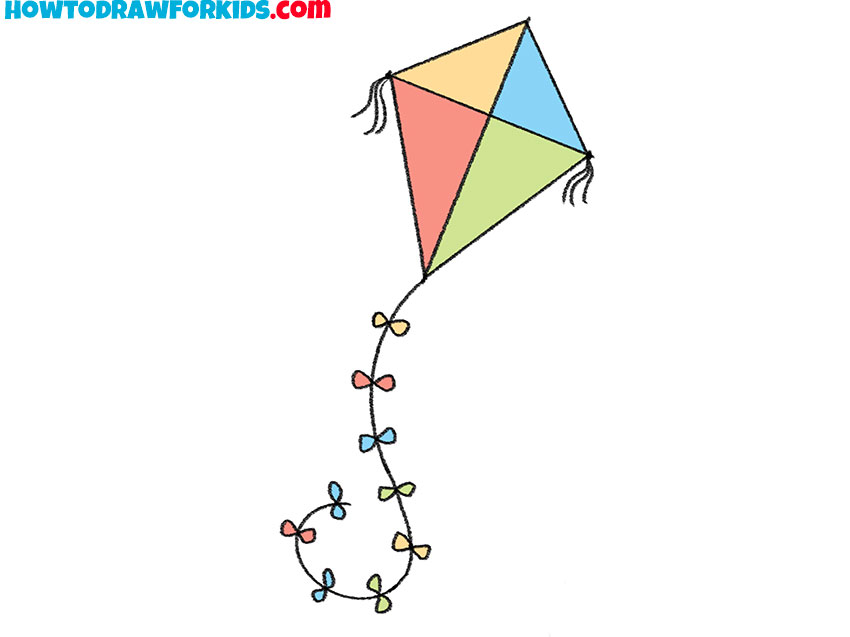
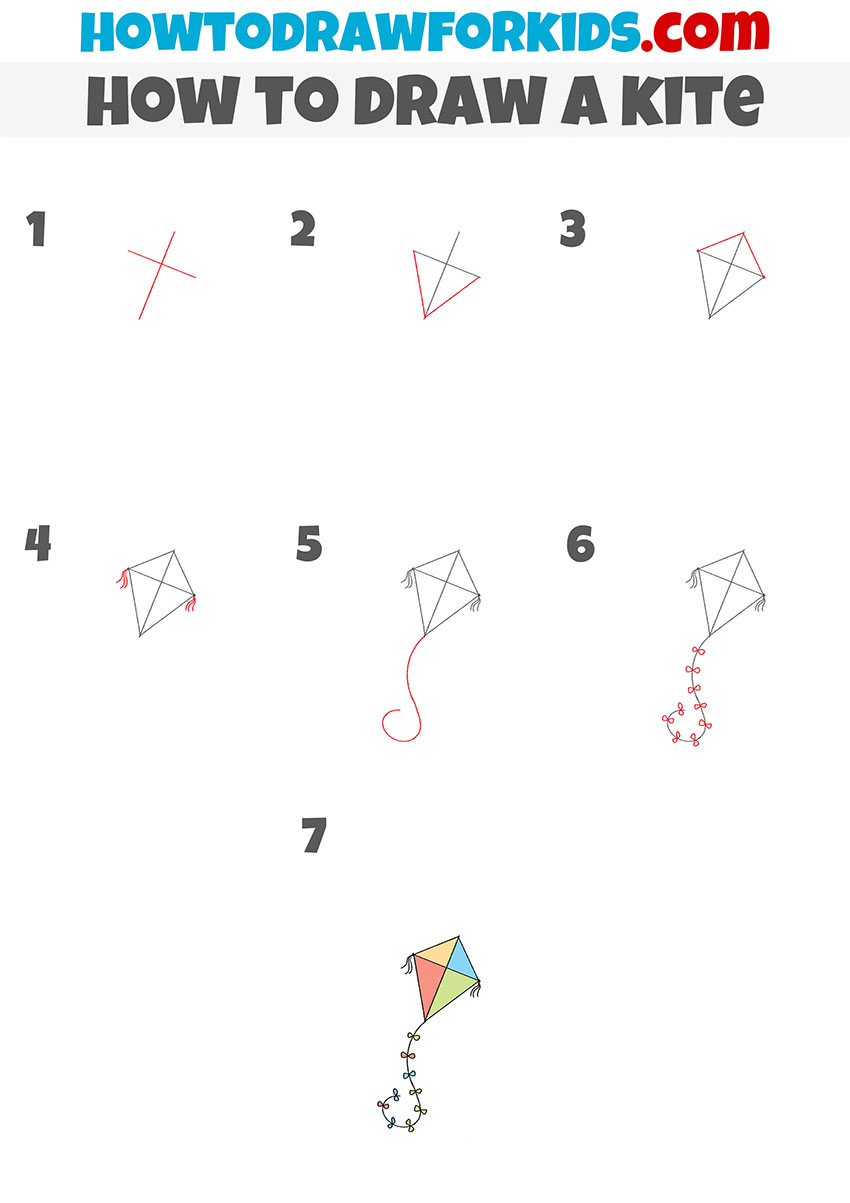
In this lesson, you will learn how to draw a kite. This lesson will be very simple and interesting, like the other lessons that are presented on this site.
Especially for beginners, I have prepared a new lesson in which I will show in detail how to draw a kite. This is the simplest object that can rise into the air due to the force of the wind.
All children and adults are very fond of flying a kite into the sky and watching it because this is a very exciting activity. Games with a kite give the most pleasant emotions and are remembered for a long time. It is very funny!
To successfully complete this lesson, you will need the ability to draw even, straight lines. In this drawing, the kite is shaped like a rhombus, the ribbon is a smooth, curved line.
For coloring the kite, you can choose the same colors as in the example or any other colors of your choice. In any case, choose the brightest shades to make a beautiful kite.
Materials
- Pencil
- Paper
- Eraser
- Coloring supplies
Time needed: 20 minutes
How to Draw a Kite
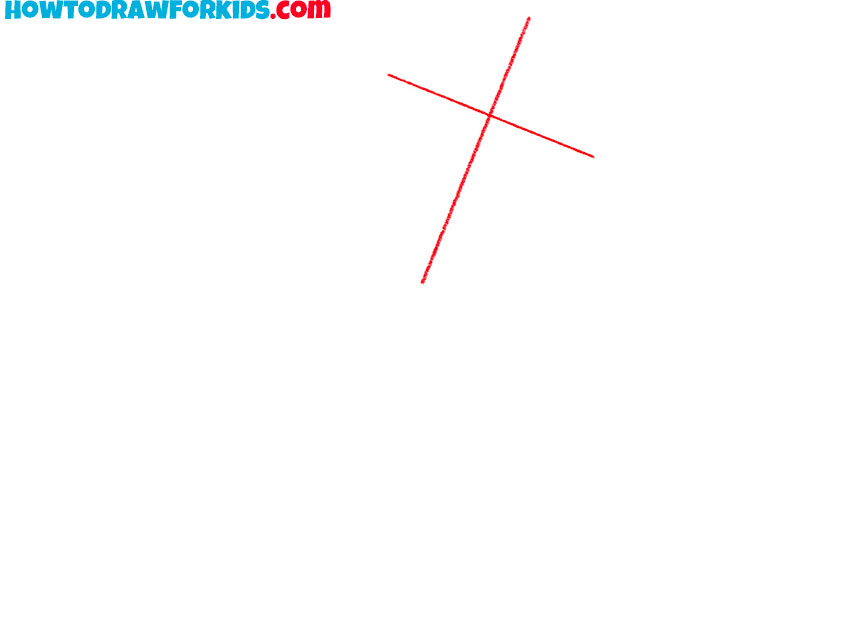
- Draw the mainframe.
Depict two straight lines crosswise.
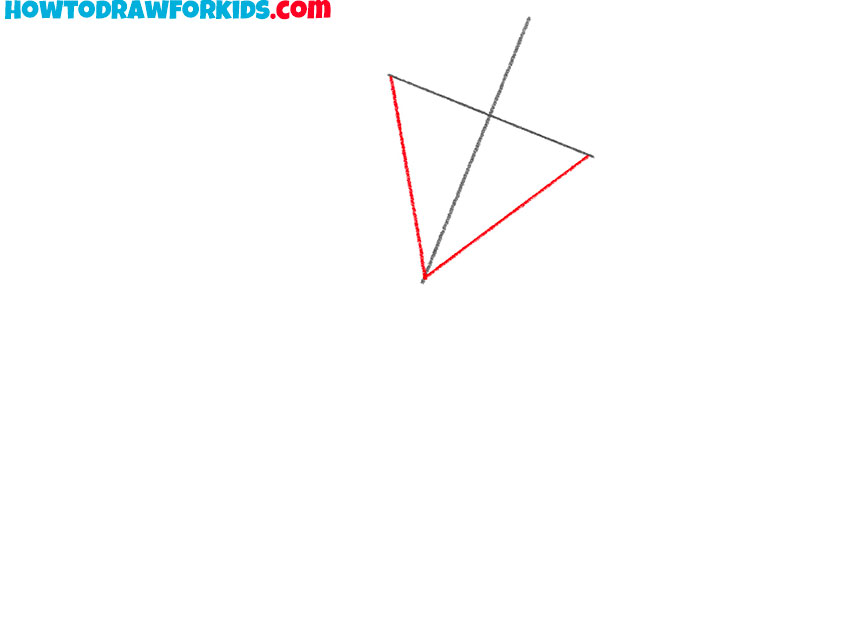
- Add the bottom outline.
Draw two connecting lines as shown in the example.
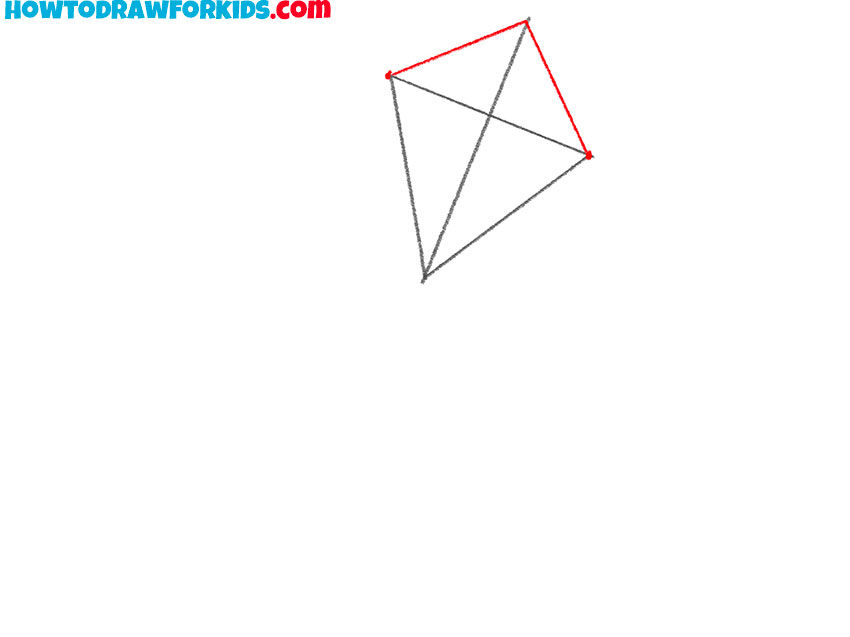
- Depict the top outline.
Repeat the previous step and draw two lines at the top of the kite.
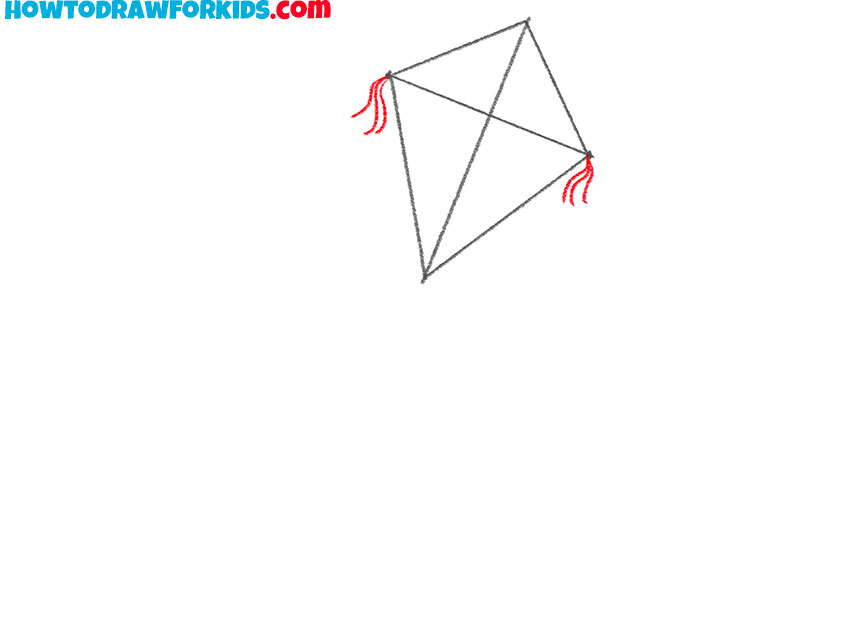
- Draw short ribbons on the sides.
On each side, depict three short ribbons of arbitrary shape.
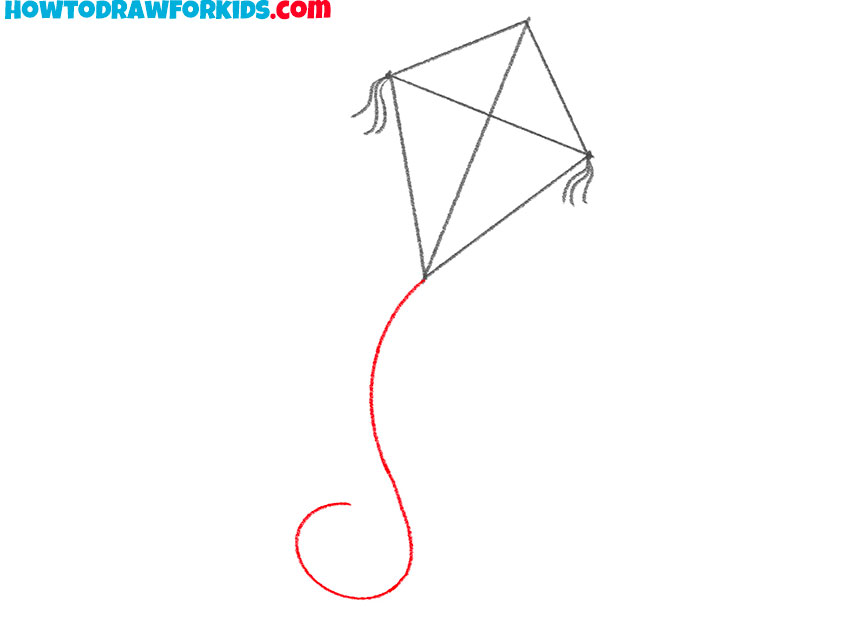
- Sketch out the long ribbon.
Draw a smooth, curved line at the bottom of the kite.
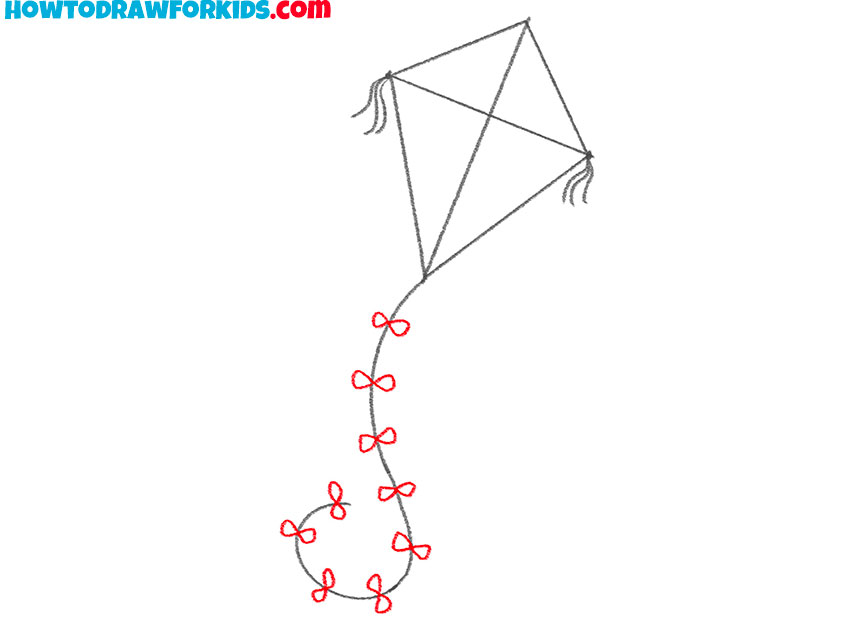
- Depict bows on the ribbon.
Sequentially draw small bows on the ribbon to decorate the kite.
- Color the kite.
Use several bright colors – yellow, blue, pink, green.

By tradition, I have prepared a PDF file for you, in which you will find a short version of the lesson and additional useful tools. Rather, download the file and complete the drawing lesson at any convenient time.


