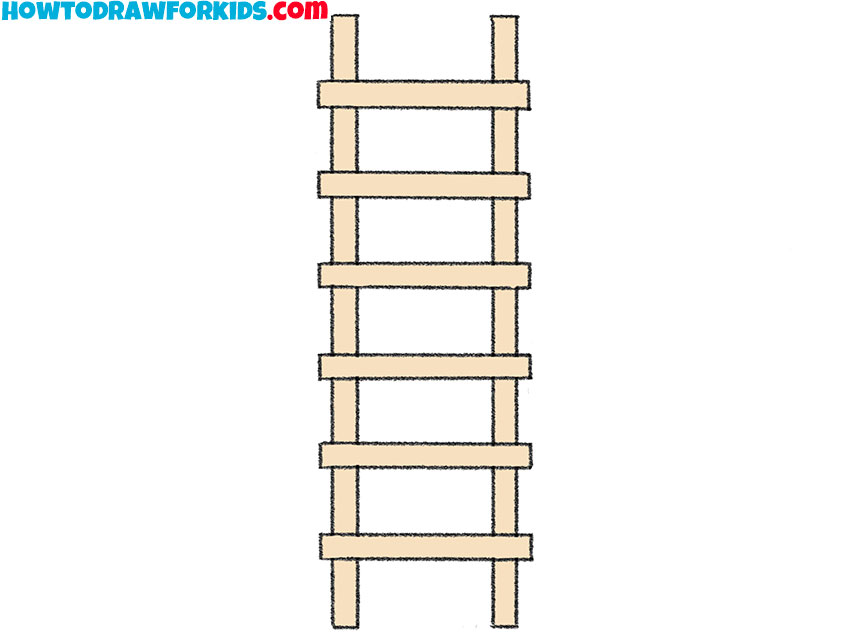
How to Draw a Ladder
Now you will learn how to draw a ladder with easy step-by-step instructions and improve your straight-line drawing skills at the same time.
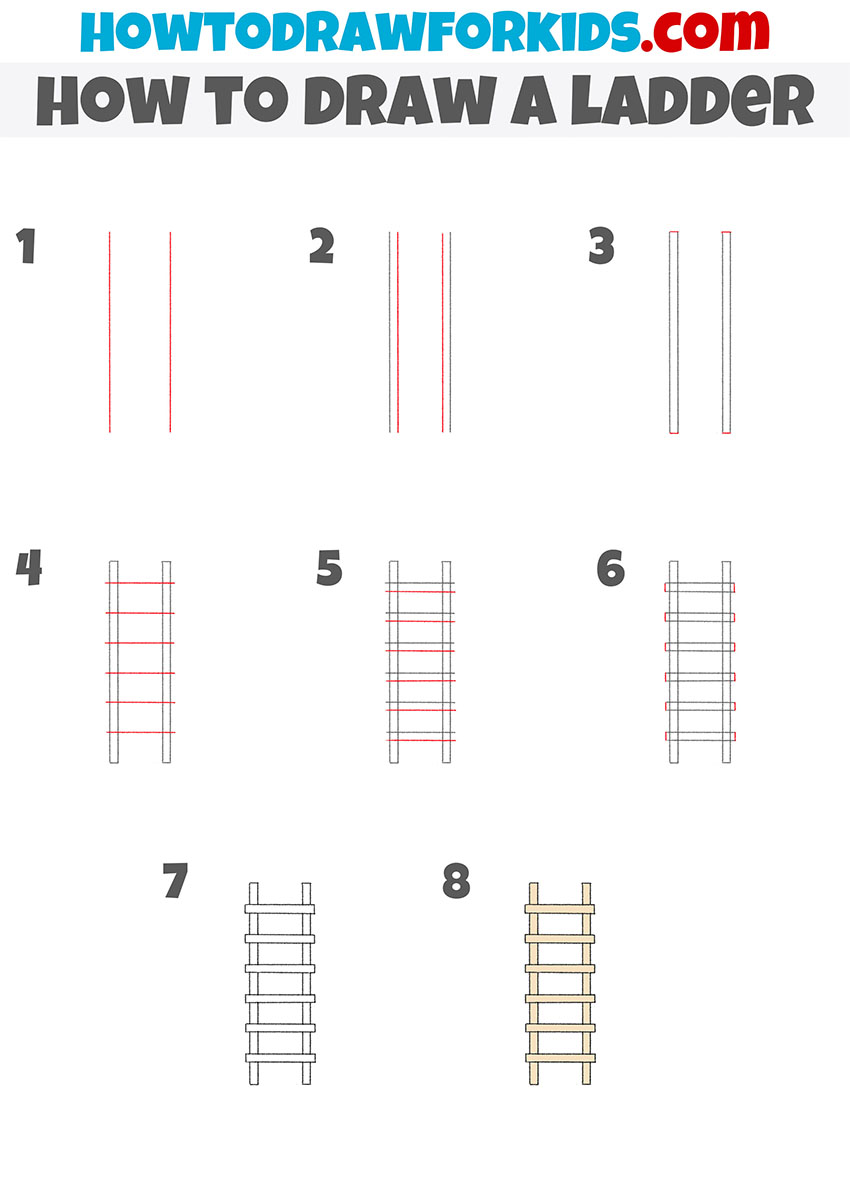
Prepare to Draw a Ladder
A ladder may look like a very simple object, but it’s actually a great exercise for practicing straight lines and keeping parts of a drawing symmetrical.
In this tutorial, you’ll draw two long side rails first, then connect them with evenly placed rungs to build the complete ladder.
At the end of this article, you’ll also find another ladder drawing tutorial with a different construction method. Comparing both approaches is a great way to practice and find the one that feels most comfortable for you.
Step-by-Step Ladder Drawing Tutorial
Materials
- Pencil
- Paper
- Eraser
- Coloring supplies
Time needed: 30 minutes
How to Draw a Ladder
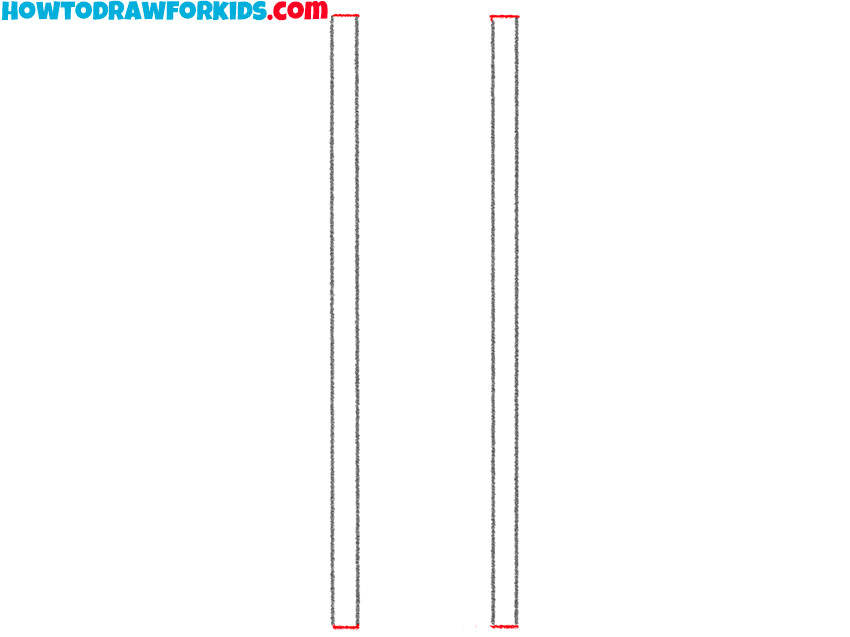
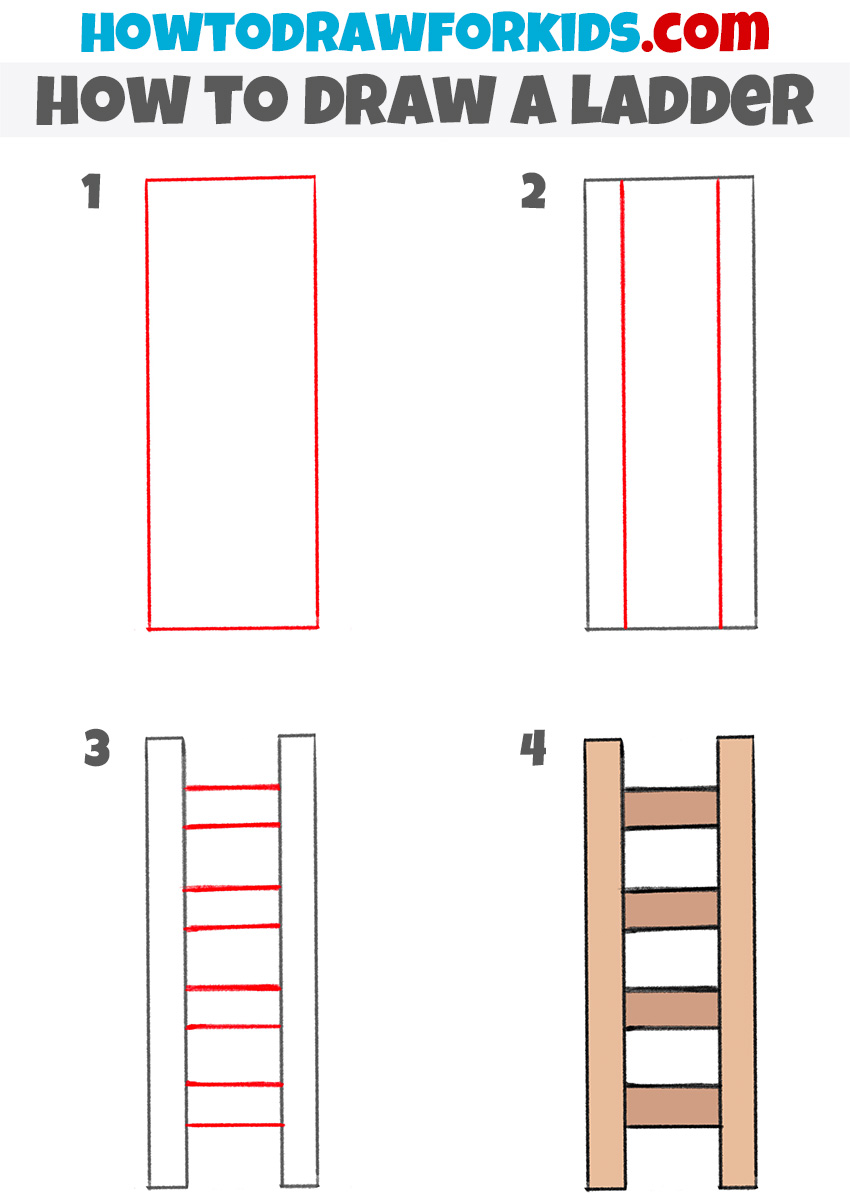
- Draw the vertical slats.
Add two straight vertical lines at some distance from each other.

- Depict the thickness of the rails.
Sketch out two more vertical lines along the lines drawn earlier.

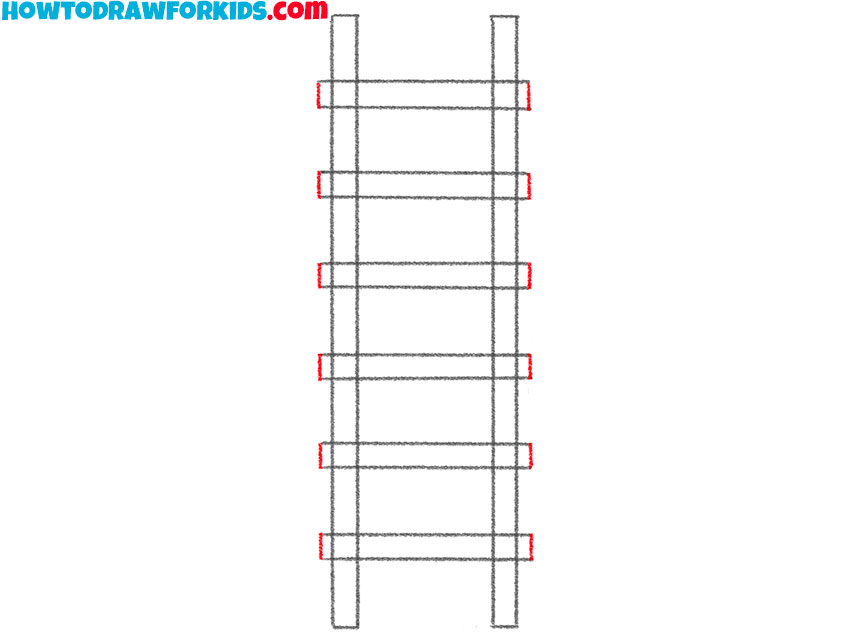
- Add the ends of the rails.
Draw short connecting lines on each river to make closed loops.
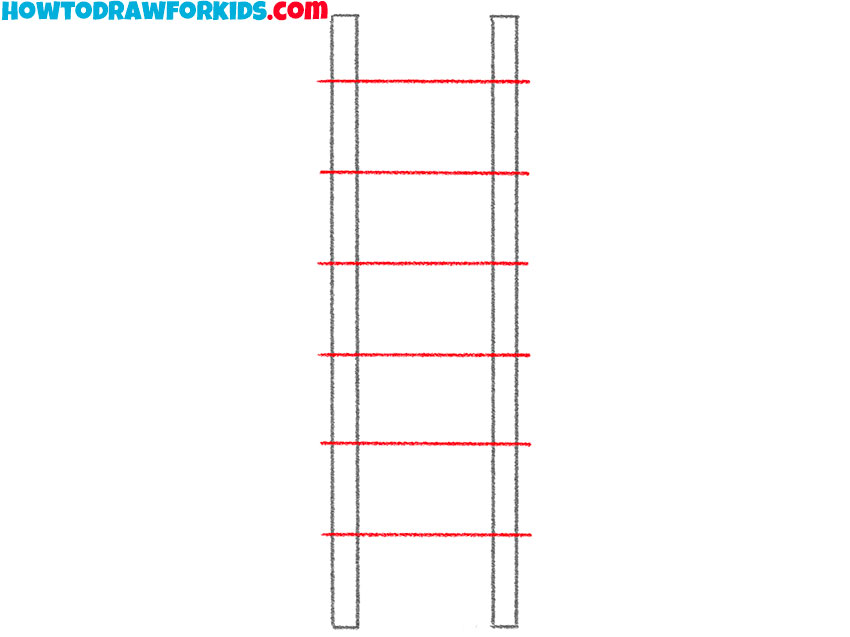
- Label the steps.
Draw several horizontal lines between the slats, while maintaining equal intervals.
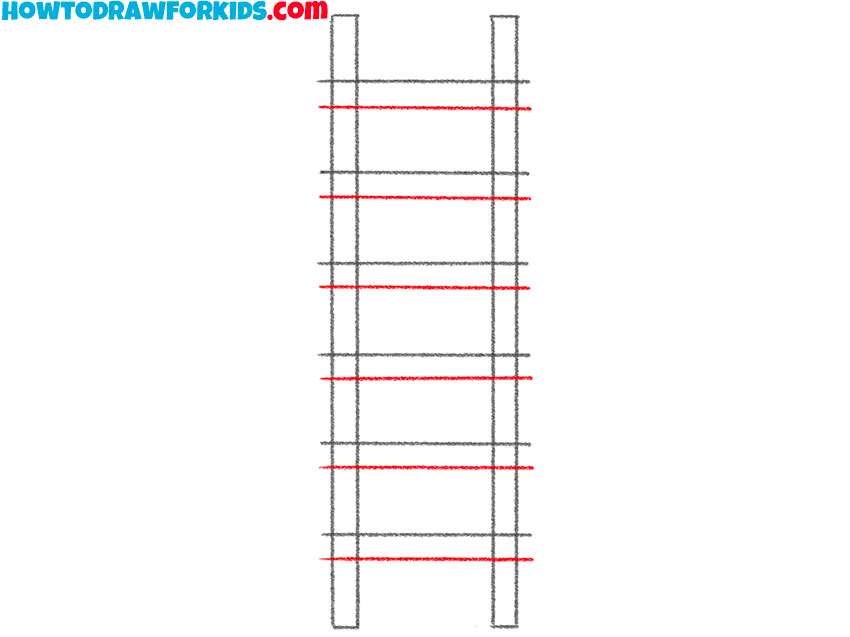
- Draw the thickness of the steps.
Add even horizontal lines along the previously drawn lines.
- Add the side contours of the steps.
Draw small connecting lines on the sides of the stumps.
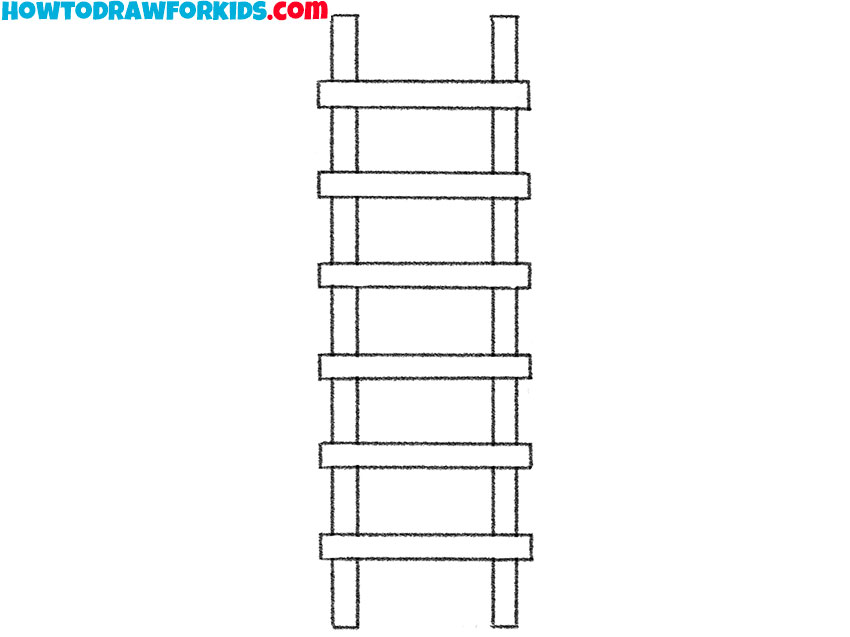
- Correct inaccuracies.
Take the eraser and carefully remove all the extra lines.
- Color the drawing.
For coloring, use any shades of brown.
Additional Content
I’ve also prepared a free PDF version of this tutorial. It includes a simplified lesson, a coloring page, a tracing worksheet, and a grid drawing worksheet.
Download it using the link below and practice drawing a ladder anytime, even without an internet connection.
Alternative Ladder Drawing Method
If you’d like to draw one more ladder, be sure to try the additional tutorial below. This version uses a different drawing method and is much simpler than the main tutorial. This is a great choice for younger artists or anyone who wants extra practice.
In this tutorial, you’ll begin with a single rectangle that forms the overall shape of the ladder. Then you’ll add horizontal rungs inside it and remove the unnecessary parts of the outline to reveal the finished ladder.
Additional Drawing Practice and Tips
A ladder is one of those drawings that seems easy until you try to keep every line straight and every rung symmetrical.
That’s exactly why it’s such a useful exercise. As you draw, pay attention to the long side rails and try to keep them parallel. Then add the rungs one by one, leaving the same distance between each of them.
After you’ve finished this lesson, don’t stop with just one drawing. Try drawing the ladder again without looking at the steps, or change its size by making it taller, shorter, wider, or narrower.
Even small changes like these are a great way to practice.
The skills you use here will help you in many other lessons. Straight lines, even spacing, and simple geometric shapes appear in drawings of buildings, furniture, tools, vehicles, and many other everyday objects.
The more you practice these basics now, the easier those drawings will become later.
Background Ideas for a Ladder Drawing
A ladder is often just one part of a larger drawing, so try placing it into a simple scene.
Draw a house with the ladder leaning against the roof as if someone is repairing it. Draw a room where the ladder is standing next to a wall while someone paints or hangs a picture.
You can also draw a library with tall bookshelves and a ladder used to reach the highest shelves.
You can come up with many other ideas as well. Draw a tree with a ladder leading to a treehouse, draw a garage where the ladder is stored with other tools, or illustrate a construction site with workers using ladders to build a new house.
Adding a background is a great way to practice combining several simple drawings into one complete illustration.
Conclusion
Now you know how to draw a ladder step by step. Even though it’s a simple object, this tutorial gives you plenty of practice with straight lines, parallel lines, and even spacing – skills that you’ll use in many future drawings.
If you enjoyed this tutorial, be sure to follow me on social media so you don’t miss new drawing tutorials. You can also share this guide with your friends, parents, or teacher and practice drawing together.
If there’s another object you’d like to learn how to draw, leave a comment below. I always enjoy reading your ideas for future tutorials.