How to Draw a Lamp
Continuing the theme of everyday objects around us, I’d like to show you how to draw a lamp with a bulb step by step.
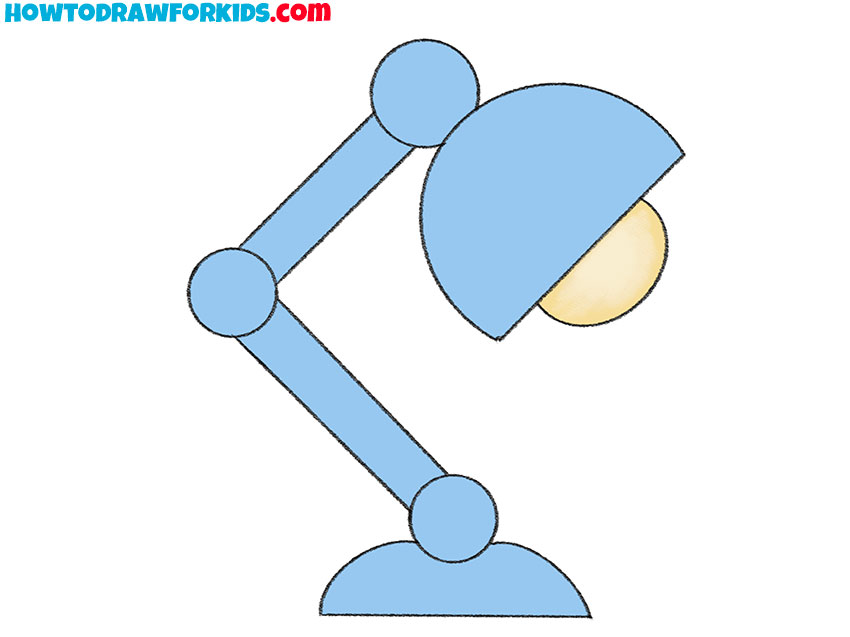
In this tutorial, I will explain and show you how to sketch a simple table lamp. The design of the lamp can be different. The picture shows a small table lamp.
Such a lamp is installed on the table and illuminates the surrounding space while you read, write and do any other things.
This lighting device is in almost every home. The lamp consists of several elements. Thanks to this convenient design, the lamp can be installed in any position and its height can be regulated.
This model of the table lamp is very common, and many students and schoolchildren use this lighting device for any work on the desk.
This lesson is created for beginner artists, so it uses simple lines that can be easily repeated. If you follow each step of the drawing carefully, you will get a great result!
Materials
- Pencil
- Paper
- Ruler
- Eraser
- Coloring supplies
Time needed: 20 minutes
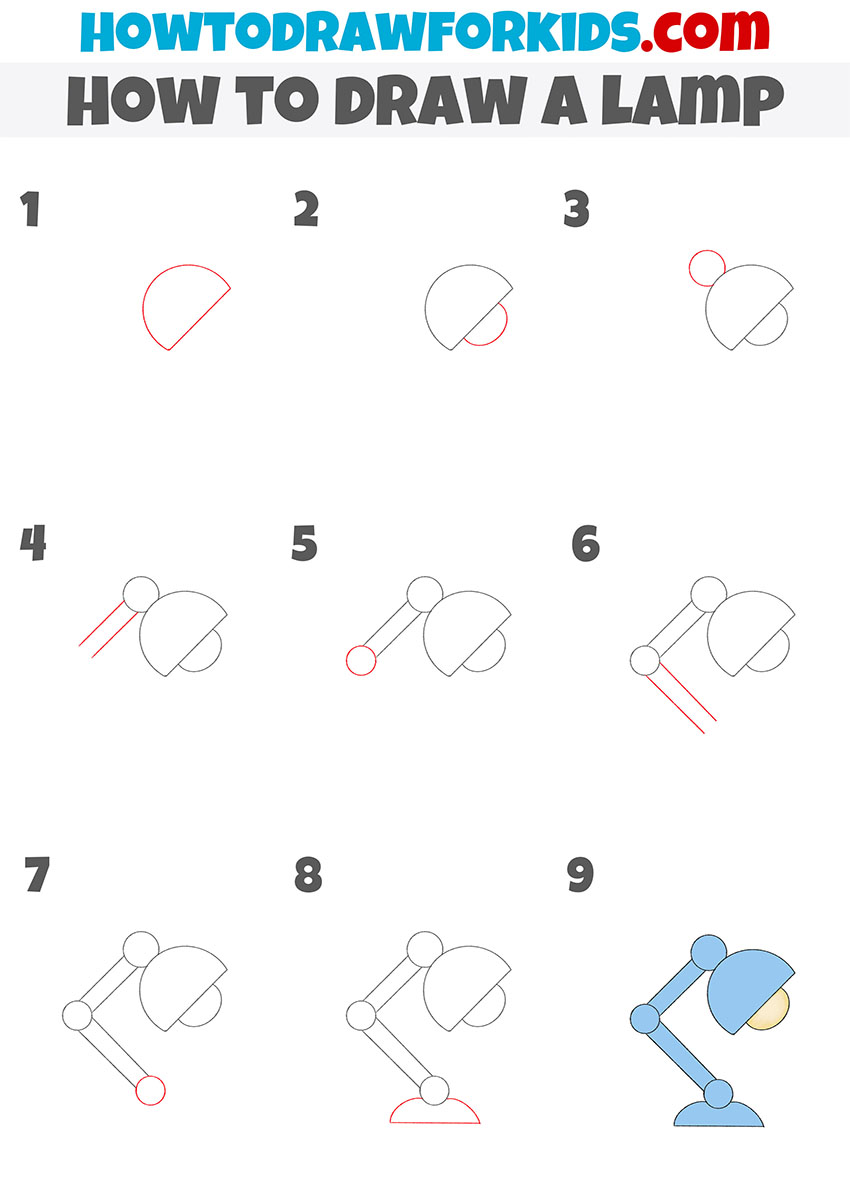
How to draw a lamp step by step
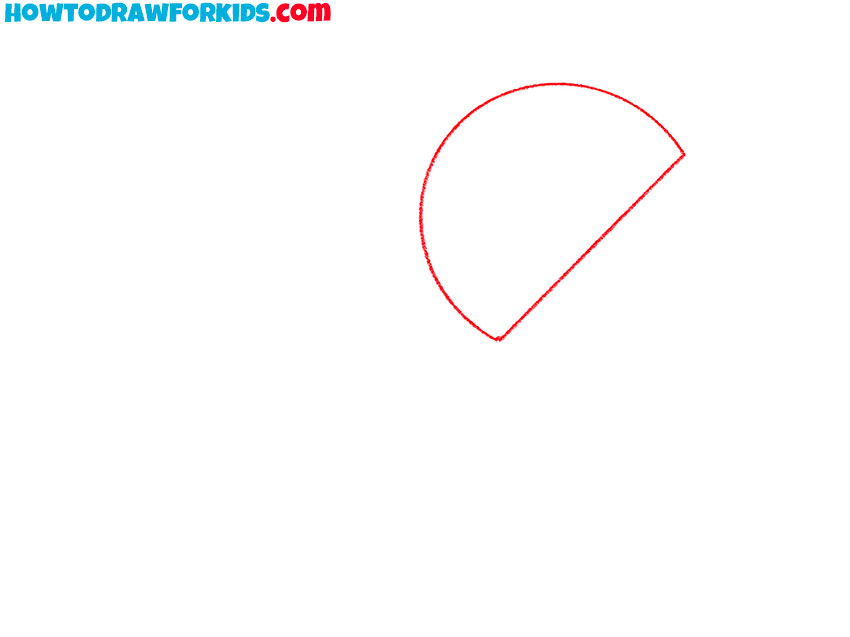
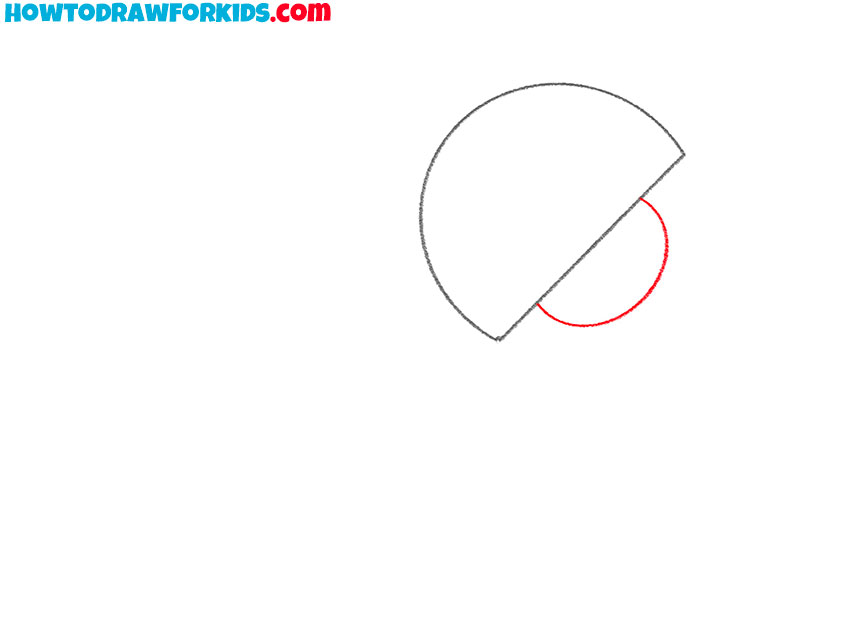
- Sketch the lampshade.
Sketch a large semicircle for the outer dome of the desk lamp’s shade, opening down-right. In the lower end, draw a short diagonal line to create a pie-slice cutout; this marks the front opening where the bulb will sit.
- Sketch the light bulb.
Now, using a smooth curved line, draw the light bulb peeking out from behind the edge of the lamp shade. Keep the bulb centered under the side edge.
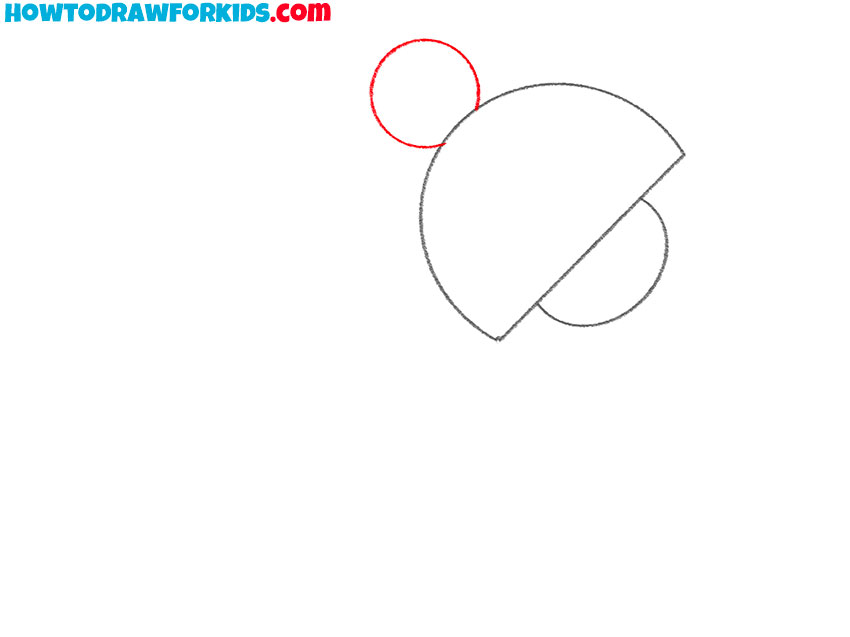
- Draw the top hinge joint of the lamp.
To the upper-left of the shade, draw a neat circle that touches the dome. This circle represents the top hinge where the lampshade tilts. Maintain equal stroke weight.
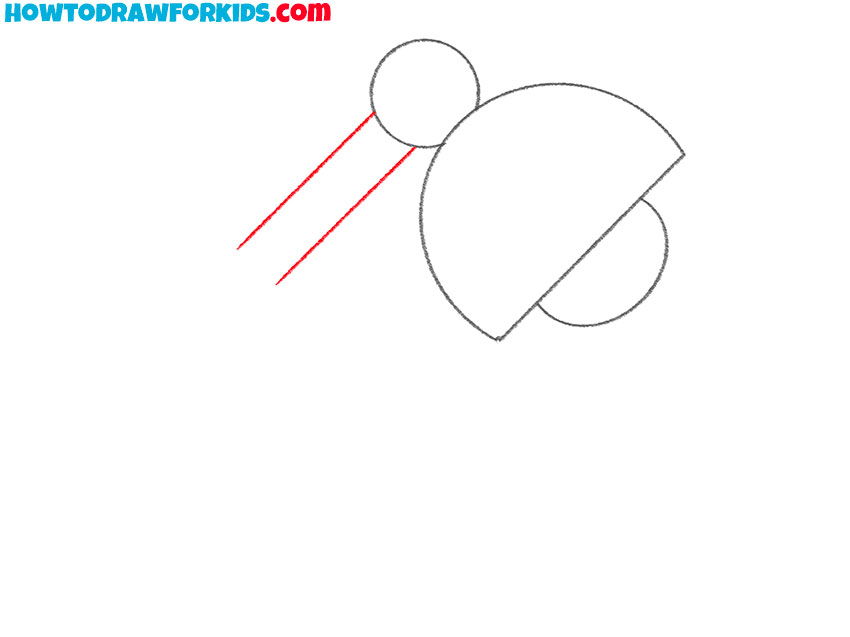
- Add the upper arm segment.
From the top joint, draw two parallel lines angling down-left to represent a narrow metal bar. Keep the spacing even so the bar looks rigid. These lines should align with the lamp’s tilt.
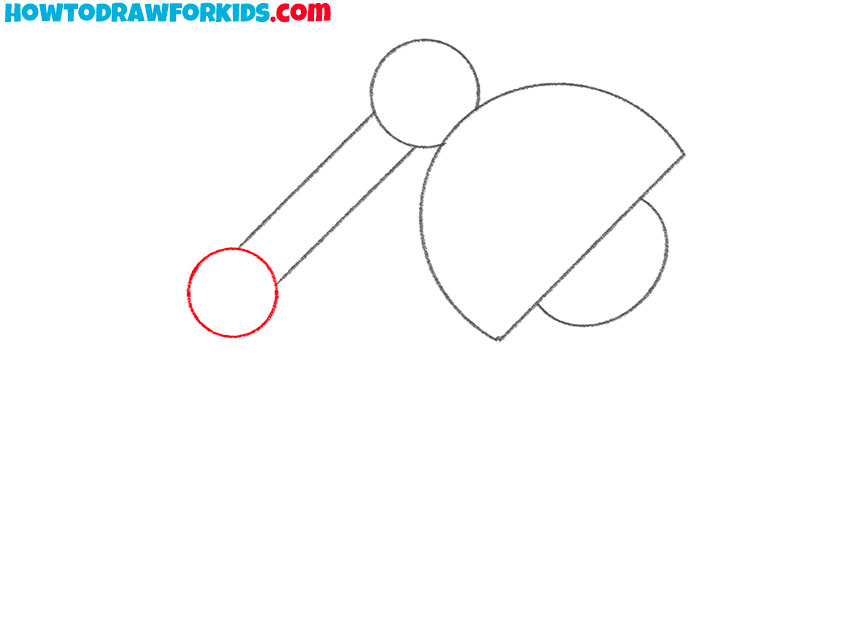
- Sketch the middle hinge joint.
At the end of the bar, draw another small circle for the elbow joint. Keep these circles the same diameter for a cohesive design language.
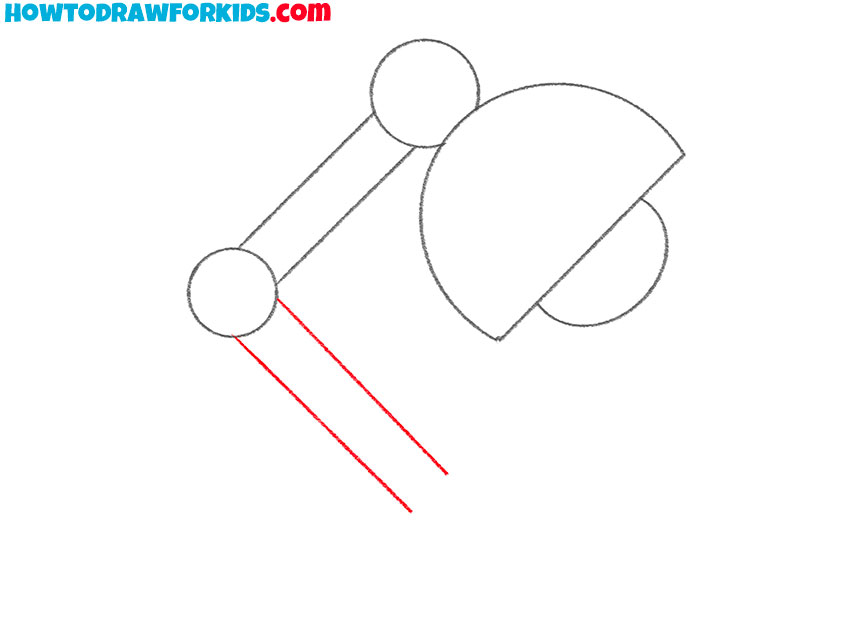
- Draw the lower arm piece of the lamp.
From the joint’s circle, continue the two parallel lines to the lower-left, keeping the angle consistent with Step 5. Check that the spacing between the lines equals the spacing in the upper arm.
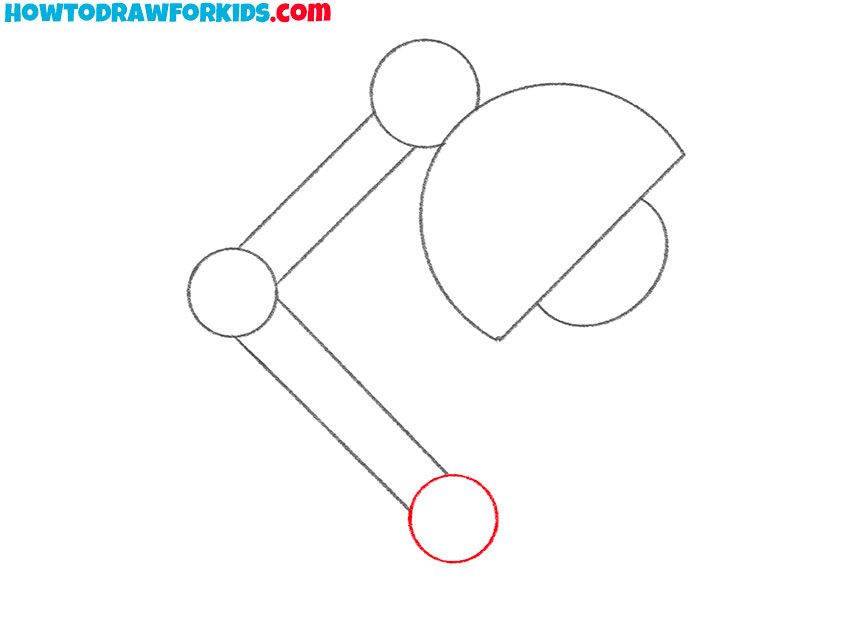
- Draw the base connector circle.
Below the lower arm, draw a small circle to indicate a foot joint or connector. The size and shape of all three joints must be the same.
- Add the base and erase guides.
Under the lower joint, outline a low half-oval base with a flat bottom and curved cap on top where the joint mounts. Now erase construction extras from your lamp drawing.

- Paint the body and light bulb.
Color separates parts and clarifies materials, so fill the shade, joints, base, and arms with a cool blue or any chosen body color to mimic painted metal. Color the bulb a warm cream to convey light.

This lesson is over! Now you know how to sketch a table lamp quickly and easily. I hope you are happy with your drawing.
I remind you that for your convenience I have prepared a short version of this tutorial in PDF format. Save this file so that you can use it whenever you want, even if you don’t have an Internet connection.