How to Draw a Lawn Mower
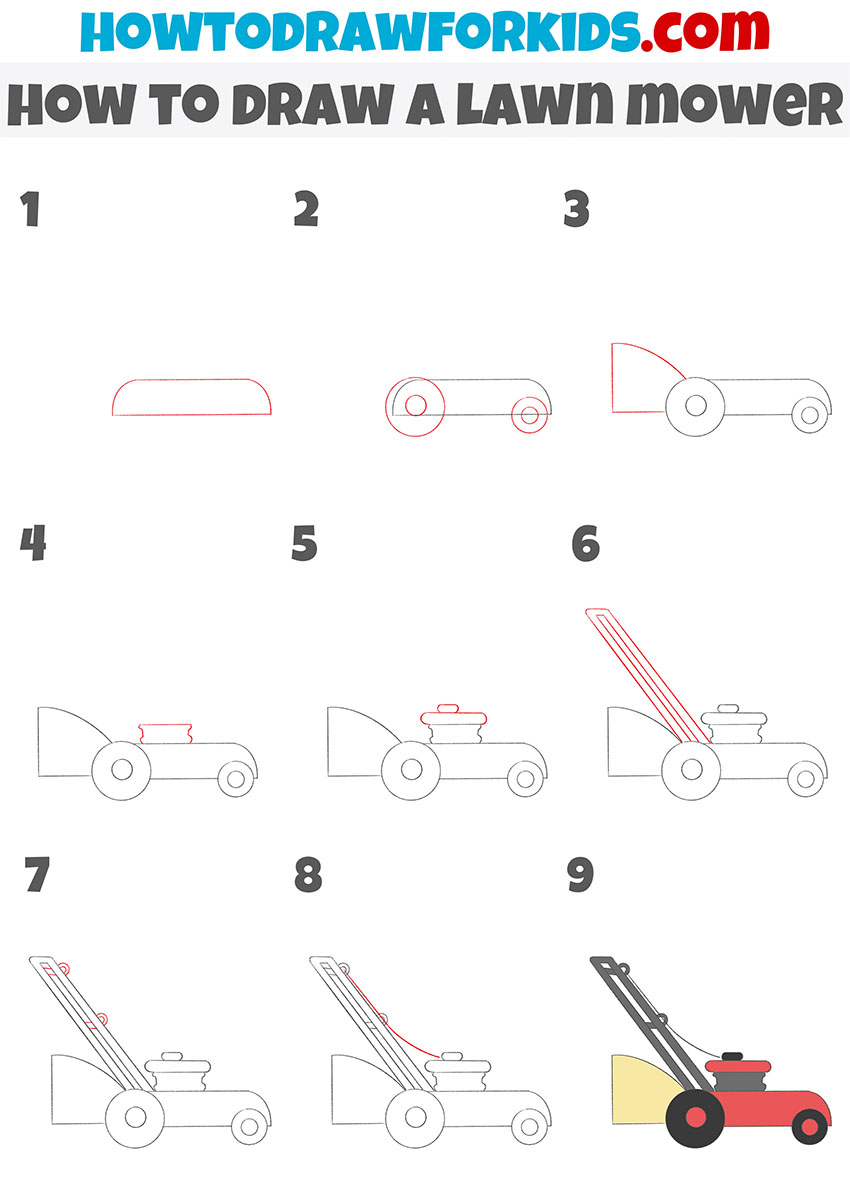
In this lesson, you will learn how to draw a lawn mower. The lesson is designed for beginners and contains nine simple steps.
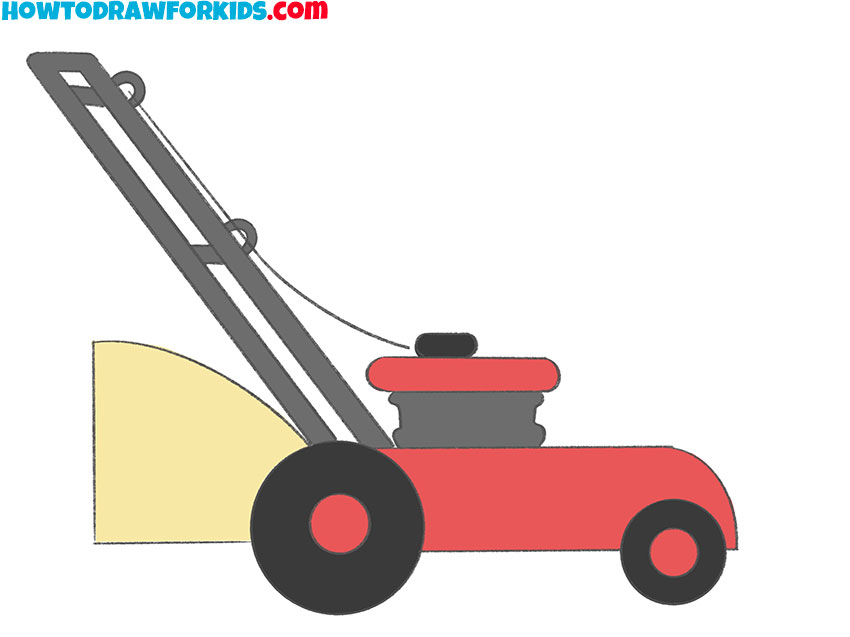
Thanks to a simple instruction, you will learn how to draw a lawn mower step by step. This is a lawn mower. With the help of a lawn mower, you can quickly put things in order in the garden, in the park or on the sports ground.
The lawn mower is a trolley on which a block with cutting elements is installed. There are models of lawn mowers that run on electricity or gasoline.
In the picture you see a lawn mower that has all the main elements – the main body, the handle, the working mechanism, the grass collection box and the wheels. Now you will step by step draw all the parts of the lawn mower.
Each step is one simple action. Try to draw all the lines correctly and keep the proportions. In the process of drawing, use small hints to correctly draw the next element.
Materials
- Pencil
- Paper
- Eraser
- Coloring supplies
Time needed: 30 minutes
How to Draw a Lawn Mower
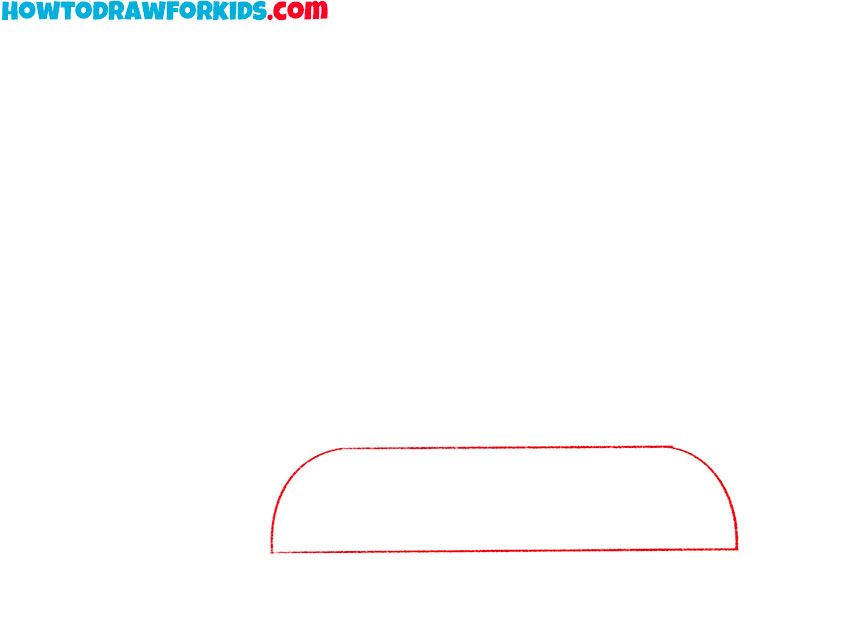
- Draw the main body.
Depict a horizontal line, then add a curved line at the top.
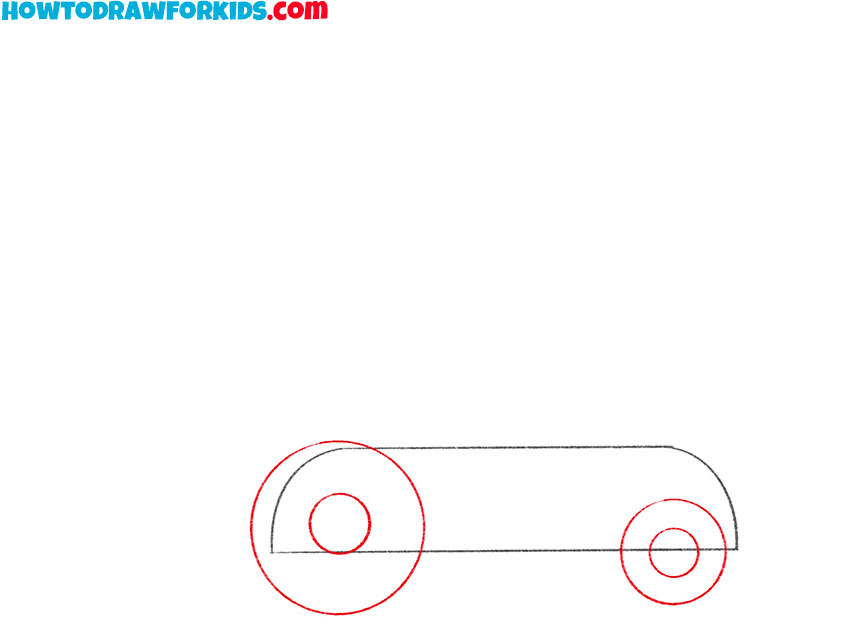
- Sketch out the wheels.
Depict several even circles to make wheels of different sizes.
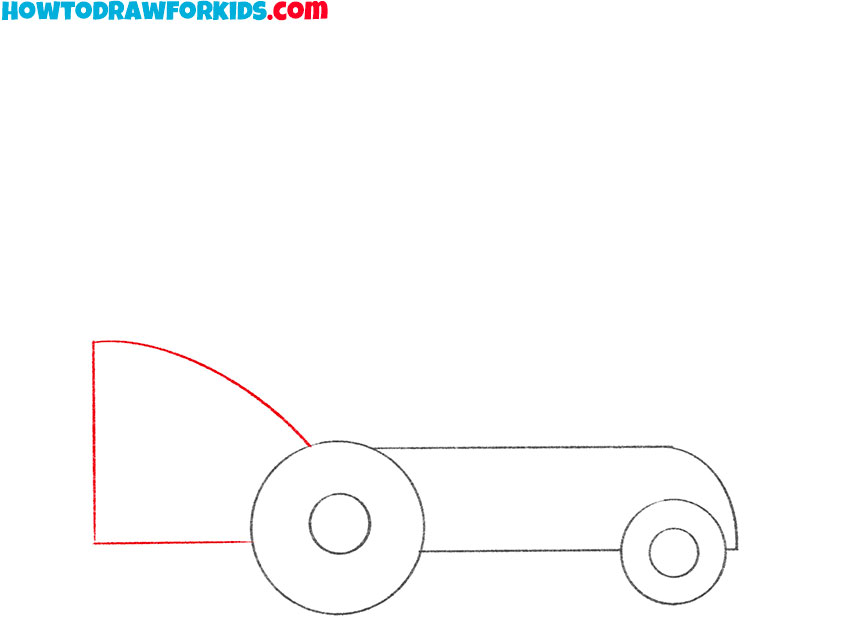
- Add the compartment for collecting grass.
The lower part of the compartment forms a right angle, the upper part has a rounded shape.
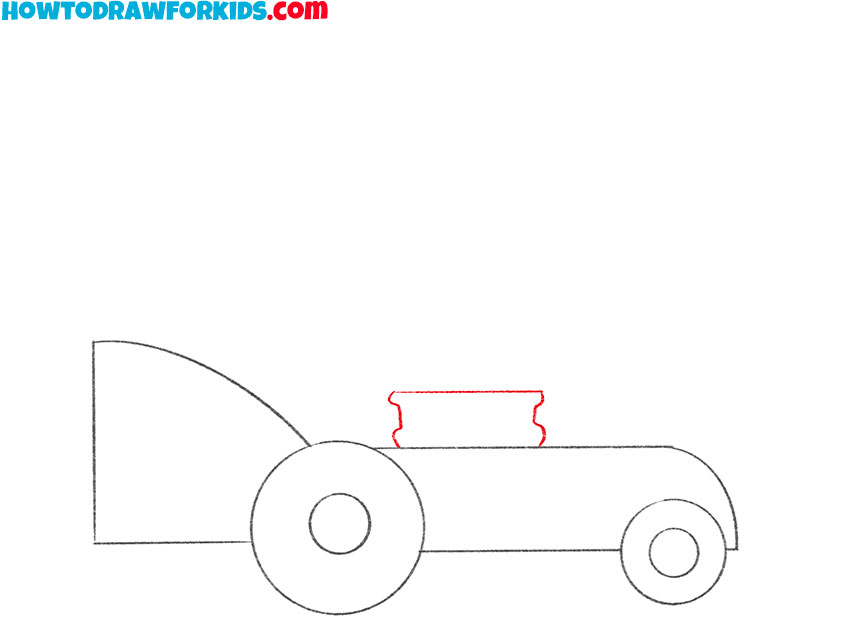
- Draw the working mechanism.
On the body, draw the figure of the same shape as in the example.
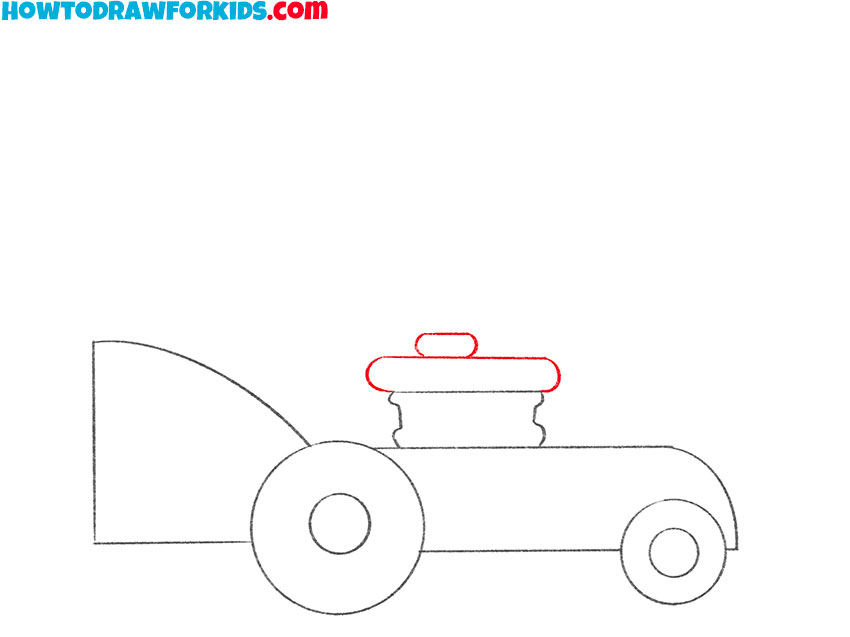
- Depict the top of the working mechanism.
To do this, you need to add two oval-shaped elements.
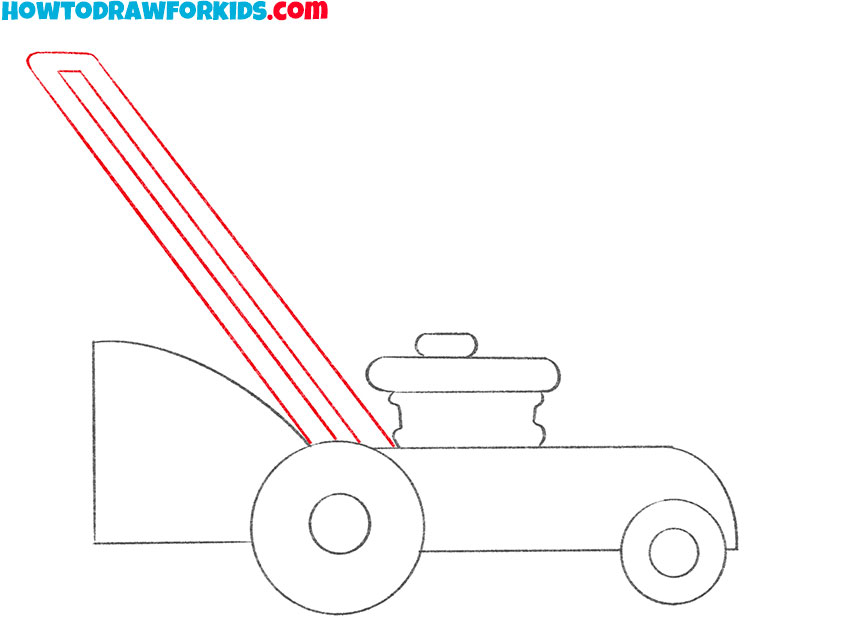
- Sketch out the handle.
Draw the high handle on the side of the lawn mower.
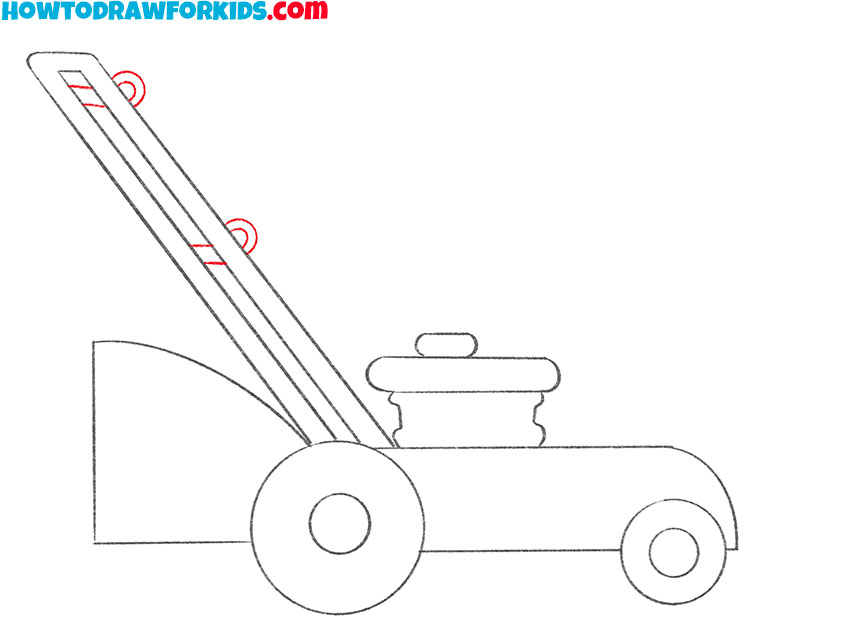
- Add the starter handles.
Depict the small elements on the handle.
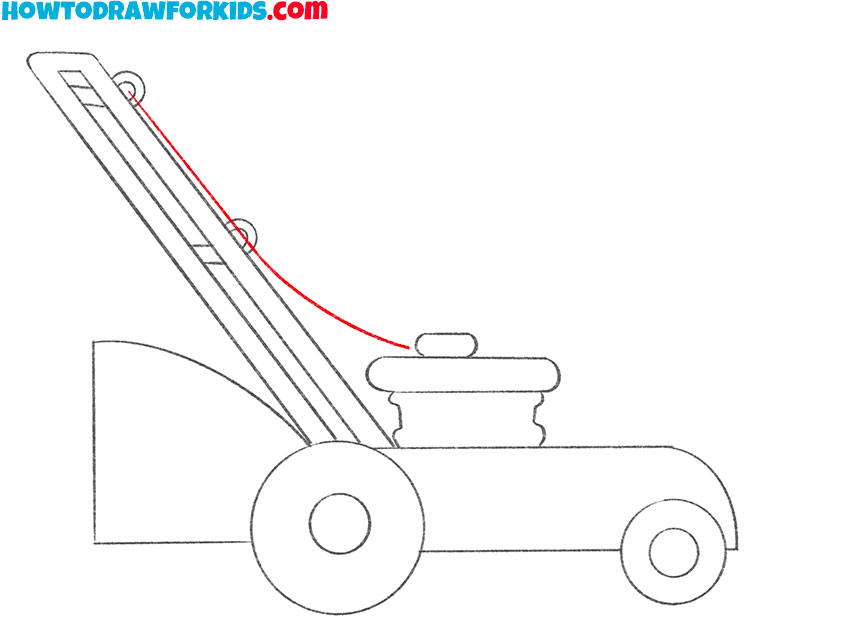
- Sketch out the wire.
At this stage, depict one smooth line.
- Color the lawn mower.
You will need gray, black, red, and yellow.

By tradition, at the end of the lesson, I prepared a PDF file in which you will find a brief instruction and additional useful materials.

