How to Draw a Lemon Slice
In this drawing lesson, I will tell you how to draw a lemon slice step by step. This simple lesson consists of only seven steps.
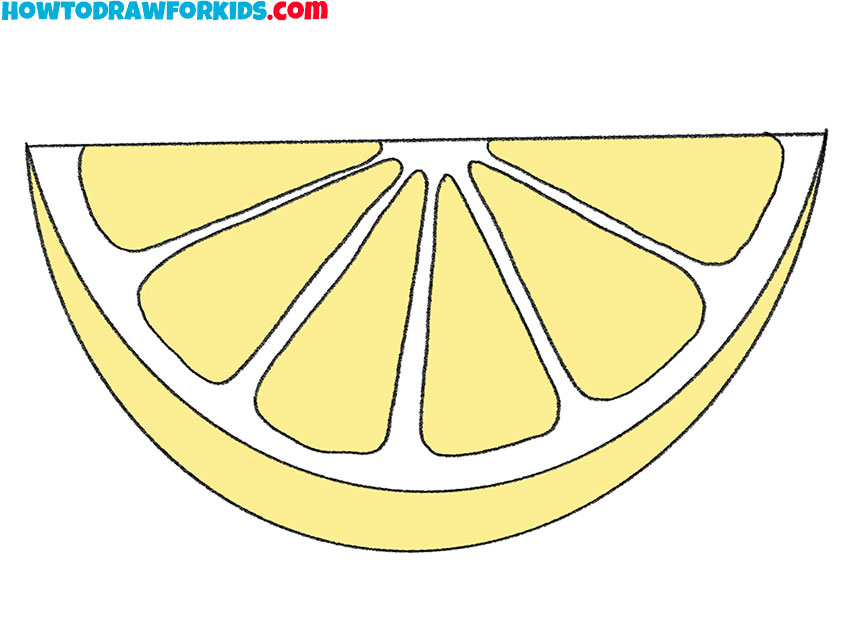
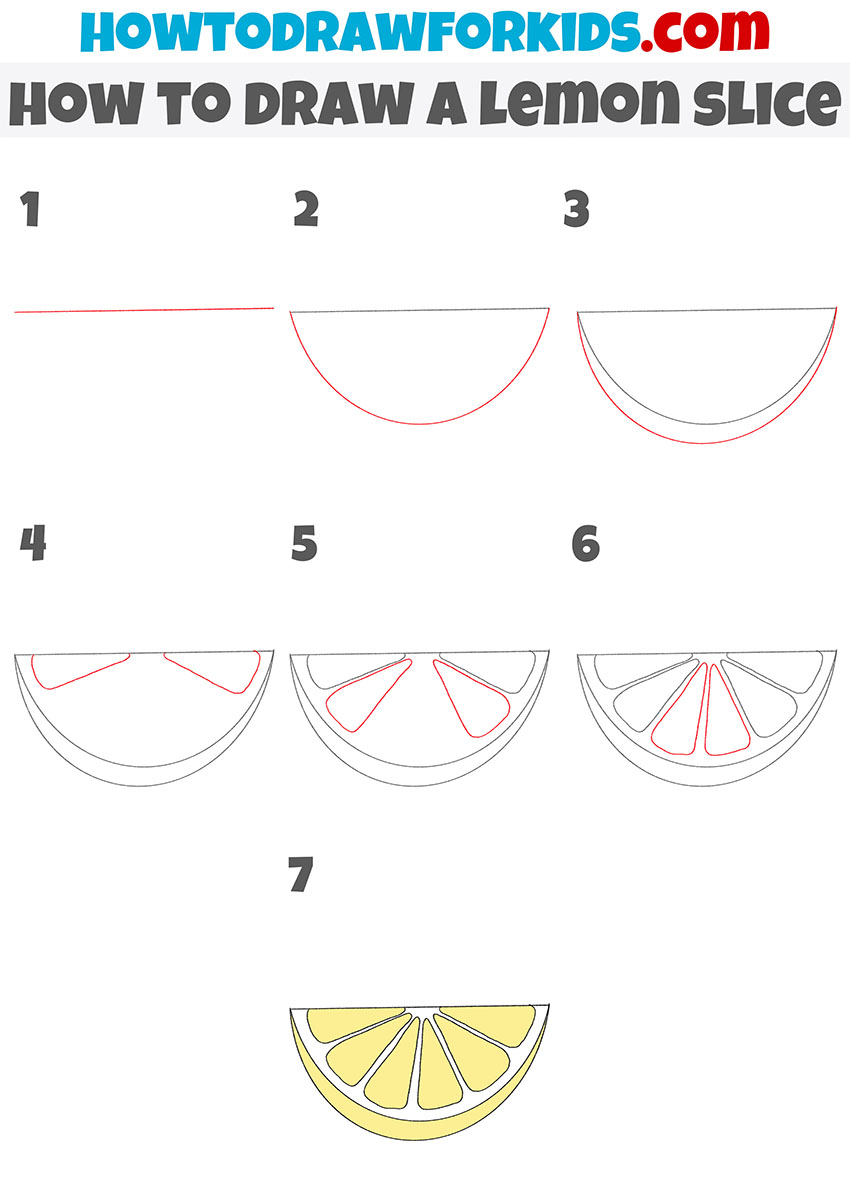
So, I am glad to offer you this drawing lesson, with which you will learn how to draw a lemon slice step by step. Any novice artist or child can easily complete this lesson, as it does not contain any difficult elements to complete.
To draw a lemon wedge beautifully, you need to be able to draw straight and rounded lines. If necessary, you can use a ruler to draw straight lines more accurately.
If you are ready to start this tutorial, then you should prepare your art supplies right now, and then carefully follow these instructions and enjoy the creative process.
Materials
- Pencil
- Paper
- Eraser
- Coloring supplies
Time needed: 25 minutes
How to Draw a Lemon Slice
- Draw the top line of the lemon slice.
To complete this simple step, you need to draw one straight, horizontal line.

- Add the bottom part of the outline of the lemon slice.
Draw an arc from one end to the other of the drawn straight line, placing it at the bottom.

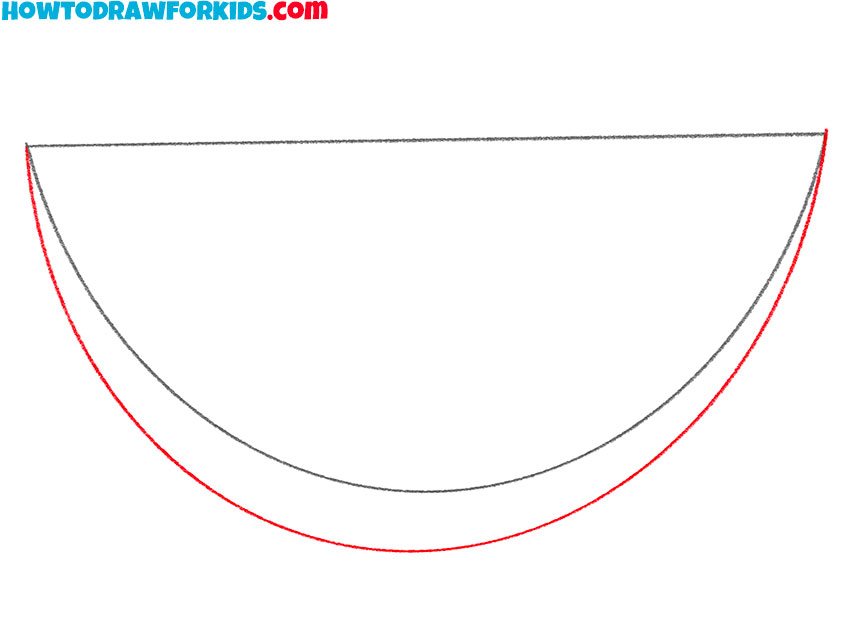
- Finish drawing the outline of the lemon slice.
Below the previously drawn arc, draw another slightly larger arc.
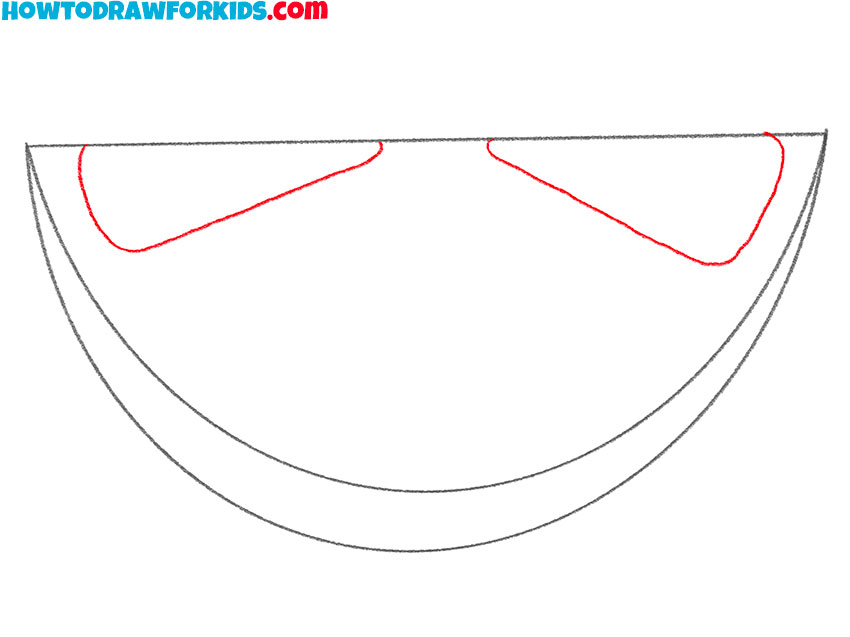
- Start drawing the inside of the lemon slice.
Inside the drawn outline of the lemon slice, draw two curved lines at the top of the slice.
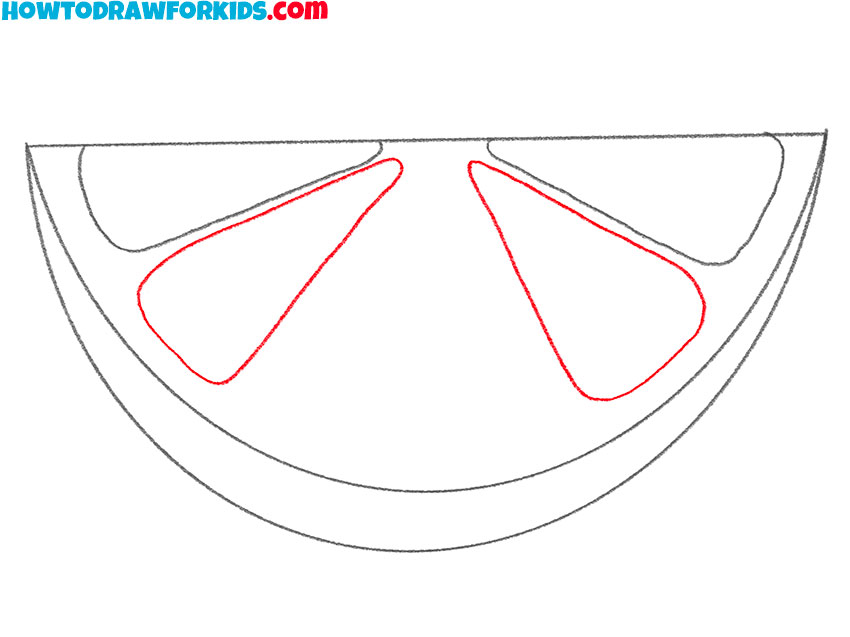
- Add two more elements of lemon slices.
Next to the drawn lines, draw two shapes that look like triangles with rounded corners.
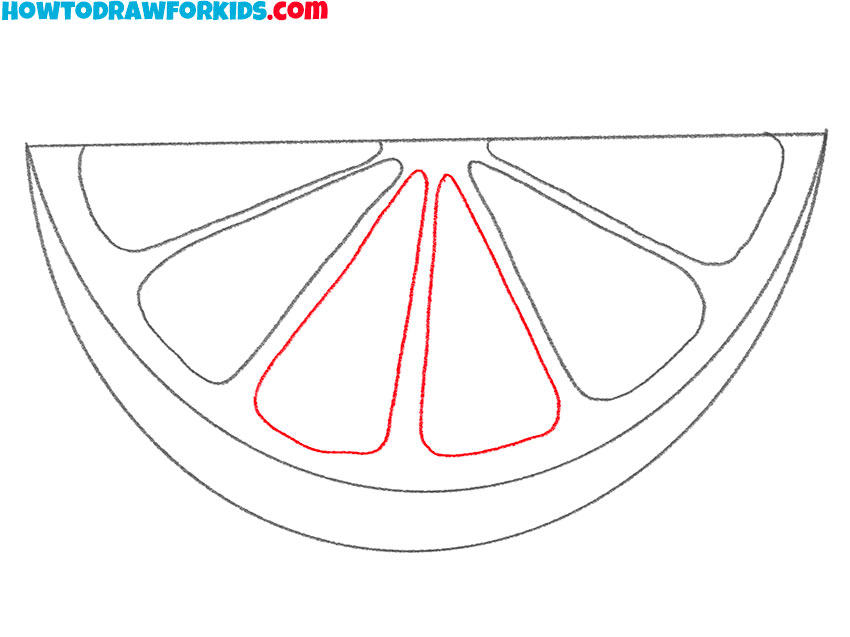
- Draw the last two elements of the lemon slice.
Depict two more shapes between the drawn shapes using straight and curved lines.
- Color the drawing.
To color the lemon slice you have drawn, you should use yellow.

I remind you that you can download the PDF file that I have prepared especially for your convenience. This file contains a short version of this lesson and has additional useful training materials. Download this file so as not to lose it and return to this lesson at any time convenient for you.

