

How to Draw a Living Room
I bring to your attention an excellent and very useful drawing lesson in which you will learn how to draw a living room.
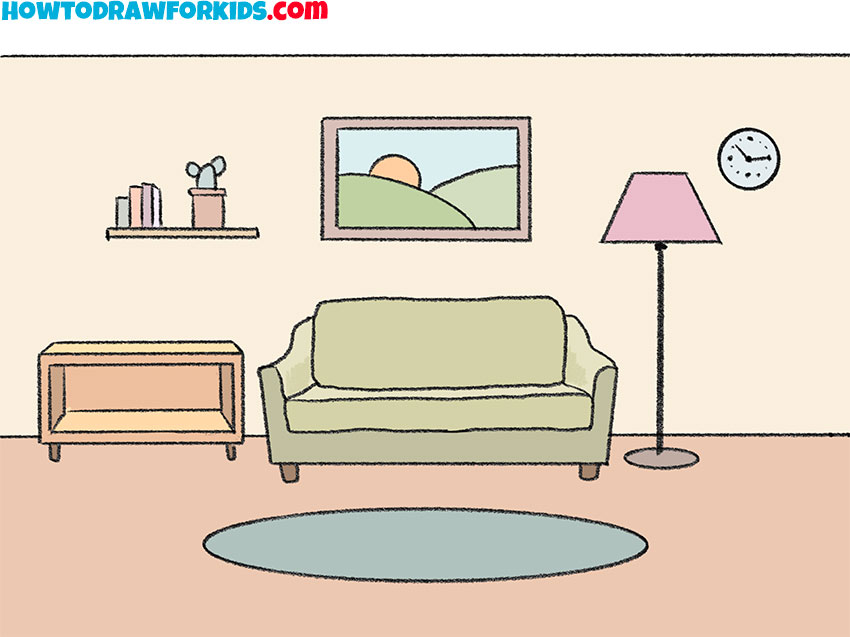
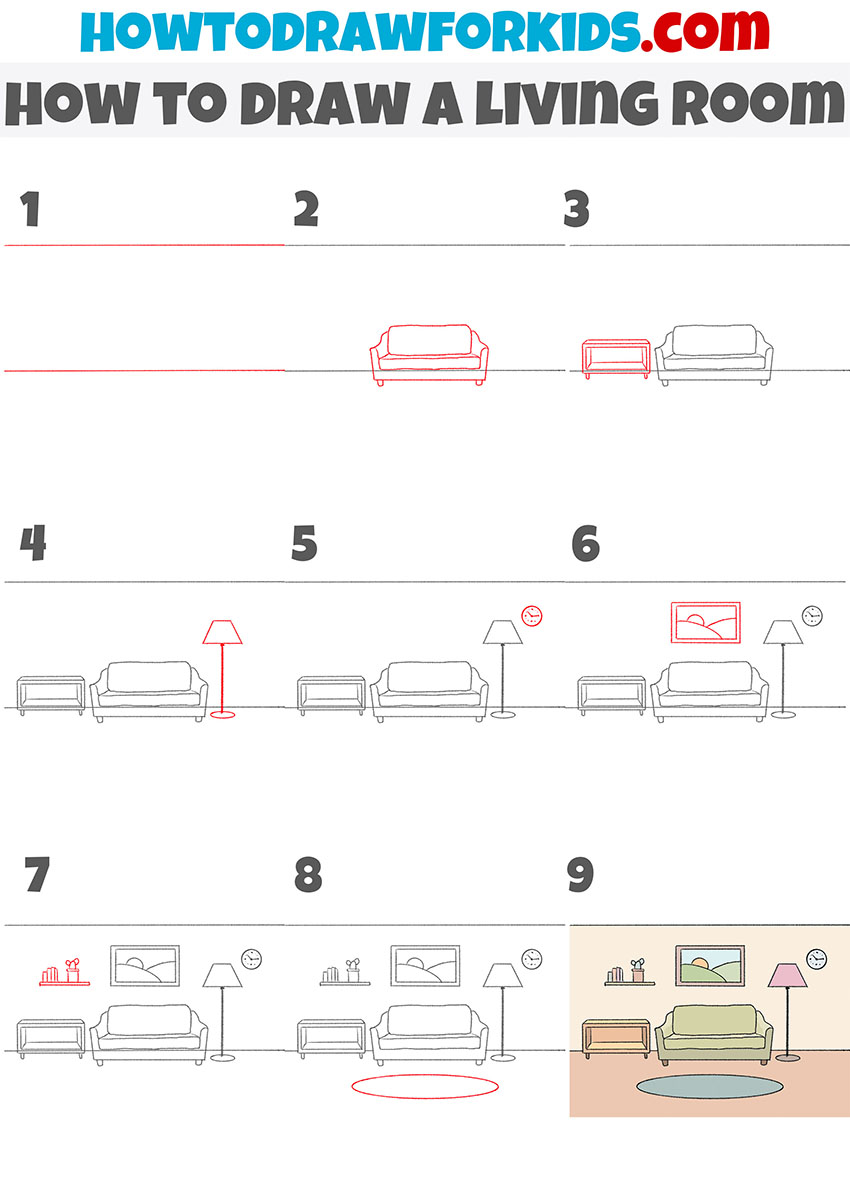
So, I have prepared for you a drawing lesson in which I will show you how to draw a living room step by step. Completing this lesson will greatly help improve the drawing skills of any aspiring artist or child. In this lesson, you will practice drawing various geometric shapes. To make your drawing look more perfect, you can use a ruler and compass when needed. And also you can try to complete this lesson without using auxiliary tools, and then it will help you to develop your skills as an artist even more.
The living room is a room for receiving guests. The living room is a common room, that is, it is intended for all family members. In large houses, the living room also serves as a place for business conversations and music lessons. There are no universal layouts and rules for arranging furniture in the living room, this is determined in accordance with the functional purpose. A sofa, a low table, comfortable armchairs are designed for relaxation, a place by the fireplace for conversation. The living room should have a bright, beautiful appearance, practicality in use and original design.
To draw a living room using this tutorial, you will need to draw furniture such as a sofa and a bedside table, as well as add many other elements in the room, such as a lamp, a picture, a clock, a carpet, as well as a shelf. Thus, when drawing this picture, you will practice drawing many objects, and then you can use these skills to create your other various drawings. If you want to start this lesson sooner, then I suggest that you prepare the necessary art materials right now, and then start doing this lesson, carefully following my recommendations. I am sure that you will be pleased with the result of your work.
Living Room Drawing Tutorial
Materials
- Pencil
- Paper
- Eraser
- Coloring supplies
Time needed: 30 minutes
How to Draw a Living Room
- Mark the layout of the floor and ceiling in the room.
To complete this step, you need to draw two straight horizontal parallel lines.

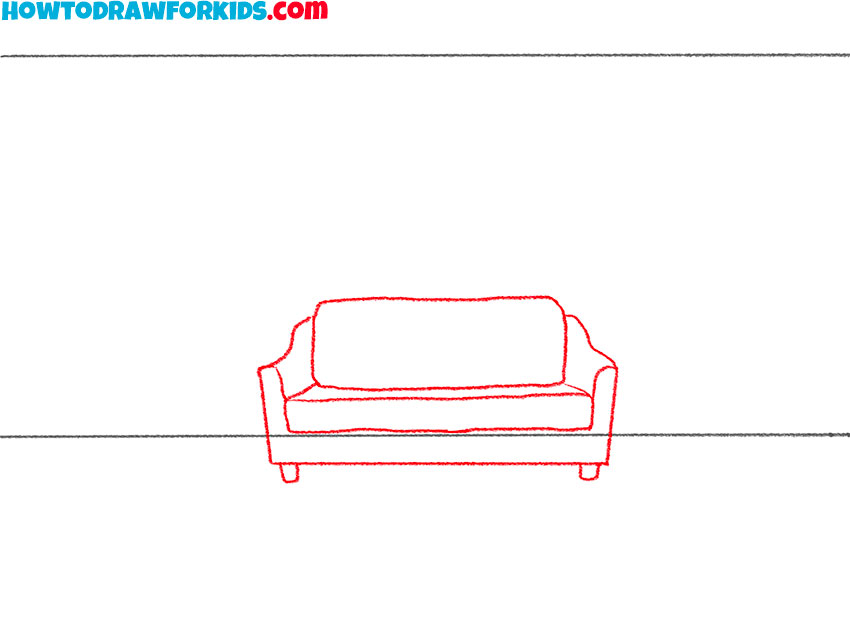
- Draw the sofa.
In the middle of the room, depict the sofa using straight and curved lines of different lengths.
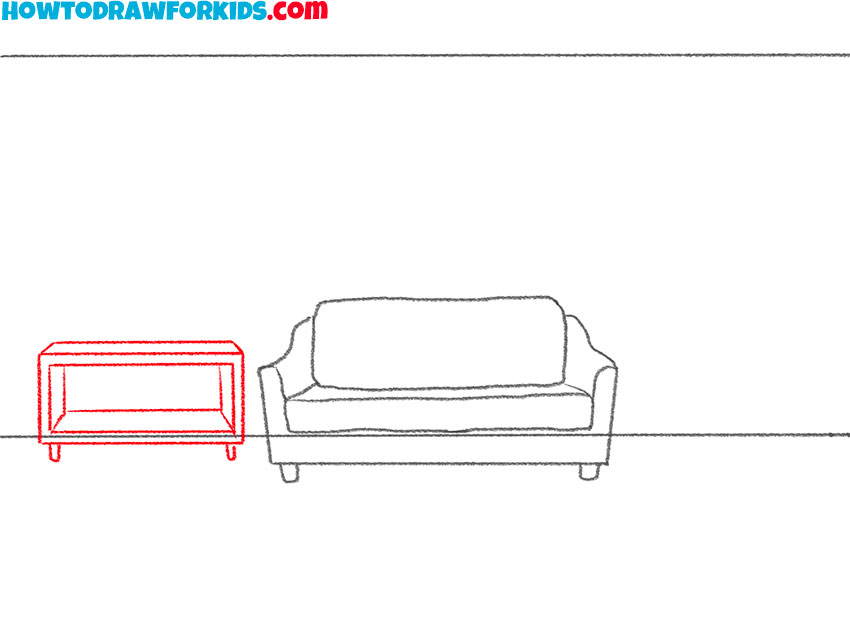
- Add the nightstand.
On the left side of the sofa, depict the cabinet using rectangles and straight lines.
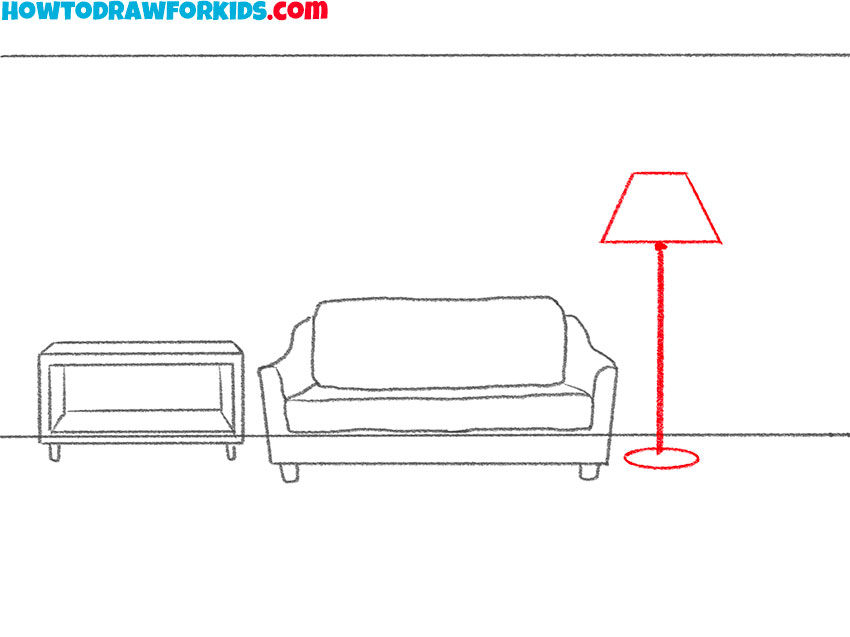
- Depict the floor lamp in the living room.
On the right side of the sofa draw the floor lamp using a thick straight line, an oval and also a trapezoid.
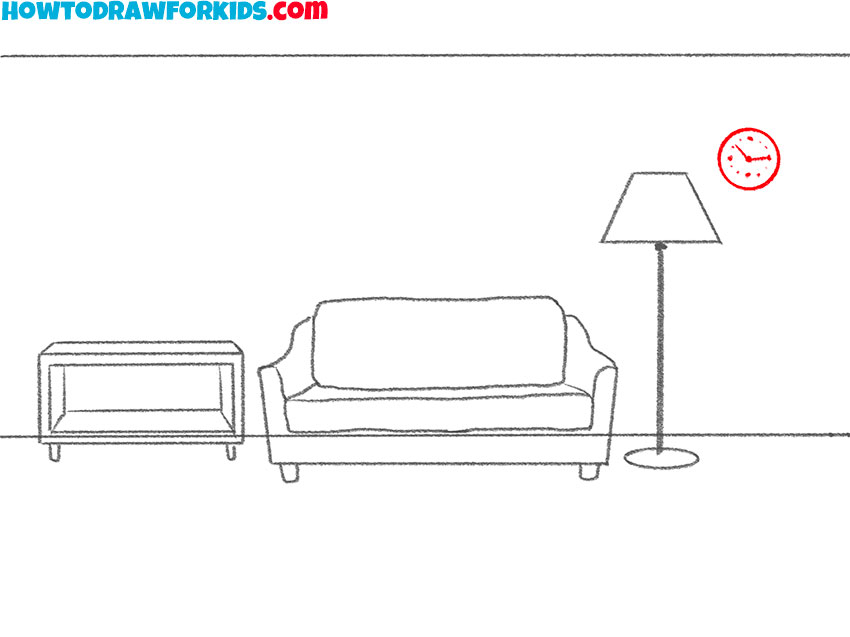
- Add the clock on the wall.
On the right side of the room, draw the clock on the wall using a circle, dots, and straight lines.
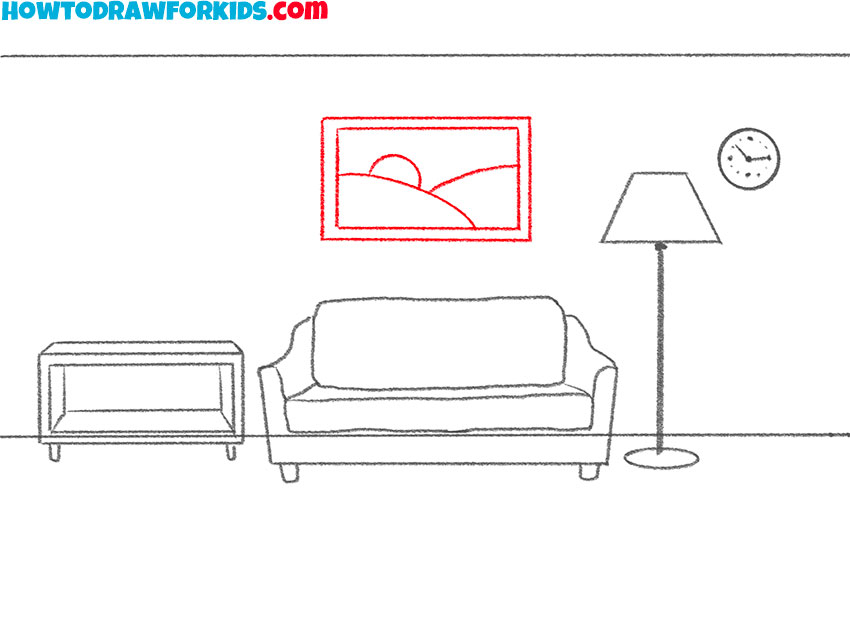
- Draw the picture on the living room wall.
Above the sofa, draw the picture of the natural landscape.
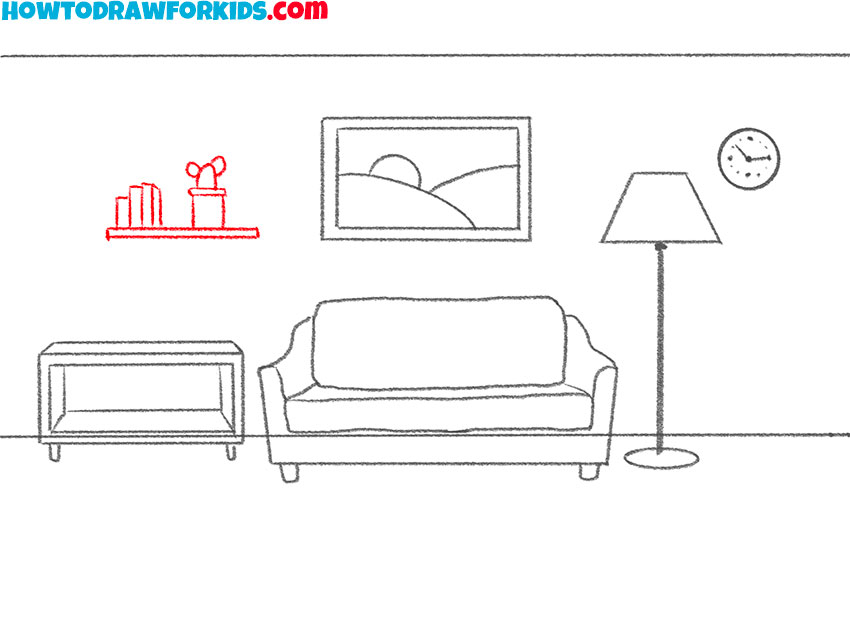
- Sketch out the shelf on the wall.
Above the bedside table draw the shelf, on which depict books and the cactus.
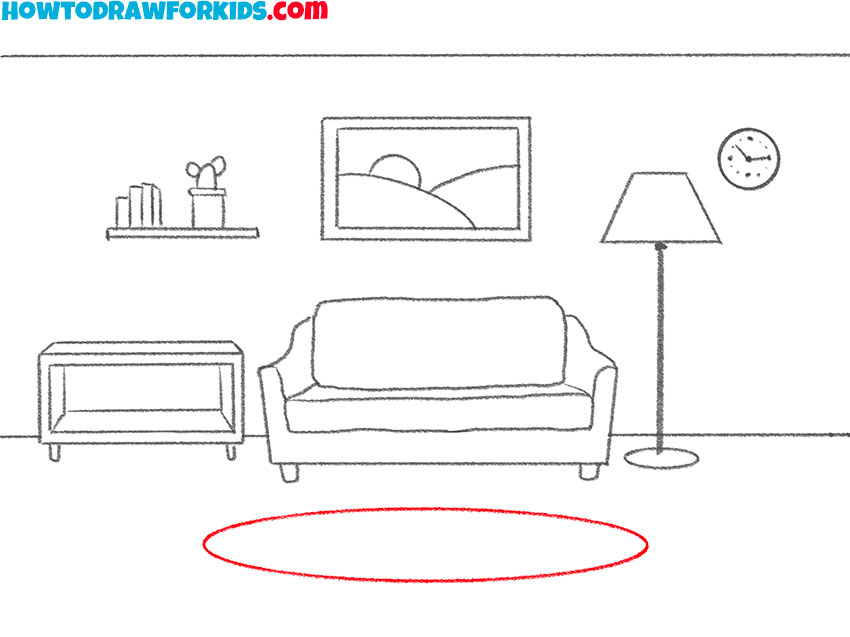
- Depict the carpet in the living room.
To depict this element, you need to draw one oval at the bottom of your drawing.
- Color the drawing.
Use shades of beige, shades of blue, pink, shades of brown, shades of green and yellow.
Don’t forget to download the PDF file, which contains a short version of this lesson, as well as additional practice materials to help you complete it.







Please continue teaching me how to draw little by little till I learn how to draw.and your drawing are all fine sir thank you.
Thank you, Alexander! Your words motivate me to make tutorials even better.