How to Draw a Marshmallow
In this drawing lesson, you will be able to learn how to draw a marshmallow step by step. This lesson will be very easy.
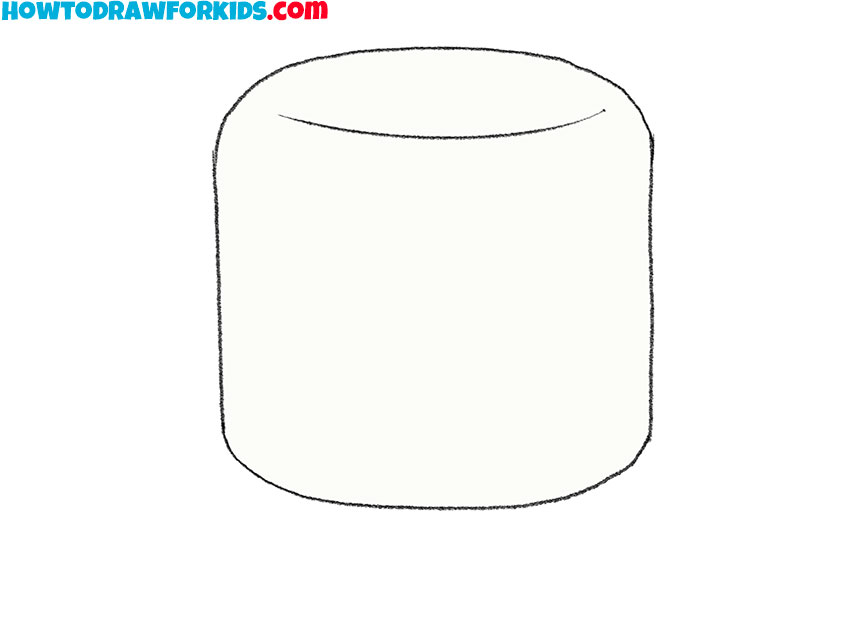
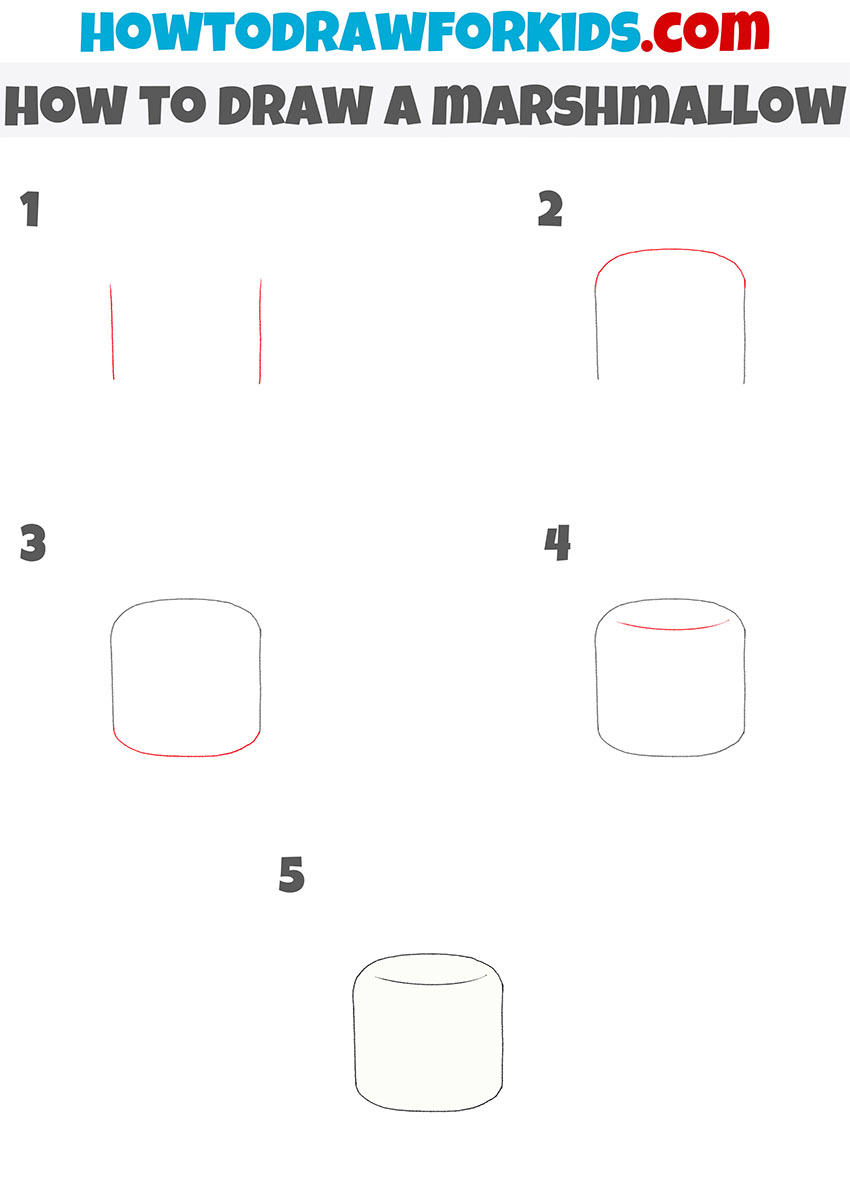
So, I am glad to bring to your attention this unusual drawing lesson, in which I will tell and show you how to draw a marshmallow step by step. This lesson is clear and uncomplicated, so any aspiring artist or child can easily handle it. This step-by-step guide is dedicated to the image of a famous food product.
I am sure that each of you has ever seen or tried marshmallows. Marshmallow is a confection that consists of sugar or corn syrup, gelatin and glucose, which are whipped until stiff and coloring and flavorings are added as desired.
This dessert tastes soft and tender. Marshmallows can be used to decorate desserts. These soft marshmallows can be sprinkled on the top of the cake or decorated with cupcake caps, or you can melt the marshmallows to a creamy state and cover the cake with them.
Materials
- Pencil
- Paper
- Eraser
- Coloring supplies
Time needed: 15 minutes
How to Draw a Marshmallow
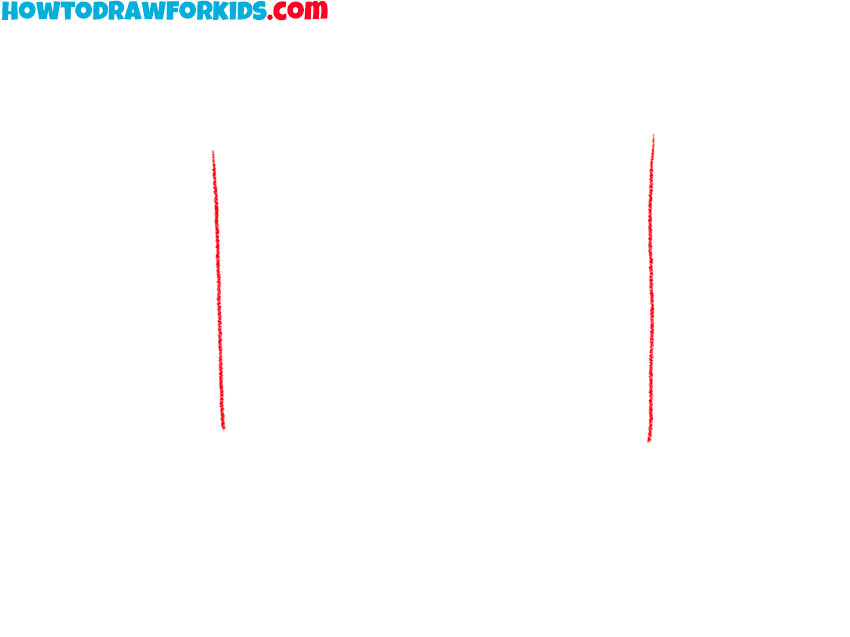
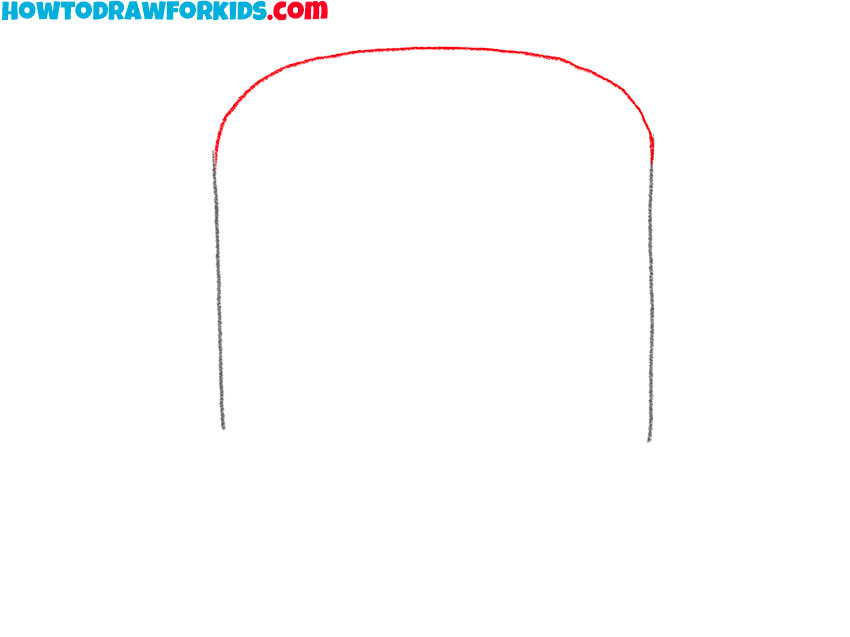
- Draw the sides of the marshmallow.
To begin with, you should draw two straight vertical lines, as shown in the figure.
- Add the top outline of the marshmallow.
Using one curved line, connect the top ends of the two previously drawn lines.
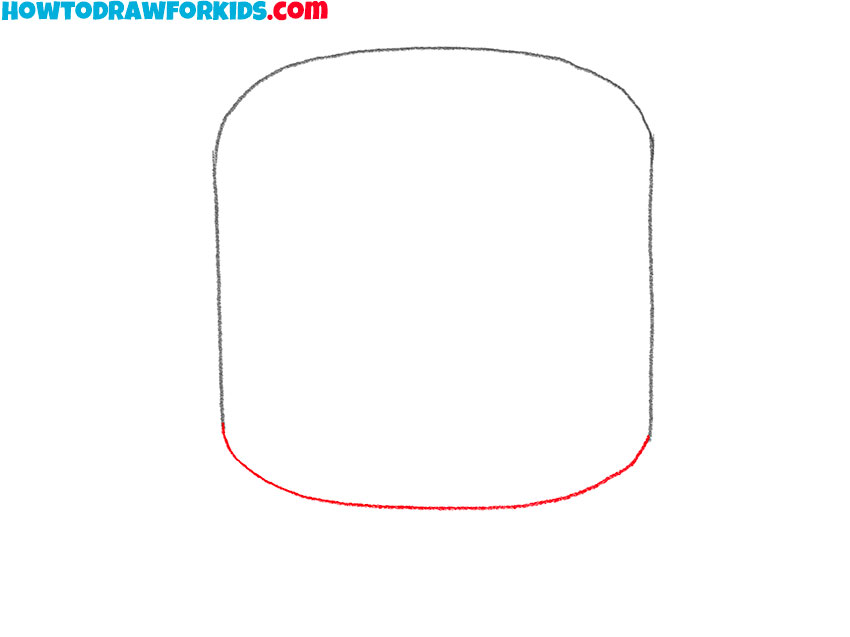
- Depict the bottom outline of the marshmallow.
Now, you should connect the bottom ends of the vertical lines with a single curved line.
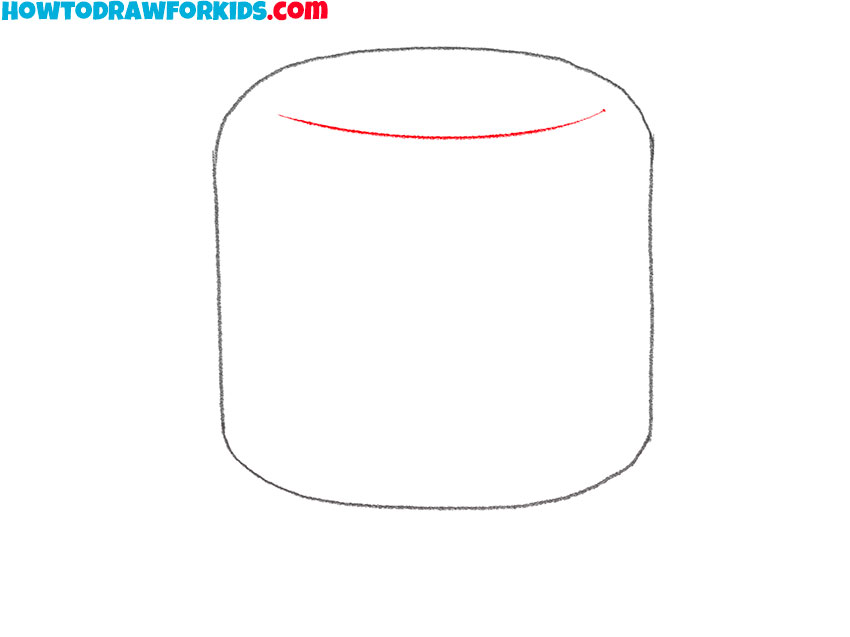
- Sketch out the three-dimensional drawing.
Draw one small arc at the top of the marshmallow as shown.
- Color the drawing.
Marshmallows are white, so you can use light gray or light yellow to represent this.

Don’t forget to download the PDF file, which contains a short version of this lesson, as well as additional practice materials to help you complete it. Do not forget to look at our website for other lessons on drawing food and sweets.

