How to Draw a Peach
Do you want to learn how to draw a peach, but don’t know where to start? In my tutorial you will find simple steps to draw this fruit for all skill levels.
I tried to make these instructions accessible and understandable so that you don’t have any difficulties during the process, and you get an excellent result the first time.
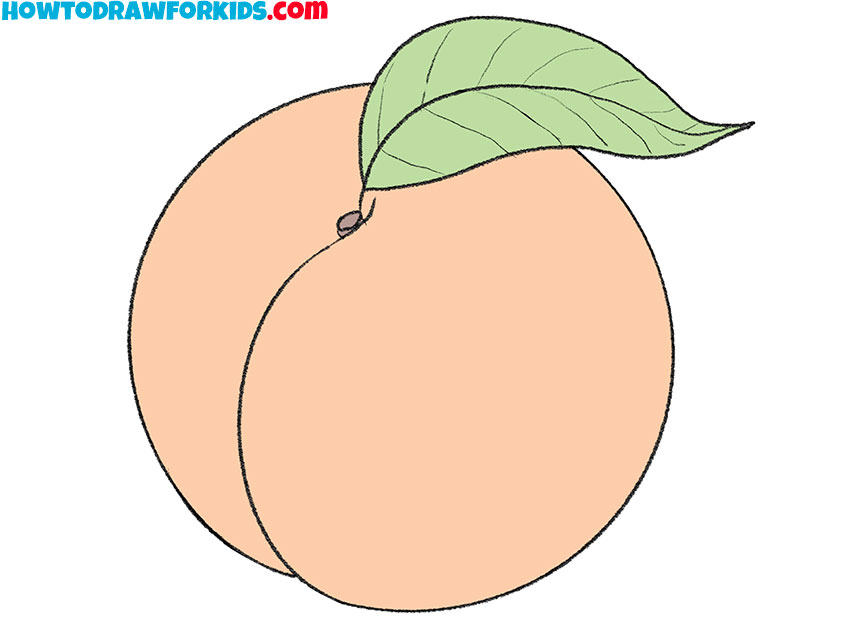
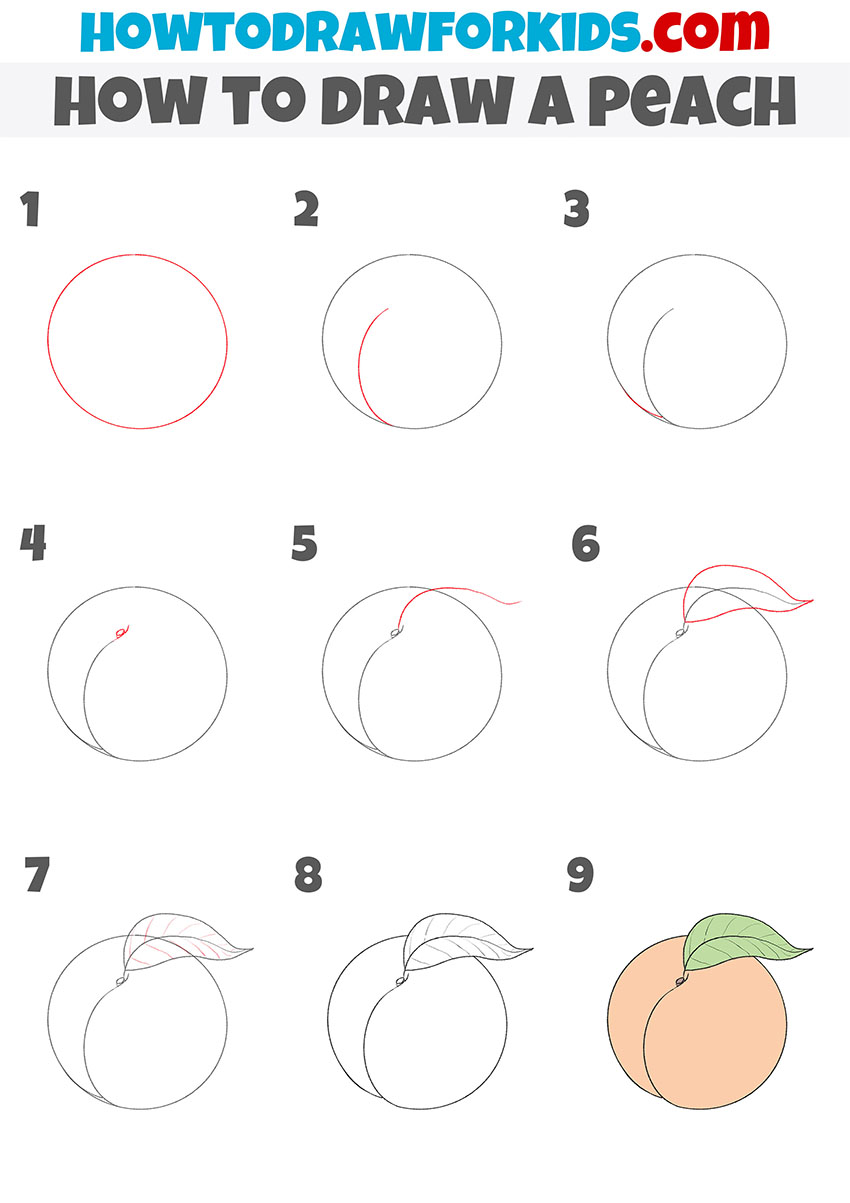
Table of Contents
- Basic information
- Steps on how to draw a peach
- Additional content
- Improve your peach drawing
- Conclusion
Basic Information on How to Draw a Peach
The lesson on how to draw a peach will be very simple, but will still require your accuracy. Try to make an even outer contour, and drawing the remaining elements will not cause you any difficulties.
Typically, a peach is round or oval. In this tutorial you will draw a round peach. In order to draw an even circle, you can use the tools at hand, but I recommend that you draw all the lines yourself, thereby you will train your artistic abilities.
On one side of the peach there is a longitudinal fold, with the help of which the peach can be conveniently divided into two halves. The stem is short and has a pointed leaf on it. You have to depict all these elements in your drawing.
Materials
- Pencil
- Paper
- Eraser
- Coloring supplies
Steps on How to Draw a Peach
Time needed: 30 minutes
How to Draw a Peach
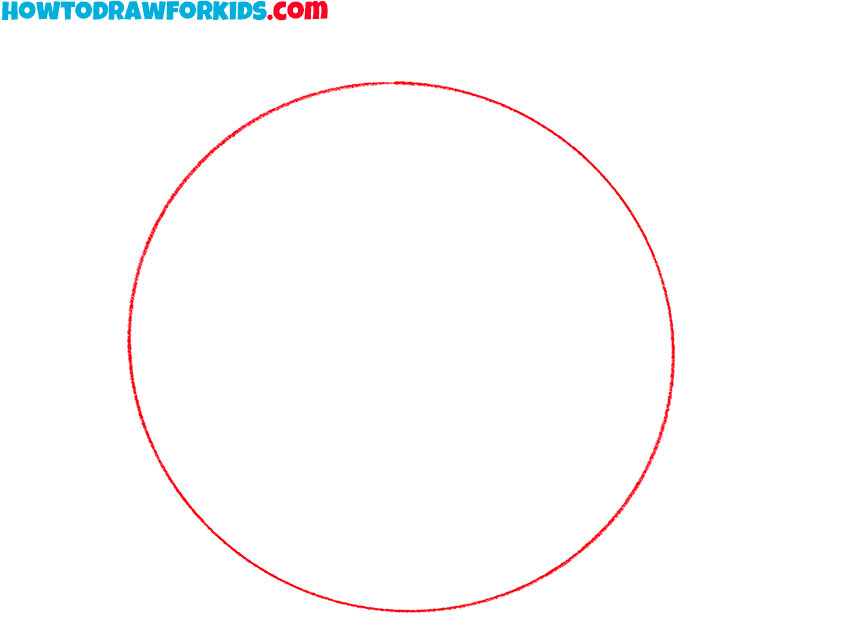
- Draw the outlines of the peach.
Begin by sketching an ordinary circle to depict as the foundation of your peach drawing. This shape captures the peach’s overall form before adding any specific details.
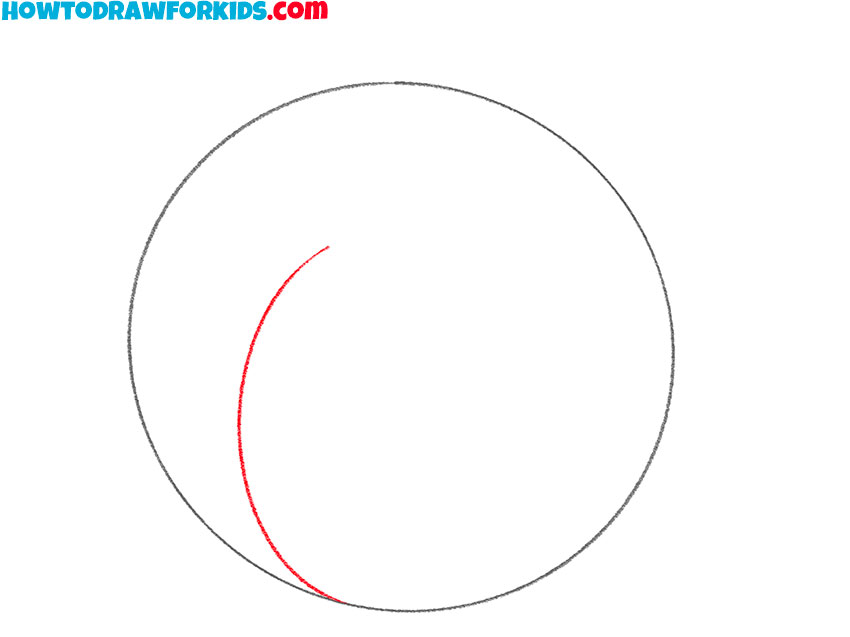
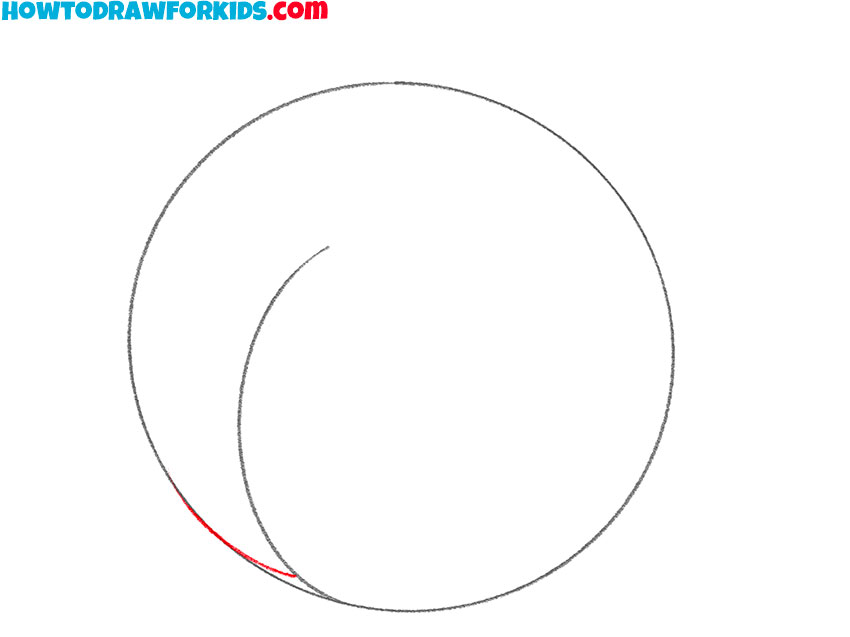
- Make the peach look voluminous.
On the left side of your circle, draw a subtle inward arc. This curved indentation is the starting point for the characteristic cleft that distinguishes a peach from other fruits.
- Add relief outlines peach.
Add another small beveled line at the bottom of the peach outline. This slightly sharpens the outline that is adjacent to the line from the last step.
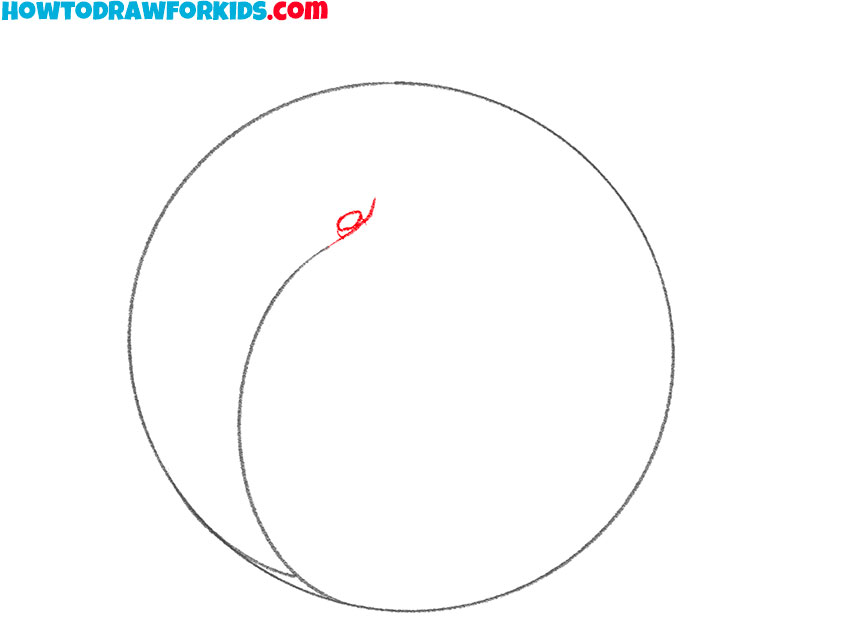
- Sketch out the peach tail.
In the center top of the circle, draw a small oval-like shape. This represents the area where the peach’s stem will eventually connect to the fruit.
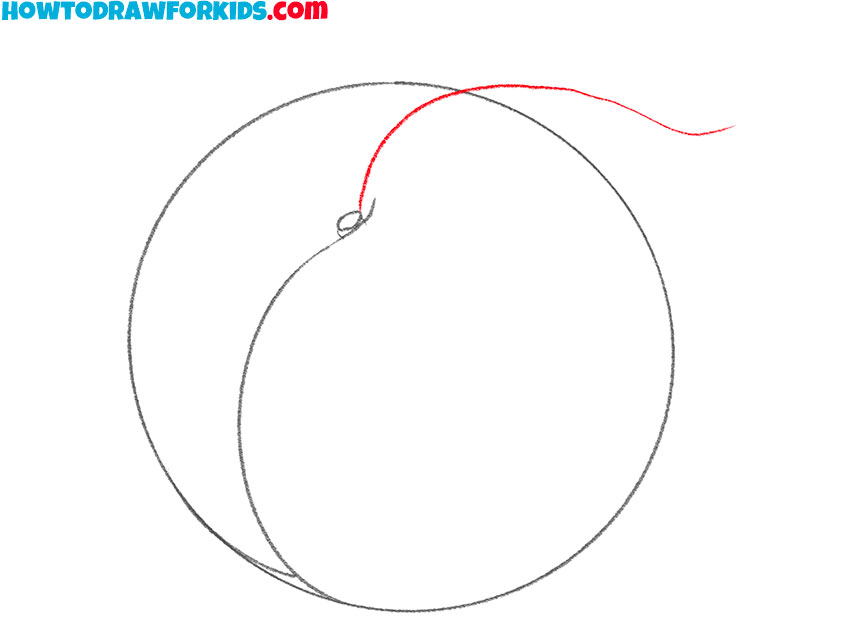
- Start drawing the peach leaf.
You’ve probably seen fruits with leaves in many still lifes. It always looks brighter and more colorful. Therefore, we also decided to add the outlines of the leaf to our drawing.
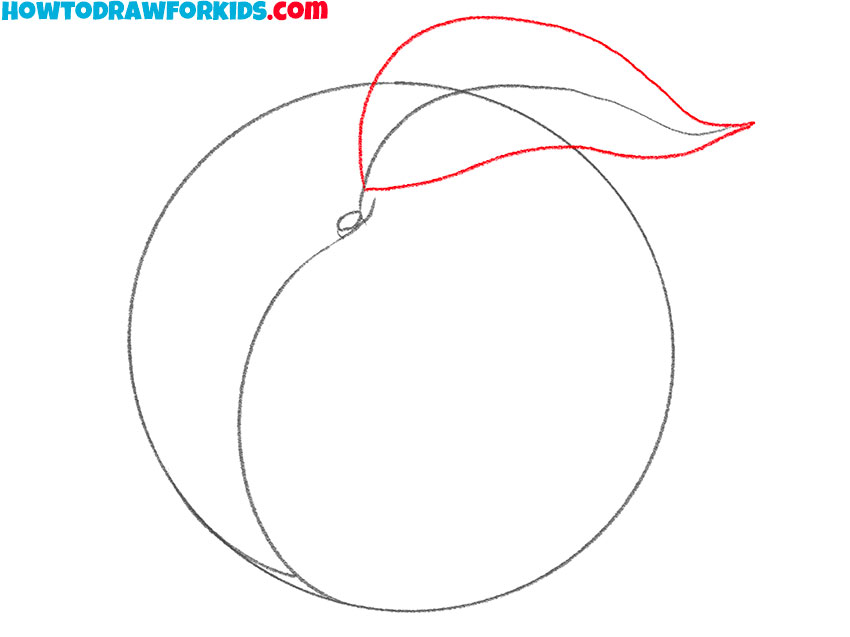
- Finish drawing the outline of the sheet.
Finish drawing the leaf. This is a curved outline that gradually tapers to the right. Use the center line from the last step as a guide.
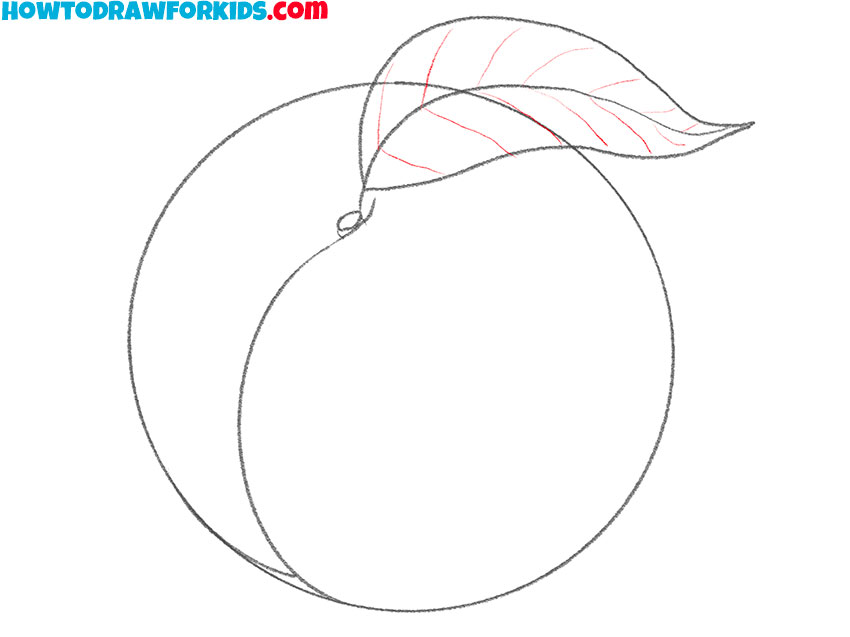
- Add the veins to the peach leaf.
To give the leaf more realism, draw the leaf texture in the form of paired oblique lines as in our example.
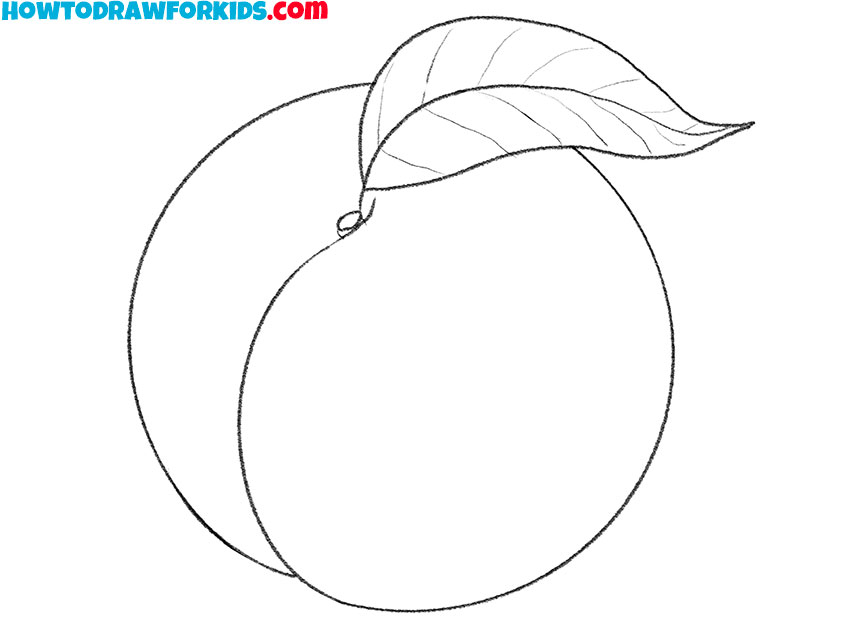
- Remove unnecessary elements.
Remove unnecessary lines, and check the correctness of the outline of the peach, the leaf, and the entire drawing as a whole. Correct any inaccuracies and feel free to move on to the next step.
- Color the drawing.
Fill in your peach with a warm, blush orange color, shading it to add depth. Color the leaf a vibrant green, with a darker green for the veins, completing your ripe, juicy peach illustration.
Additional Content
As usual, at the end of the lesson I have prepared the following useful materials for you:
- Drawing lesson
- Coloring book
- Trace Worksheet
- Grid drawing worksheet
For your convenience, I have packaged these materials into one PDF file. Now you can download this file and then use it at any convenient time, even if the Internet is unavailable. You can also share information about this lesson with your friends.
Improve Your Peach Drawing
You can leave your drawing as is, or you can make it more realistic. To do this you need to follow my recommendations:
- Study real peaches: look at photos or hold a peach in your hands and notice its shape, texture, and color. This will help you better understand and depict these details in your drawing.
- Highlight light and dark areas on the surface of the peach. Using chiaroscuro you can depict the volume of a peach. There is an article on my website about light and shadows.
- Make the peach color uneven. For example, one side of a peach can be painted yellow or red, but there should be a smooth transition between the colors.
- Try drawing a few more peaches to strengthen your skills. If necessary, go back to the beginning of the lesson to see all the drawing steps again and try to remember them.
Don’t forget that each drawing is unique, and your style may differ from other artists. Use these tips to develop your own technique and express your creative personality in your peach drawings.
Conclusion
Let me know if you liked this step-by-step guide? I’m interested to know your opinion about this lesson. Perhaps you still have questions or have interesting ideas for the next drawing lessons.