How to Draw a Mug
Even the simplest objects can be important for practice, and today we’ll work on one of those in this tutorial on how to draw a mug.

How to Draw a Mug: Basic Information
In the art of drawing, everyday objects like a mug hold a special charm. I crafted this tutorial on how to draw a mug to share a simple, joyful approach to capturing its essence. The roundness of the body, the curve of the handle – each element is broken down into easy steps to ensure success for artists at any level.
As I crafted this tutorial, I paid special attention to the proportion of the mug’s body and handle, ensuring that the end result would be both functional and aesthetically pleasing. The gentle curve of the handle and the cylindrical shape of the mug are foundational, offering a solid base upon which to build your drawing skills.
By the end of this tutorial, you will be able to draw a mug with confidence and ease. Whether you’re looking to sketch a quick doodle or start a more serious foray into the world of art, I hope this lesson gives you a solid starting point. Remember, the beauty of drawing lies in the simplicity and joy it brings into our lives.
Mug Drawing Tutorial
Materials
- Pencil
- Paper
- Eraser
- Coloring supplies
Time needed: 15 minutes
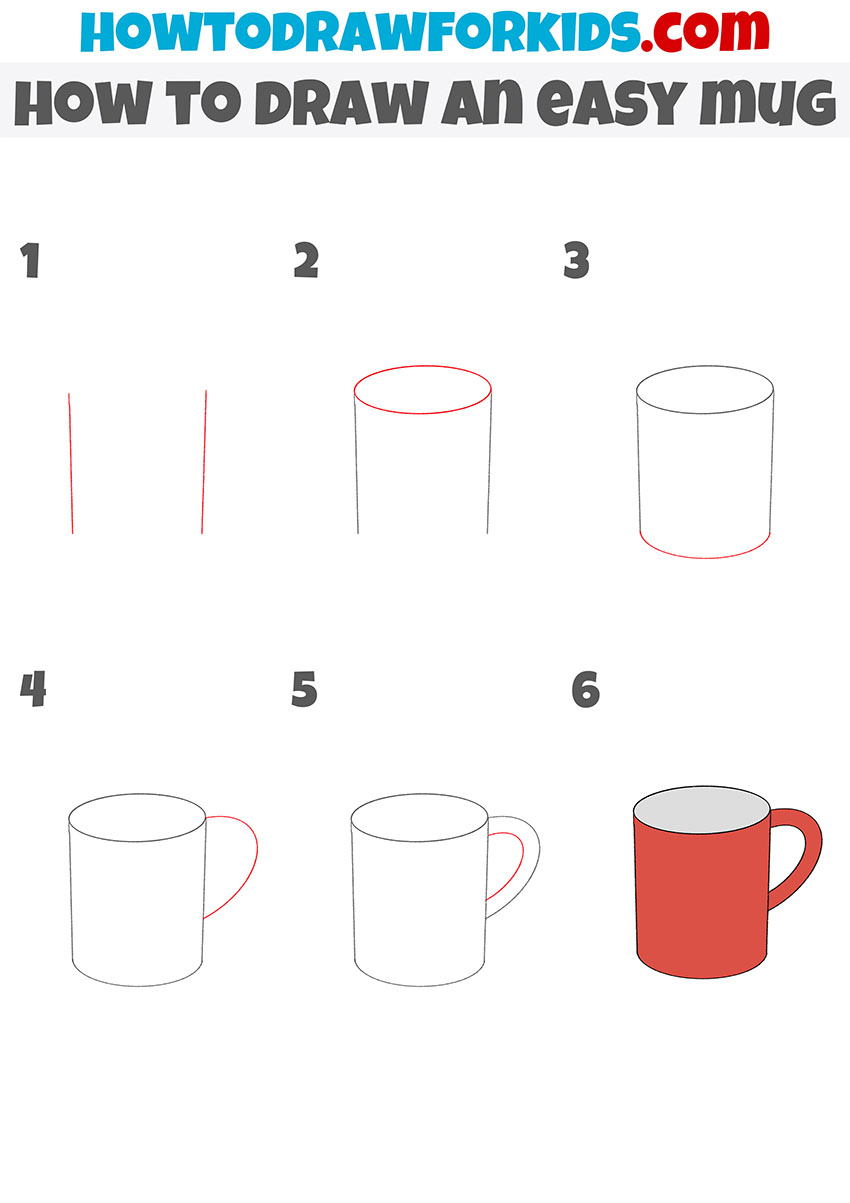
How to Draw a Mug
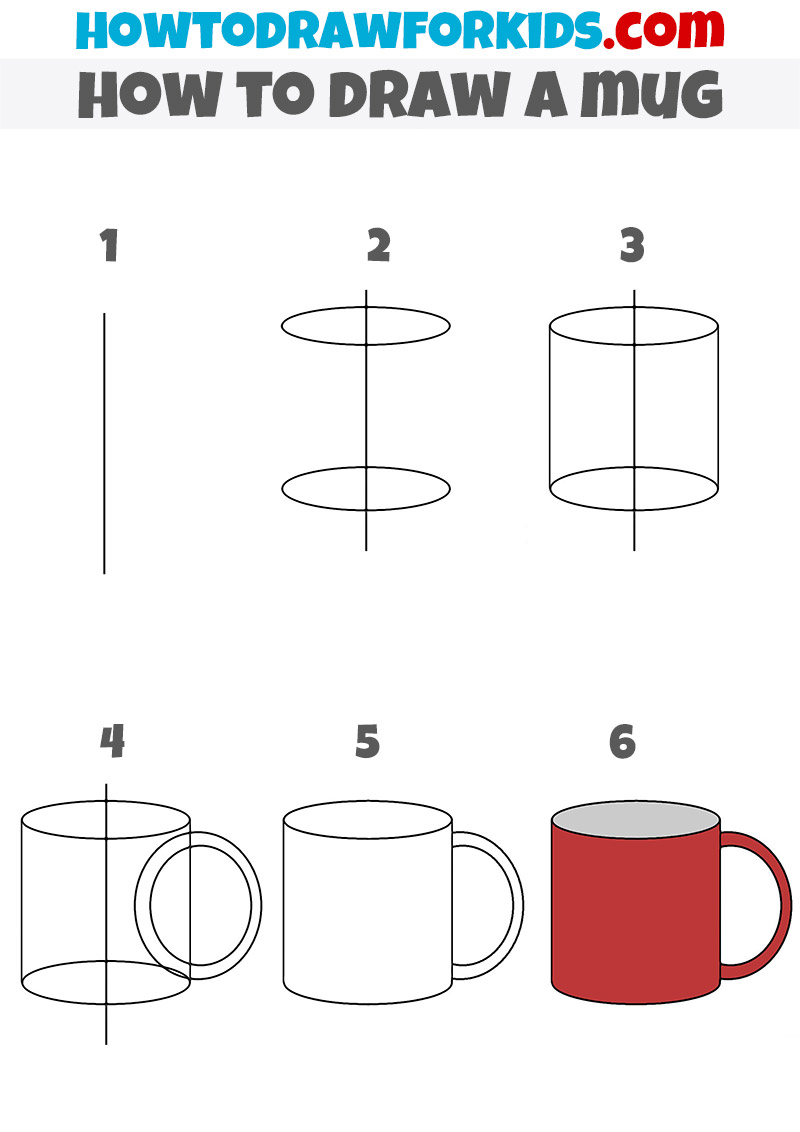
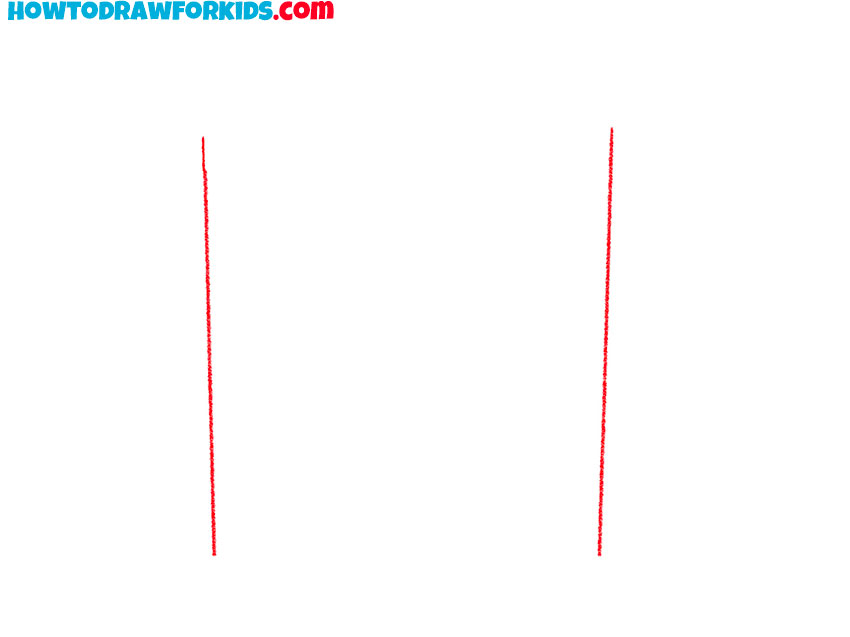
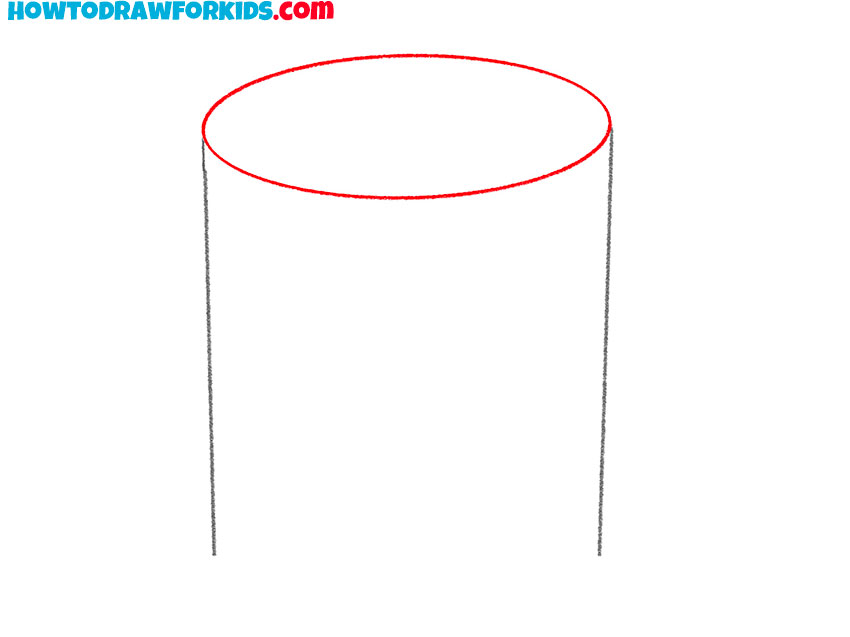
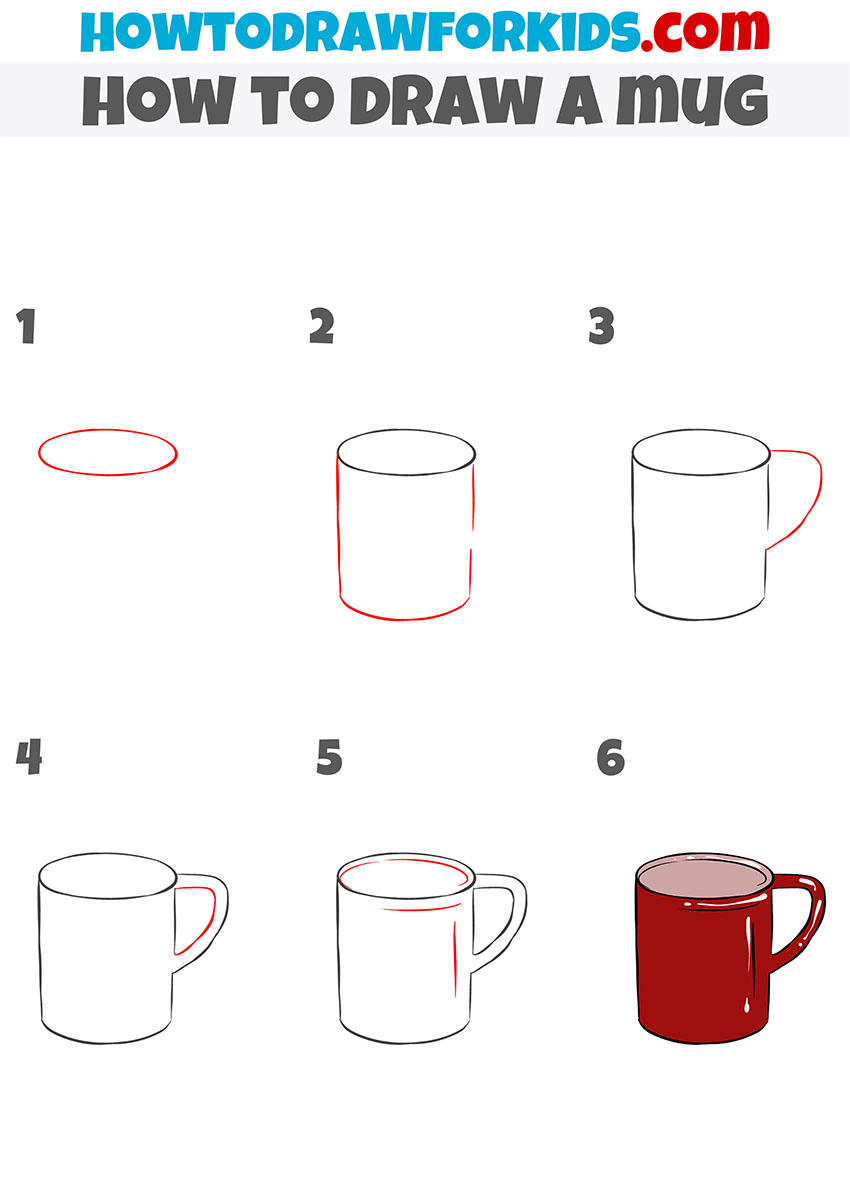
- Outline the mug side walls.
Every cylindrical object benefits from a guiding structure, so begin with two vertical lines. The distance between these lines will determine the width of your mug.
- Draw the mug’s top rim.
Now that the side guides are set, place an oval across the top to represent the open mouth of the mug. The oval should touch both side lines and be wider horizontally than vertically, as we’re looking at the mug from an angle. You can imagine drawing an ellipse in perspective. The left and right curves should mirror each other.
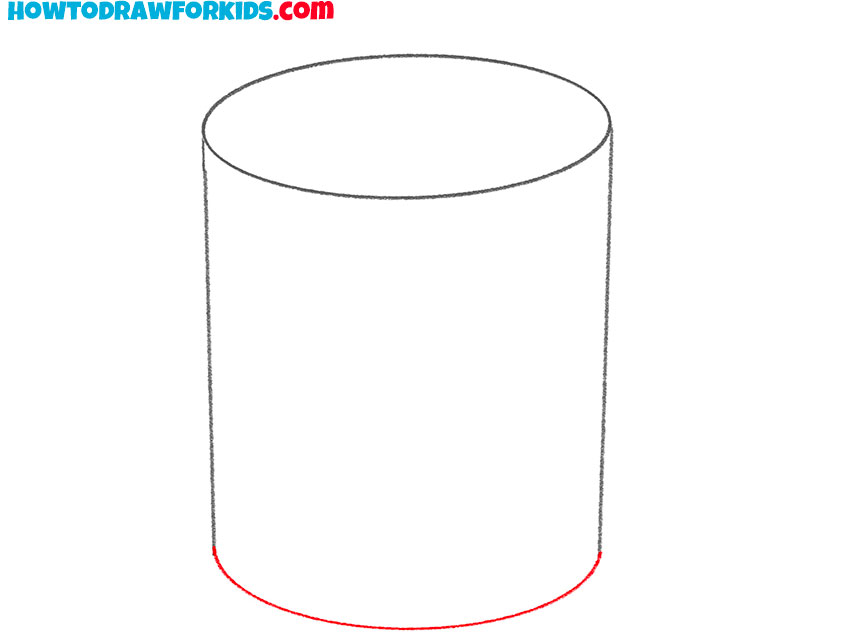
- Close the bottom of the mug.
To complete the main cylinder, draw another curved line at the bottom connecting the two vertical guides. This curve should mirror the one on top but appear slightly narrower, as it represents the bottom edge of the mug. At this point, the drawing should look like a tall cylinder.
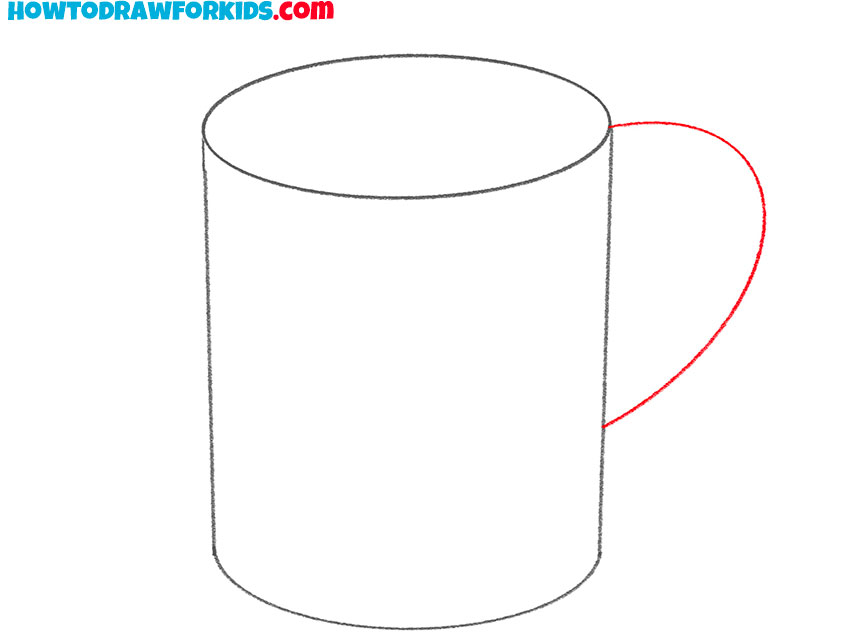
- Sketch the outer handle curve.
Handles are very important for a mug, so now add a large curved line on one side. Sketch it as a broad arc, starting near the upper third of the mug and end closer to the bottom.
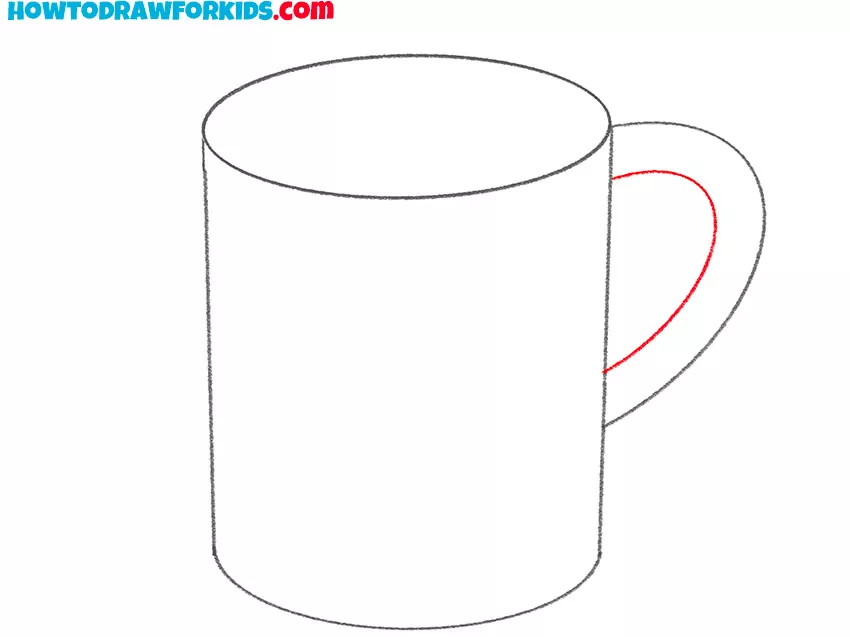
- Complete the handle shape.
With the outer edge is complete, draw a second curved line inside it to create the full handle. This inner curve should follow the same shape as the outer line, keeping the width even all the way around. If the lines don’t match, adjust until the handle looks symmetrical. Handles are often slightly thicker at the base, so you can widen the curve at the bottom.
- Fill the mug with color.
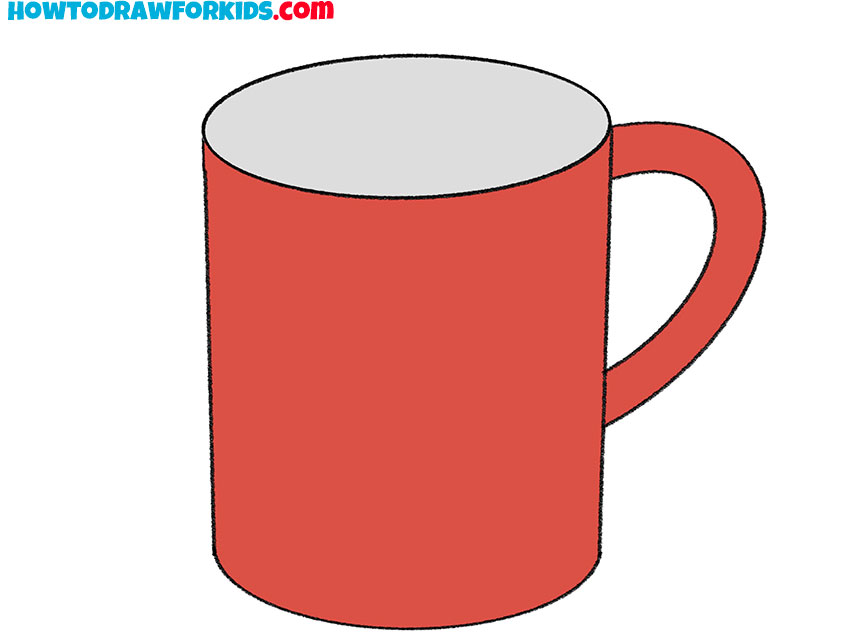
The final step is to make the mug look finished, so fill the body with an even shade, such as red or blue, leaving the inside oval slightly lighter or darker. For added realism, you can darken one side of the mug to convey shadows.
Additional Content
In complementing this drawing lesson, I’ve crafted a concise, downloadable PDF file to help you perfect the art of the mug. This free resource distills the tutorial’s essence, offering you a quick reference that’s as handy as it is portable, accessible anytime and anywhere, even without internet connectivity.
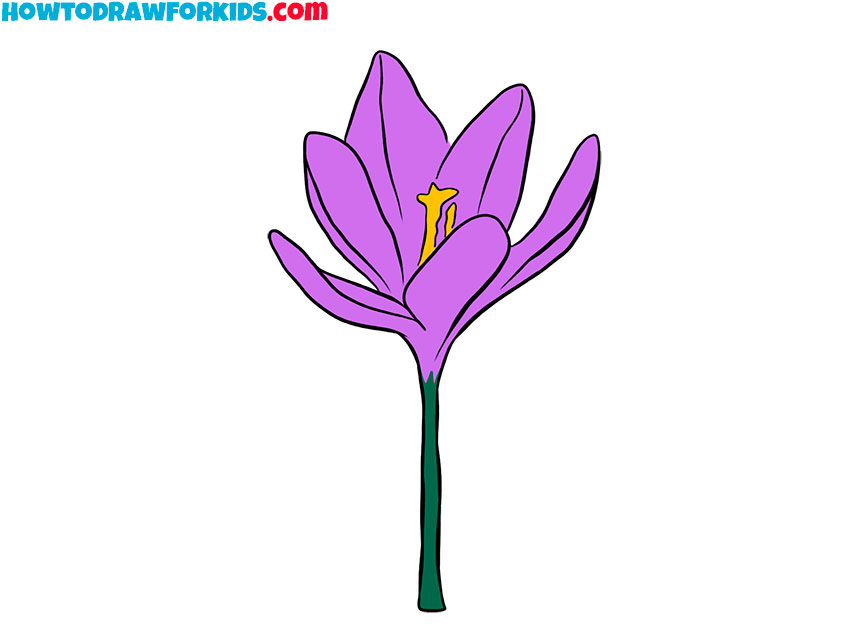
Alternative Drawing Techniques
With a passion for artistic growth and versatility, I’ve developed several alternative techniques for drawing a mug. These variations play with light, shadow, and perspective, encouraging you to experiment and find new ways to see and depict the curves and contours of a simple mug.
How to Draw a Realistic Mug
In the first step of this method, drawing a mug starts with the basic shapes: an oval for the top and a straight line to give the body height. It’s about understanding the dimensions before adding any detail – the width, height, and the mug’s roundness are all outlined here, providing a guide for the next steps.
Moving on, the sides of the mug are connected to the initial oval, giving it a solid cylindrical shape. The handle’s addition involves sketching a half-heart shape connected to the side, ensuring it mirrors the mug’s perspective. This is where your mug begins to gain volume and the handle appears as if you could reach out and grasp it.
In the final touches, the handle is thickened, providing the mug with a more robust and usable look. Highlights on the mug’s lip and the handle edge add a touch of realism, suggesting a light source and giving the mug a three-dimensional appearance.
Mug Drawing with Geometric Shapes
This method of drawing a mug begins with the basics of geometry – lines and circles – to establish a frame. First, a vertical line is drawn to ensure symmetry, followed by two horizontal ellipses that form the top and bottom of the mug. This sets up the structure, allowing for proportionate and even rendering of the mug’s shape.
The next step connects the ellipses with vertical lines, creating a cylinder that serves as the mug’s body. It’s crucial to get these lines parallel, as they give the mug its form. A smaller circle is added adjacent to the cylinder, representing the base of the handle.
Finally, the outline of the handle is drawn, connecting smoothly to the mug to complete the shape. This step requires a steady hand to capture the handle’s curve and attachment to the mug. The resulting sketch, resembles a mug with correct proportions and a realistic appearance, ready to be filled with your favorite beverage.