How to Draw a Pacifier
Today I will show in detail how to draw a pacifier. The instruction includes seven simple steps that you can quickly and easily follow.
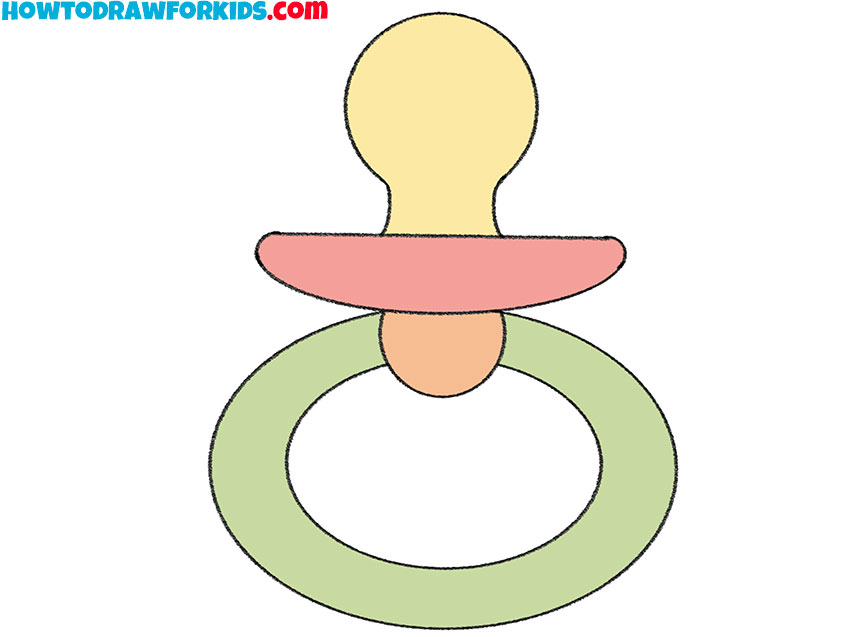
So, now I will show you how to draw a pacifier step by step. This simple item helps young children calm down and be distracted. Thanks to the nipple, the baby sleeps better and feels more comfortable.
The nipple consists of three parts – a rubber or silicone nipple, a nozzle and a handle. With the help of my clear and accessible instructions, you can easily draw these elements and get an excellent result. You only need to be attentive and careful.
Keep symmetry and make sure that your drawing is as similar as possible to my example. For coloring, you can use the same colors that are suggested in the instructions or any other bright colors of your choice.
Materials
- Pencil
- Paper
- Eraser
- Coloring supplies
Time needed: 30 minutes
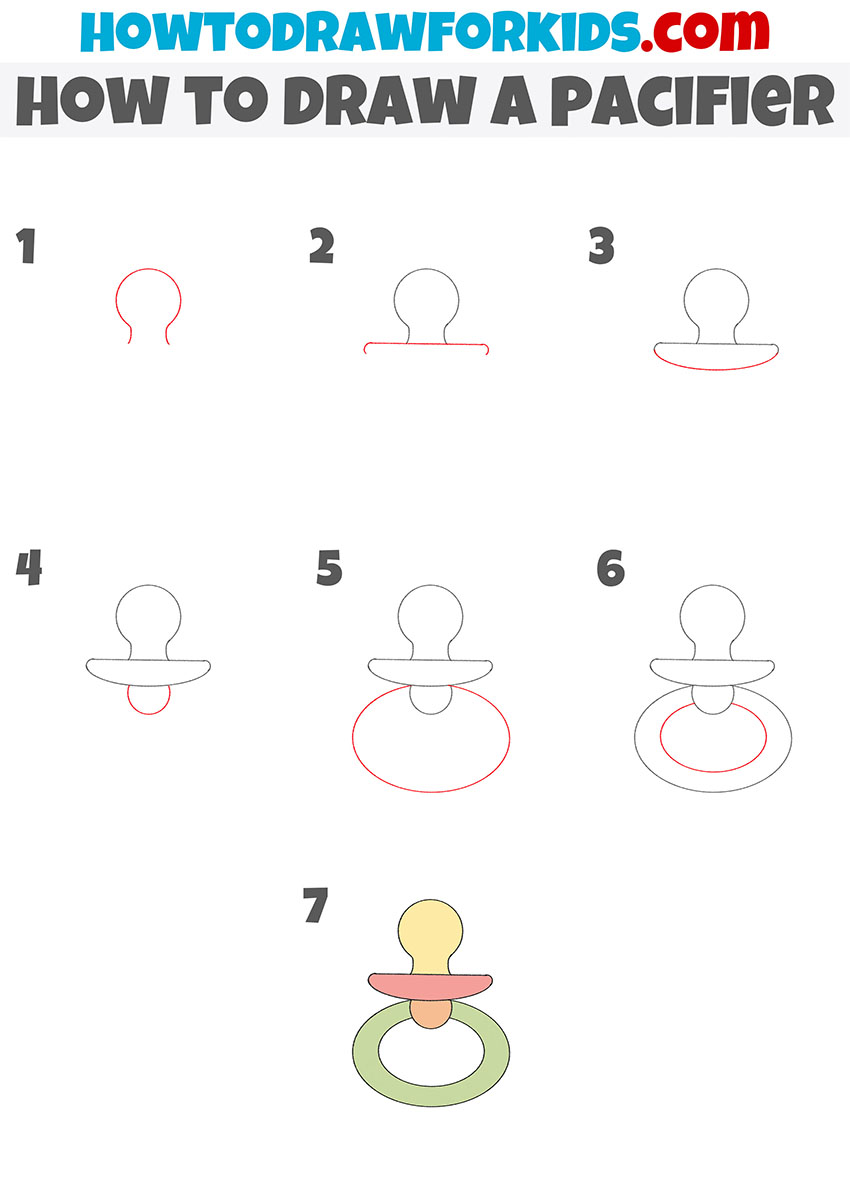
How to Draw a Pacifier
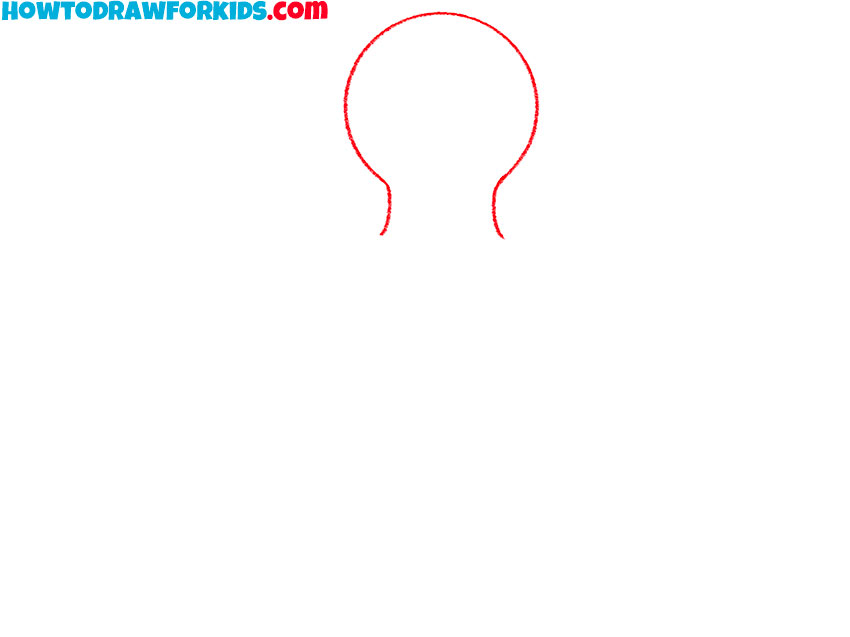
- Draw the nipple.
With the help of smooth curved lines, depict a figure of the same shape as in my example.
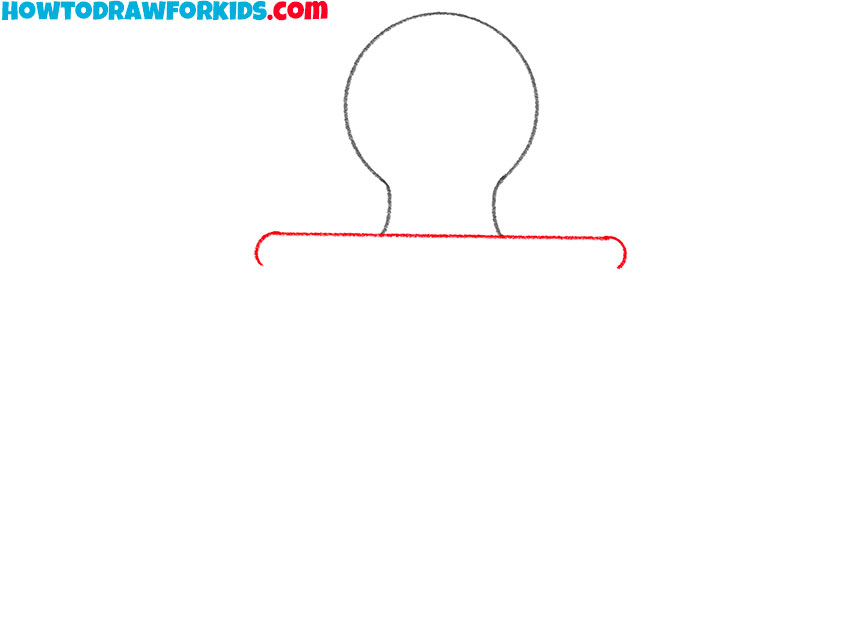
- Depict the top of the nozzle.
Draw a horizontal line below the nipple and add small, curved lines around the edges.
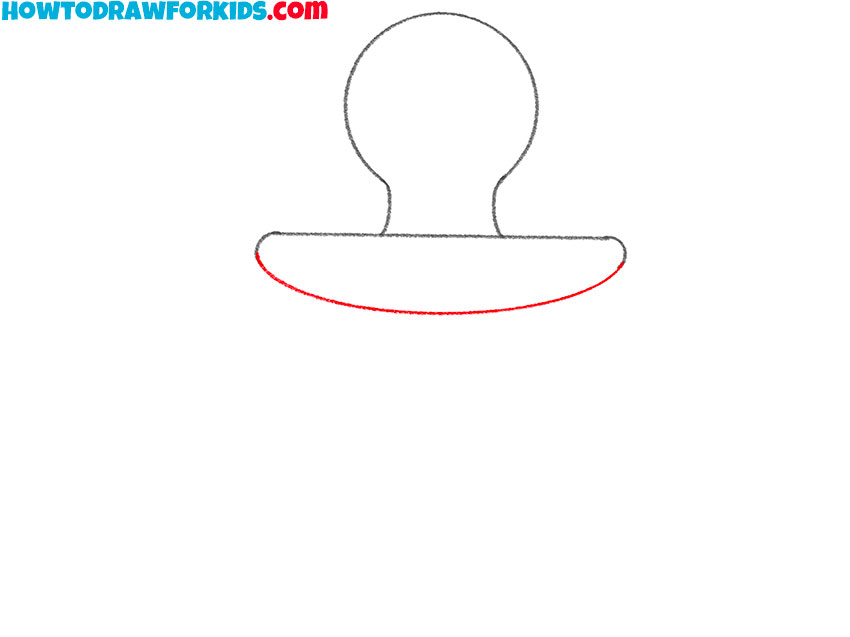
- Add the bottom of the nozzle.
Draw a smooth, curved line at the bottom to form a closed loop.
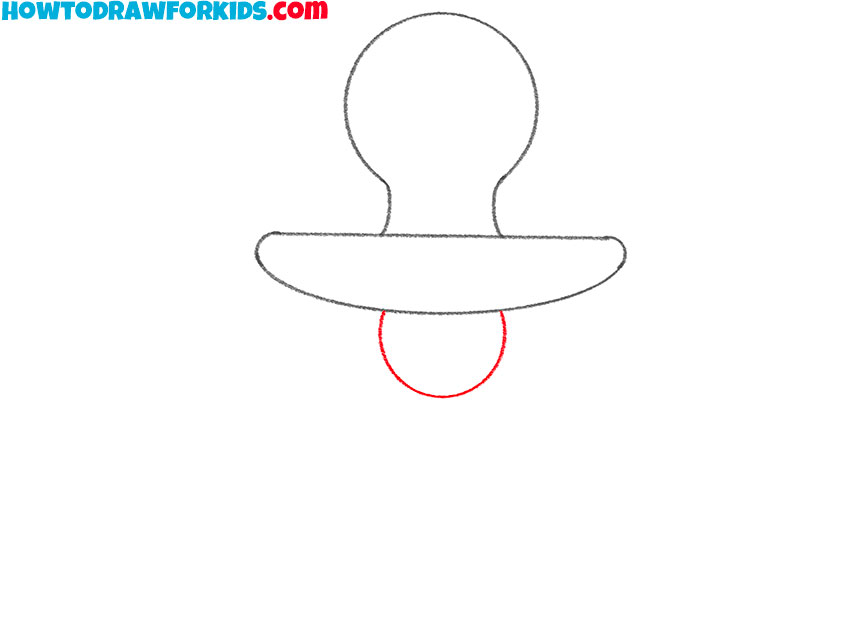
- Sketch out the handle mount.
At the bottom of the drawing, draw a semicircle shape.
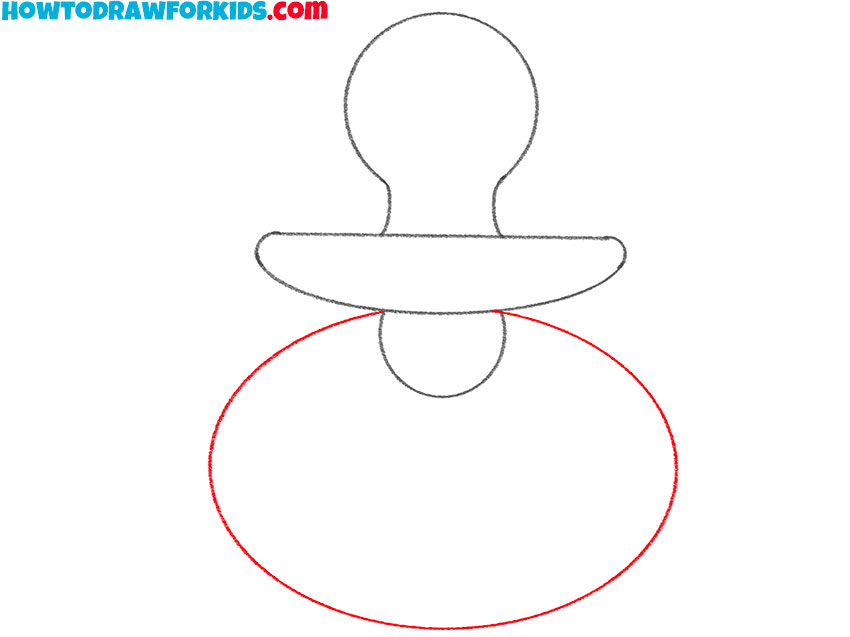
- Draw the outer outline of the handle.
Depict an even oval at the bottom of the drawing.
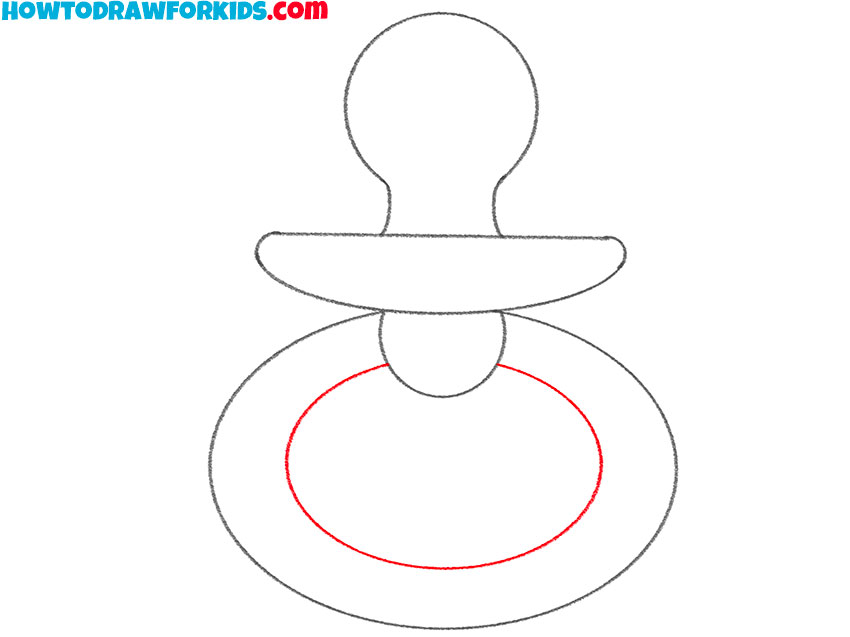
- Add the inner outline of the handle.
Draw another oval to represent the thickness of the handle.
- Color the drawing.
You will need yellow, pink, orange, and green.

The next lesson has come to an end, and now you know how to draw a pacifier step by step. I recommend that you complete the other lessons presented on the pages of this site in order to improve your creativity. If you want to always have access to this lesson, then download the PDF file right now, which contains a brief instruction and additional training materials necessary for effective completion of the lesson.

