How to Draw a Parakeet
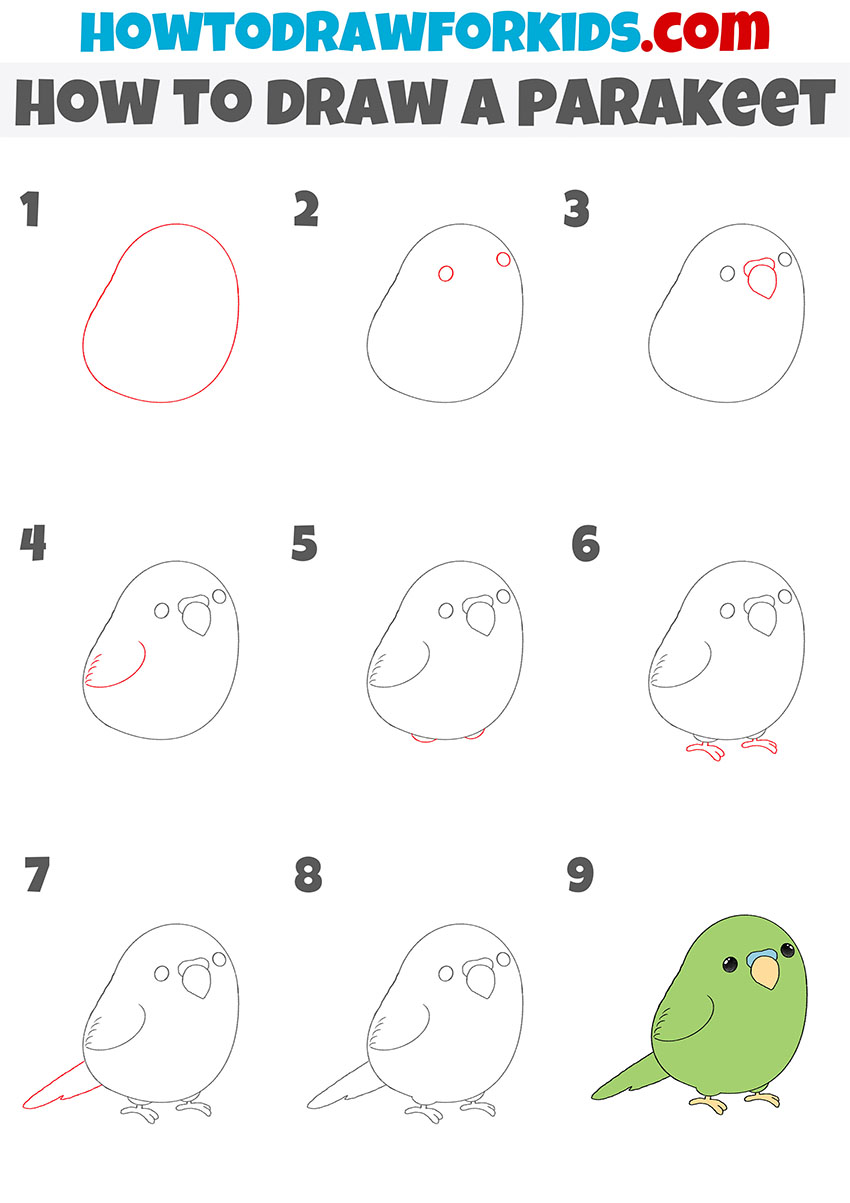
In this tutorial, you will learn how to draw a parakeet in just nine easy steps. This guide is very helpful and simple.
I suggest you complete a new interesting lesson in which I will show in detail how to draw a parakeet. This is a simple instruction with which you will train your artistic skills.
If you love beautiful birds, you will like this lesson. Here I will show you in detail how to draw a parakeet step by step. These are smart and funny birds that live in the wild or as pets.
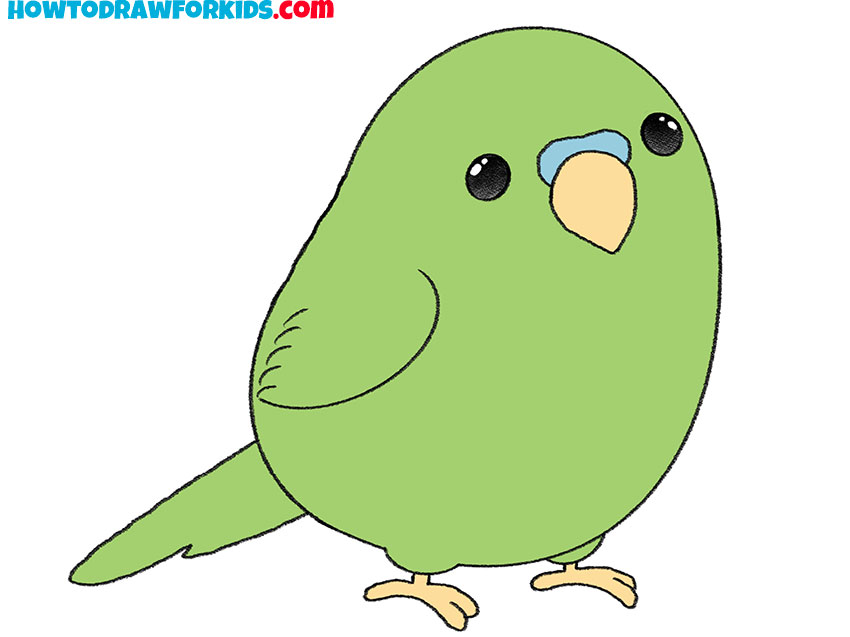
In the picture, you see a small green parakeet. With simple instructions, you can easily draw a parakeet, even if you have not had to do it before. Each step is one simple action.
For coloring, you can use the same color as in the example, or you can use any other colors of your choice. For example, you can color a parakeet yellow or blue.
The most interesting option is the variegated plumage when the body is of one color, and the wings and tail are of a different color. Use your imagination to make the drawing brighter and more saturated.
Materials
- Pencil
- Paper
- Eraser
- Coloring supplies
Time needed: 25 minutes
How to Draw a Parakeet
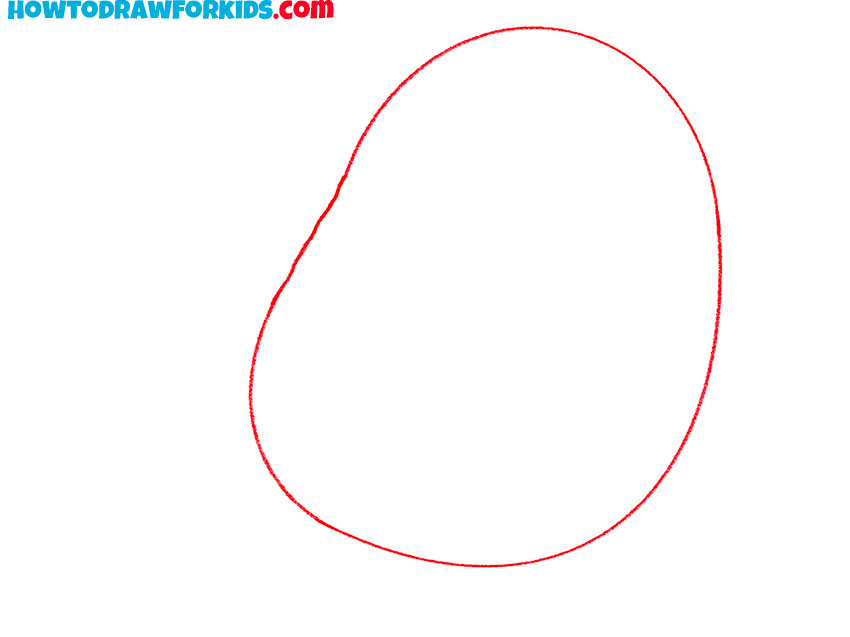
- Draw the torso.
Depict an oval, while depicting a slight curve on the back.
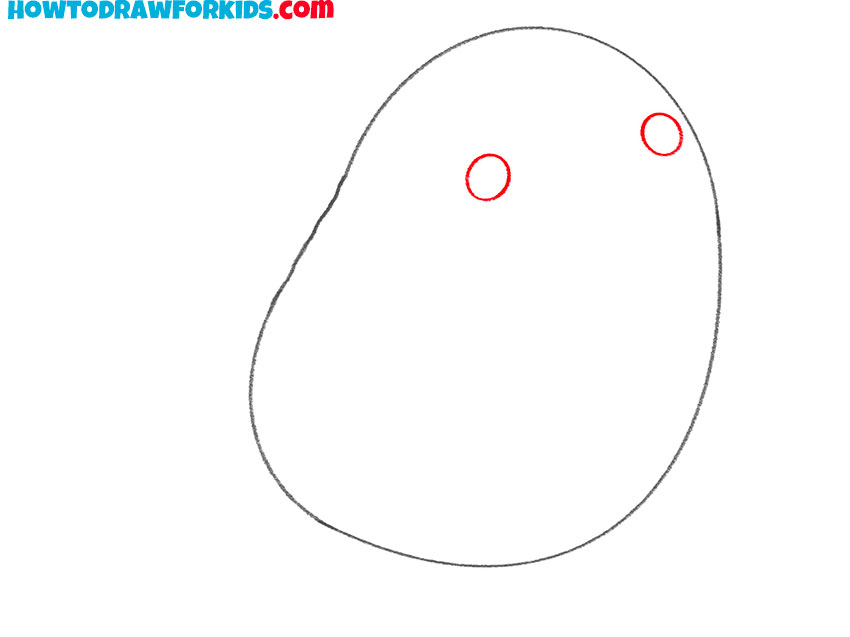
- Add the eyes.
Sketch out two small circles.
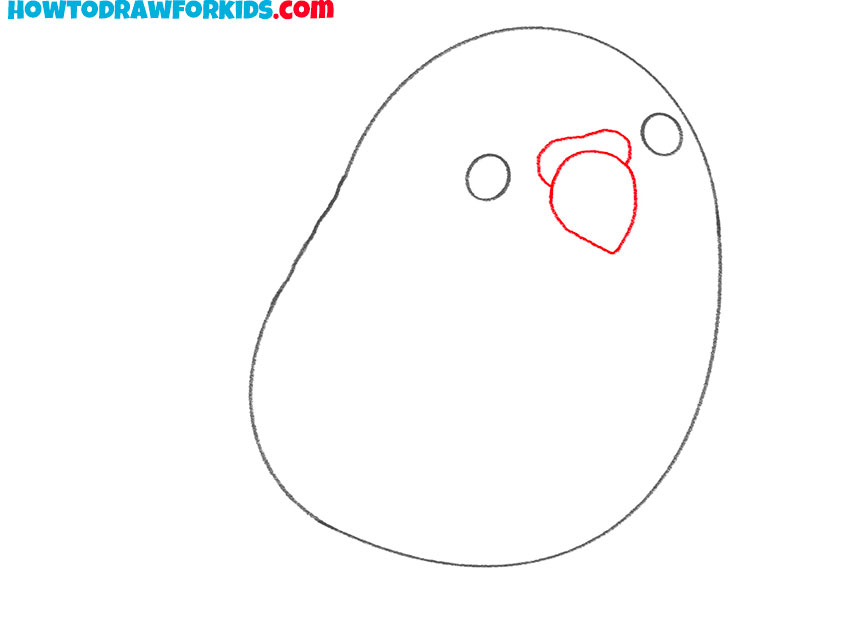
- Depict the beak.
With smooth lines draw the beak and add the small outgrowth above the beak.
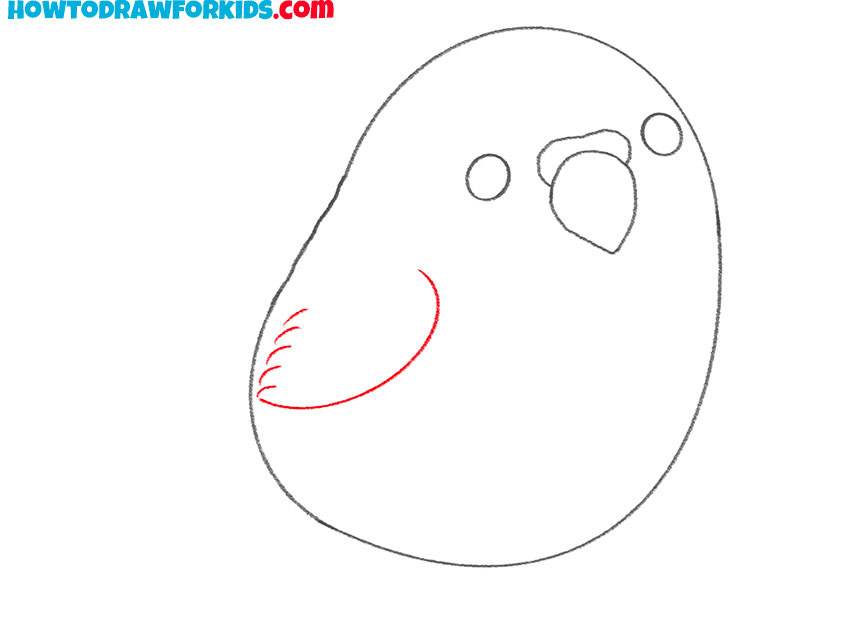
- Draw the wing.
Depict a smooth, rounded line and add short strokes along the edge to draw individual feathers.
- Sketch out the legs.
Draw two small circles at the bottom of the body.
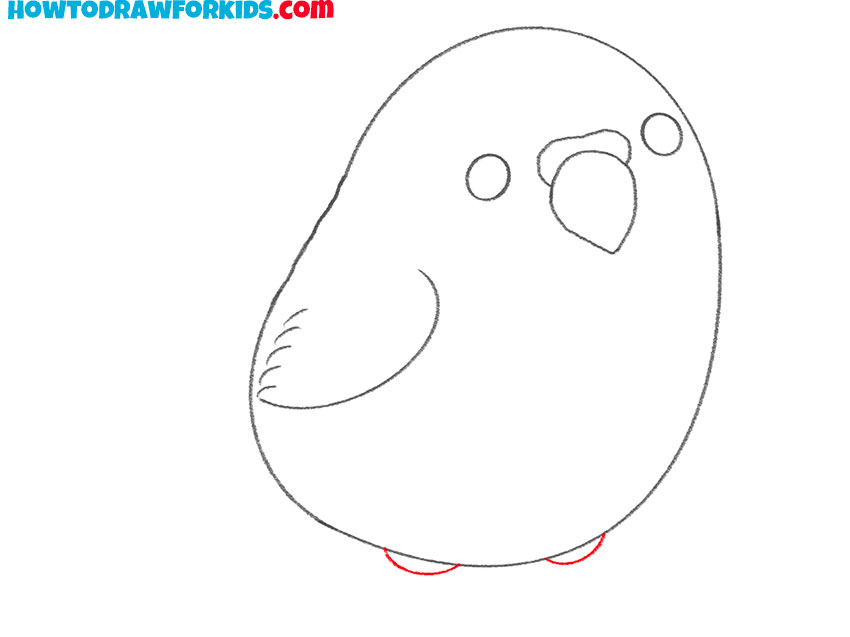
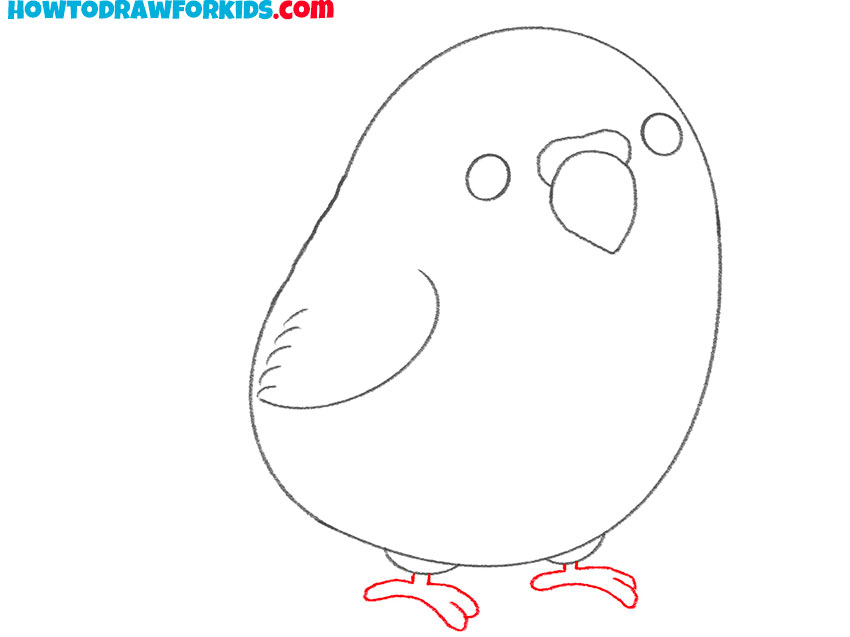
- Depict the paws.
Add two paws with long thin fingers.
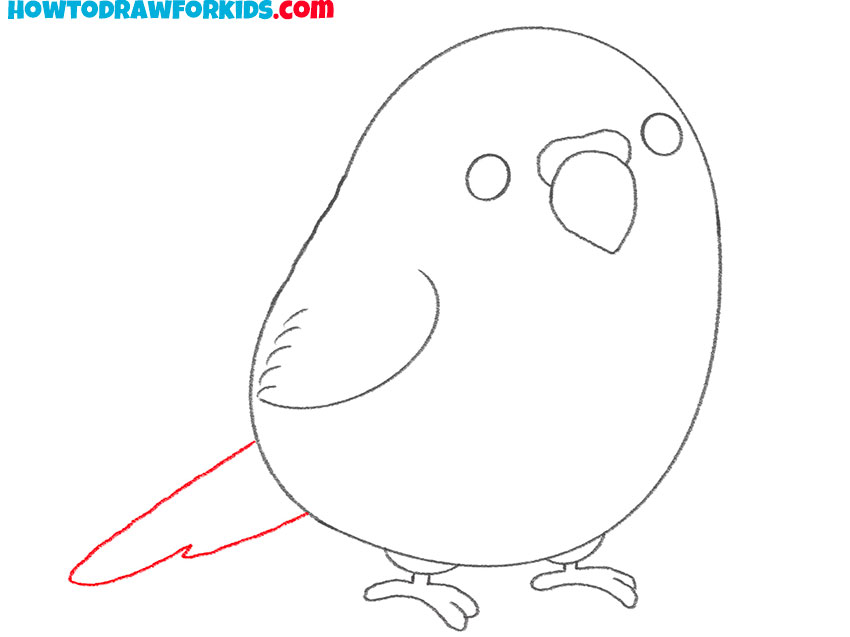
- Draw the tail.
On the side of the body, draw the tail of the same shape as in the example.
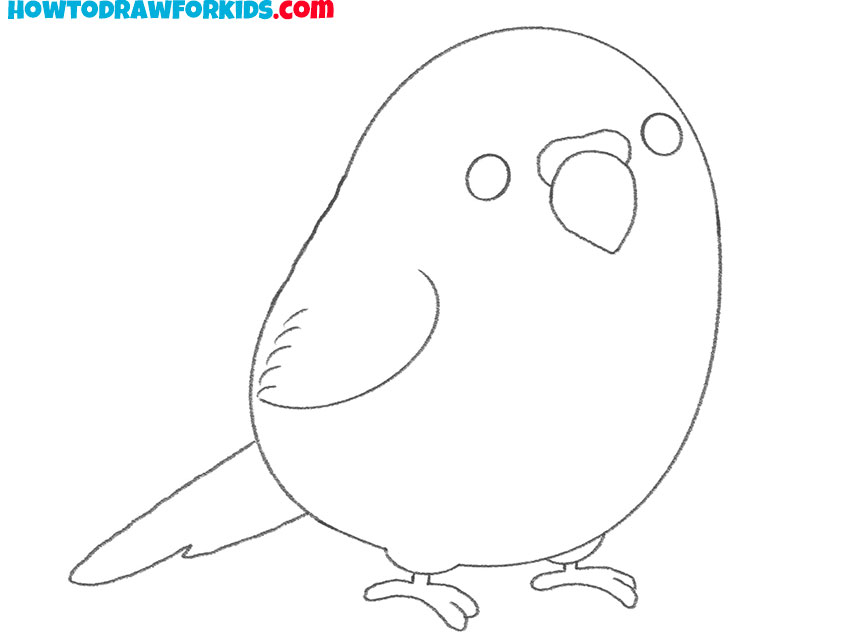
- Correct inaccuracies.
At this point, remove any extra lines.
- Color the parakeet
Choose any colors you like. Add highlights to the eyes.

At the end of the lesson, I suggest you download the PDF file that I have prepared for your convenience. The file contains a short version of the lesson and additional materials.


