How to Draw a Pen
Today you will learn how to draw a pen for beginners. This guide consists of only nine easy steps with useful tips.
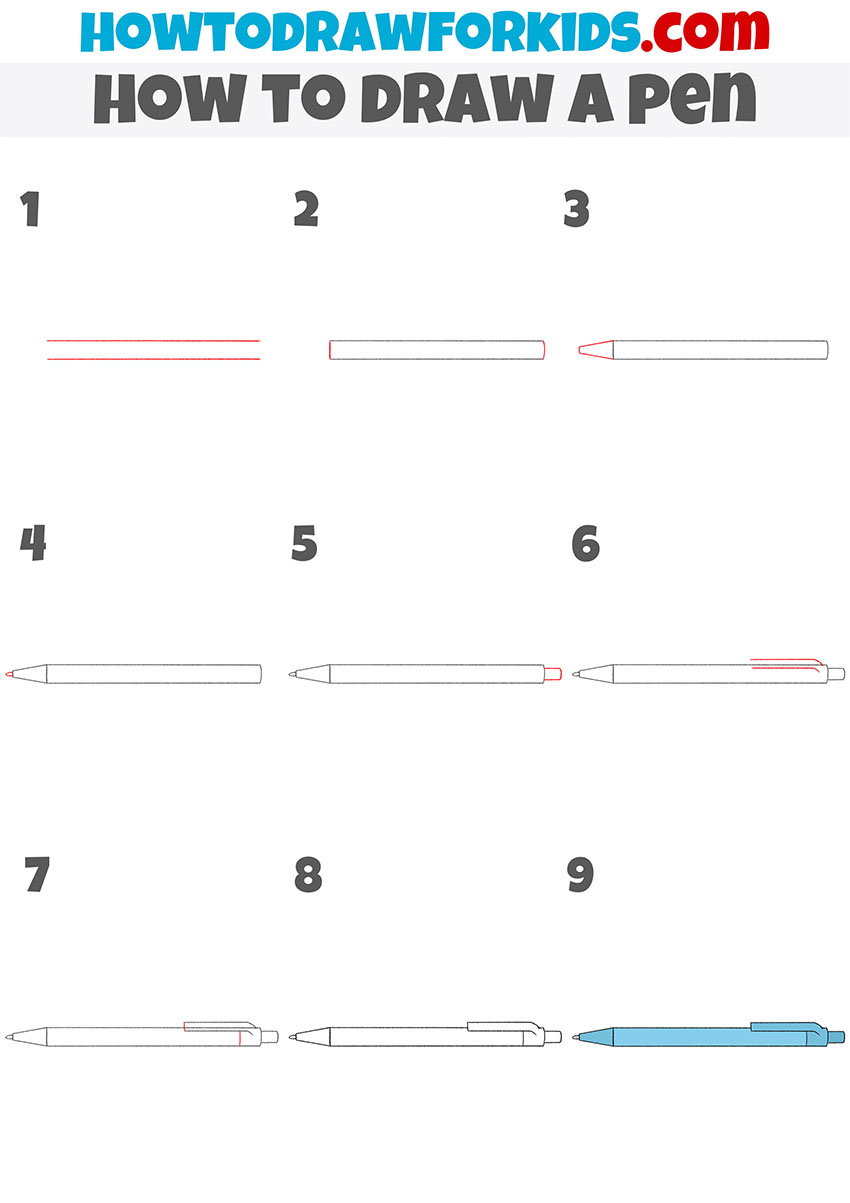
In this tutorial, I will show you how to draw a pen. This will be a very simple step-by-step guide that will help you practice your artistic skills. This lesson is suitable for any child and aspiring artist.
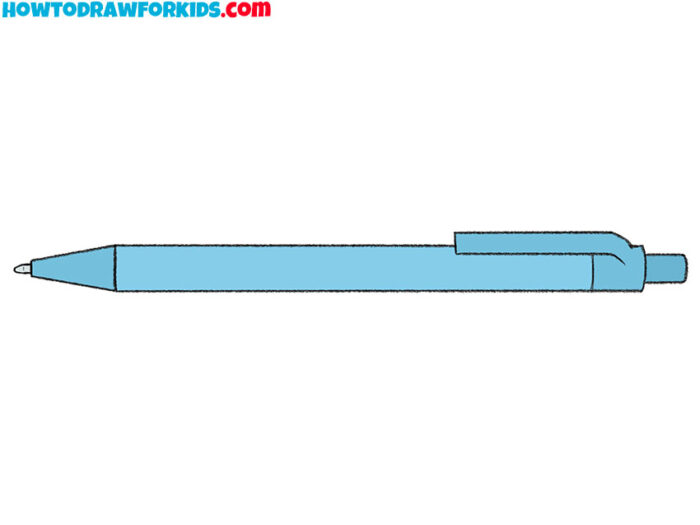
I think you will find it interesting to draw ordinary objects from everyday use, and in this tutorial, you will learn how to draw a pen. The figure shows an automatic pen, which is very convenient to use.
The pen has a convenient size, a thin rod, on the other end of the handle there is a convenient button, thanks to which you can hide the rod if necessary. This pen is perfect for both study and work.
Materials
- Pencil
- Paper
- Eraser
- Coloring supplies
Time needed: 15 minutes
How to Draw a Pen
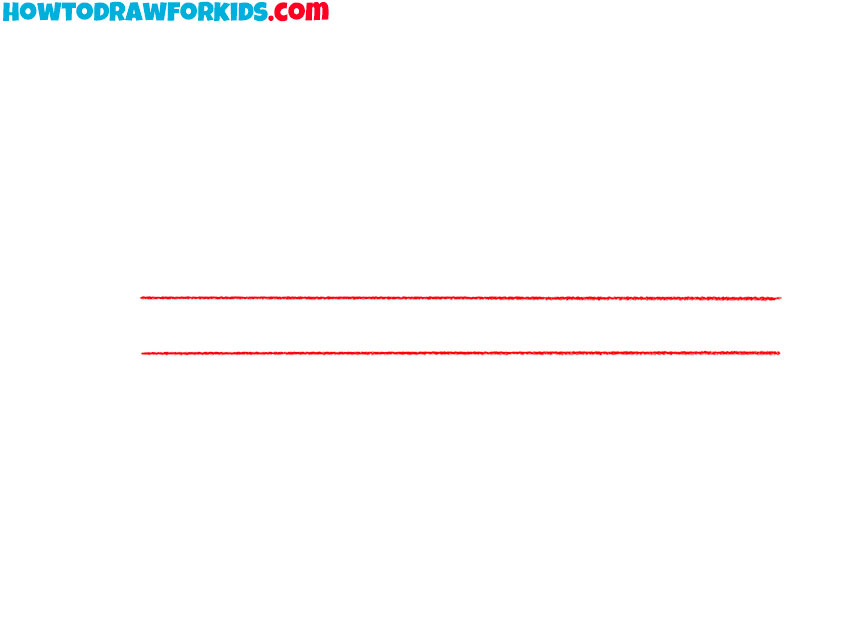
- Draw the main outline of the pen.
Determine the size of the pen and depict two even, straight lines.
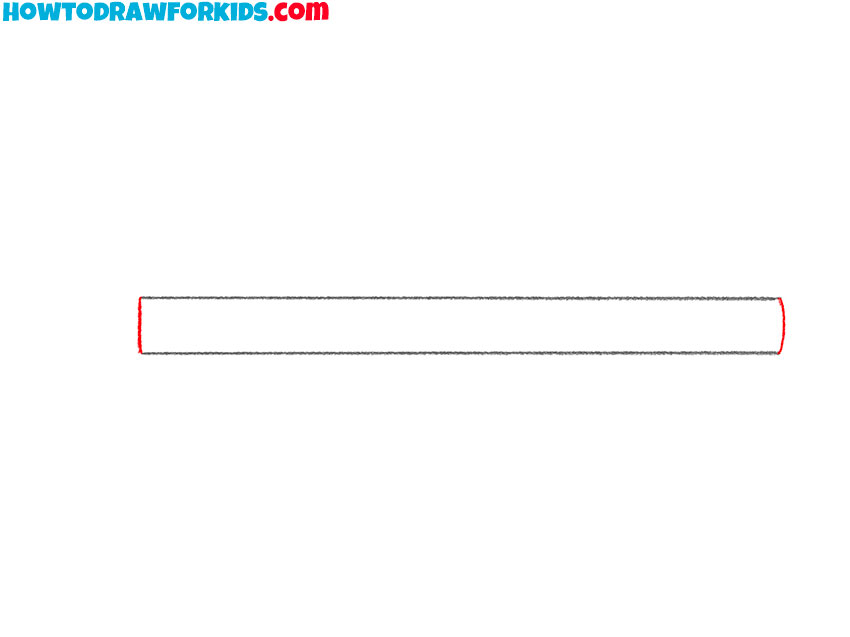
- Add the edges of the pen.
Sketch out short vertical lines along the sides.
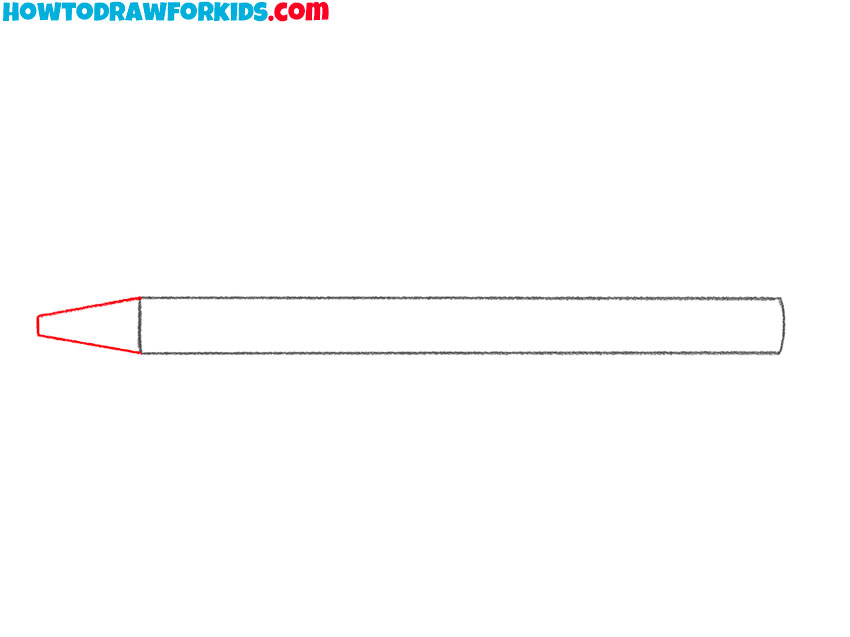
- Depict one end of the pen.
On one side, draw the narrow end in the shape of a trapezoid.
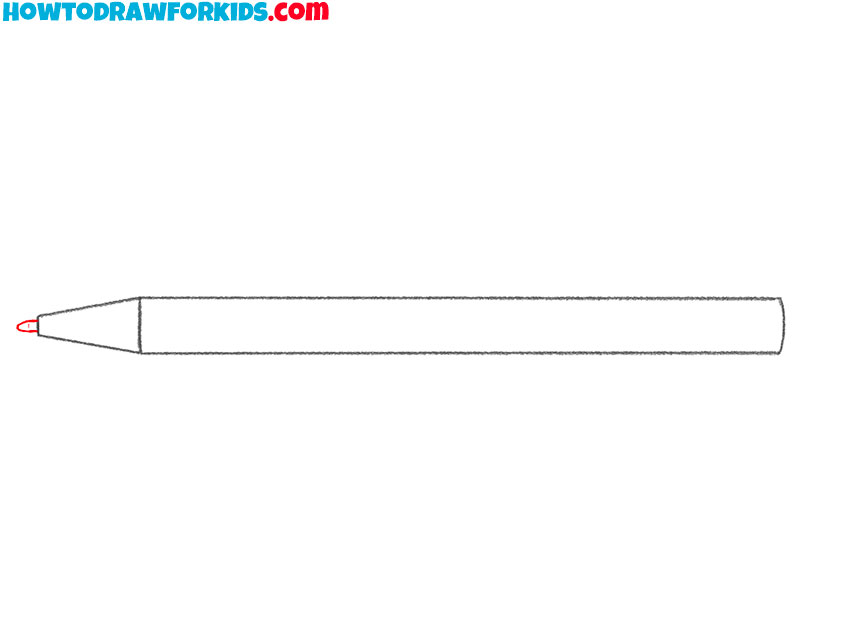
- Sketch out the rod.
Add the short pointed rod.
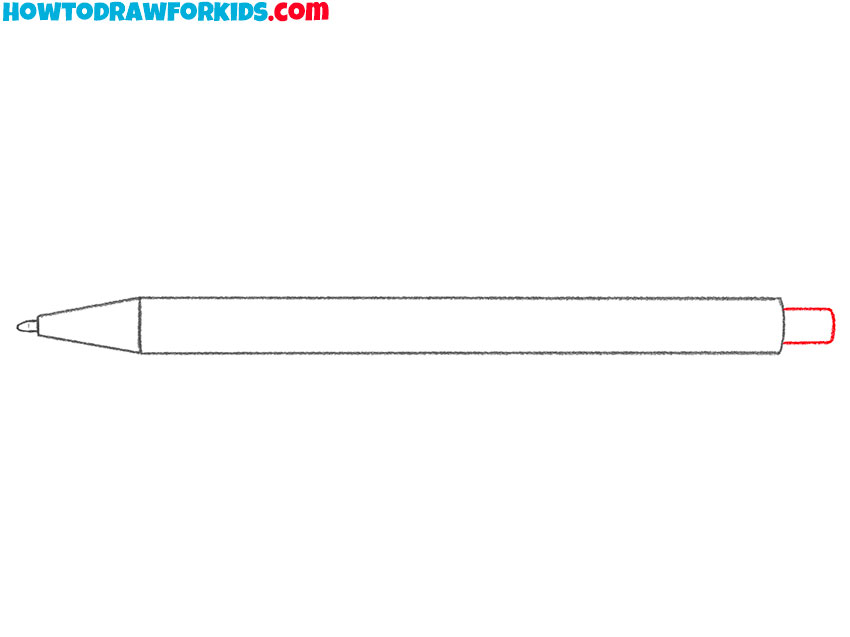
- Draw the button.
On the other side of the pen, depict the rectangular automatic button.
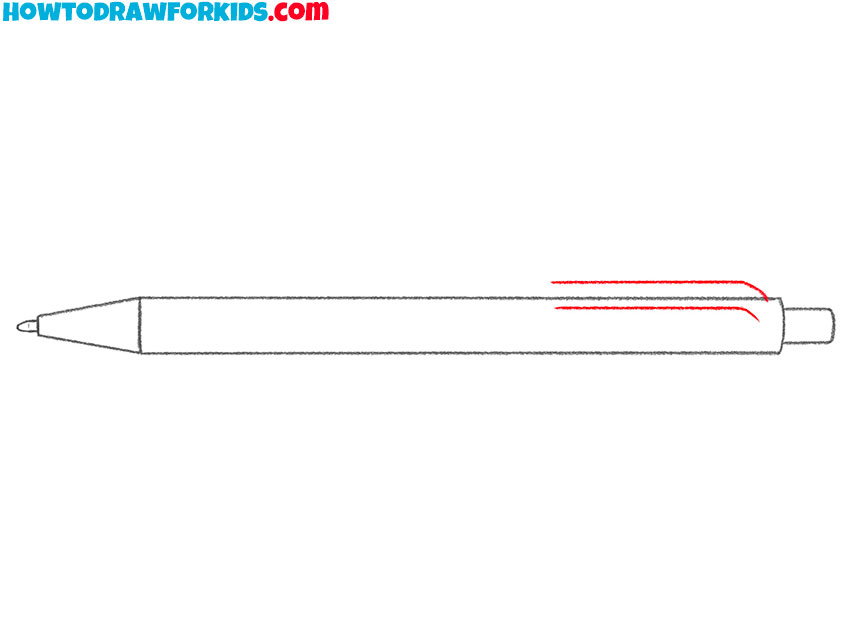
- Depict the clothespin.
Add two lines to depict the clothespin that is used to attach to clothes or paper.
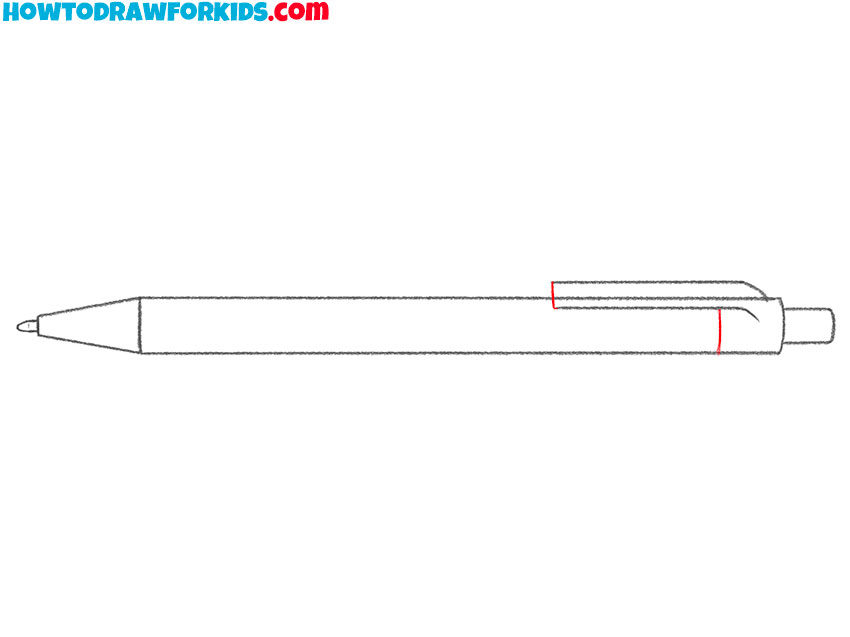
- Add the rest of the elements.
Using two short vertical lines, depict the outline of the clothespin and cap.
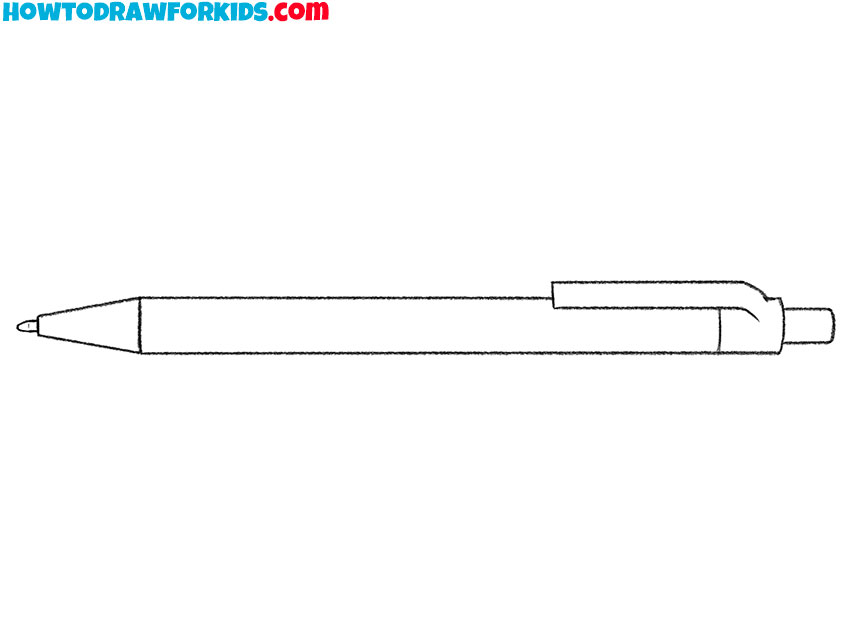
- Correct inaccuracies.
Carefully remove all extra lines.
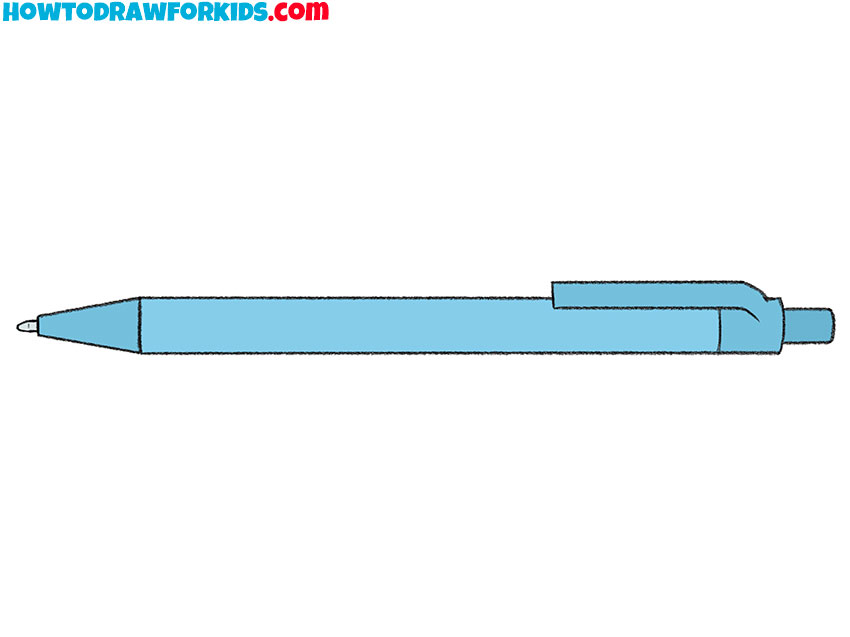
- Color the pen.
Use two shades of blue or any other color of your choice.
Finally, I suggest you download a short version of the lesson in PDF format. Thanks to this, you can always return to the lesson, even if there is no Internet access.

