How to Draw a Pom Pom
In this tutorial I want to show you how to draw a pom pom. This lesson will be very simple and you will quickly complete this task.
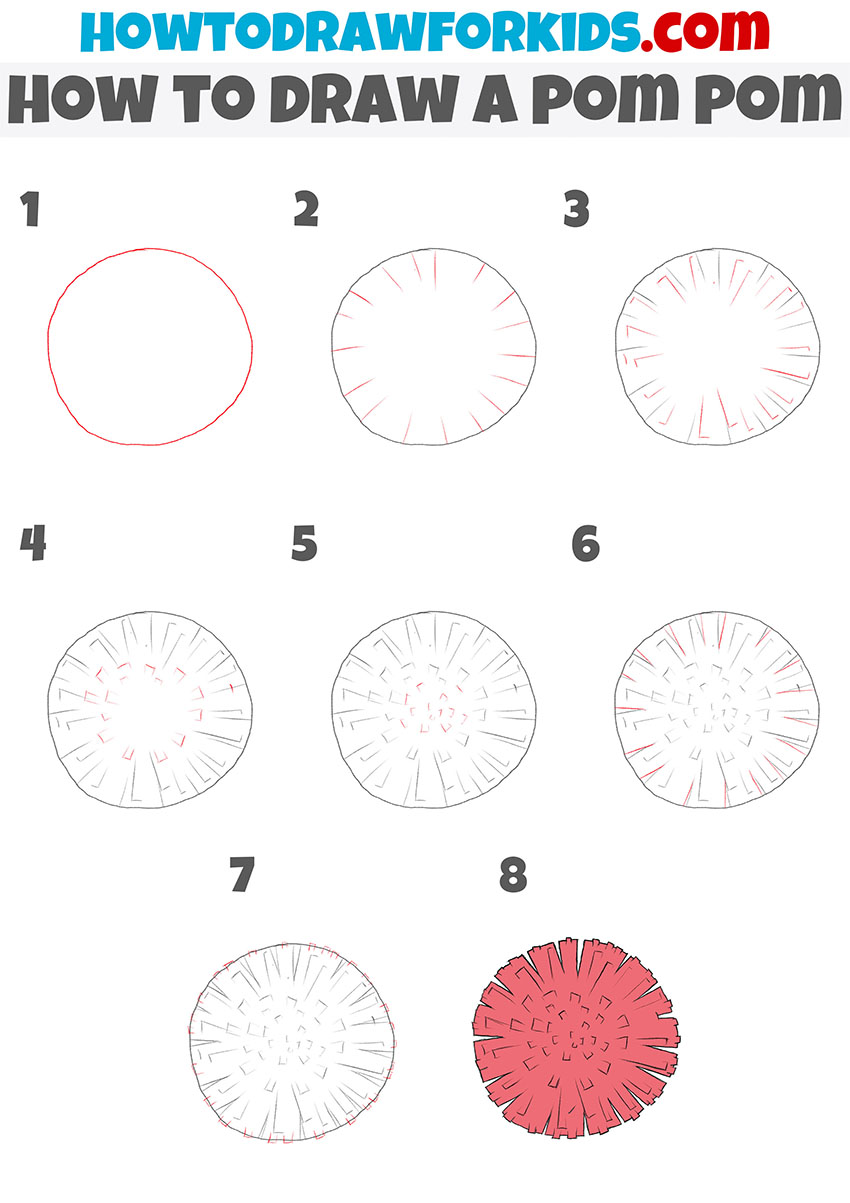
Here is a simple step-by-step tutorial that will show you how to draw a pom pom. Any beginner can easily cope with this task because the simplest elements are used here. This lesson is suitable for any child and aspiring artists.
The pom-pom is a ball of woolen, cotton, or silk threads. Surely you have seen such pom pom more than once, which are used as decorations on clothes, hats, or slippers.
There are also large pompoms that are worn on the hands and used in dance moves to support athletes during team games and competitions. Pom pom can be of different sizes and colors.
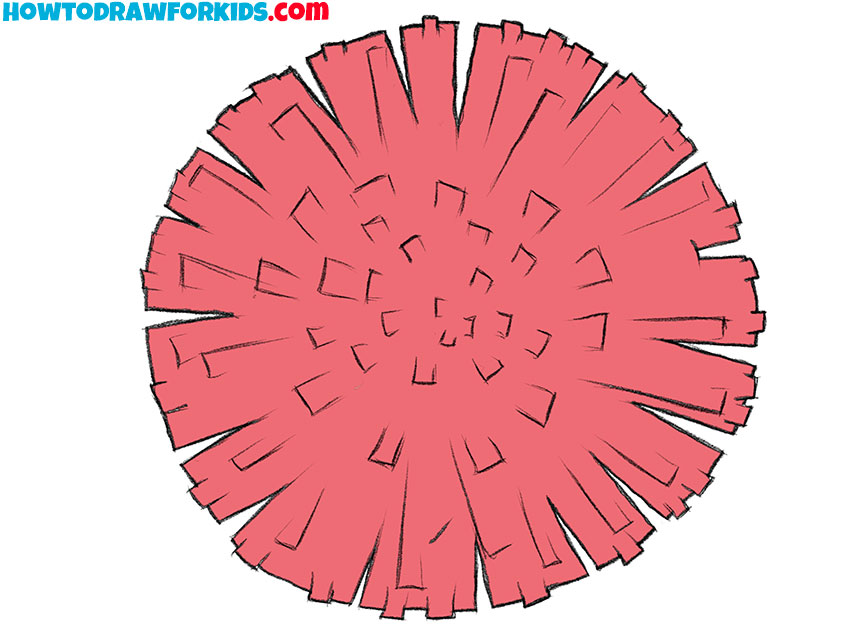
This picture shows a small pom pom that can be used as a decoration on clothes. You can color the pom pom in the same color as in the example or use any other color of your choice, or you can use several different shades and make the pom pom colorful.
Materials
- Pencil
- Paper
- Eraser
- Coloring supplies
Time needed: 20 minutes
How to Draw a Pom Pom
- Draw the outer outline.
Determine the size of the pom pom and depict a circle.
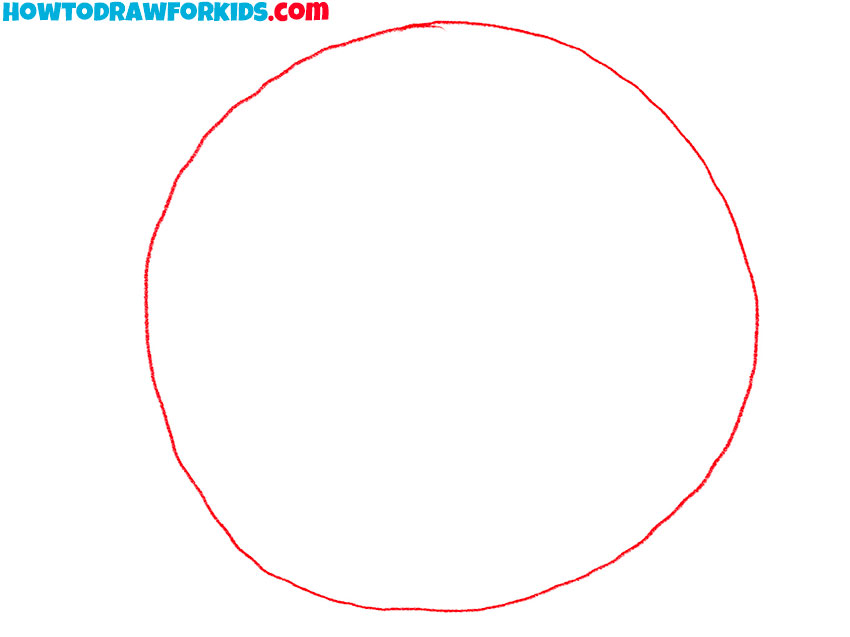
- Depict threads along the outer edge.
Draw thin lines from the outer outline to the center of the pom pom.
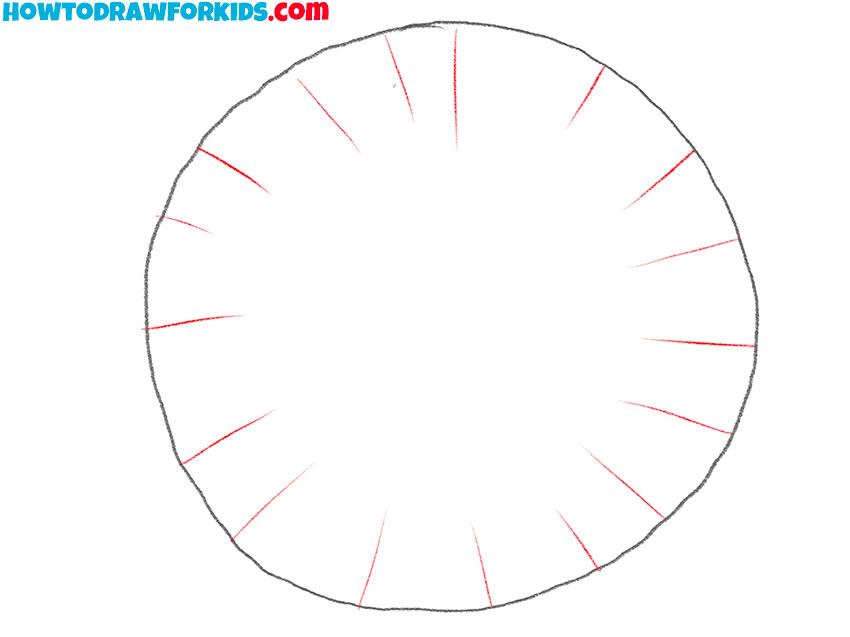
- Add the next row of threads.
Depict long thin lines closer to the center. Draw the ends of the threads with short lines.
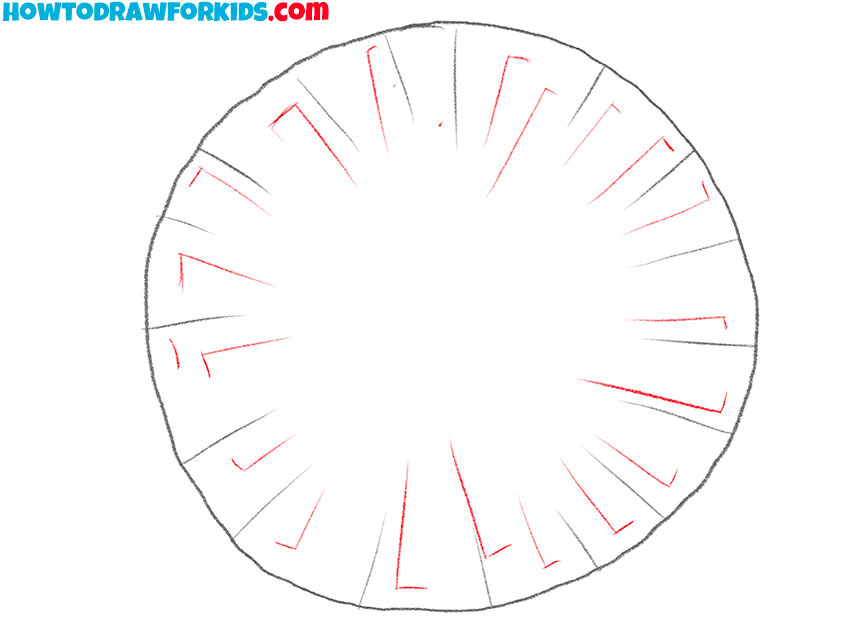
- Sketch out the next row of threads.
Closer to the center consistently draw short thin strokes.
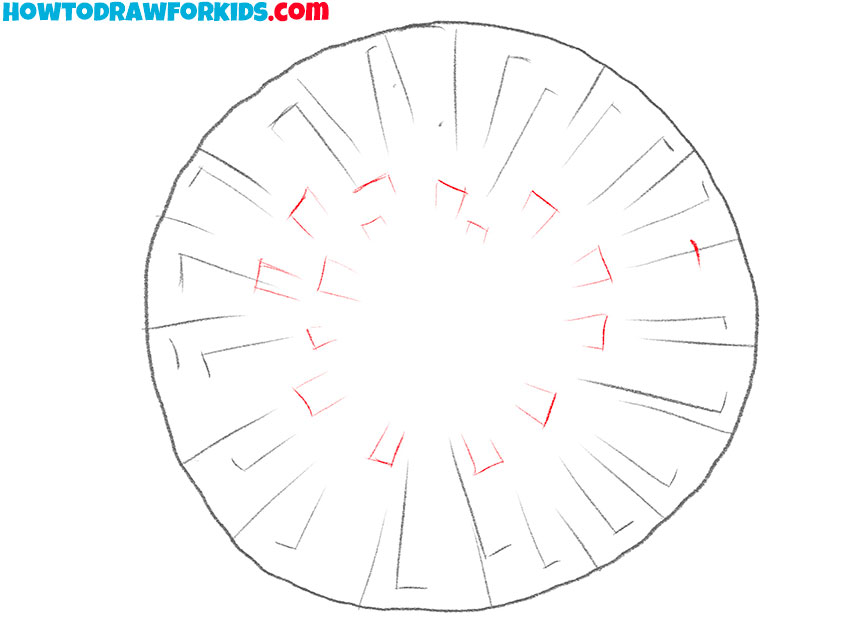
- Add the middle of the pom pom.
Draw thin, short lines in the center of the pom pom.
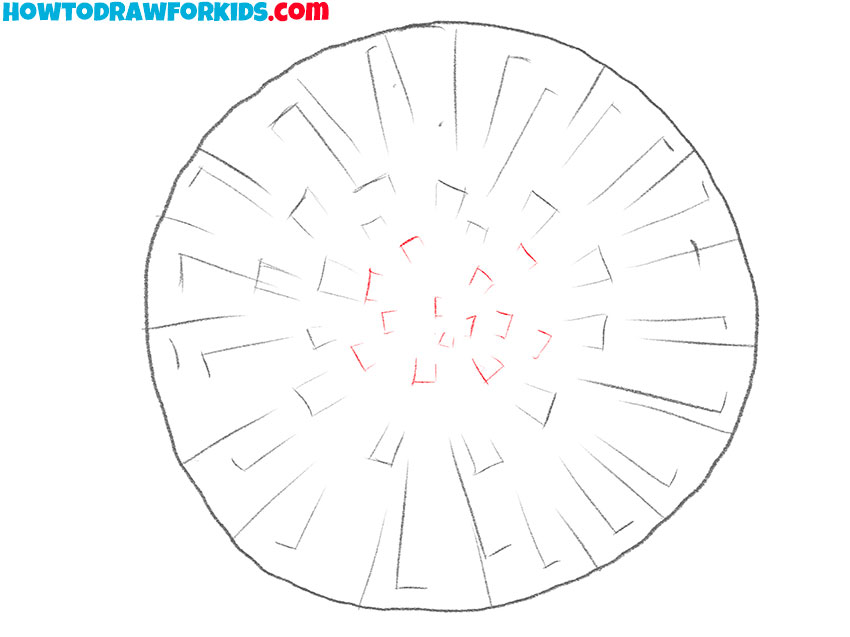
- Depict threads.
Draw thin lines along the outer outline.
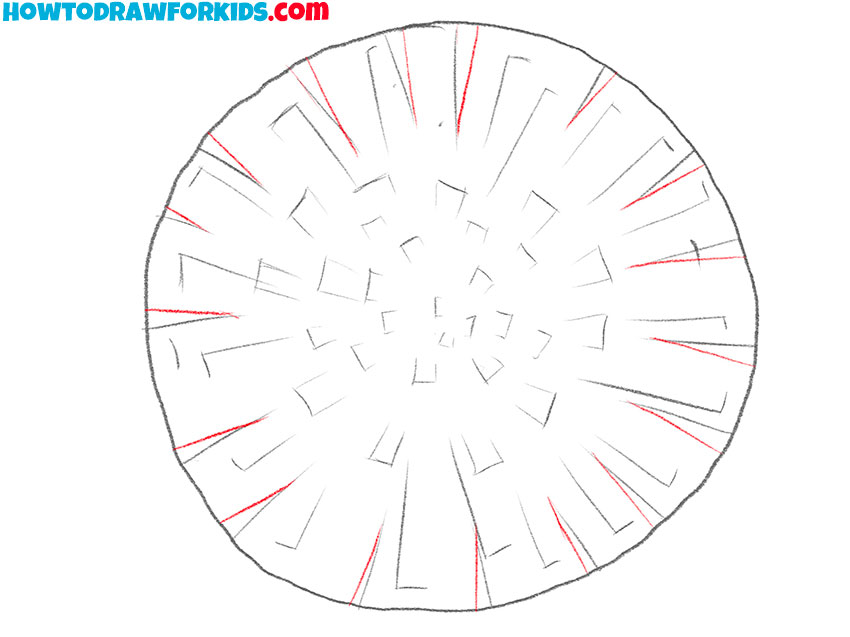
- Add the ends of the threads.
Draw the ends of the threads along the outer edge using short lines.
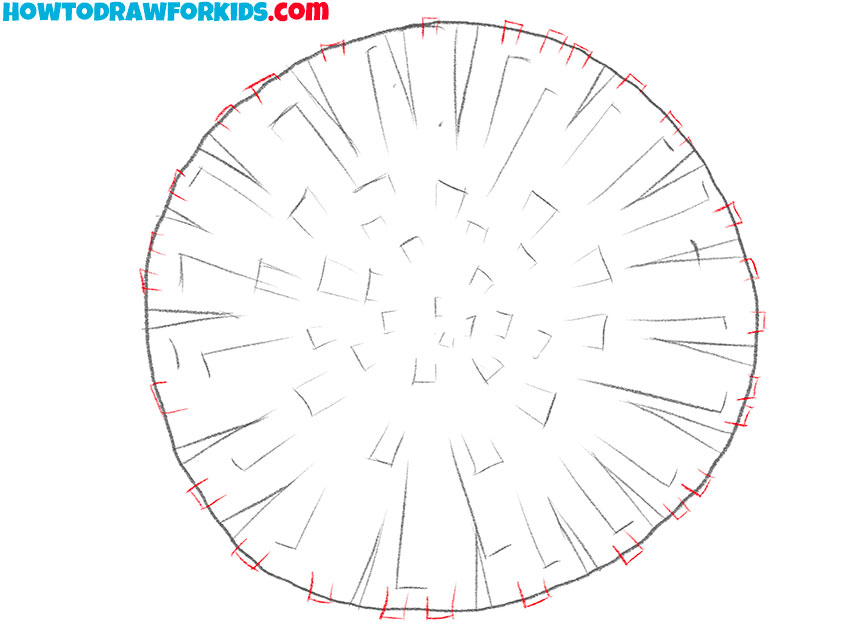
- Color the pom pom.
Use pink or any other color you like.

Download the PDF file for a simplified version of the guide and additional useful tools.

