How to Draw a Puppy Paw
I will show you how to draw a puppy paw step by step. This instruction is very simple and includes only six steps.
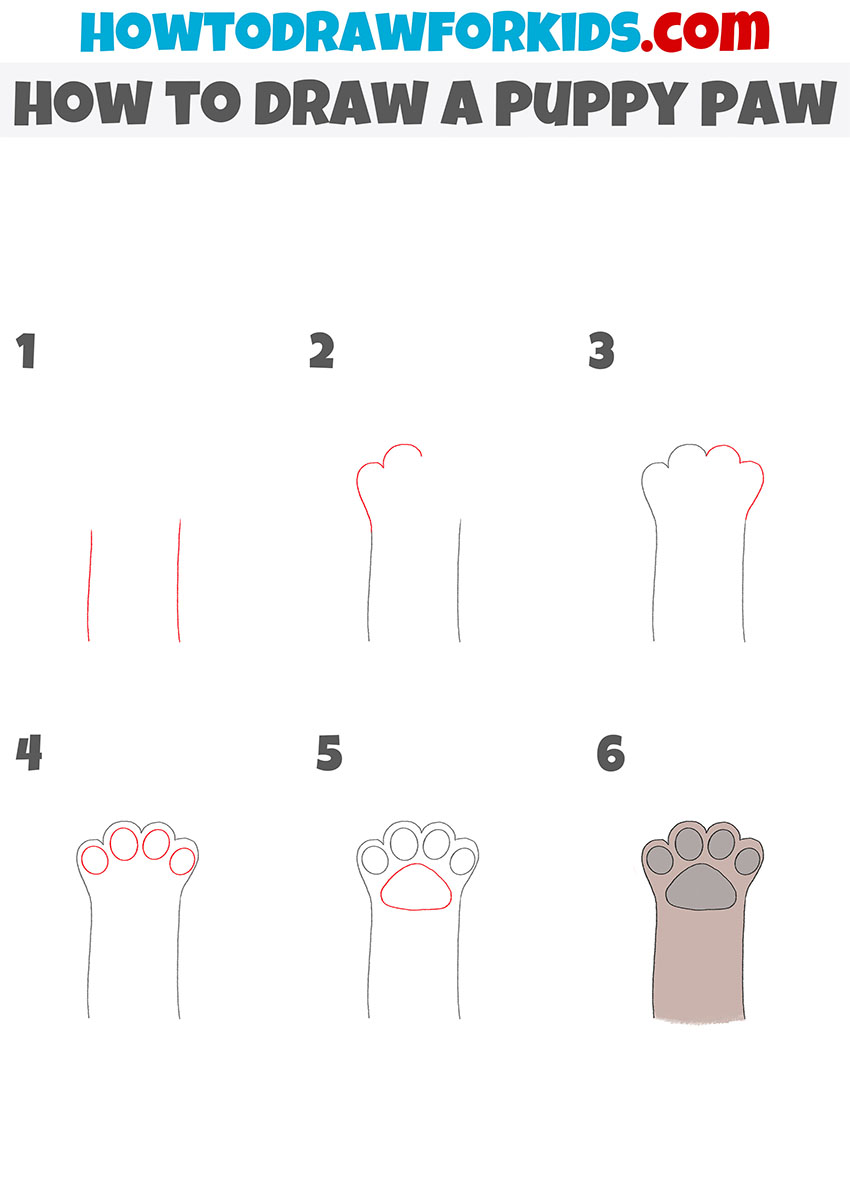
With this step-by-step guide you will learn how to draw a puppy paw step by step. This is a very simple drawing object. If you understand what external features a puppy paw has, then in the future you can draw a paw in any other position.
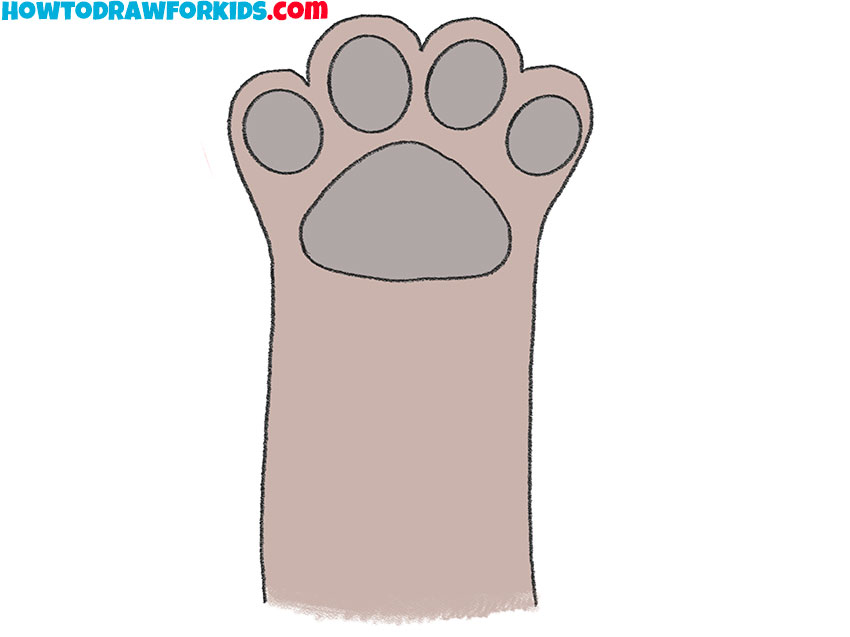
In the picture you see a puppy paw that is raised up, there are four fingers and a soft pad on the paw. The fingers are arranged symmetrically, and the pad is located in the middle. Try to be accurate and accurate when you depict all the elements of the paw in your drawing.
To color the drawing, you can use the same shades that are suggested in this manual or any other colors of your choice.
Materials
- Pencil
- Paper
- Eraser
- Coloring supplies
Time needed: 15 minutes
How to Draw a Puppy Paw
- Draw the base of the paw.
Determine the thickness of the paw and add two vertical lines at some distance from each other.

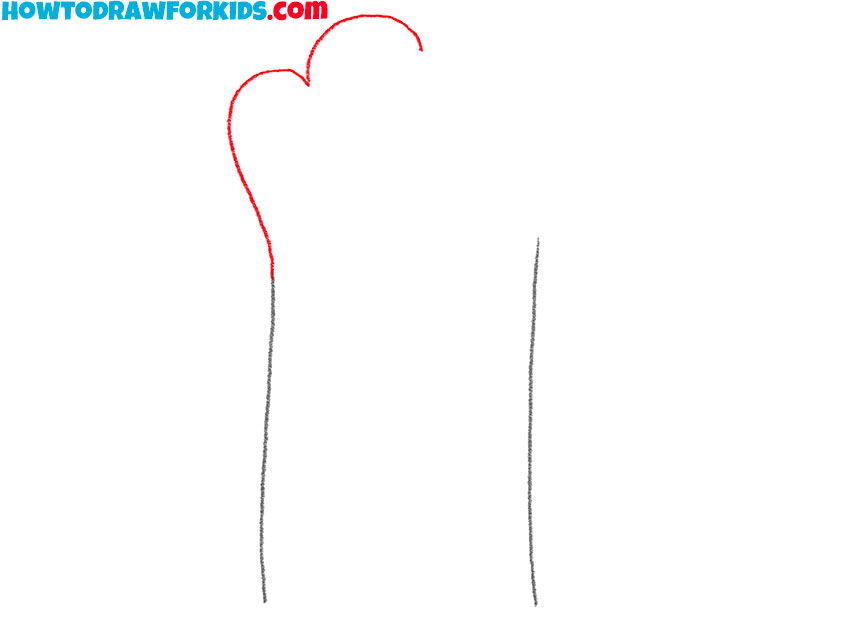
- Start drawing the rest of the paw.
On the left side, continue the line and add two small fingers.
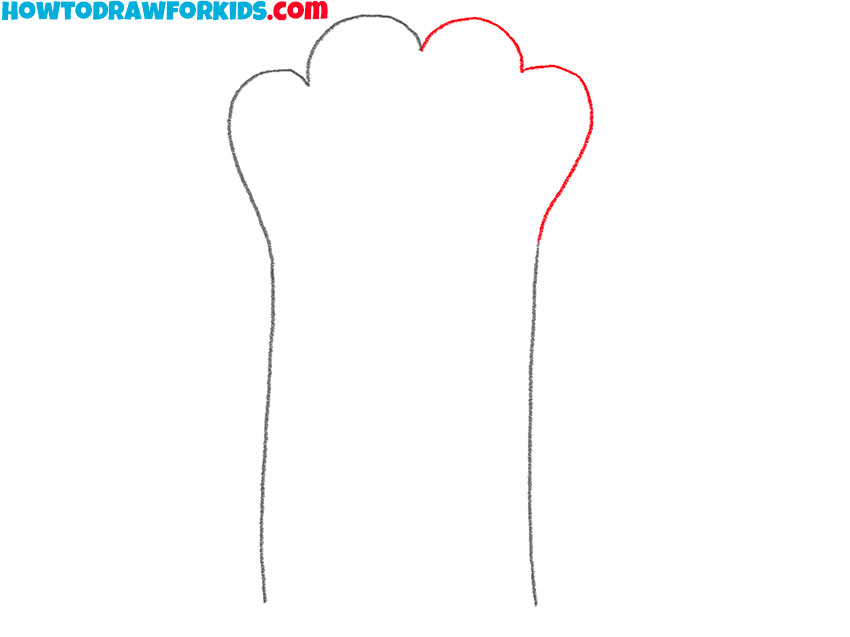
- Depict the rest of the fingers.
Repeat the previous step and draw the same fingers on the right side.
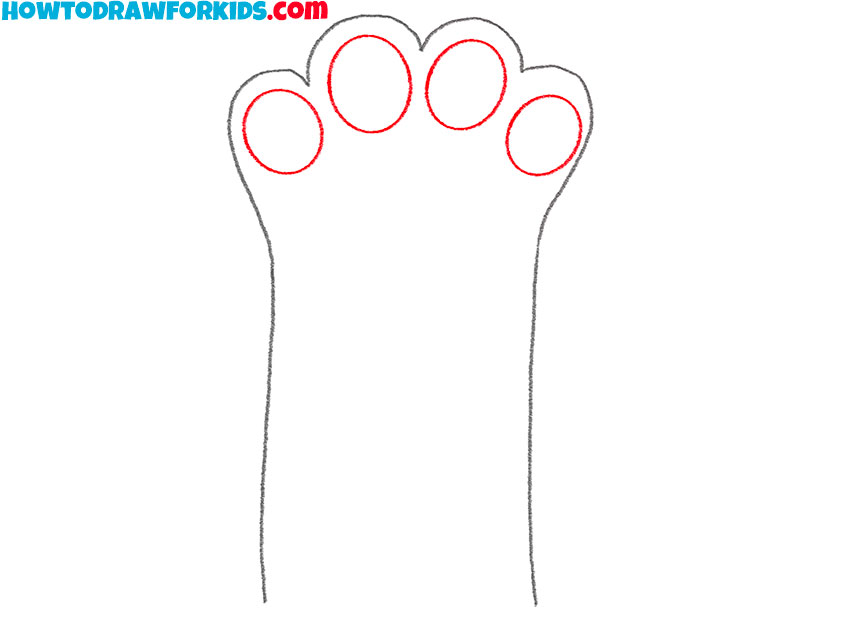
- Add the pads of the fingers.
Sketch out an even oval on each finger.
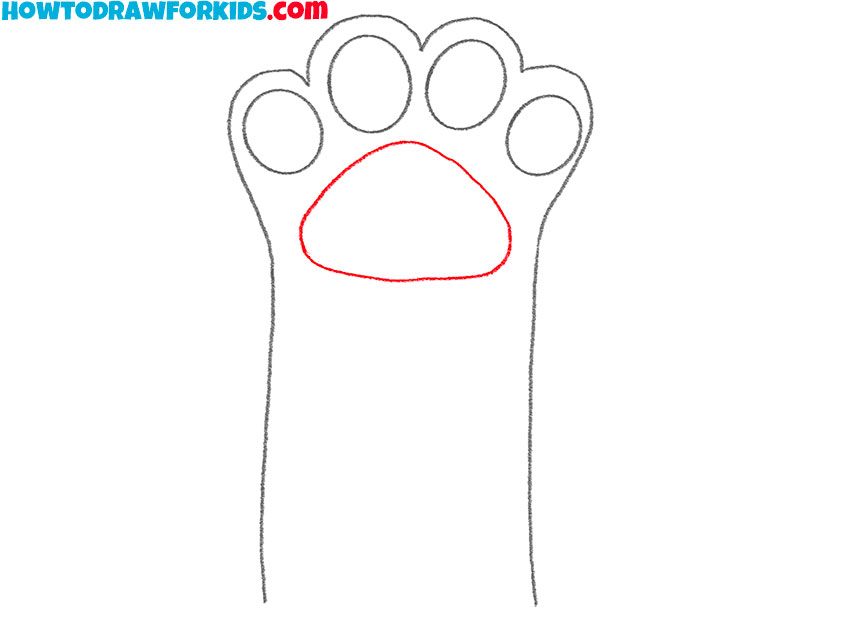
- Draw the pillow.
In the center of the paw, add the pad that is shaped like a triangle with rounded corners.
- Color the drawing.
For coloring, use any shades of brown.

Especially for your convenience, I have prepared a PDF file in advance, which contains a brief instruction and additional useful materials. Save this file so you can return to the lesson at any time.


