How to Draw a Mason Jar
In this tutorial, I’ll show you how to draw a mason jar using two different methods. Both guides are very simple, so you can choose the one that suits you best.
How to Draw a Mason Jar: Basic Information
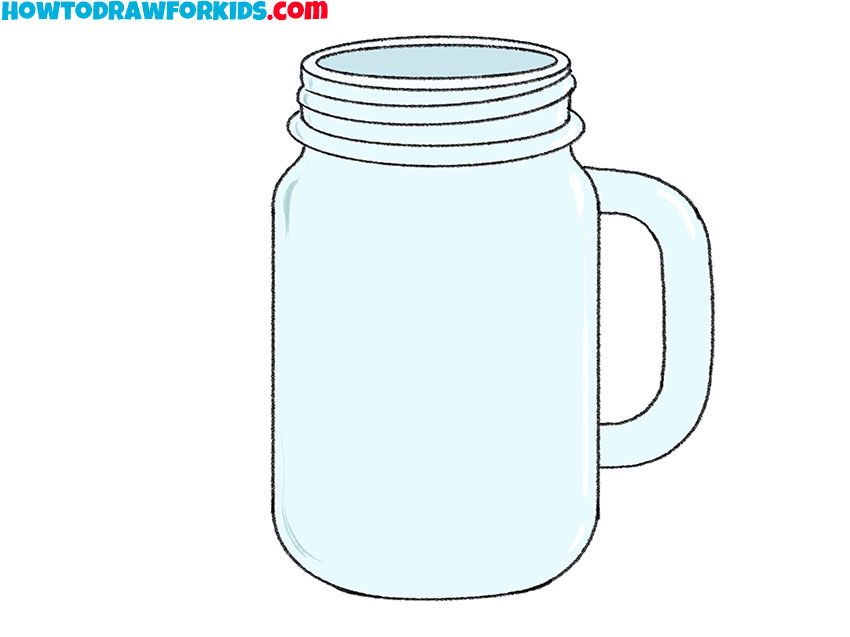
In this lesson, I’ll show you how to draw a mason jar in a simple way that’s suitable for beginners and young artists.
We’ll start with the basic shape of the subject, then add the rim, lid, and other details that make this type of jar easy to recognize.
A mason jar is made up of a few basic shapes. It is a good subject for practicing straight lines for kids and beginners.
Once you’ve finished the main drawing, you’ll be able to use the same techniques to draw other glass containers with different shapes and sizes.
Mason Jar Drawing Tutorial
Materials
- Pencil
- Paper
- Eraser
- Coloring supplies
Time needed: 30 minutes
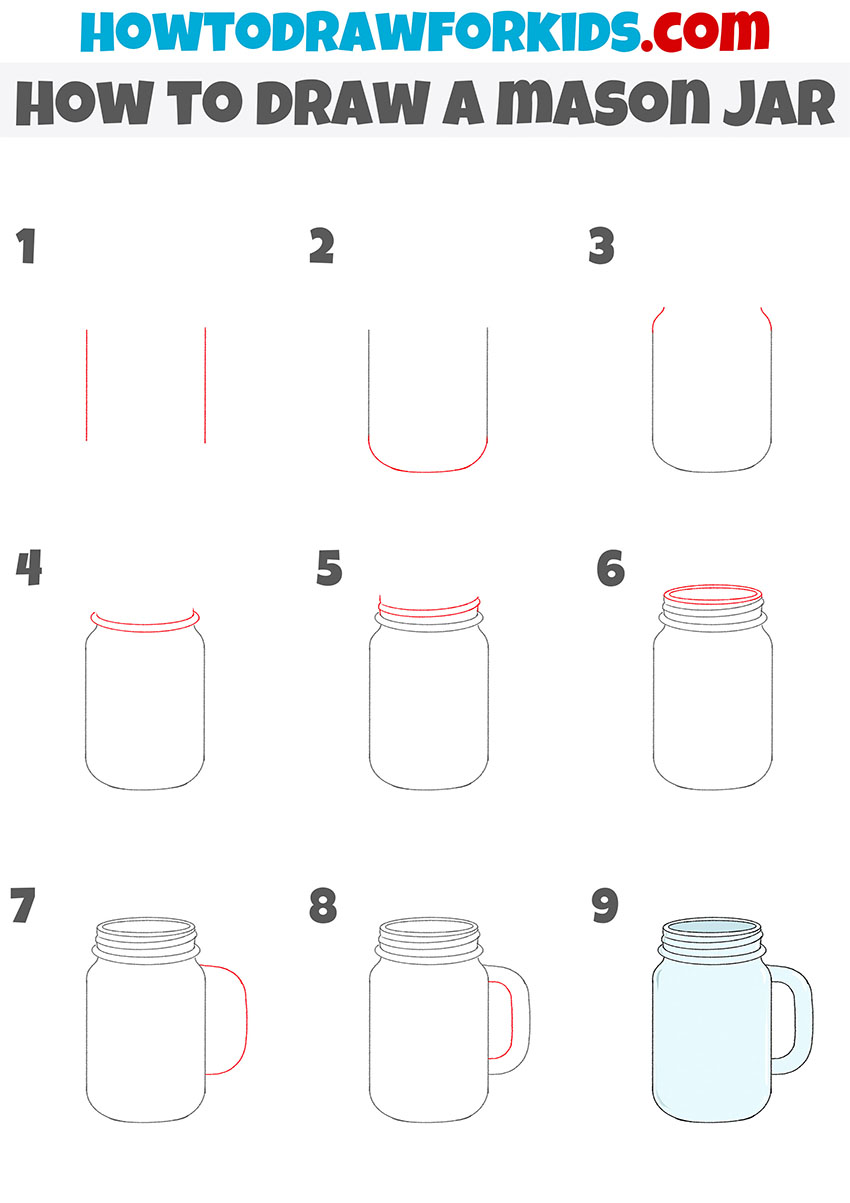
How to Draw a Mason Jar
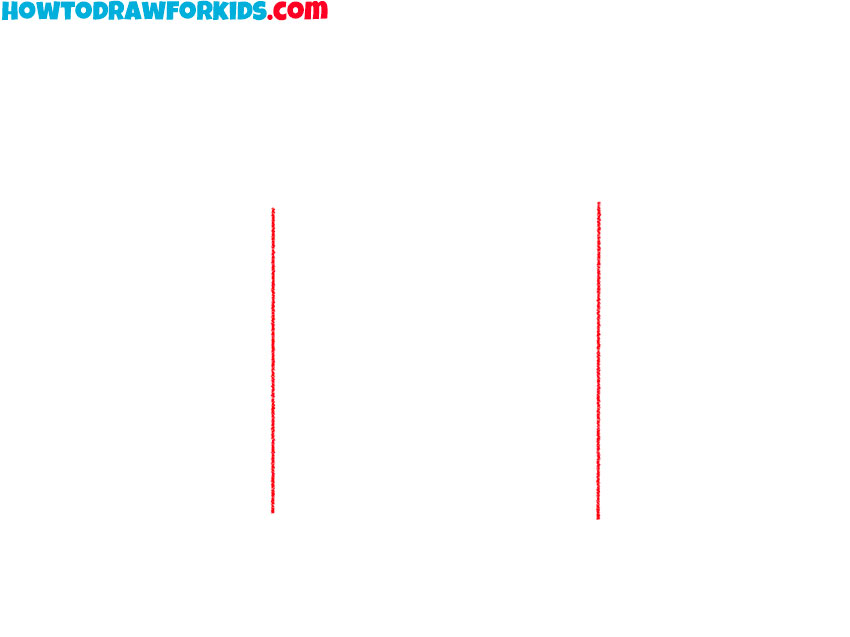
- Draw the sides.
Depict two straight vertical lines at some distance from each other.
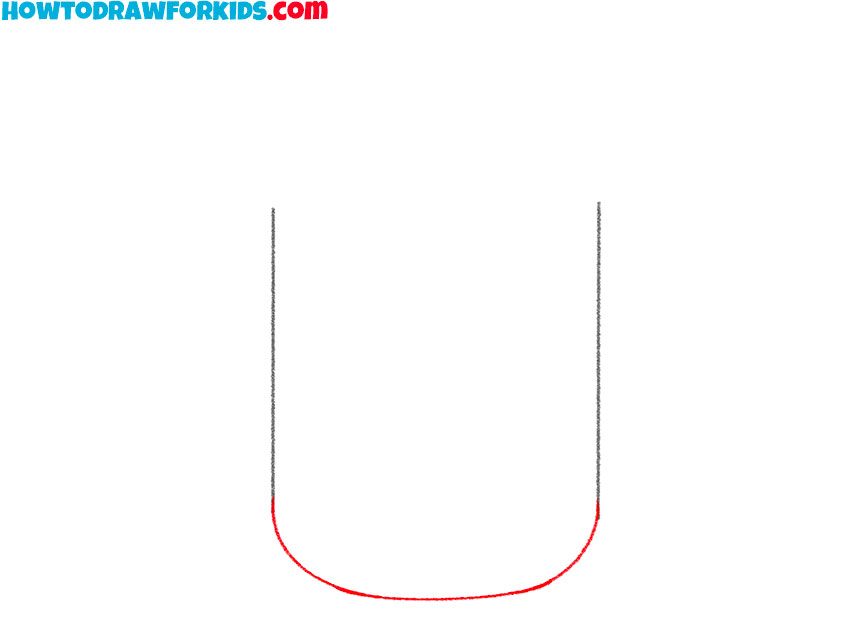
- Add the bottom of the jar.
Draw a connecting line at the bottom to represent the bottom of the jar.
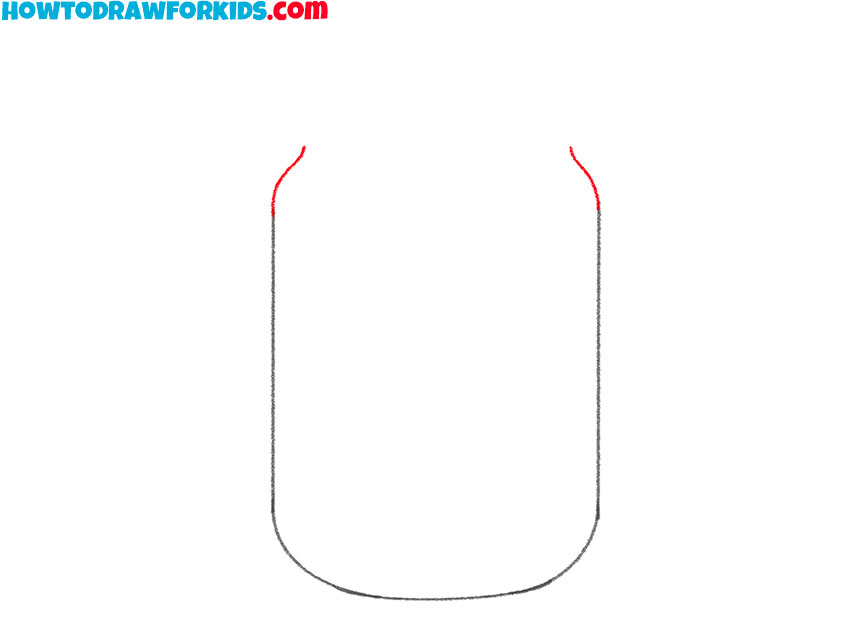
- Depict the top of the jar.
Continue the lines and depict the narrowest part of the jar.
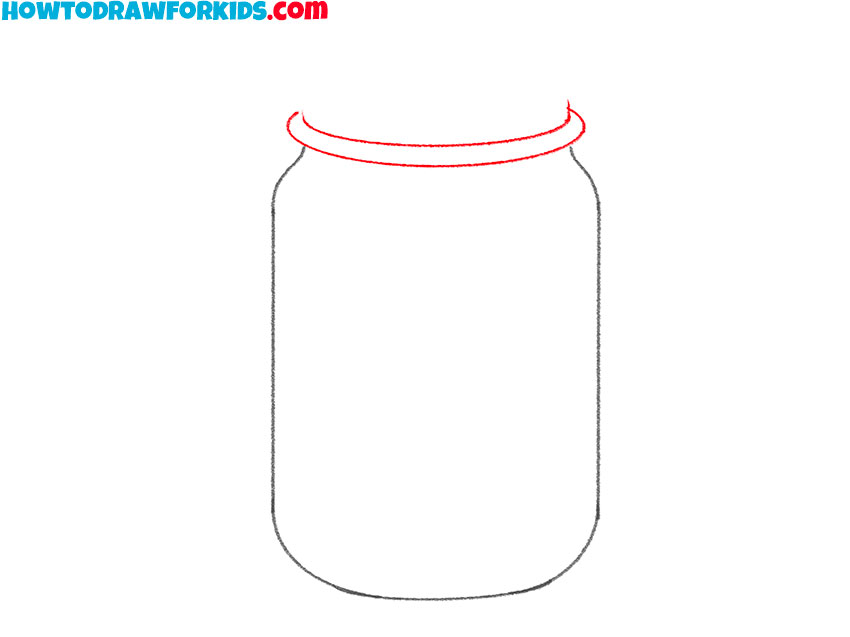
- Sketch out the bezel.
At the top of the picture, depict the convex rim using smooth, curved lines.
- Add the thread.
With the help of several smooth lines, depict the carving on the top of the can.

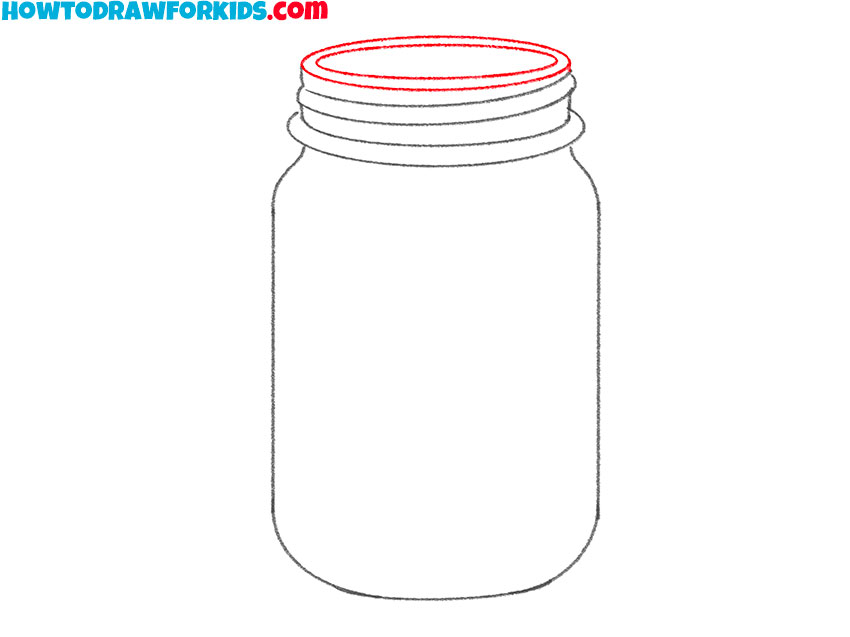
- Draw the top outline of the jar.
At the top of the drawing, draw two even ellipses of different sizes.
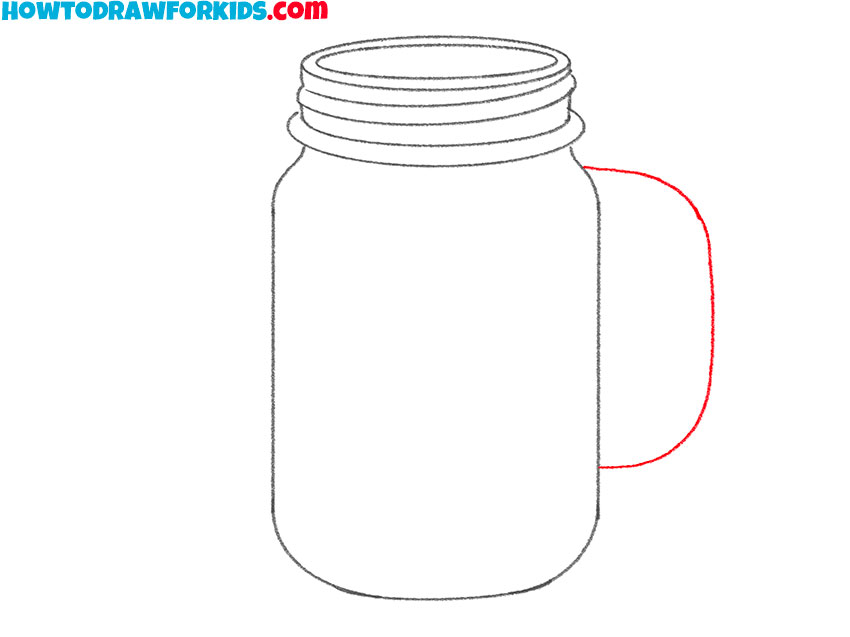
- Draw the outer outline of the handle.
Sketch out one curved line on the side of the jar.
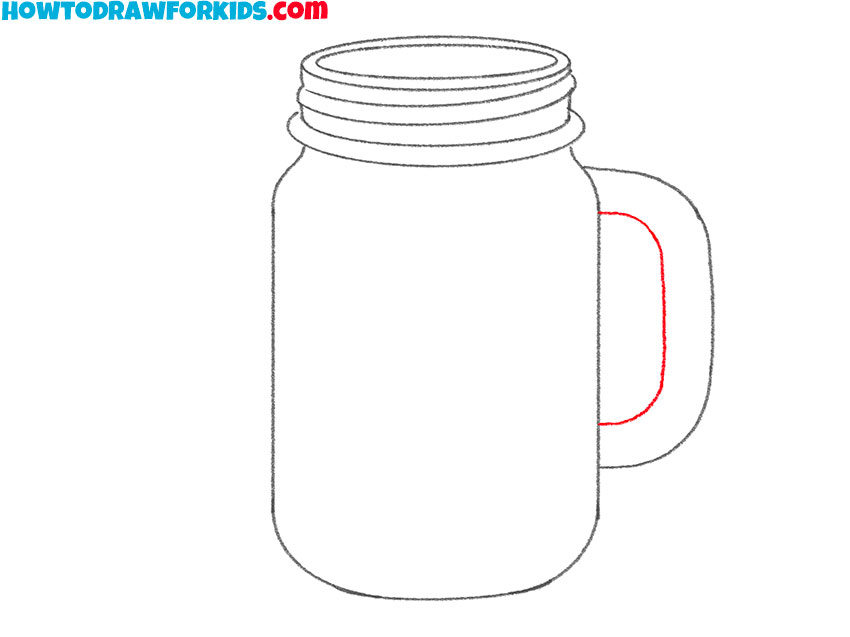
- Add one curved line on the side of the dish.
This step is similar to the previous one and here you will draw a small curved line.
- Color the drawing.
For coloring, use different shades of blue.
Additional Content
I’ve also prepared a free PDF version of this mason jar drawing tutorial. It contains the main steps in a compact format for offline use, so you can practice whenever it’s convenient.
The PDF also includes a coloring page, tracing worksheet, and grid drawing worksheet to help you continue practicing after the lesson.
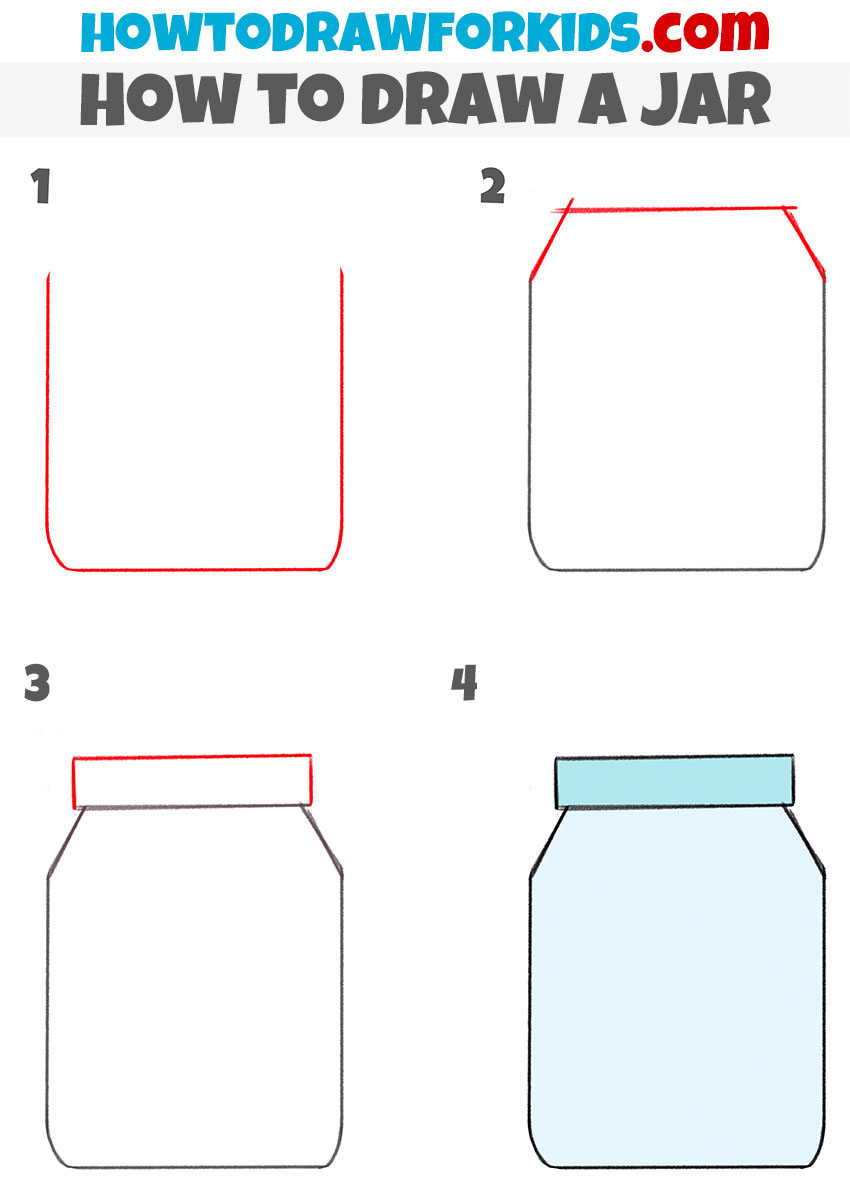
How to Draw a Mason Jar for Preschoolers
I’ve also prepared an alternative way to draw a mason jar. This version uses fewer details and an even simpler shape. This is another good choice for beginners and young artists.
Try both methods to see which one you like better and to practice drawing the same object in different ways.
This alternative method uses just four simple steps. First, draw the outline of the jar with its straight sides and rounded bottom.
Next, add the top opening, then draw the lid and give it a little thickness. Finally, color the jar and lid to complete the drawing.
This version is quicker than the main jar drawing tutorial and uses fewer details. It is a good option for beginners and young artists.
Improve Your Jar Drawing
A jar may look like a simple object, but it helps you practice several important drawing skills. Pay close attention to the straight sides and try to keep both halves of the jar symmetrical.
The top opening should be slightly rounded, and the lid should have enough thickness to look three-dimensional rather than flat.
If you decide to color the drawing, leave a few light areas to represent reflections on the glass. You can also use two shades of blue or gray to make the jar look more transparent.
After finishing this tutorial, try drawing jars with different heights, widths, or lids to practice the same basic shape.
Conclusion
Once you’ve finished the main drawing, you can try my pie drawing tutorial and create a simple kitchen or still life scene with both objects.
Now you know how to draw a mason jar and can use the same approach to draw many other everyday objects.
If you’d like to continue practicing, try my cup drawing tutorial to work with another simple household object.
You can also take a look at the bottle drawing guide and compare the proportions and shapes of different containers.
Follow me on social media to stay updated whenever I publish new drawing tutorials. If there’s another object you’d like to learn how to draw, leave a comment below.
I always enjoy reading your suggestions and often use them when planning future tutorials.