How to Draw a Lowrider
In this tutorial, I’ll show you how to draw a lowrider in a simple way that’s suitable for beginners and young artists. A lowrider has a very distinctive design, so this tutorial is also a good way to practice drawing different car types.

How to Draw a Lowrider: Basic Information
A lowrider has a very distinctive appearance because it is usually based on an American car from the middle of the twentieth century.
The suspension is modified so the car sits much lower than a standard vehicle, which is exactly where the name comes from.
Many lowriders also have adjustable suspension that allows the driver to raise or lower different parts of the car.
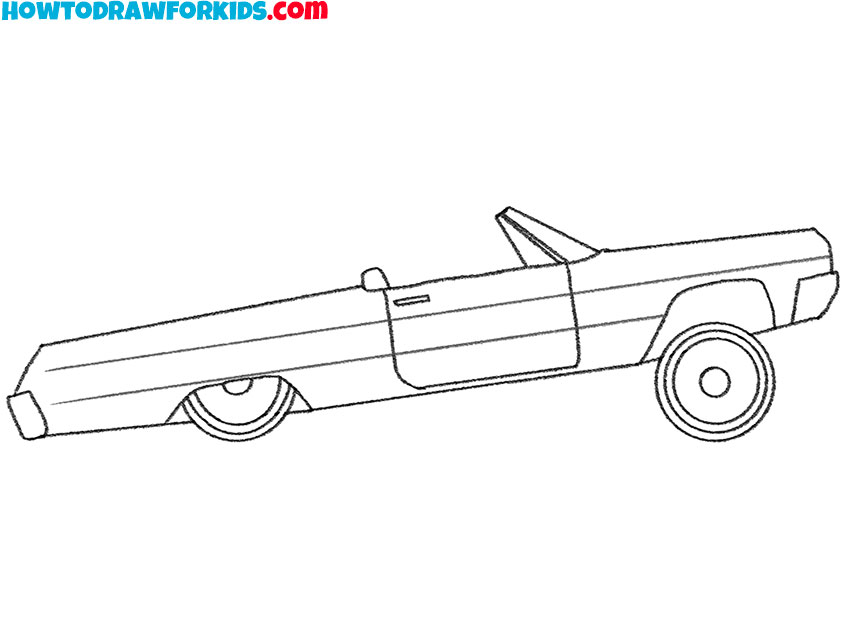
In this tutorial, we’ll draw a car with the front end raised, which is one of the most recognizable positions for this type of vehicle.
Step-by-Step Lowrider Drawing Tutorial
Materials
- Pencil
- Paper
- Eraser
- Coloring supplies
Time needed: 30 minutes
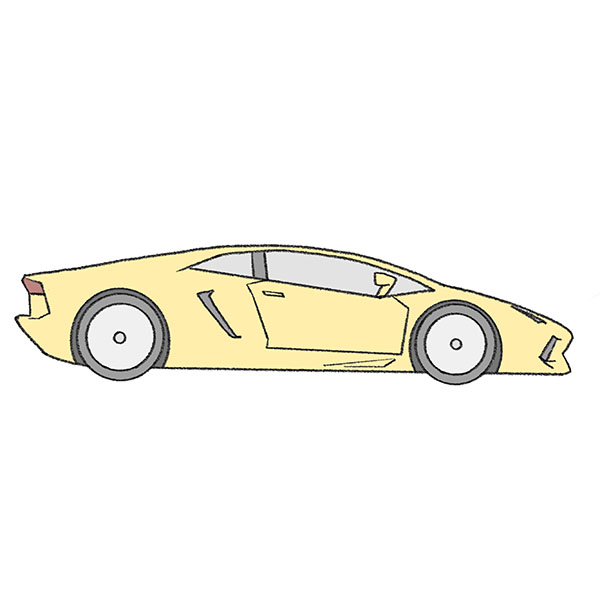
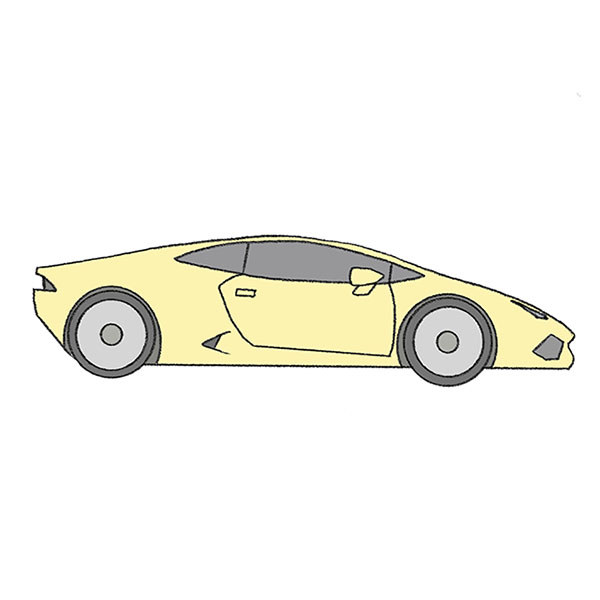
How to Draw a Lowrider
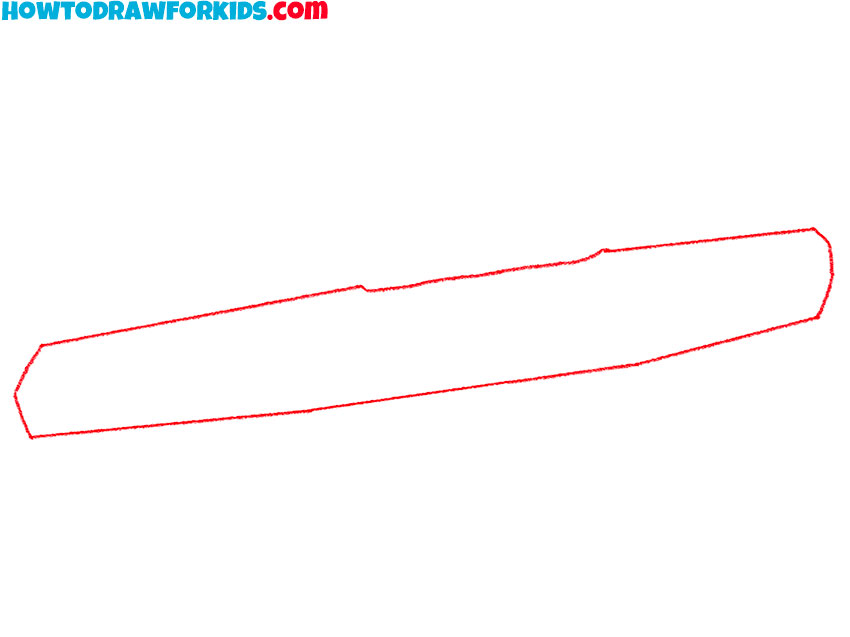
- Draw the body of the car.
Use smooth lines to draw a figure of the same shape as in my example.
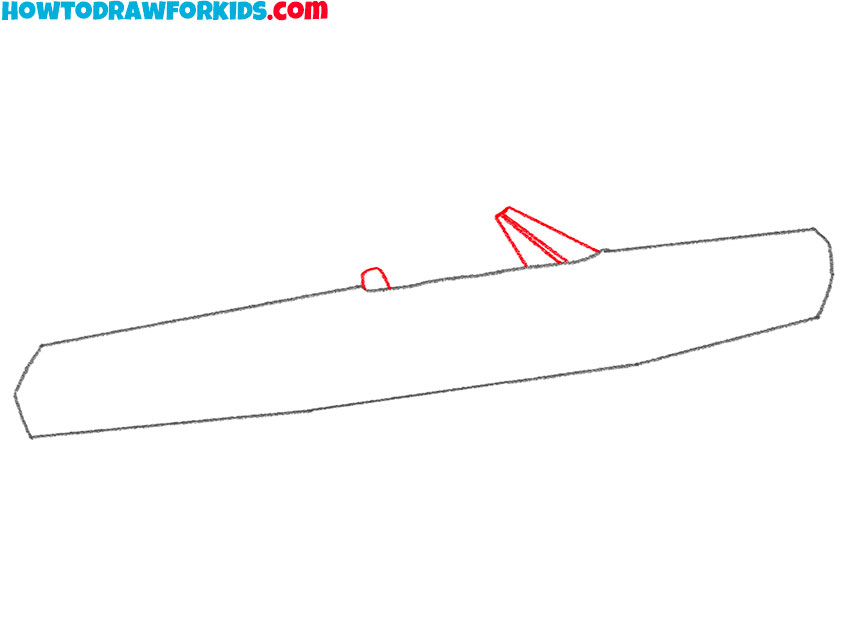
- Depict the windshield and seat.
Using straight lines depict the windshield and draw the visible part of the seat.
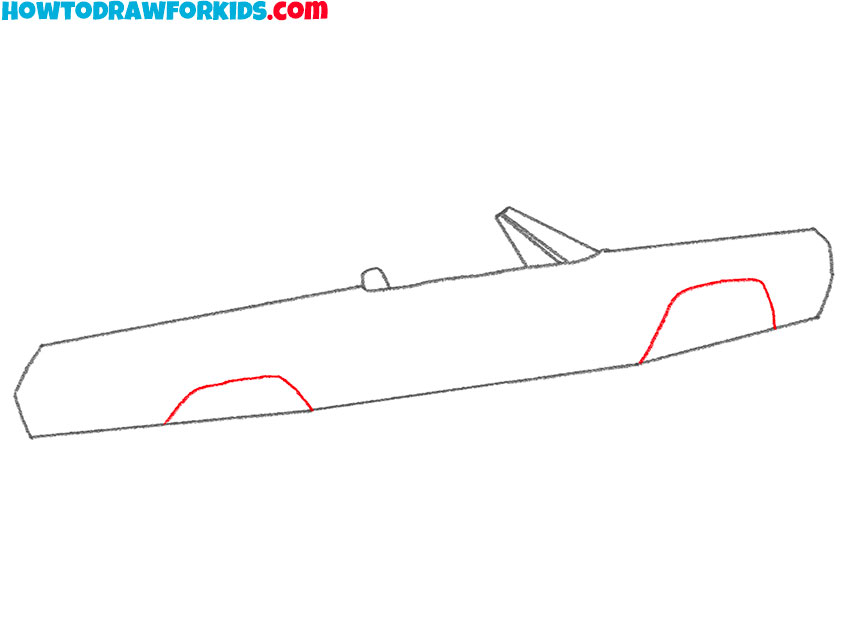
- Add the wheel arches.
At the bottom of the car, draw two wheel arches using curved lines.
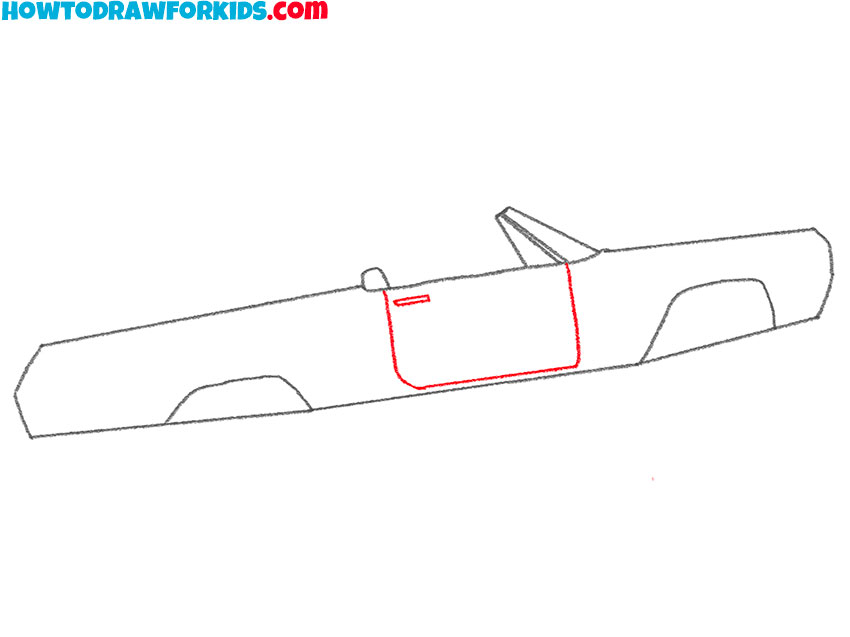
- Sketch out the door.
In the middle of the body of the car draw the door and add the door handle.
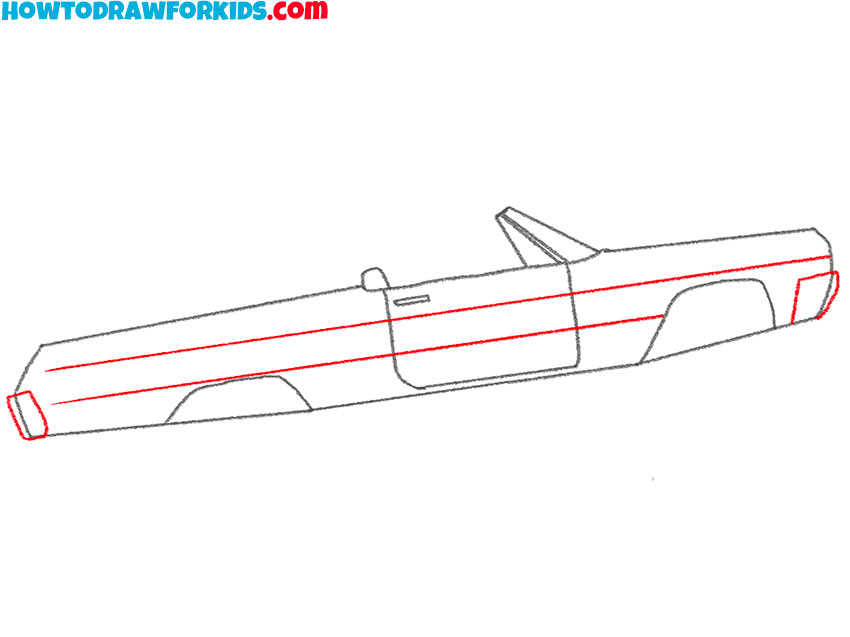
- Draw the bumpers and car body.
Depict the front and rear bumpers and draw two longitudinal lines on the body of the car.
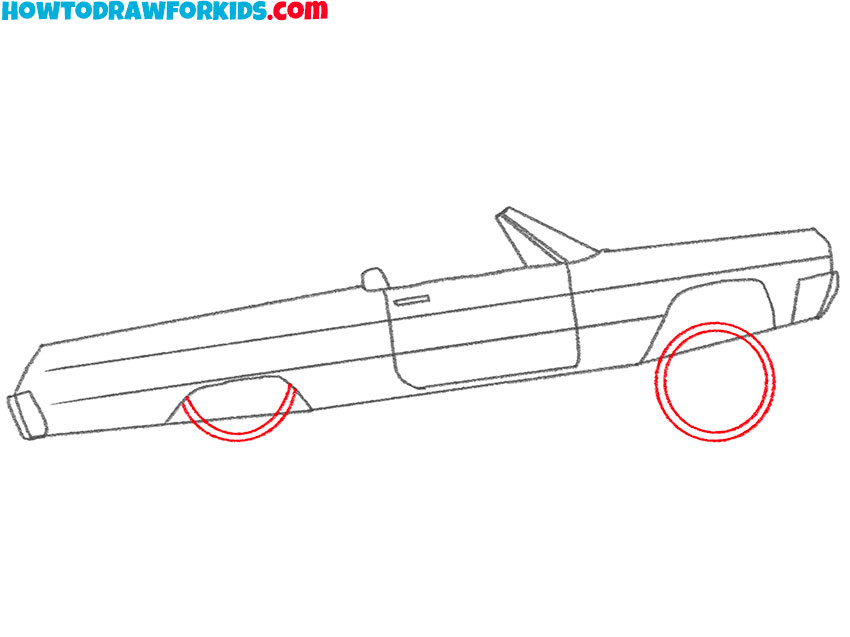
- Depict the wheels.
Carefully draw one front wheel and the visible part of the rear wheel.
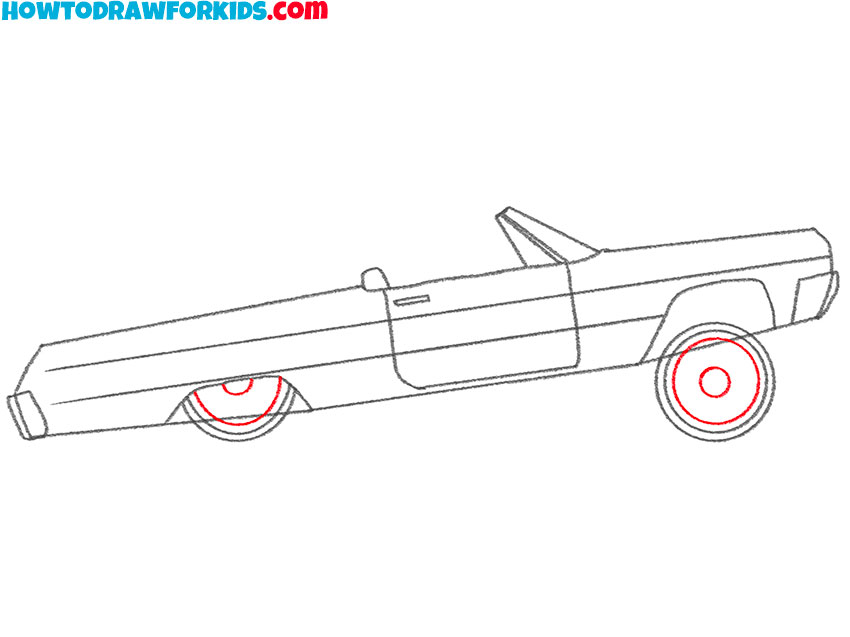
- Sketch out the wheels.
In the center of each wheel, add circles of different diameters.
- Correct inaccuracies.
Correct the mistakes if necessary and carefully remove all unnecessary lines in the drawing.
- Color the drawing.
Color the body in green, paint the rest of the elements in different shades of gray.
Additional Content
I have created a free PDF file which is a concise version of my lowrider drawing tutorial, designed to provide valuable insights in an easily digestible format.
This resource is perfect for those who wish to learn and practice drawing lowriders at their own pace. It’s downloadable and can be used offline, making it a convenient tool for learners regardless of their internet access.
What’s Next?
A lowrider looks great as part of a larger scene. You can draw it driving through a city street, parked at a car show, or cruising along a coastal road.
Night scenes with streetlights and reflections on the bodywork can also make the drawing more interesting.
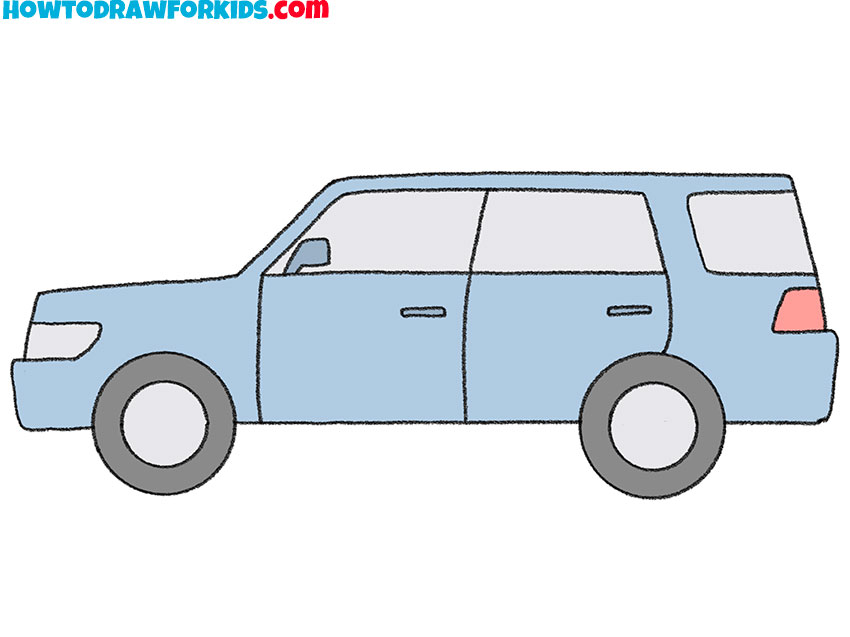
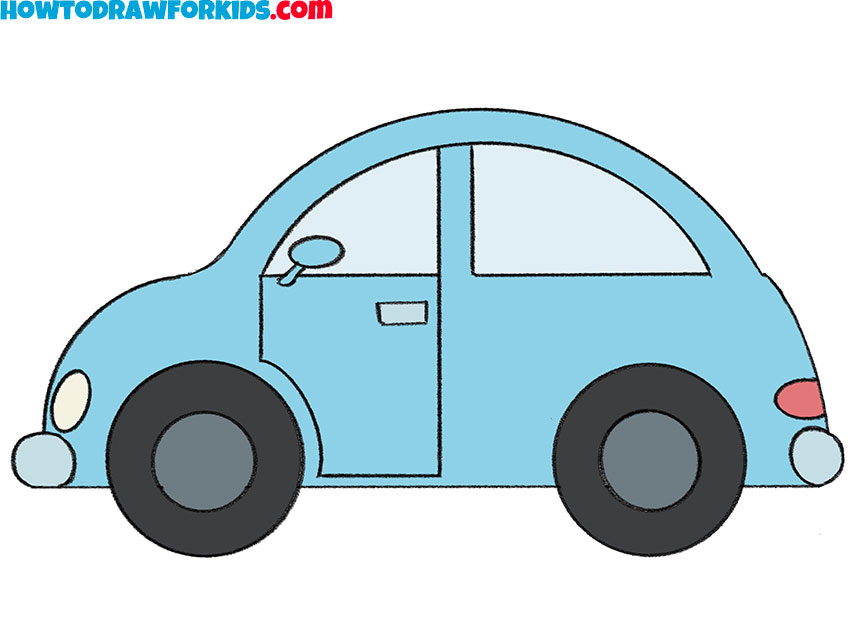
If you’d like to practice drawing other types of vehicles, take a look at my SUV drawing tutorial. You can also compare the look of different cars by following the sports car drawing guide.
Drawing several different vehicles is a good way to better understand their shapes and design.
If there’s another type of vehicle you’d like to learn how to draw, feel free to leave a comment below. I often use readers’ suggestions when planning new drawing lessons.