How to Draw a Race Car
Ignite your pencils’ engines for a lesson on how to draw a race car, capturing the essence of speed and precision. This lesson is your pit stop to artistic success, where I’ll guide you through each curve and contour of a racing machine. The race car we’re focusing on is not just fast; it’s a feat of design and efficiency.
How to Draw a Race Car: Basic Information
Welcome to my step-by-step guide on how to draw a race car, a tutorial where speed meets style on paper. I’ve designed this lesson to simplify the complex form of a race car into approachable stages for any aspiring artist. The race car we’ll draw together boasts a sleek design with distinctive aerodynamic features.
The key to capturing this race car lies in its sharp angles and the prominent spoiler, which I’ll show you how to render with ease. My method ensures that each step is clear and builds upon the last, making the process a breeze. By following my guide, you’ll learn to illustrate the dynamic posture and aggressive stance of a true racer.
By the end of this lesson, you’ll be able to draw a race car with a sense of movement and excitement that race cars embody. My step-by-step guide will have you crossing the finish line with a masterpiece, and you’ll have the skills to add your own creative flair to every race car you draw in the future.
Race Car Drawing Tutorial
Materials
- Pencil
- Paper
- Eraser
- Coloring supplies
Time needed: 30 minutes
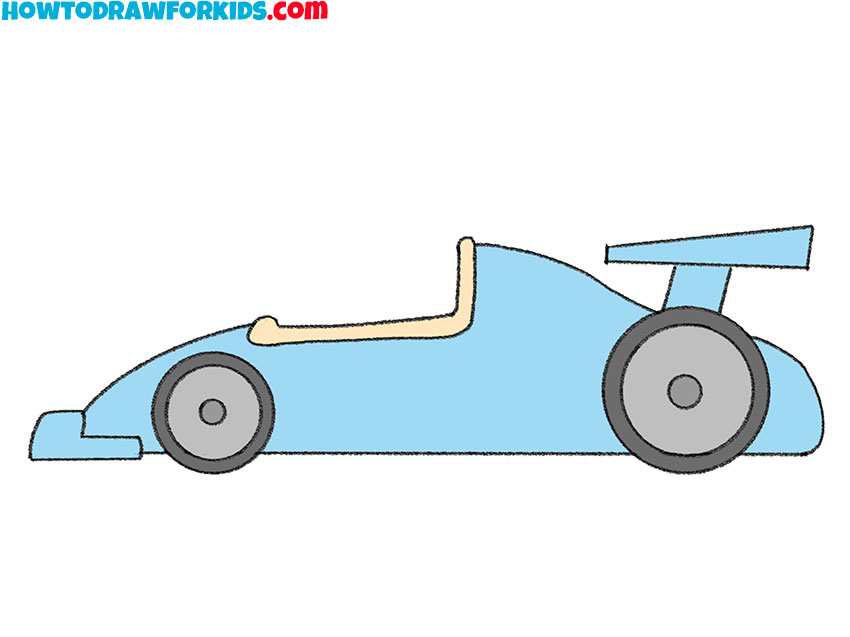
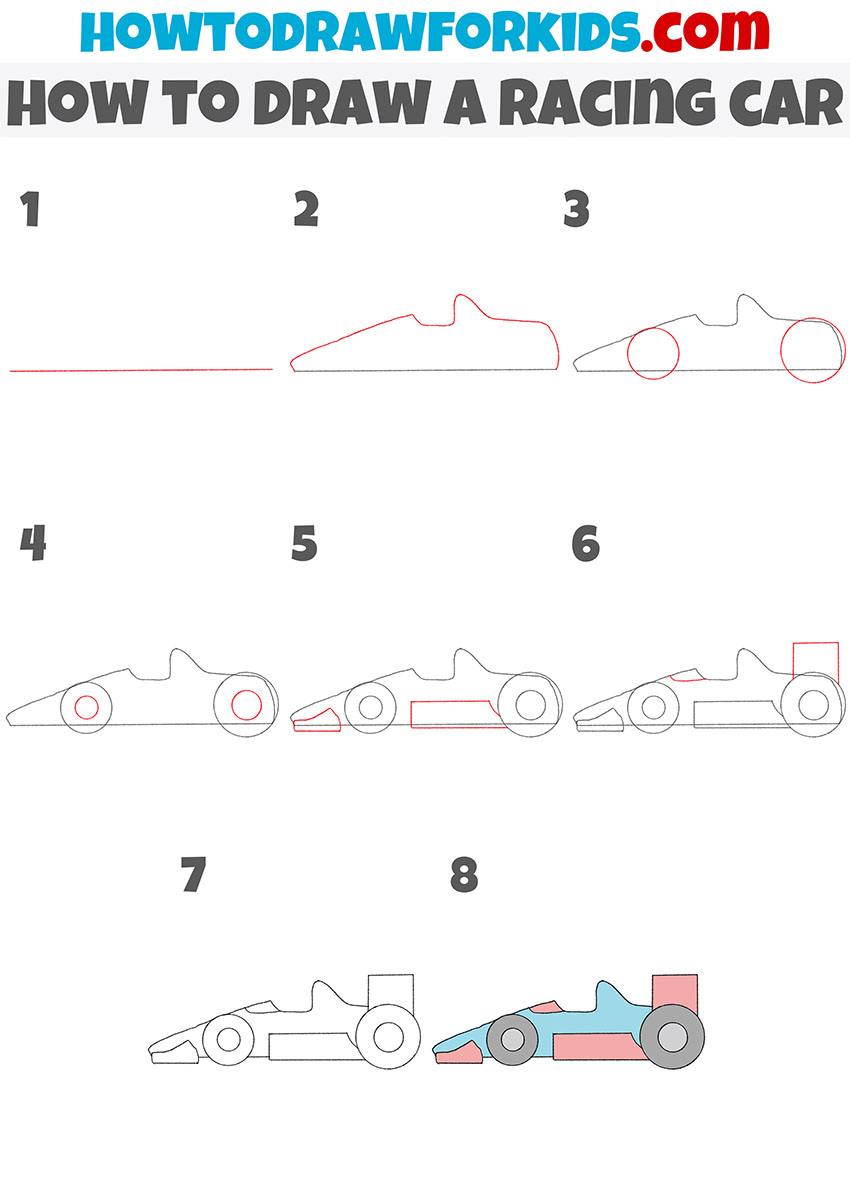
How to Draw a Race Car
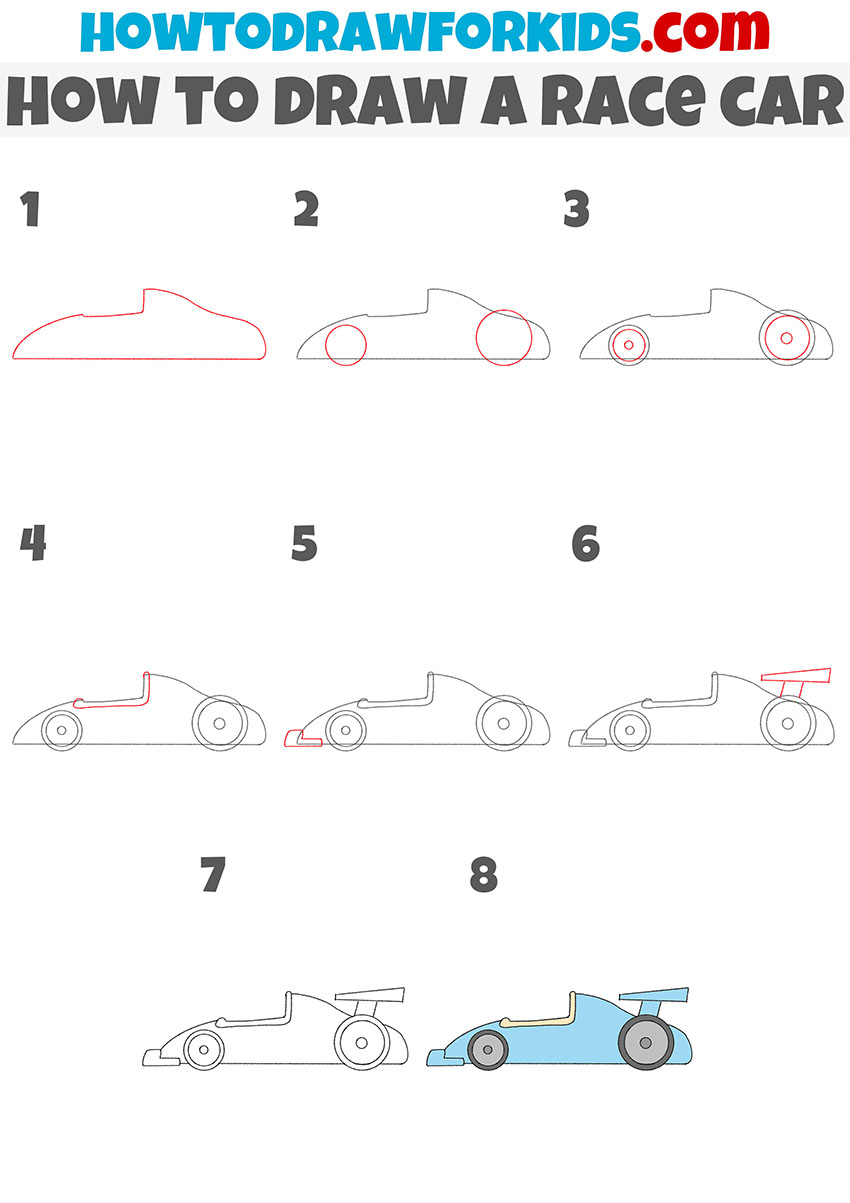
- Draw the outline of the car.
To complete this step, draw a horizontal line and add curved lines above it.
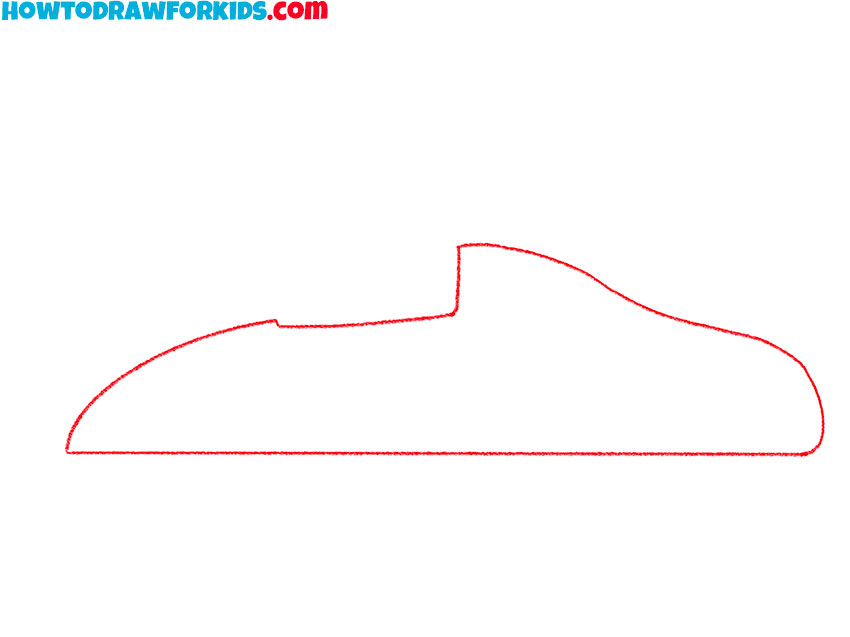
- Depict the wheels of the race car.
At the bottom of the outline of the car, draw two wheels as circles of different sizes.
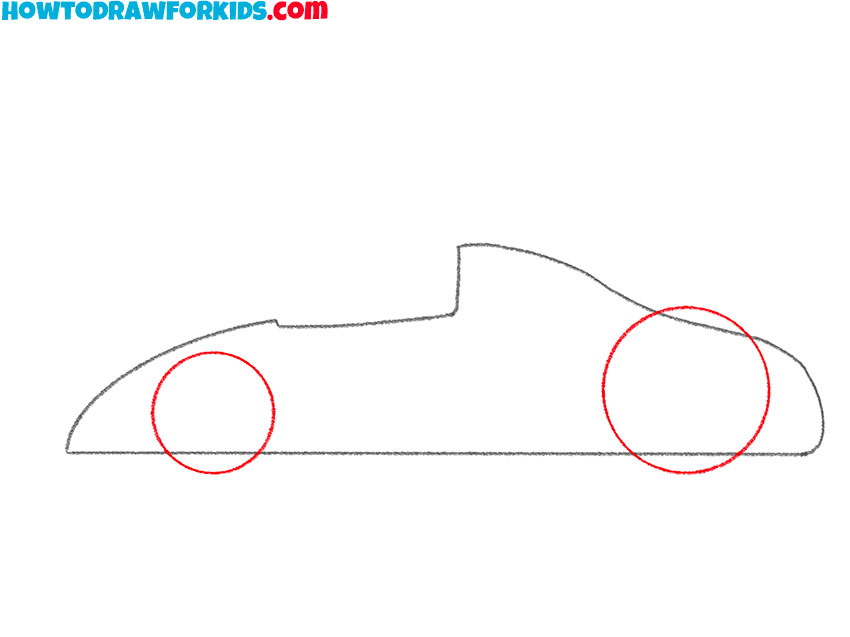
- Sketch out the inside of the car wheels.
Inside the previously drawn circle, draw two more circles in each wheel.
- Draw the element to the top of the car.
To complete this step, draw one long, curved line as shown.
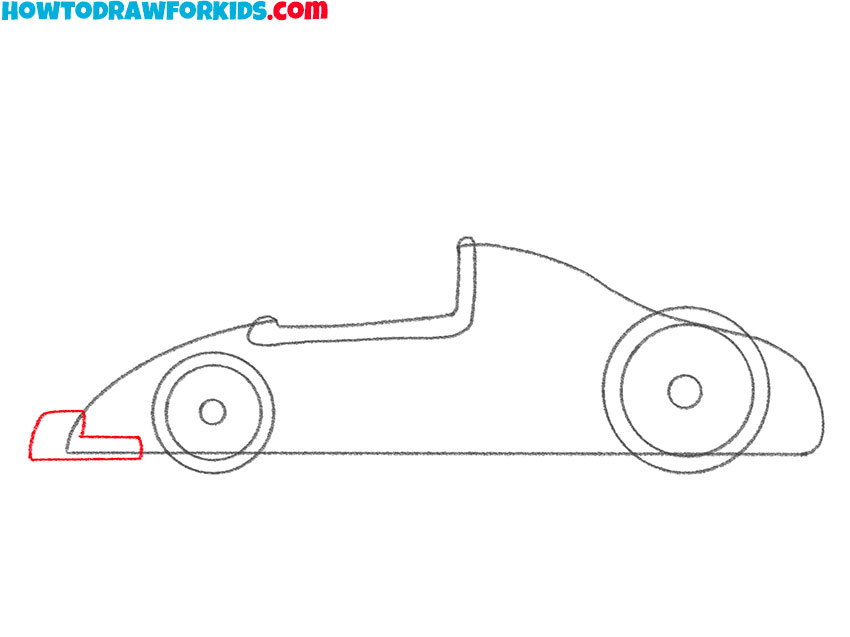
- Add detail to the front of the car.
Using curved lines, draw the detail in the front of the car near the front wheel.
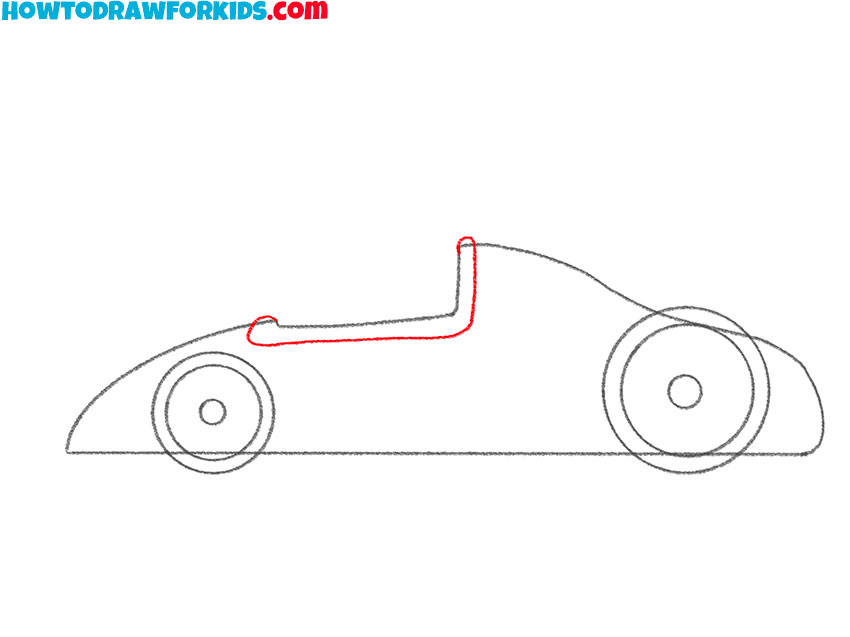
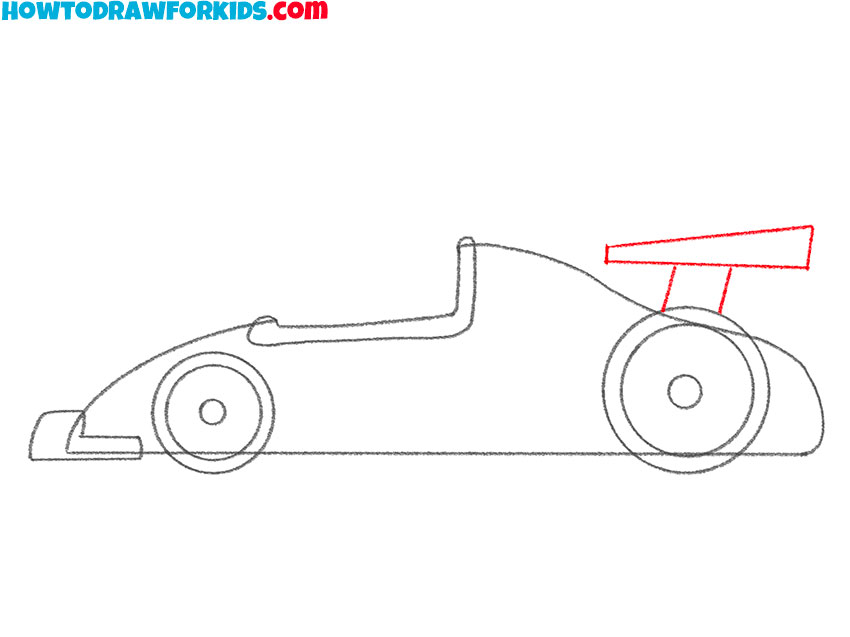
- Depict the detail on the back of the car.
Above the rear wheel of the racing car, draw several straight lines of varying lengths.
- Correct inaccuracies.
To prepare your drawing for coloring, use the eraser and remove the extra lines.

- Color the drawing.
To color the race car, use shades of gray, yellow, and blue.
Additional Content
With a desire to support your artistic endeavors at every turn, I’ve fashioned a free PDF file that encapsulates the race car drawing lesson. This downloadable guide strips down the drawing process to its bare essentials, providing a focused, user-friendly version that you can access with a simple click.
Whether you’re offline or simply away from your device, this PDF is a resource that promises to keep your skills in tune with your passion. Take it with you and find solace in its pages, as they offer the clarity and guidance needed to continue crafting stunning race car illustrations wherever you are.
Alternative Drawing Techniques
Understanding that mastery comes from practice and exploration, I’ve crafted a series of alternative drawing techniques specifically for race cars. These methods are tailored to offer new perspectives and challenges, encouraging you to experiment with different styles and strokes.
As you delve into these varied approaches, you’ll find yourself becoming more versatile and confident in your ability to bring race cars to life on paper.
How to Draw a Racing Car
This drawing method unfolds in eight distinct steps, guiding the artist from the foundational shapes to a colorful, detailed racing car. Starting with a simple horizontal line for stability, the process gradually adds the car’s silhouette, and then the wheels, ensuring the vehicle’s proportions are accurate.
As the tutorial progresses, it introduces the cockpit, rear wing, and other racing features, each step building upon the last, culminating in a vibrant and dynamic race car. The final touch of color brings the drawing to life, accentuating the different parts of the car with a variety of hues, making the illustration visually captivating.
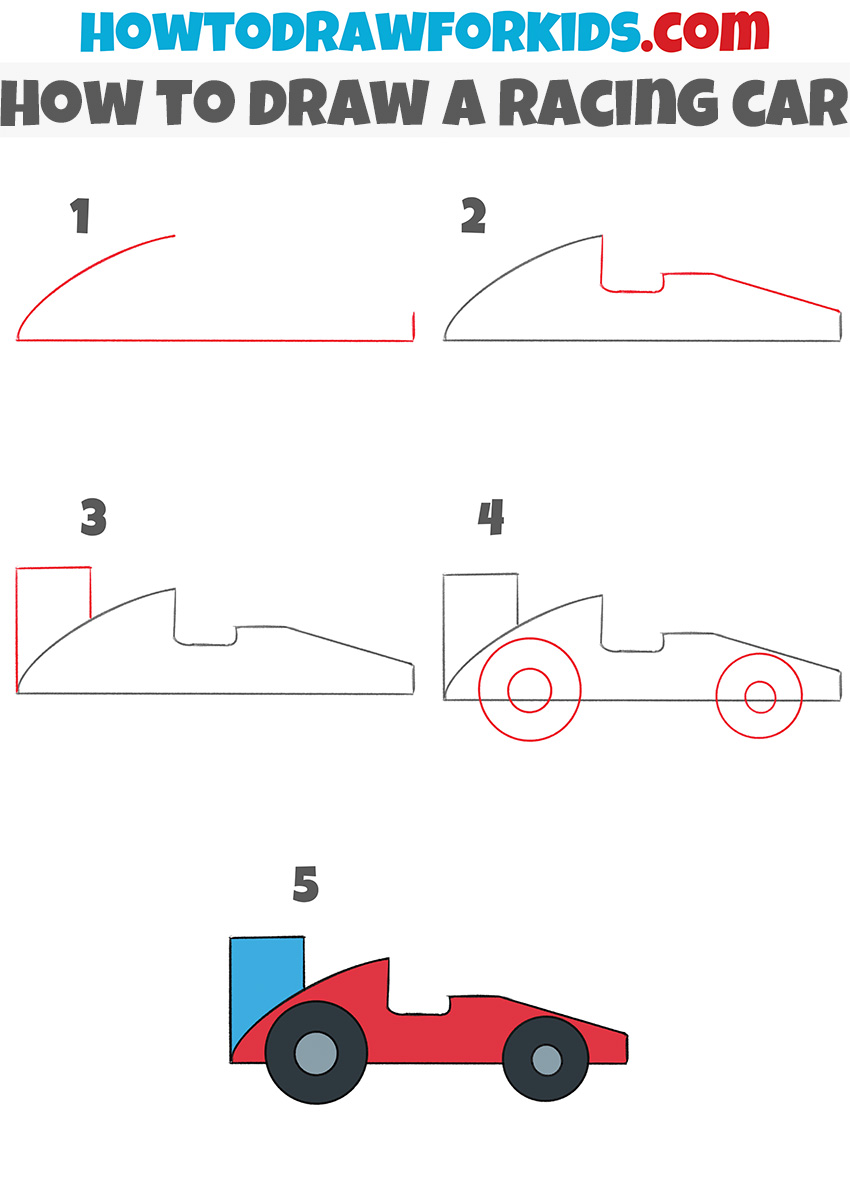
Race Car Drawing for Kindergarten
This drawing method is a wonderfully simplified, five-step approach specifically designed for kindergarten children to create their very own colorful racing car. Starting with a basic curve to establish the car’s body, it gradually builds up the vehicle’s profile by adding the cockpit and wheel outlines.
The process culminates in a fun coloring session, where the car comes to life in vibrant hues. Each step is clear and manageable, encouraging young artists to confidently create with joy and ease.
Conclusion
You’ve zoomed through our race car drawing lesson with flying colors, artists-in-training! But don’t put your pencils down yet; there’s a whole universe of sketches waiting for you on my site. From modern gadgets like drawing a sleek phone to capturing the wild beauty of an owl, there’s no limit to what you can create.
Be sure to follow me on all your favorite social media channels to catch the latest drawing sessions as they land. And I’m always curious about what you want to draw next, so pop your ideas and wishes in the comments section below. Your suggestions might just become our next art-tastic adventure!