How to Draw a Rubber Duck
In this lesson I want to show you how to draw a rubber duck. This lesson will be simple and interesting for any aspiring artist.
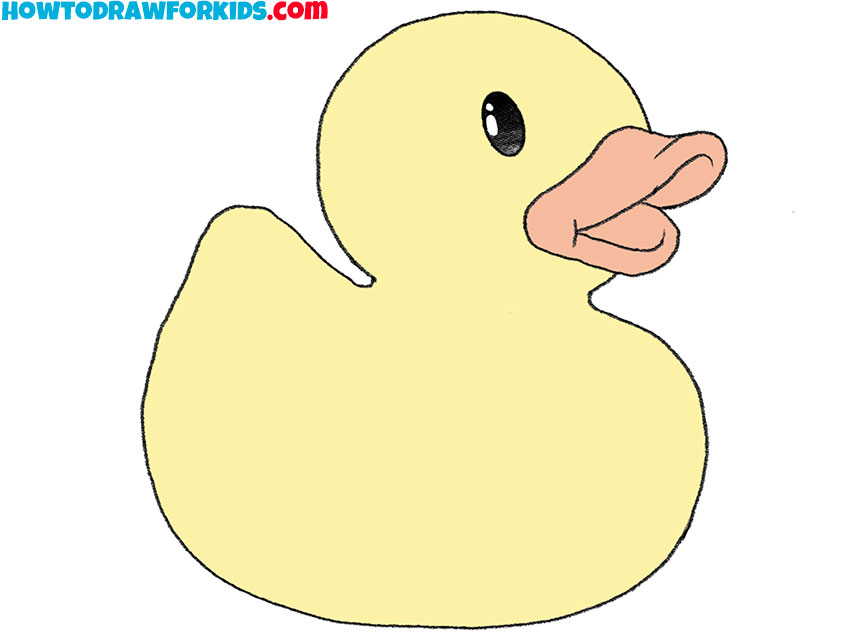
With the help of clear and accessible instructions, I will show you how to draw a rubber duck. This is a popular toy that is designed for the youngest children. Usually such a duck is used while bathing. The duck is made of soft rubber and painted in bright colors.
In this lesson, you will need your ability to draw smooth curved lines. In the process of work, try to observe all proportions and carefully draw all the lines.
Particular attention to the stage of drawing the beak. Your task is to correctly depict the outer contour of the beak. Now I suggest you take all the necessary art supplies, and you can get to work.
Materials
- Pencil
- Paper
- Eraser
- Coloring supplies
Time needed: 30 minutes
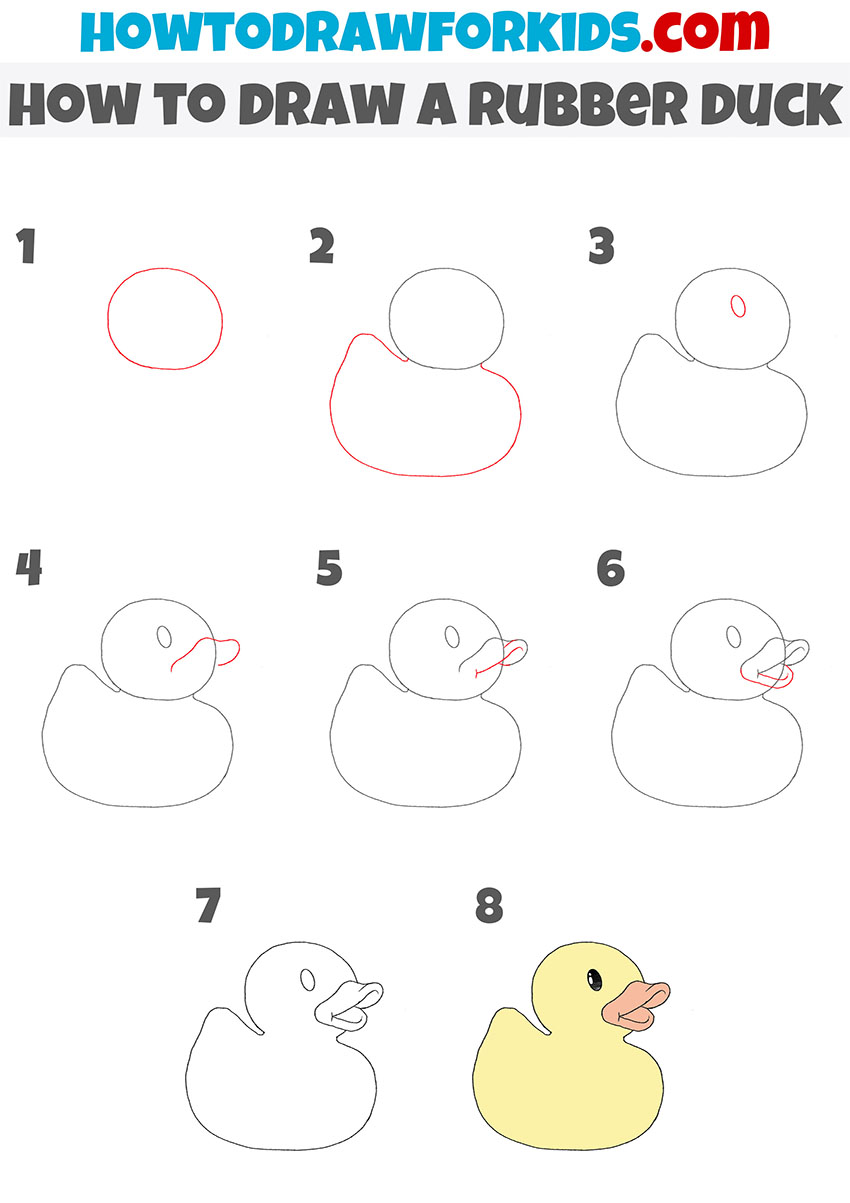
How to Draw a Rubber Duck
- Draw the head.
Determine the size of your drawing and draw a circle.

- Depict the torso.
Below the head, draw the small torso, which smoothly passes into the tail.

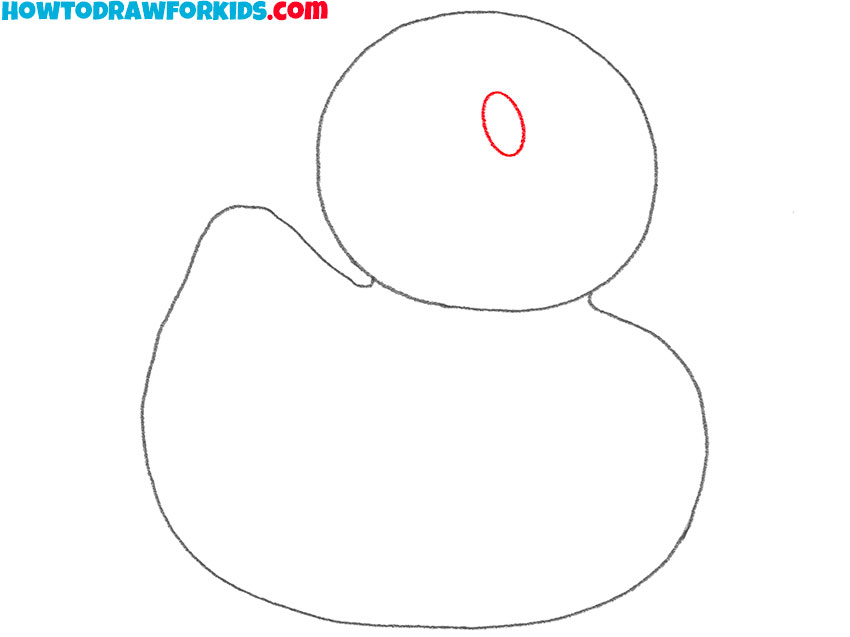
- Sketch out the eye.
Approximately in the middle of the head, draw a small oval.
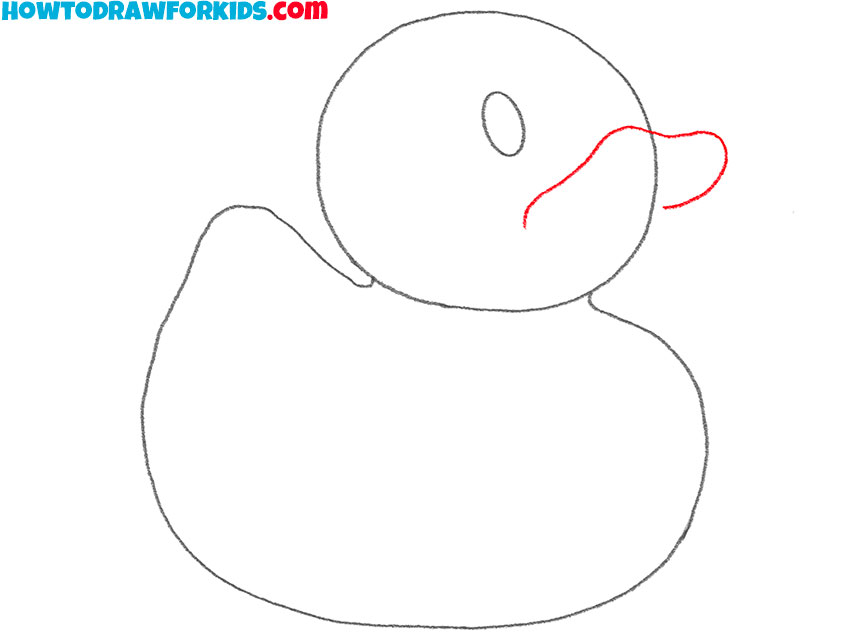
- Add the top outline of the beak.
Draw a curved line in the same shape as in my example.
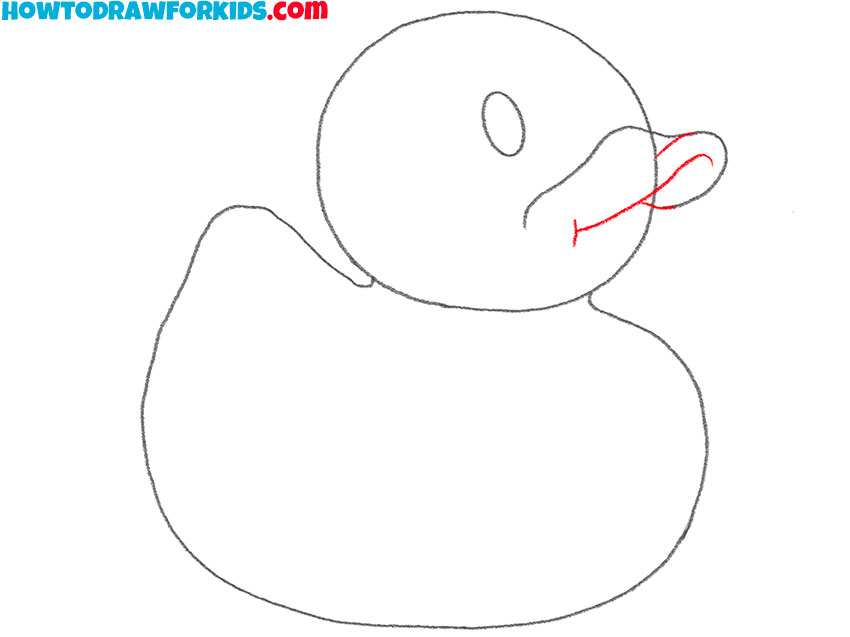
- Continue drawing the beak.
Using a smooth, curved line, draw the rest of the outline of the top of the beak.
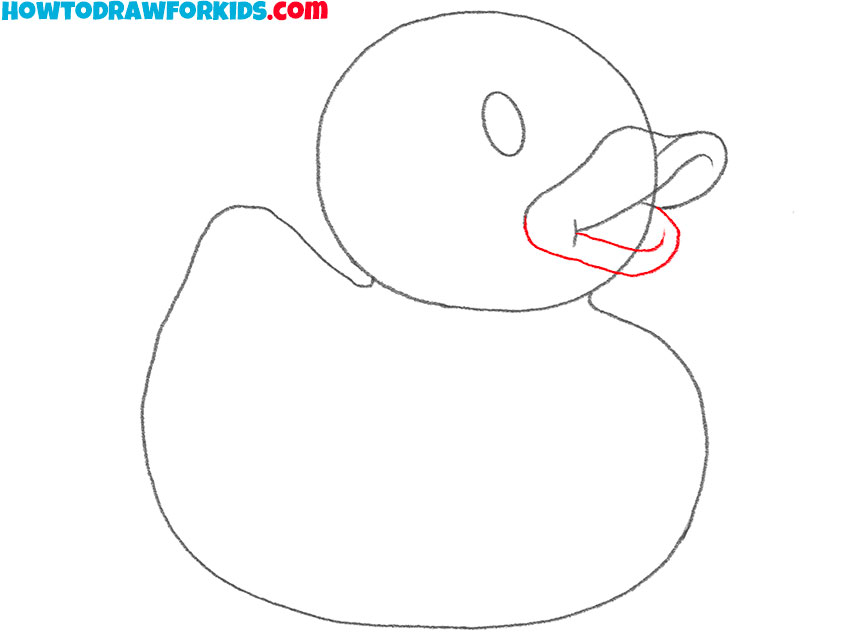
- Draw the bottom of the beak.
Depict the bottom of the beak, which is smaller than the top.
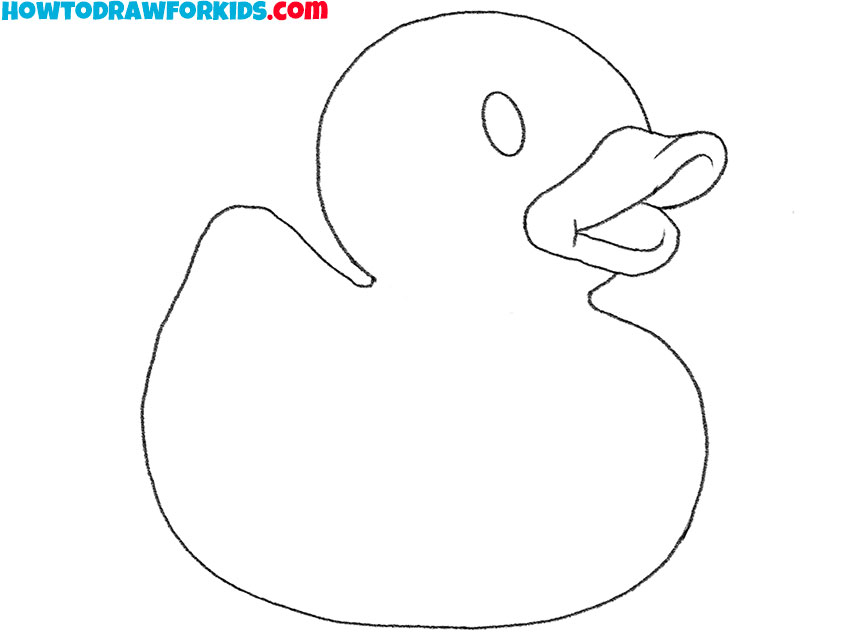
- Correct inaccuracies.
Use the eraser to remove extra lines in your drawing.
- Color the drawing.
For coloring, use yellow, black and pink. Add the highlights to the eyes.

This drawing lesson has come to an end. You have seen that drawing a rubber duck is very easy. I will be glad if you leave a little feedback in the comments. This will motivate me to create new exciting lessons. You can download a free PDF file with a short version of the lesson so that you can return to it if necessary, even if you are not connected to the Internet.


