How to Draw a Shell
In this drawing lesson, you will learn how to draw a shell. This tutorial will be very simple as it is designed specifically for beginners.
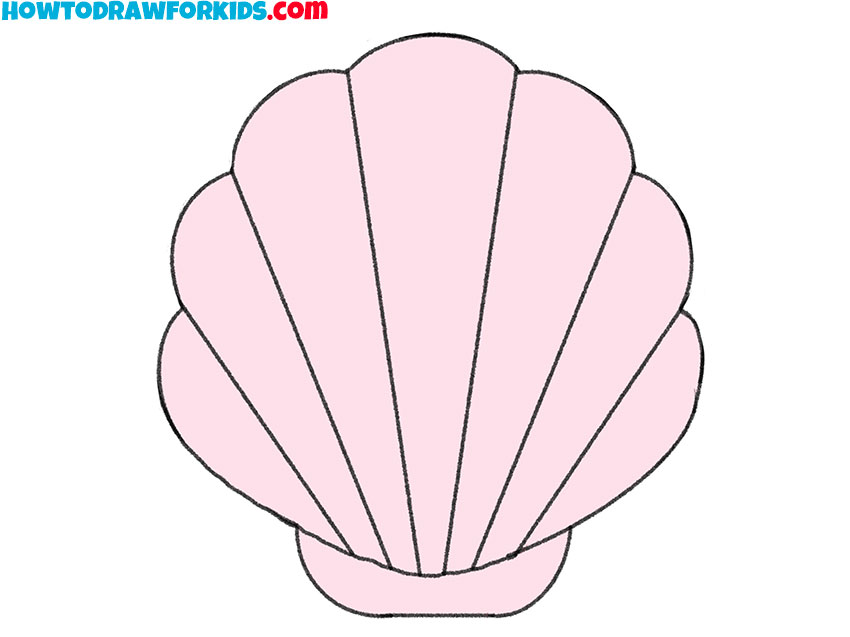
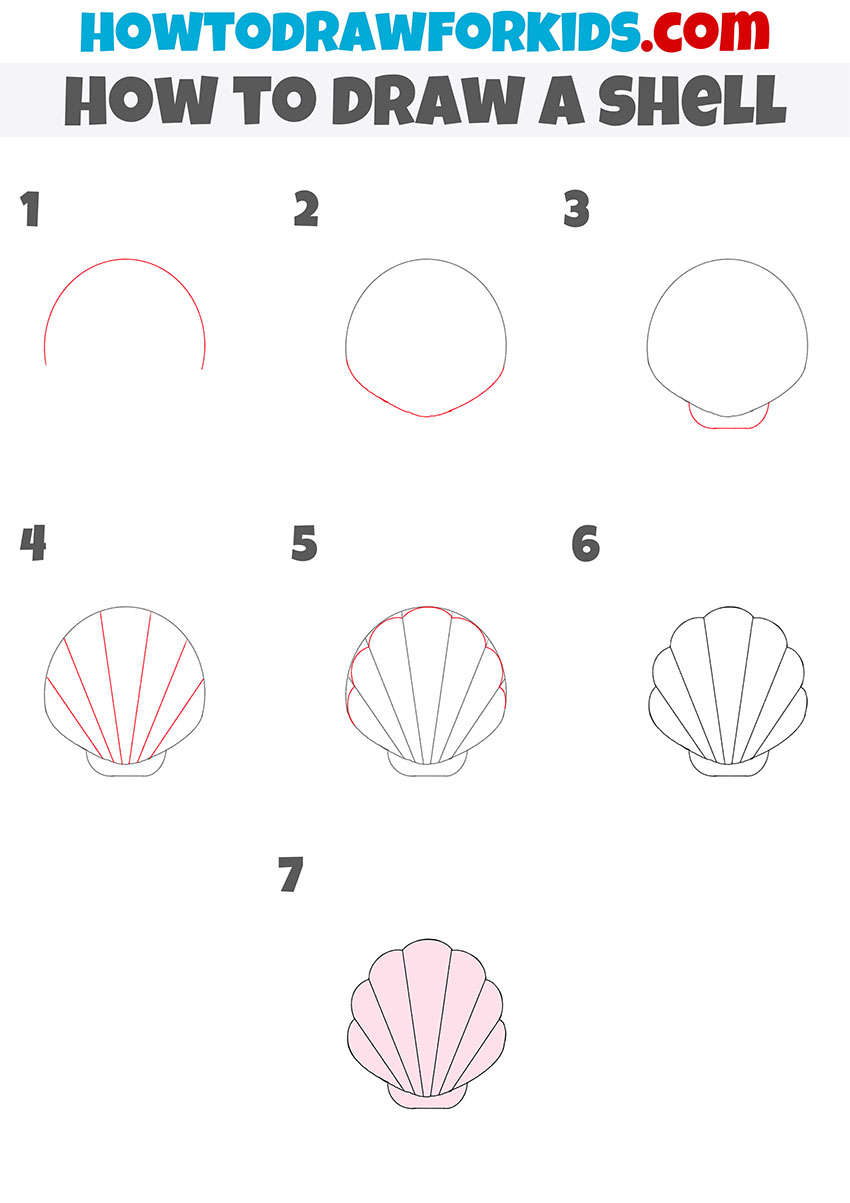
If you want to learn how to draw a shell step by step, then this drawing lesson will be useful for you. In this lesson, you will practice drawing straight and rounded lines. You can use the image of this shell if you want to draw an underwater world or a beach.
It is believed that the shell is a protective skeletal structure that helps protect the body of mollusks and other invertebrates. Also, inside the shells can be precious pearls.
Surely, you have seen the image of such a shell many times in various cartoons or books. In addition to the fact that shells usually have a very beautiful and attractive appearance, they also play a very important role in nature.
Materials
- Pencil
- Paper
- Eraser
- Coloring supplies
Time needed: 20 minutes
How to Draw a Shell
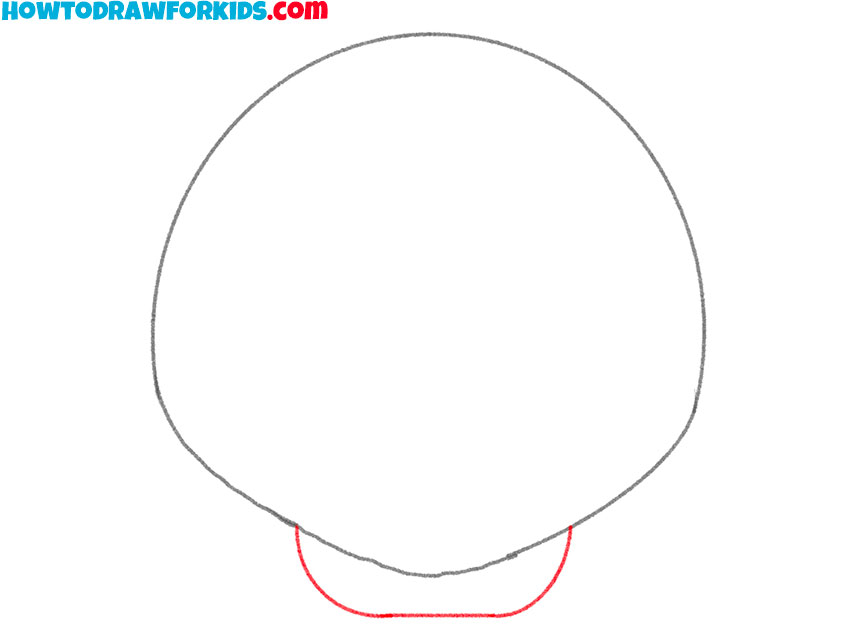
- Start drawing the top of the shell.
Follow this simple step by drawing one large arc, as shown in the example.

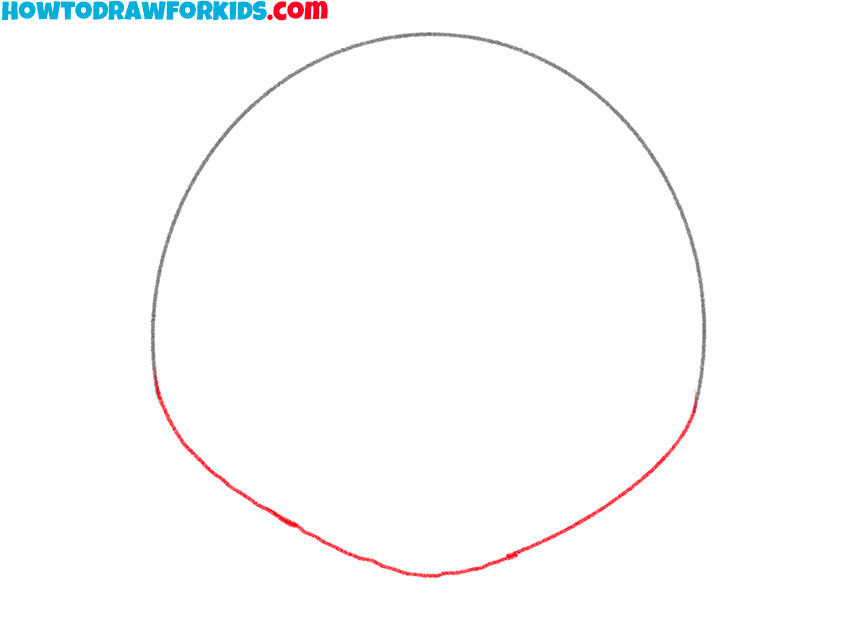
- Add part of the bottom outline of the shell.
Connect the edges of the previously drawn arc with a long, curved line.
- Depict the bottom of the shell.
Sketch out another curved line as shown.
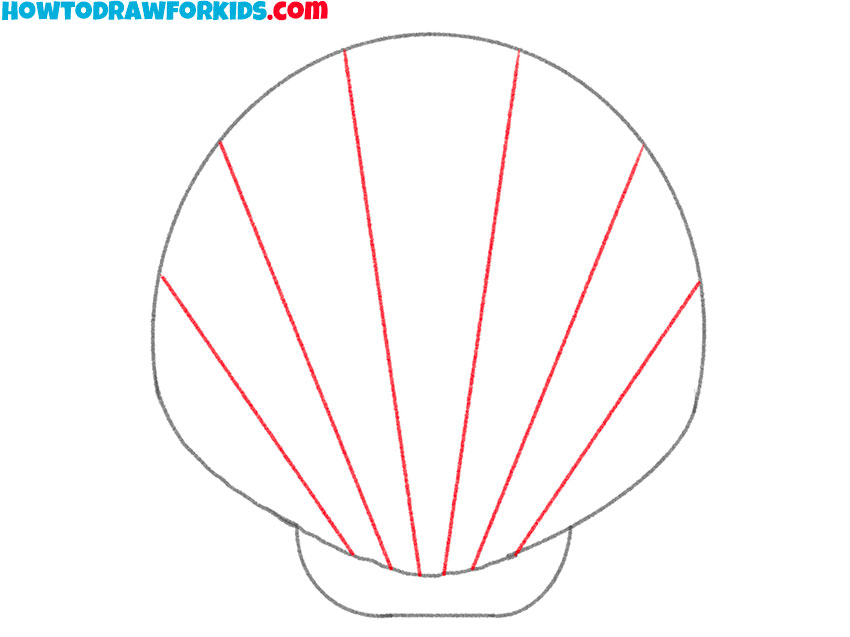
- Add the relief to the shell.
On the main part of the shell, draw six straight lines of different lengths.
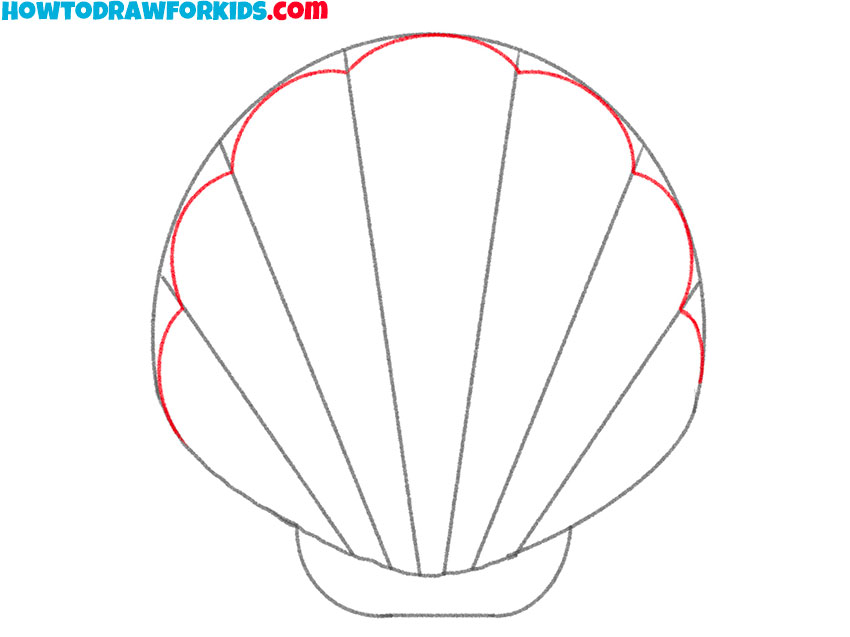
- Draw the relief to the top edge of the shell.
Near the top ends of the previously drawn lines, add seven rounded lines.
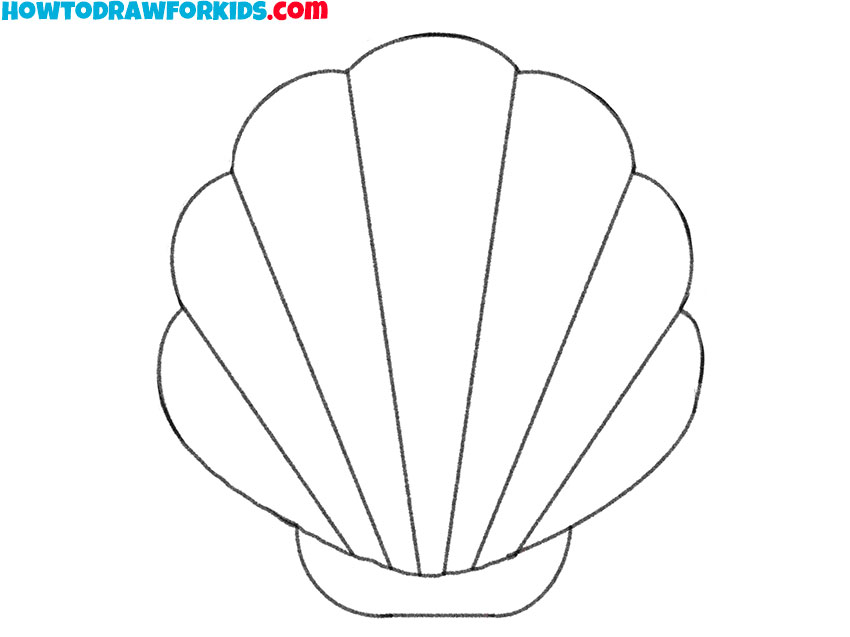
- Correct inaccuracies.
Use the eraser to remove any unnecessary guidelines.
- Color the drawing.
To color the shell, you can use light pink or light lilac.

Download the PDF file that I have prepared especially for your convenience, so that you can easily complete this lesson, and also you can return to it at any time convenient for you.


