How to Draw a Cake
Art time is about to get a whole lot sweeter! I’m going to teach you how to draw a cake in five delicious ways. We’ll explore different styles, from cartoonish to realistic, and you’ll learn how to make your cakes look so good, they almost jump off the page. Let’s get those creative juices flowing!
How to Draw a Cake: Basic Information
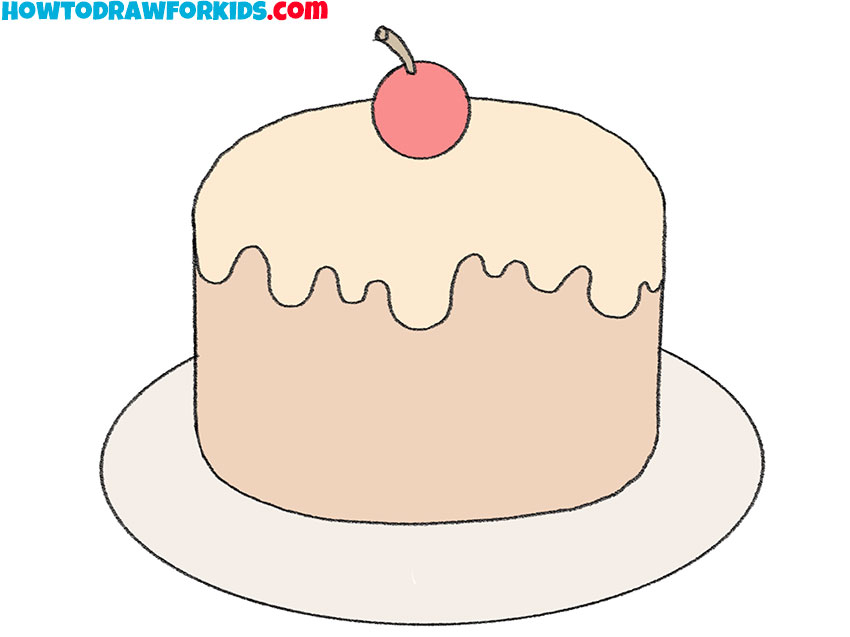
What’s up, creative crew? Today, we’re going to dive into a sweet treat with our pencils: I’ll teach you how to draw a cake that’s super cute and super fun. This lesson uses easy steps so even if you’re new to drawing, you’ll do just fine. Our cake will have layers that look soft enough to squish, and icing that drips like melted marshmallows.
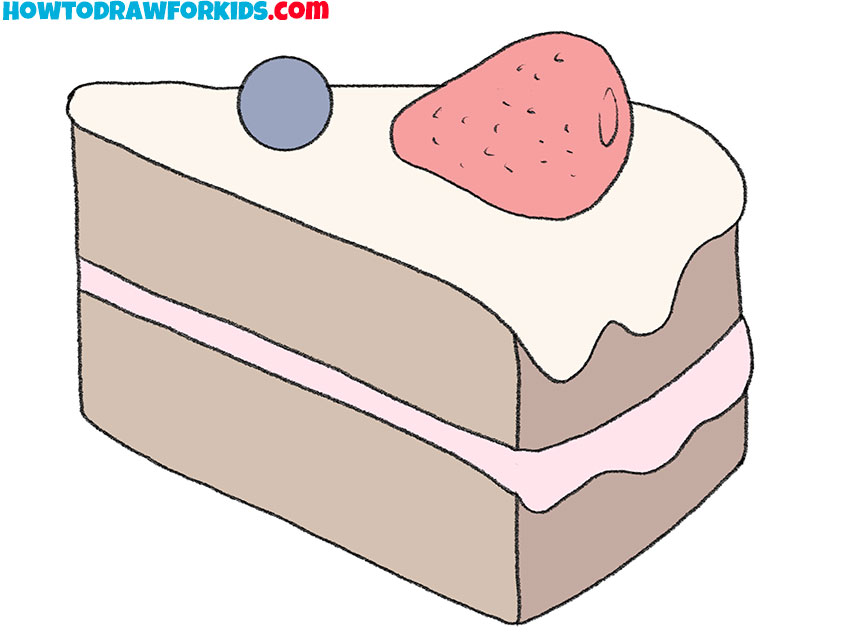
The cake we’re drawing today is truly one-of-a-kind—it has a playful wiggly icing line and a single cheerful cherry sitting proudly on top. I created this lesson to demonstrate how you can craft something delightful from a few straightforward shapes. We’ll tackle this drawing one step at a time, and you’ll be amazed at how simple and fun it can be.
Alright, it’s time to draw a cake that could star in a bakery window! So, sharpen those pencils and let’s get to it. You can make your cake as unique as you are—decorate it your way, and let’s have a blast as we bring our tasty creation to life on paper!
Cake Drawing Tutorial
Materials
- Pencil
- Paper
- Eraser
- Coloring supplies
Time needed: 30 minutes
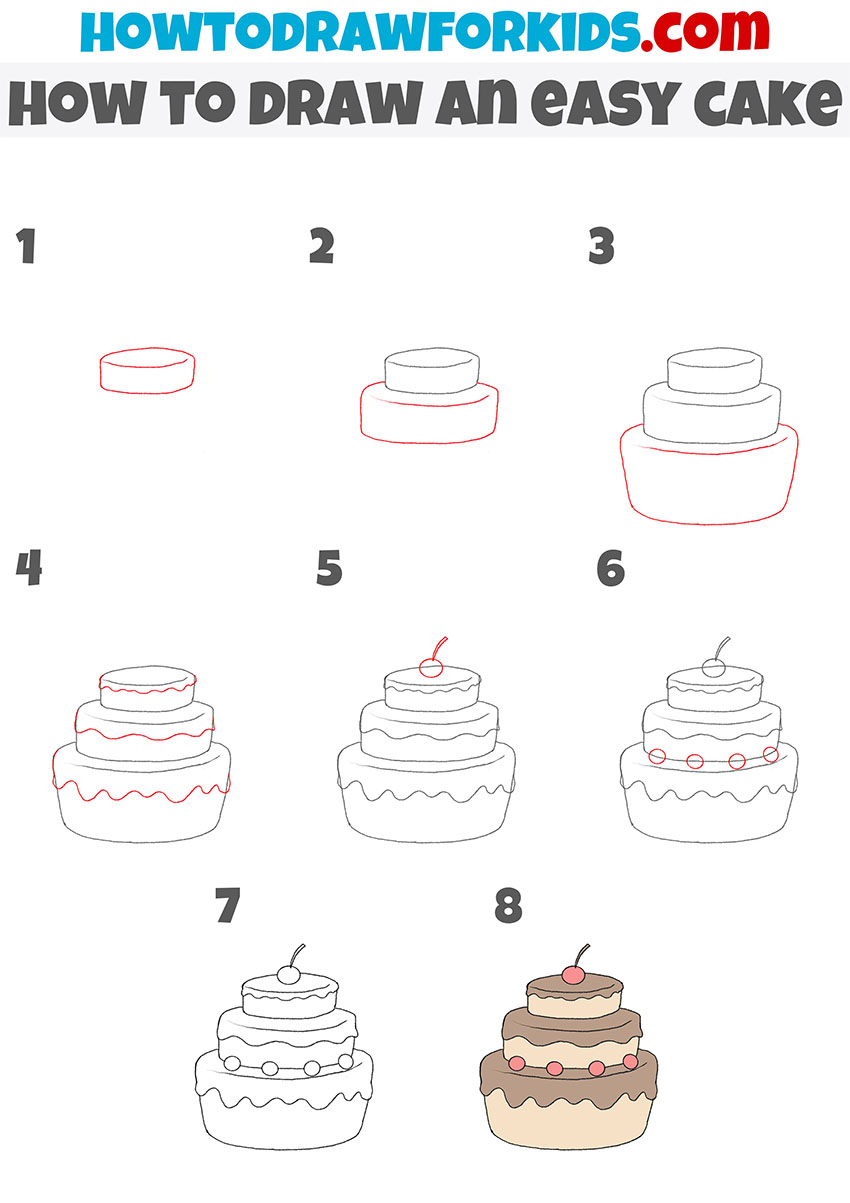
How to Draw a Cake
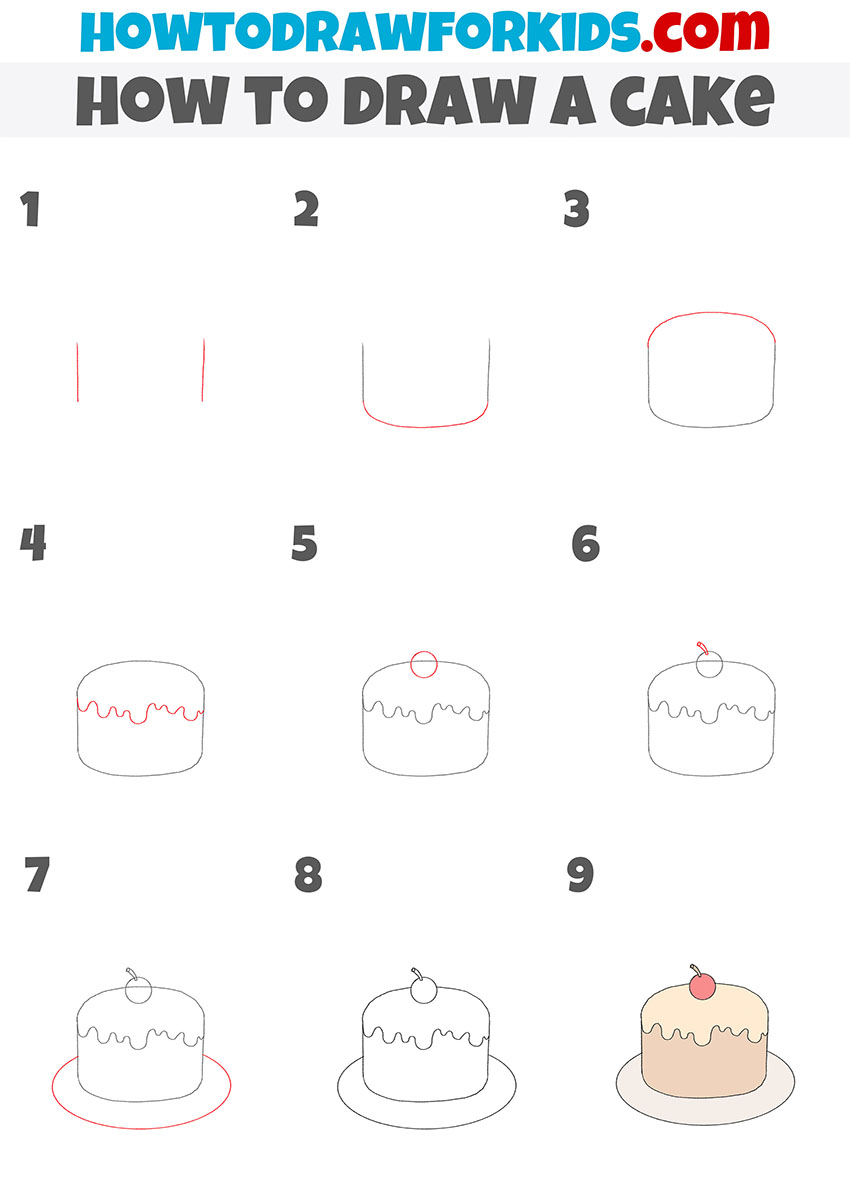
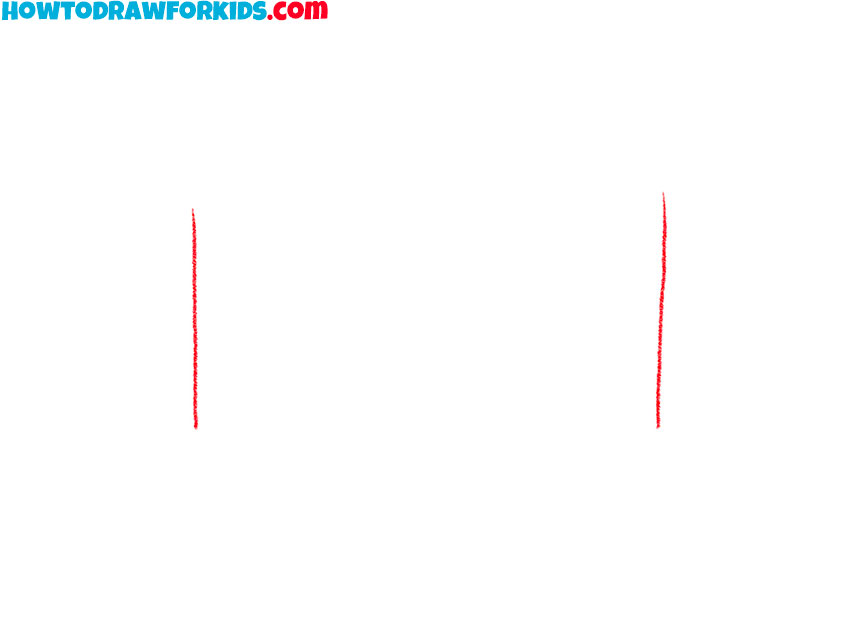
- Draw the sides of the cake.
Begin by drawing two vertical lines parallel to each other. These will serve as the sides of your cake, so ensure they are straight and of equal length for symmetry.
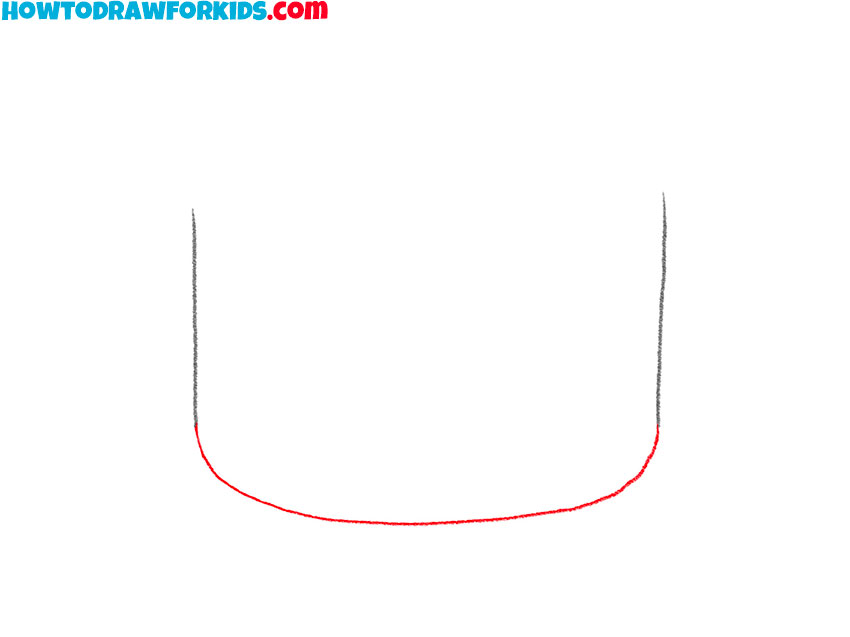
- Depict the bottom of the cake.
Connect the bottom of the vertical lines with a wide, upside-down “U” shape. This curve will form the bottom edge of the cake and should be as smooth as possible.
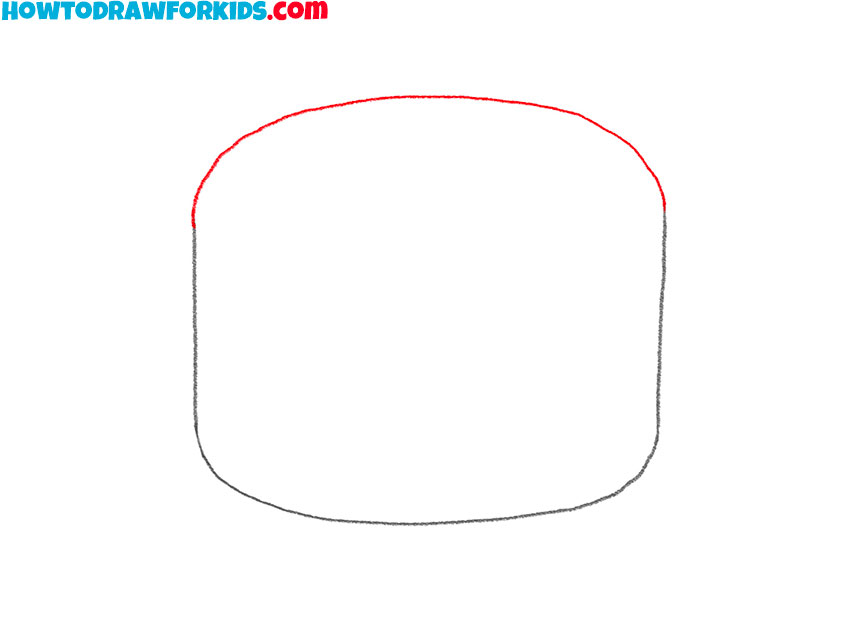
- Add the top of the cake.
Close the shape by connecting the top ends of the vertical lines with a slightly curved line. This will outline the base of the cake, giving it a solid, stable appearance.
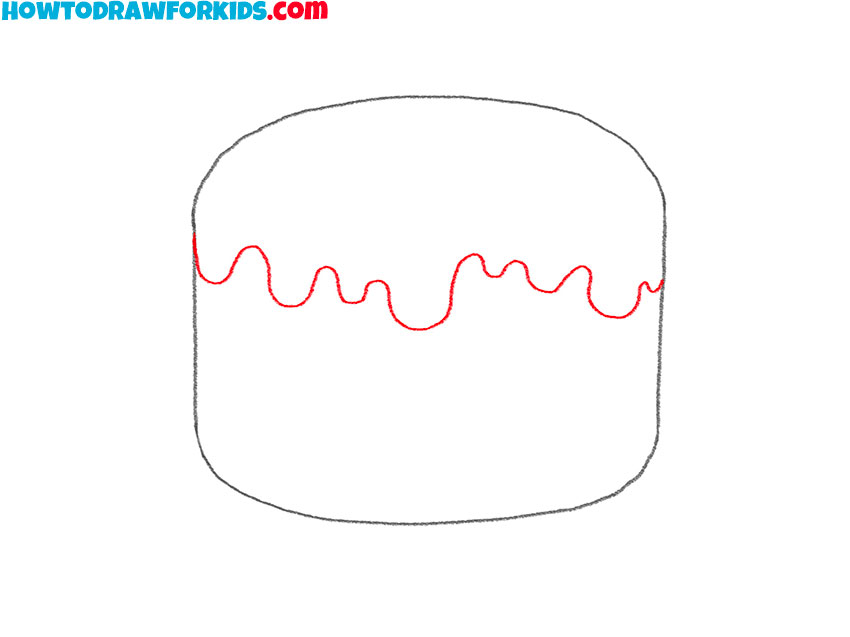
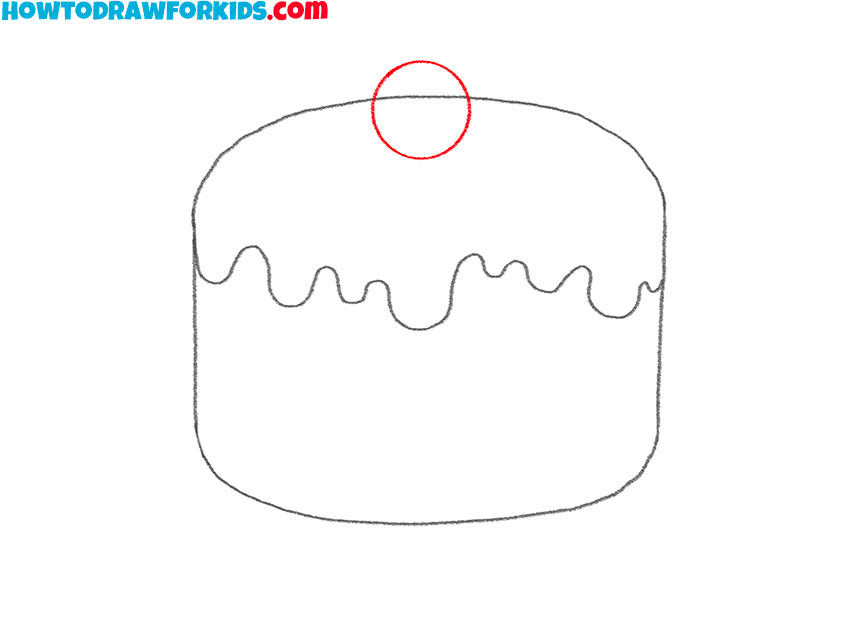
- Sketch out the cream.
Add a wavy line across the top of the cake for the cream-icing layer. This line should have gentle peaks and valleys to mimic the dripping effect of icing.
- Draw the cherry.
Draw a small circle on top of the cake to represent a cherry or another decorative topping. Place it in the center to maintain the balance of the composition.
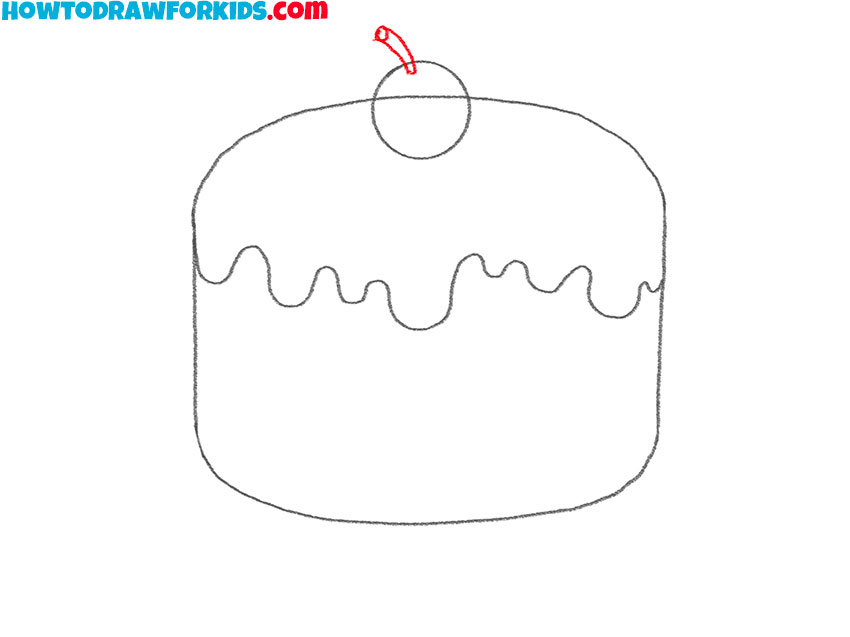
- Depict the stem on the cherry.
Add a tiny stem to the cherry with a small curved line to give it dimension and a more realistic look. Notice the small circle at the top of the stem.
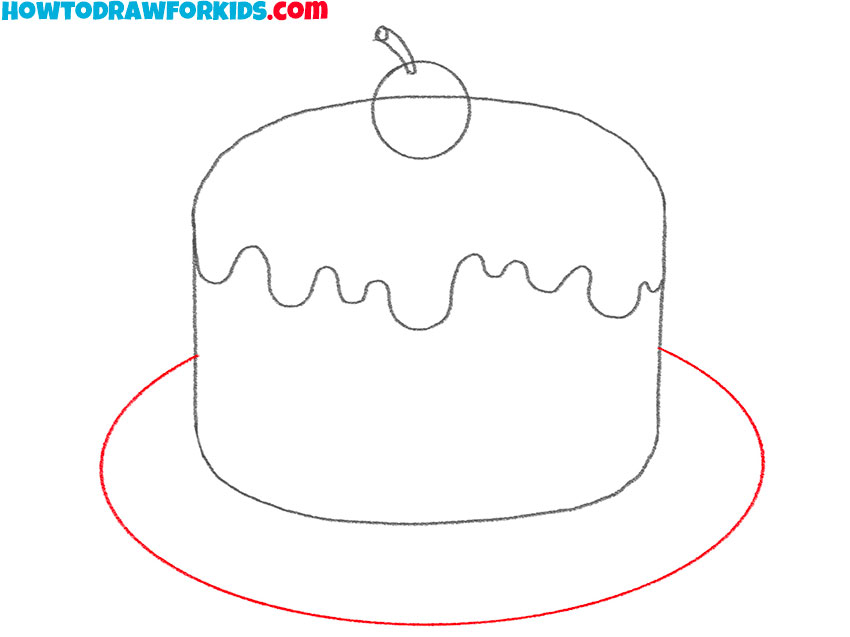
- Add the plate.
Draw an oval around the base of the cake, slightly larger than the cake itself. This will be the plate or stand on which the cake is resting.
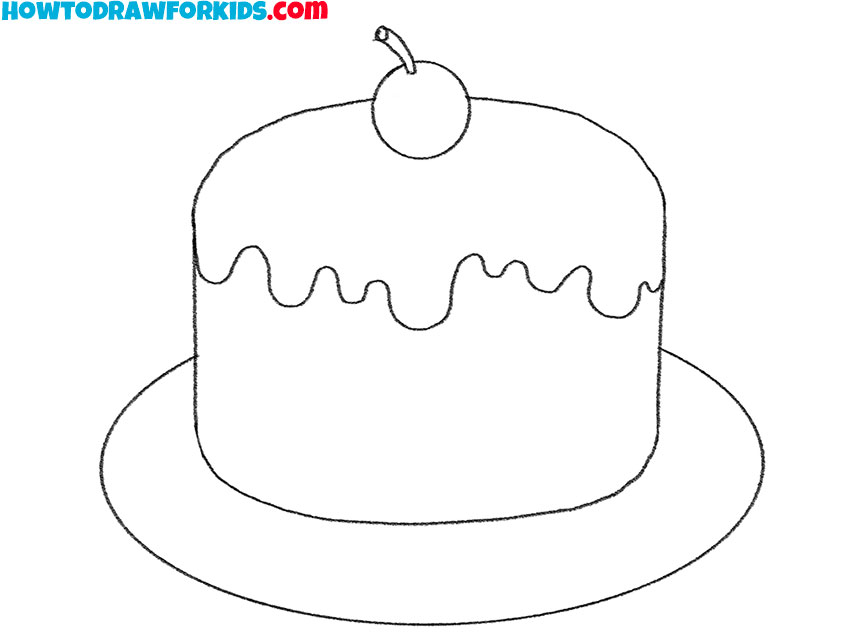
- Correct inaccuracies.
Look at the entire design of the cake as a whole. So, if you find no mistakes or inaccuracies, you can safely move on to coloring the cake.
- Color the cake.
Color the cake with a light shade for the cake base and a darker color for the icing. Add a red hue to the cherry and a shadow under the cake to suggest volume and roundness.
Additional Content
I know how much fun it is to draw and sometimes, you just want to keep going even after our lesson ends. That’s why I’ve put together a special PDF file for you. It’s got all the steps from today’s lesson, but you can use it anywhere, anytime – no internet required.
It’s perfect for those moments when you’re feeling creative on a rainy day or when you want to show your cousins how to draw a cake during a family get-together. So, make sure to download it and have it ready for your next drawing adventure!
Alternative Drawing Techniques
I didn’t stop at just one way to depict a cake; I’ve put together several alternative techniques for you to try out. These additional methods are like extra ingredients in your art toolkit, giving you the chance to practice more and refine your skills.
By experimenting with these different styles, you’ll not only improve your artistic ability but also develop a richer understanding of how to bring your creative visions to life.
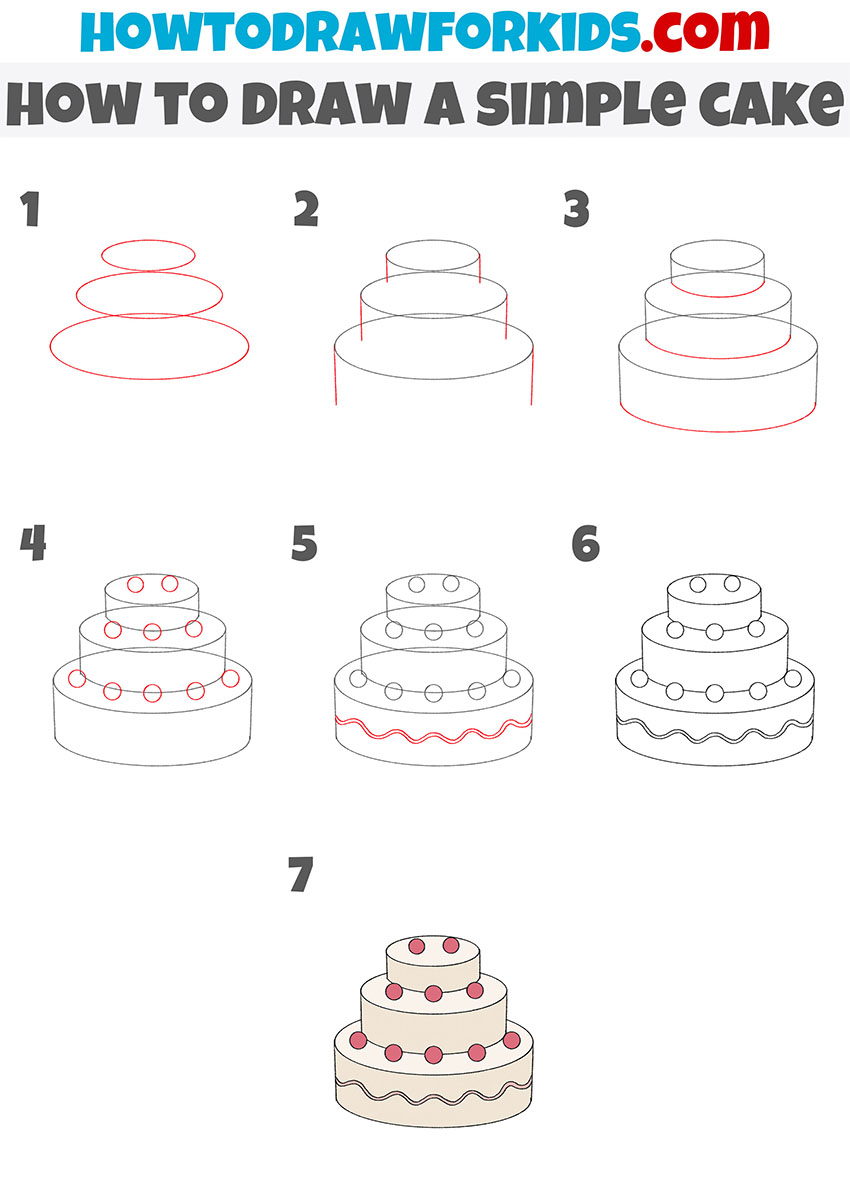
How to Draw a Three Tier Cake
Just like a skilled baker who starts with simple cakes and then takes on the challenge of making grand, multi-tiered creations, we as artists are leveling up our game too!
Now, we’re moving on from drawing simple cakes to mastering the art of a three-tier cake. Each layer we add is like a new achievement in our artistic journey, building up just like the layers of delicious cake. So grab your pencils, and let’s stack up our skills, one tier at a time, as we sketch this magnificent three-layered cake together!
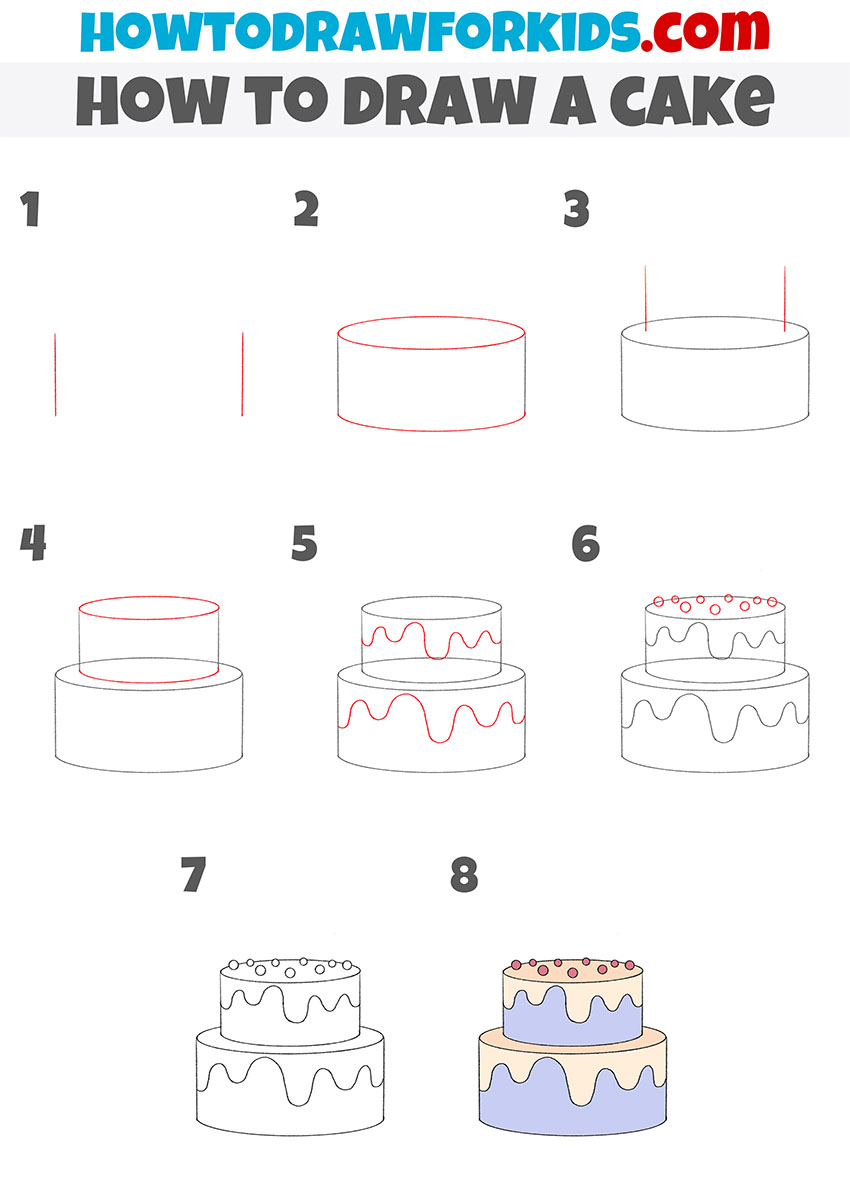
Drawing a Cake with Vanilla Frosting
Now that you’ve got the hang of baking—oops, I mean drawing—a three-tiered cake, let’s sweeten our skills by adding some vanilla icing! Just like in a real bakery, where the right glaze makes a cake even more enticing, we’re going to make our drawing more intricate and interesting with the addition of glaze.
Each new detail we add is a step toward perfecting our art, so let’s mix up our creativity and see how deliciously complex we can make our cake look. With every layer of glaze, we’re not just decorating a cake; we’re enhancing our drawing abilities too!
How to Draw a Cake with Chocolate Frosting
Just as everyone has their favorite cake flavors, I thought it’s time we add a little variety to our drawing menu too. So now, I’ve cooked up a new lesson for drawing a cake with rich, chocolate glaze – because who doesn’t love chocolate?
This method is just as fun and easy, and it’s here to make sure there’s a little something for everyone’s taste. Let’s grab our art tools and spread that chocolate glaze on our cake drawings, making them as delightful to look at as they are delicious to imagine!
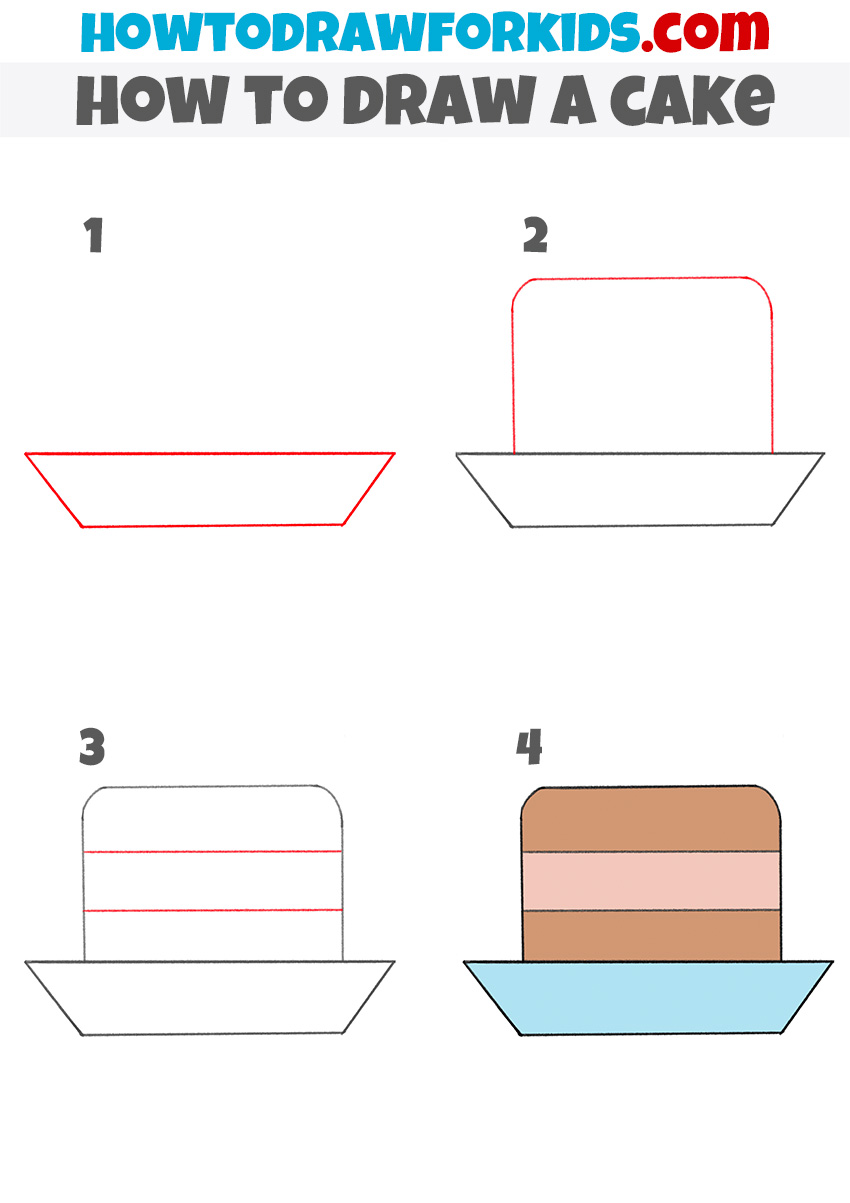
Cake Drawing For Kindergarten
For our littlest artists in kindergarten, I’ve whipped up a super fun and easy way to sketch a cake. With just four steps, you’ll have a beautiful cake that looks ready for a party!
We’ll begin by drawing the base that holds our cake, then we’ll sketch the outline that looks a lot like your favorite pillow, and add some details to show the yummy layers inside. To top it all off, we’ll add some color to make it look as sweet as can be. It’s a great way to bring your imagination into the kitchen, without any mess!
Conclusion
Ta-da! Look at those cakes, they’re absolutely stunning! If you’re ready for more art adventures, my website is full of them. How about drawing a zany cartoon character or a sporty cap? There’s always something new to learn.
Make sure to keep up with all the artistic excitement by following me on social media – this way, you won’t miss out on any new and exciting drawing challenges that are coming up!