How to Draw a Smile
In this drawing lesson, I will show you how to draw a smile step by step. This simple lesson consists of seven steps.
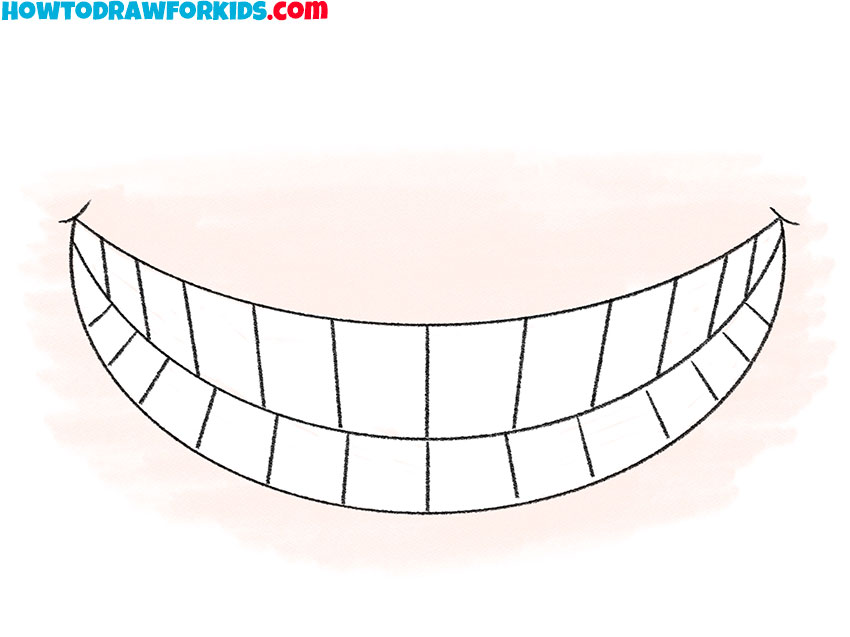
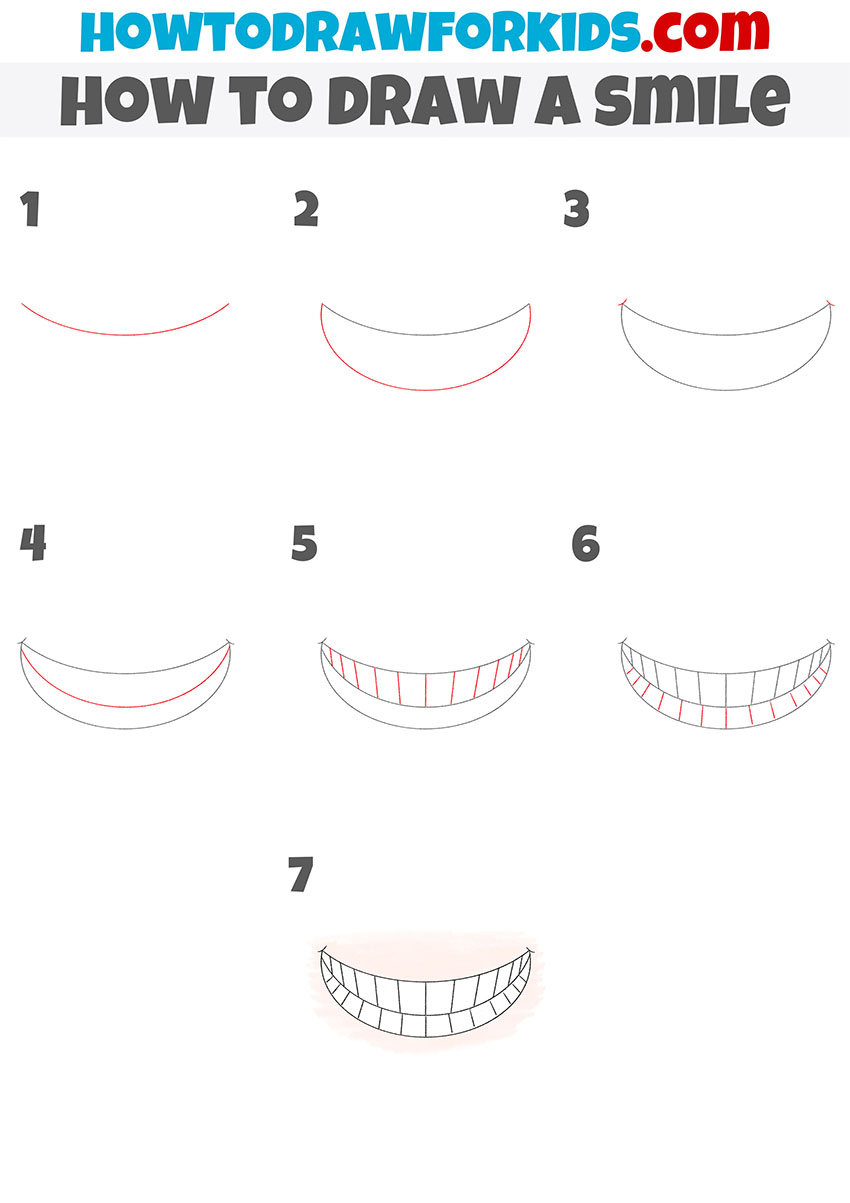
If you want to improve your artist skills with the help of our drawing lessons, then I suggest you follow this lesson in which you will learn how to draw a smile step by step.
This lesson is designed specifically for beginner artists and children, so you definitely will not have any difficulties in completing it.
You will be able to use the skills learned in this lesson to paint your own paintings in the future. For example, you can depict a person or character by adding a smile to your image, as shown in this instruction.
Usually, the presence of a smile in a person means for us that he is experiencing some kind of positive emotion. A smile is a certain position of facial expressions and certain movements of the muscles of the face. In this lesson, you will draw a wide smile, which will show the teeth.
Materials
- Pencil
- Paper
- Eraser
- Coloring supplies
Time needed: 30 minutes
How to Draw a Smile
- Draw the top of the mouth.
To complete this step, you need to draw one arc.

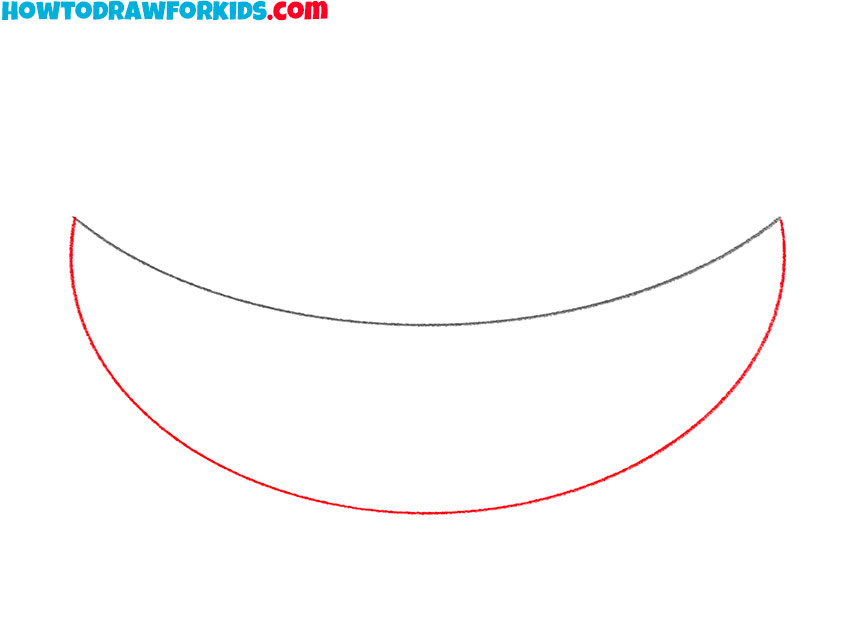
- Add the bottom of the mouth.
Draw another arc, connecting with it the two ends of the previously drawn arc.
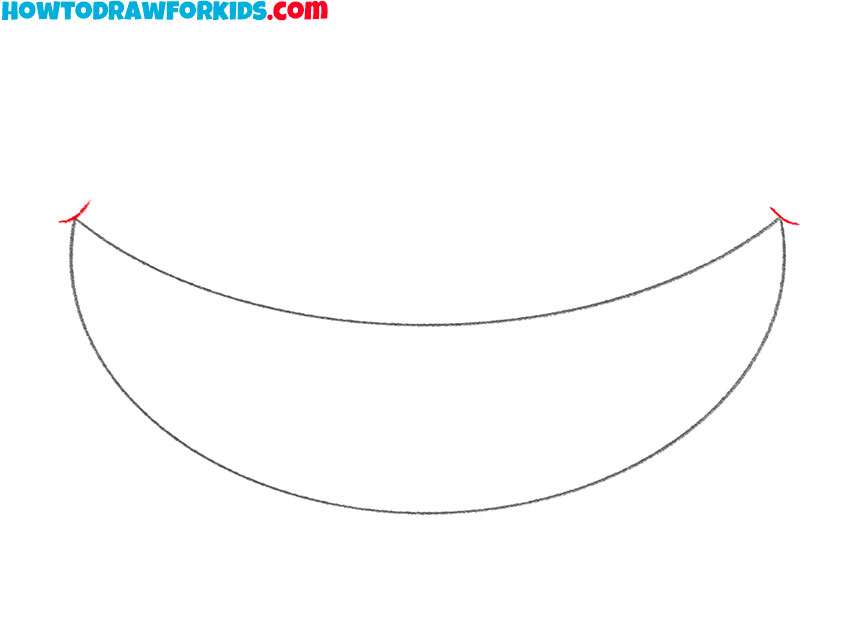
- Depict the corners of the mouth.
On the sides of the mouth, add two identical small arcs.
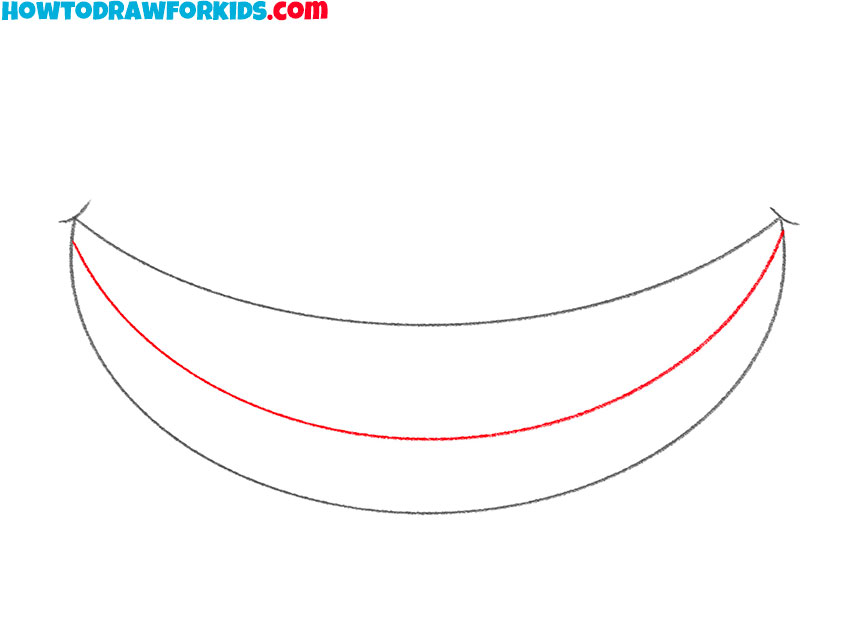
- Draw a line between the rows of teeth.
Using an arc, connect the corners of the mouth as shown in the figure.
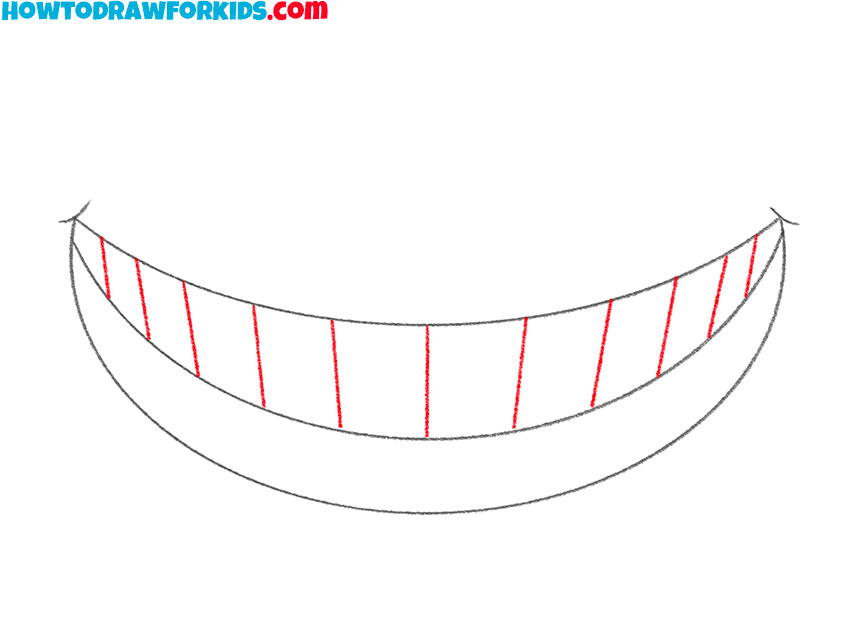
- Add the top row of teeth.
Above the previously drawn arc, add many straight lines.
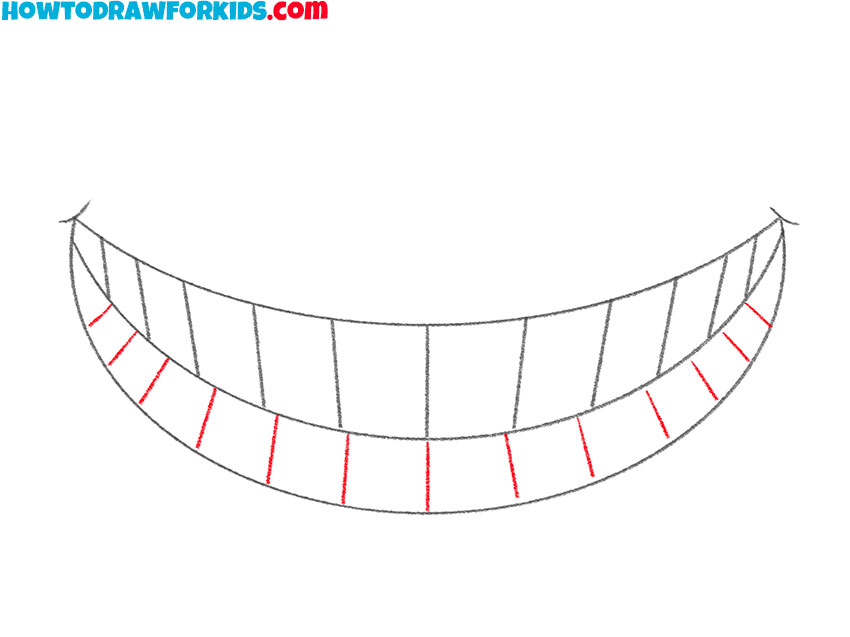
- Sketch out the bottom row of teeth.
Now add many straight lines of different sizes at the bottom of the mouth.
- Color the drawing.
Choose any color for skin color.

Don’t forget to download the free PDF I’ve prepared especially for your convenience, so you can come back to this tutorial whenever you want to draw again.

