How to Draw Whitty
In this drawing lesson, you will learn how to draw Whitty step-by-step. This tutorial is great for beginners or kids.

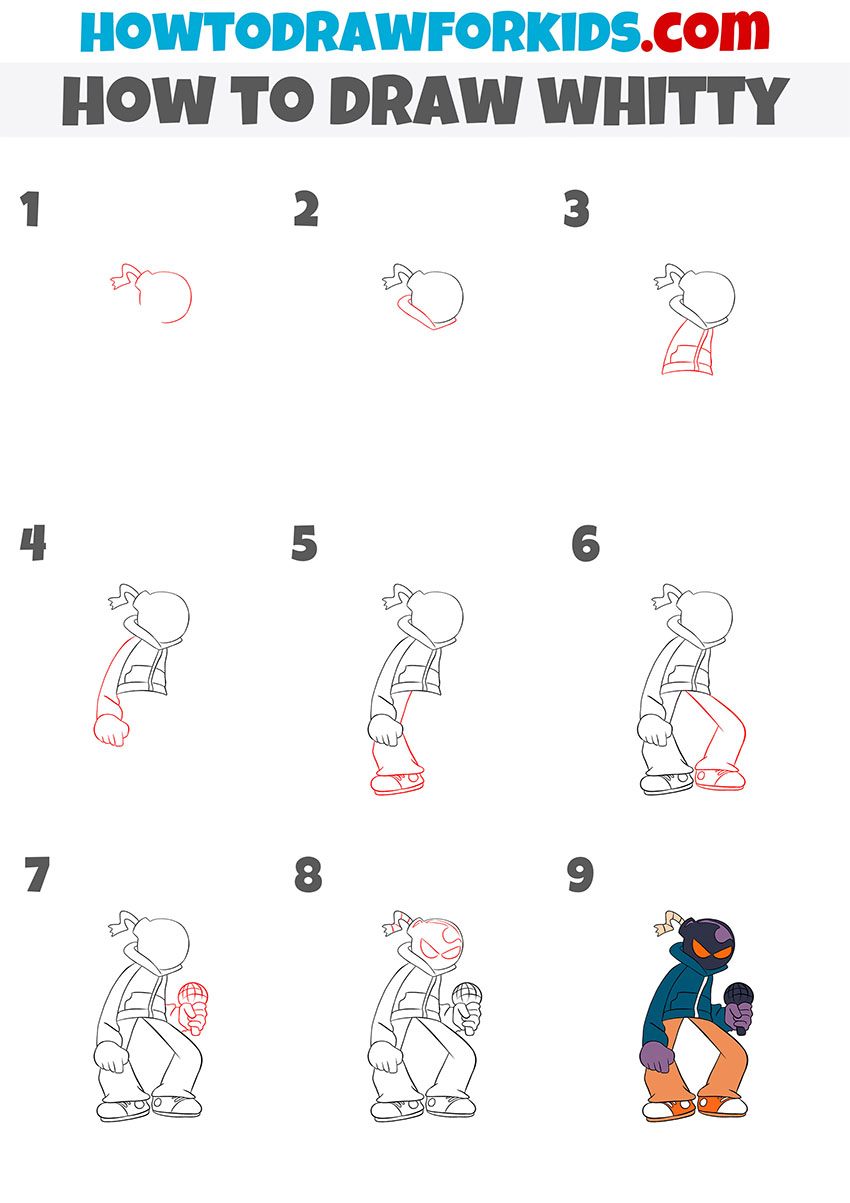
I suggest you complete this wonderful drawing lesson, in which you will learn how to draw Whitty step by step. This lesson is designed specifically for novice artists, so it does not contain too many elements that are difficult to complete.
Whitty is an original character in the Friday Night Funkin universe. He is a bomb-headed and short-tempered retired rock musician. At its core, Whitty is a robot with a head design in the form of a rounded gunpowder bomb with a rope wick frayed at the tip of the wick itself.
Whitty looks like a character with bright yellow eyes, and the bomb is colored black for a head. He wears a navy blue hoodie, brown pants, and orange sneakers.
In this drawing lesson, you will first draw the outline of the head and torso of the character, then add his limbs and color the drawing.
Whitty Drawing Tutorial
Materials
- Pencil
- Paper
- Eraser
- Coloring supplies
Time needed: 30 minutes
How to Draw Whitty
- Draw the outline of the character’s head.
The head is depict as a bomb, so you need to draw it using rounded lines.

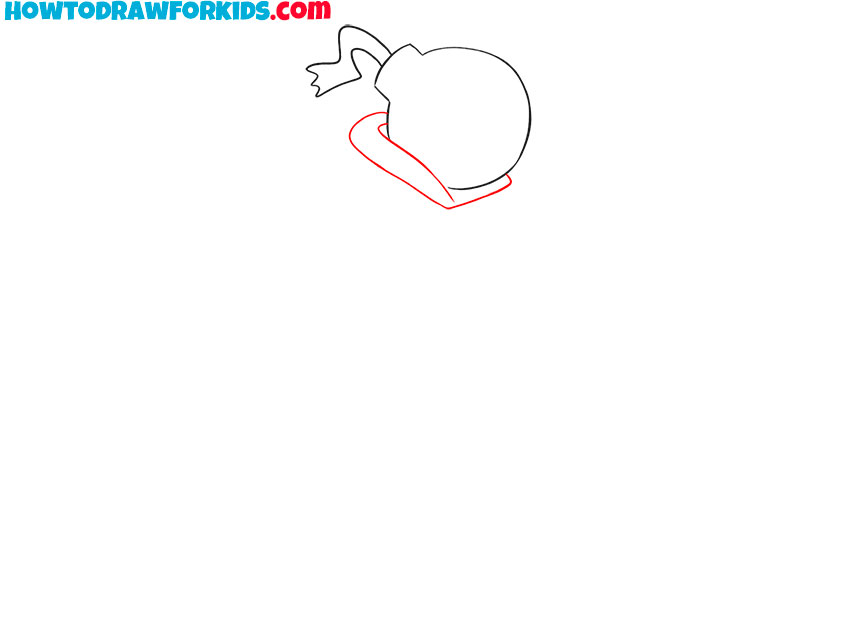
- Sketch out the hood.
Below the outline of the head, add some curved lines as shown.
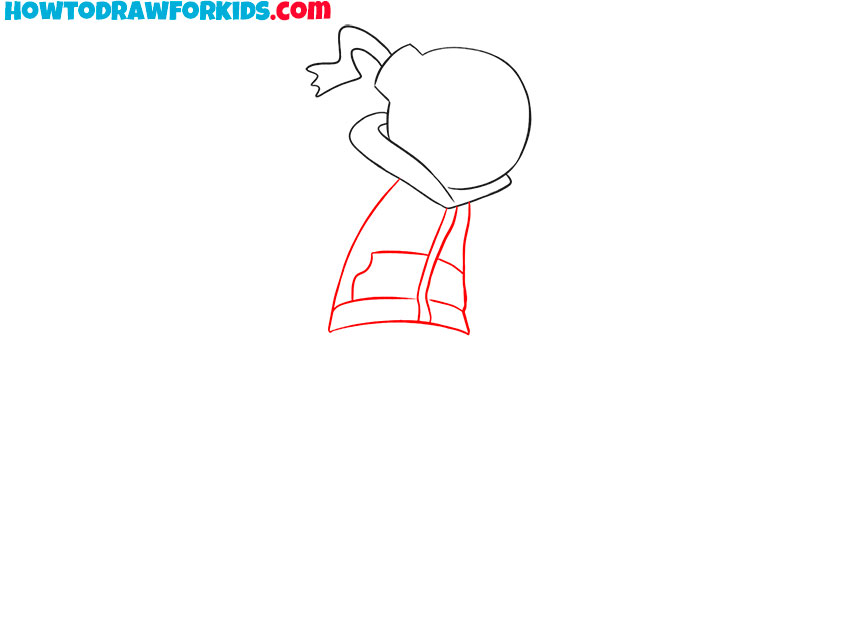
- Depict the outline of the character’s torso.
Below the drawn hood, continue drawing the sweatshirt using curved lines.
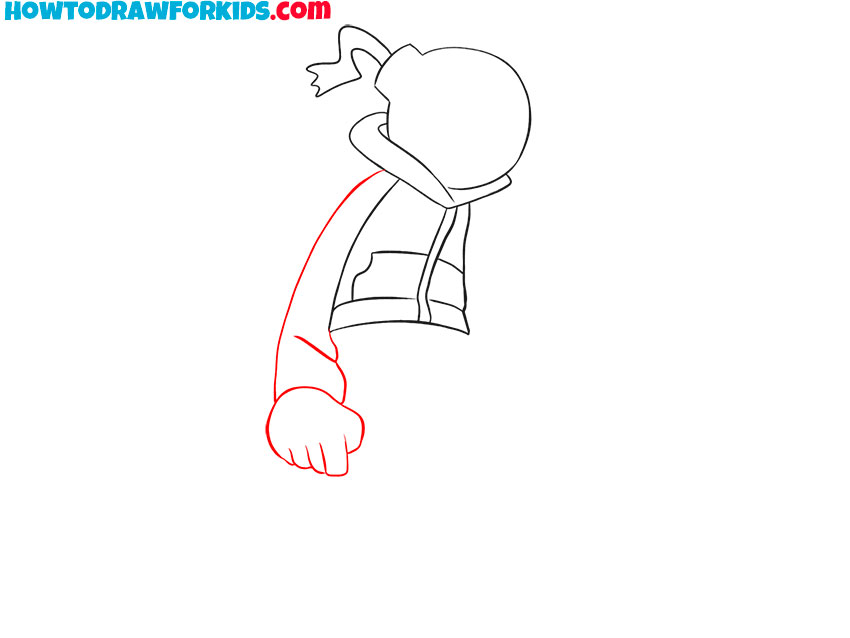
- Add Whitty’s arm.
On the left side of the torso, depict the arm using rounded and curved lines.
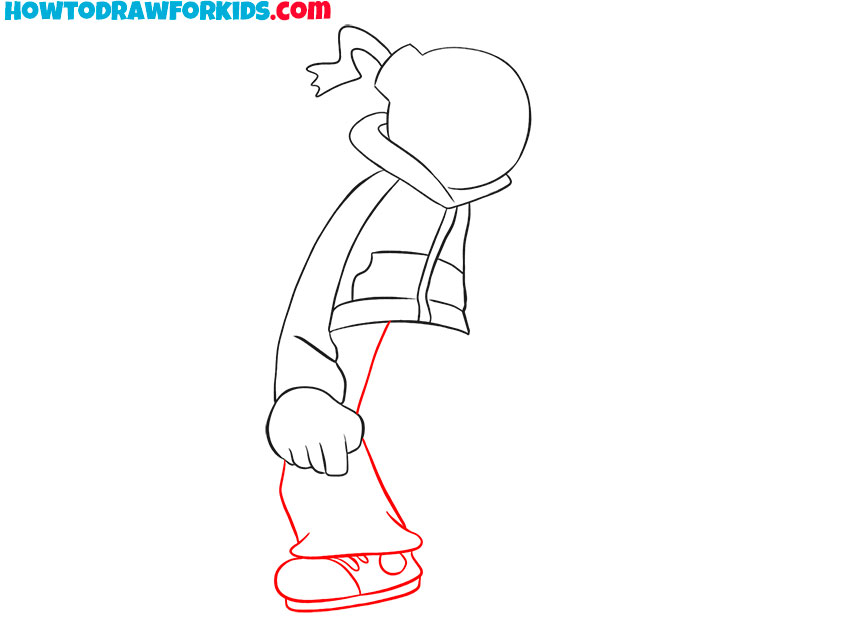
- Draw one leg.
Next to the drawn character’s arm, add one leg, as shown in the figure.
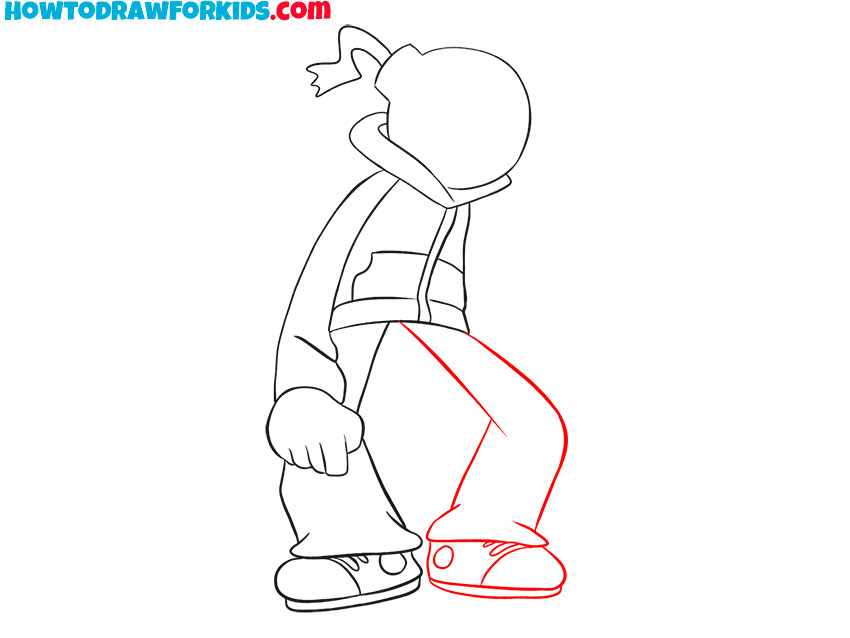
- Depict another leg.
Now draw the character’s leg on the right side, symmetrical to the one drawn earlier.
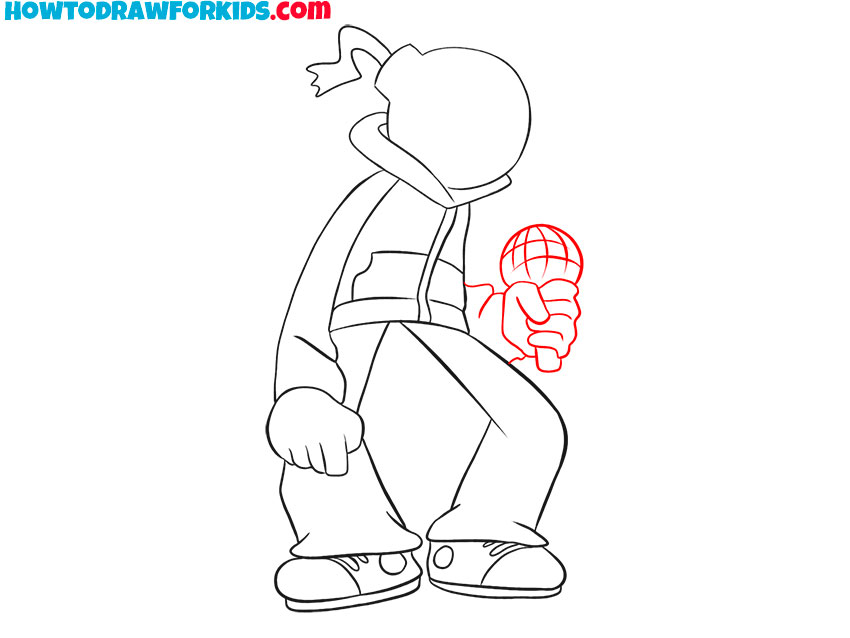
- Sketch out another hand.
On the right side of the torso draw the hand holding the microphone.
- Add the character’s facial features.
Inside the previously drawn outline of the head, add the eyes and some curved lines.

- Color the drawing.
To color the character, use shades of purple, shades of orange, beige, and blue.
Don’t forget to download the PDF file, which contains a short version of this lesson, as well as additional practice materials to help you complete it.