How to Draw a Vine
In this lesson, you will learn how to draw a vine. This guide will be simple, so it is suitable for any novice artists.
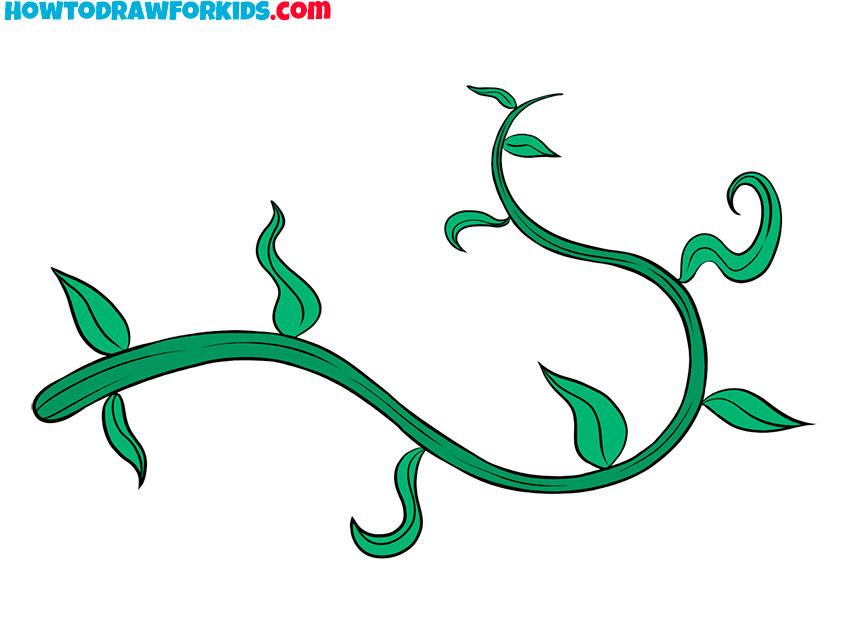
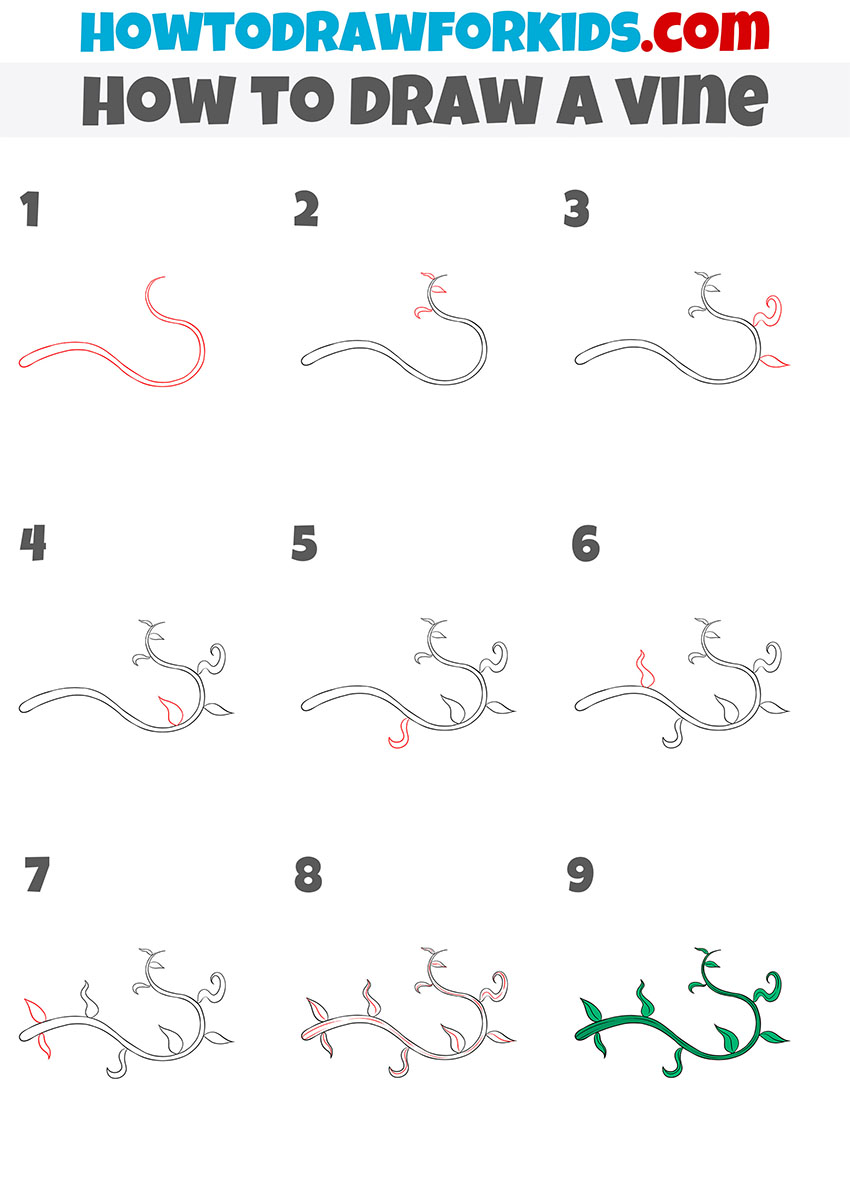
So, I am glad to offer you this drawing lesson in which you can learn how to draw a vine step by step. To complete this drawing lesson well, you need to be able to depict curved lines. This is another fascinating lesson dedicated to drawing plants.
Vine is the name of a thin and long variety of stem, most characteristic of grapes, as well as some other plants. The vine looks very beautiful and is often used as an element of decorating the outer walls of houses, fences, poles, which is why it is often called a hedge.
In the future, you will be able to use the skills you have learned in this lesson if you wish to represent the vine in your other various paintings. For example, you can depict a vine when depicting a natural landscape, a house, a garden, or other drawings.
Vine Drawing Tutorial
Materials
- Pencil
- Paper
- Eraser
- Coloring supplies
Time needed: 30 minutes
How to Draw a Vine
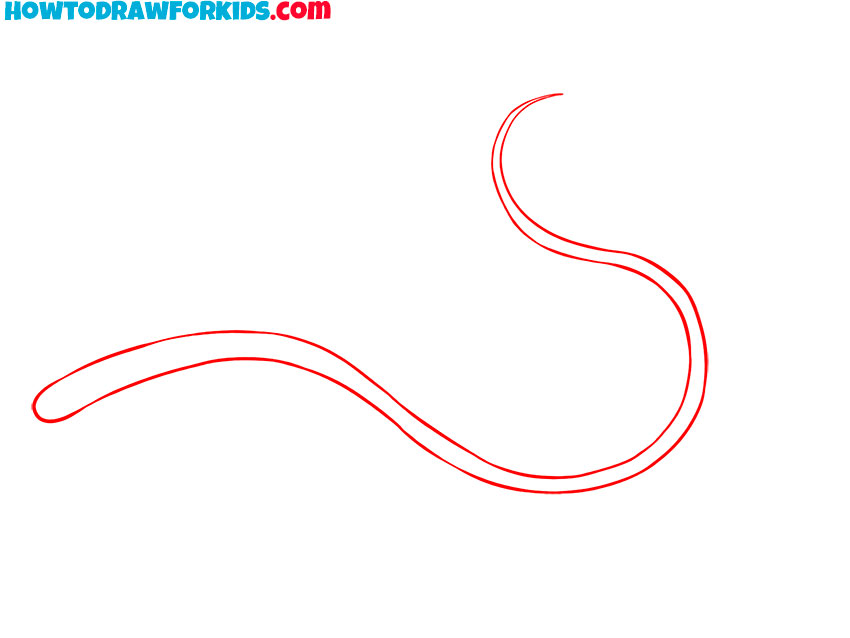
- Draw the main part of the branch.
To complete this step, draw a long, curved line as shown.
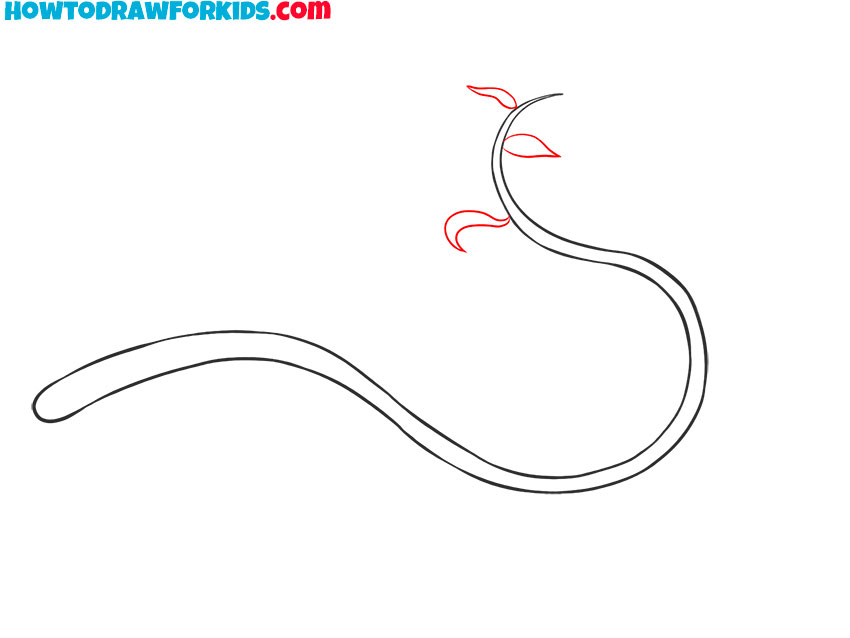
- Start drawing the leaves.
At the top of the previously drawn vine branch, draw three small leaves.
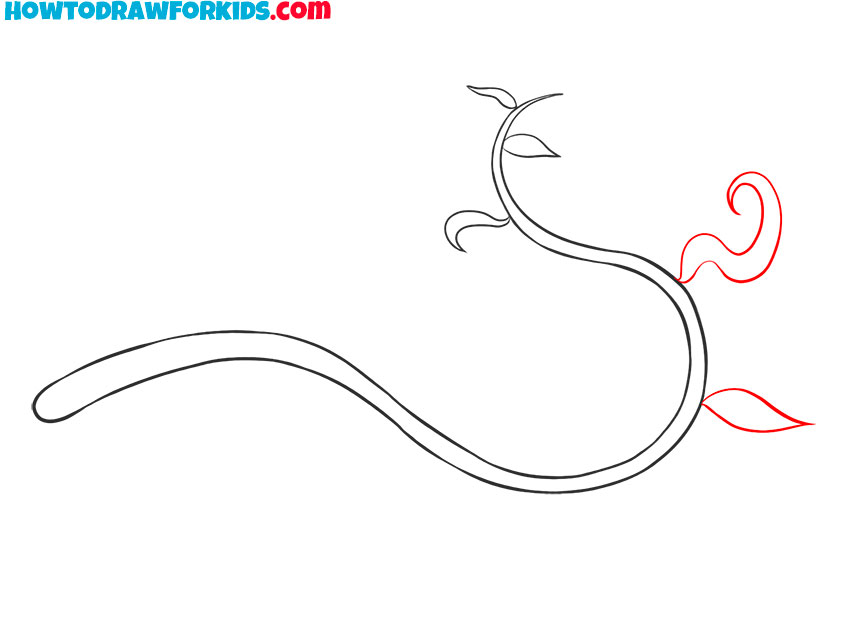
- Depict two more vase leaves.
Below the previously drawn leaves, depict two more leaves on the vine using curved lines.
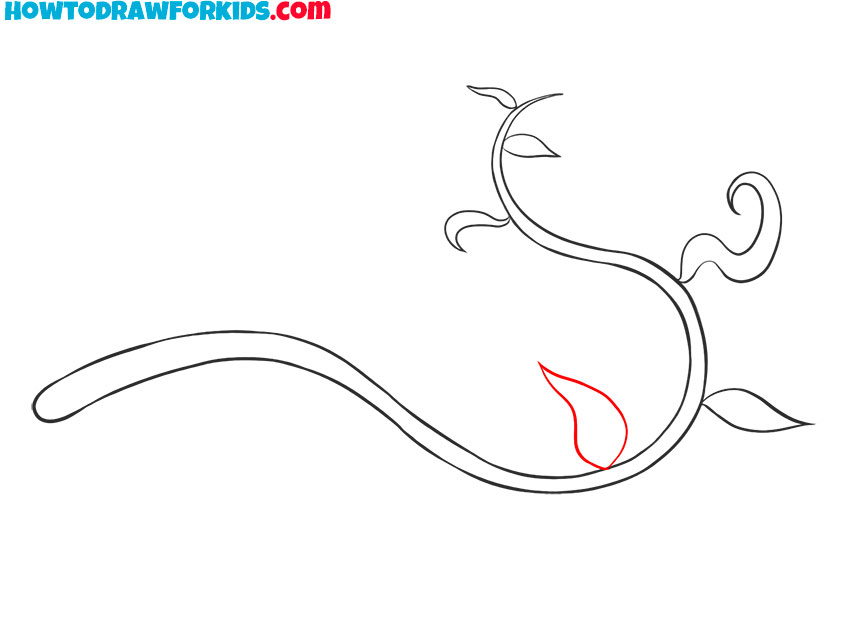
- Sketch out another leaf.
Next to the previously drawn vine leaves, draw another leaf using curved lines.
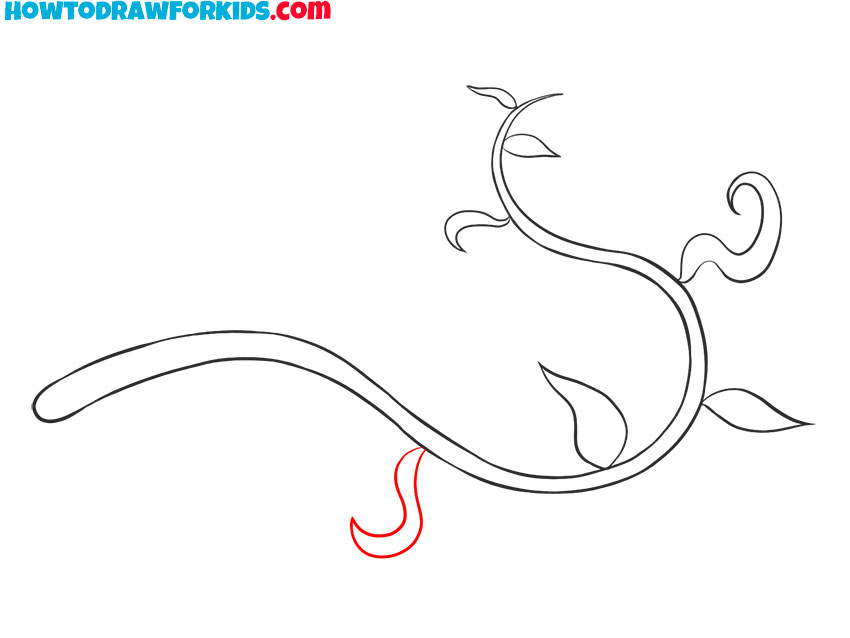
- Draw another vine leaf.
At the bottom of the vine stem, draw curved leaves using rounded lines.
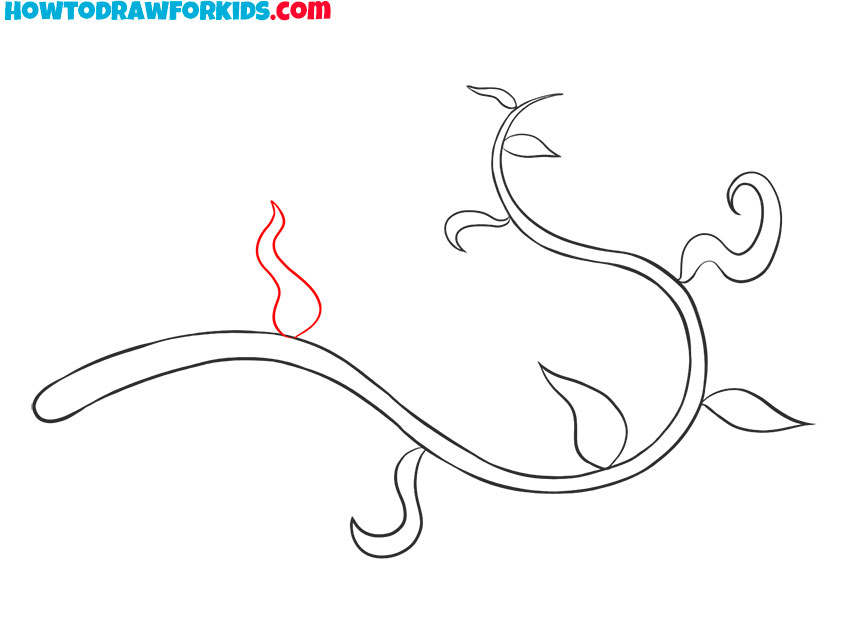
- Add the vine leaf on top of the stem.
Use two wavy lines of different sizes to draw another vine leaf.
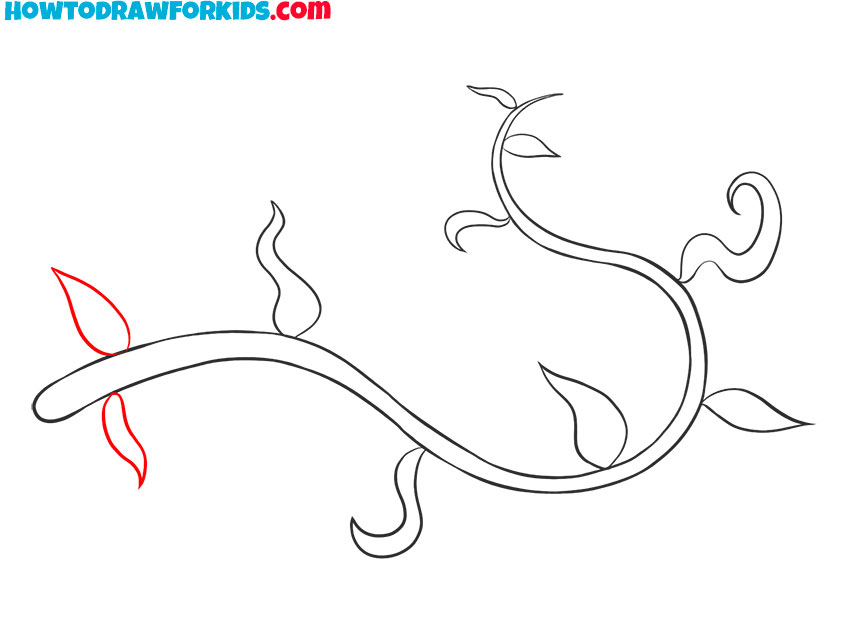
- Depict the last two leaves of the vine.
On the two sides of the vine branch, draw two leaves of different sizes, as shown in the picture.
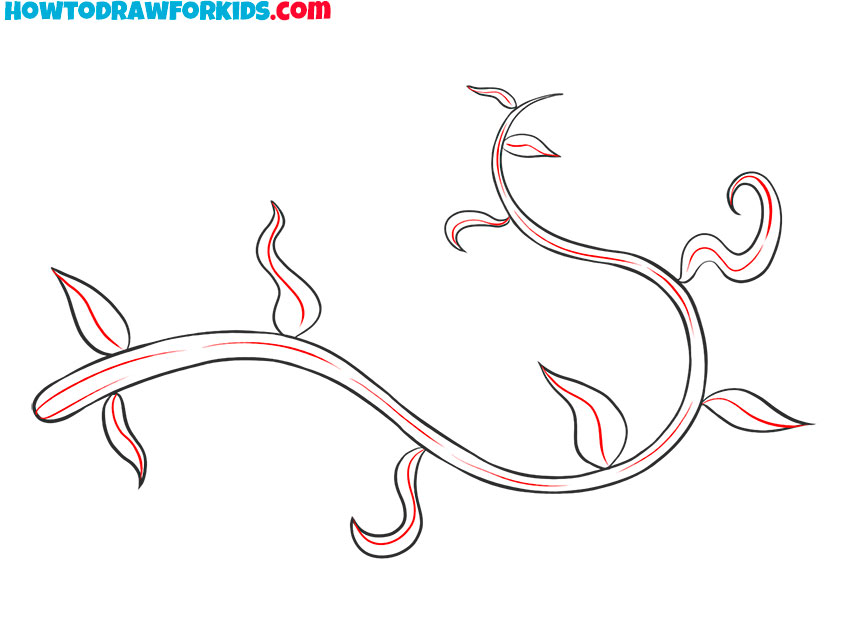
- Add details.
To make the drawing look voluminous and realistic, add thin veins on the leaves and stem.
- Color the drawing.
To color the vine, you should use green.
Traditionally, for your convenience, I have prepared a PDF file that contains a short version of this lesson, as well as training materials that will help you complete this lesson. Download this file right now so as not to lose this lesson and return to it at any time convenient for you, even if you are not connected to the Internet.