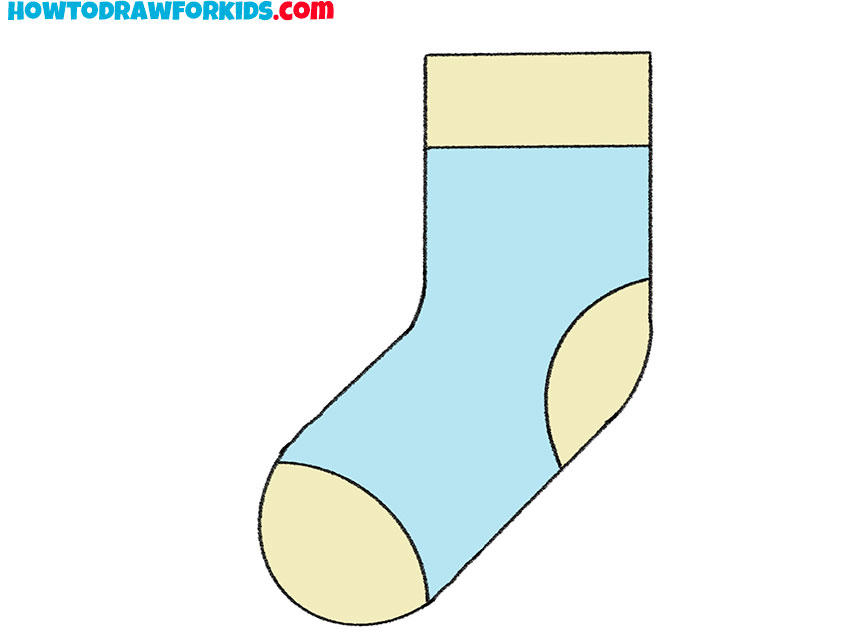
How to Draw a Sock
Settle in as I unveil a heartwarming guide on how to draw a sock, transforming an everyday object into a subject of artistic exploration. My method breaks down the drawing into simple, approachable stages, inviting artists of all ages to discover the joy of creating something familiar, yet often overlooked.

How to Draw a Sock: Basic Information
Let’s cozy up with our pencils and paper, as I walk you through an endearing lesson on how to draw a sock. This tutorial is crafted with the gentle charm of the everyday, bringing the comfort of familiar objects to the forefront of art. My simple steps aim to unravel the artistry in the everyday, revealing the humble sock’s snug silhouette.
As we sketch, each stroke captures the snug embrace of a sock’s elastic band and the soft contour of its fabric. This process is a testament to the power of observation – recognizing the intricate details and translating them onto paper. It’s designed to be straightforward, allowing even those new to art to create something both recognizable and lovely.
In the conclusion of this lesson, you’ll not only know how to draw a sock; you’ll have a new perspective on the overlooked items that fill our lives. This exercise in drawing is more than instructional – it’s a nudge to observe the world more closely, finding the extraordinary in the ordinary, and the comfort in the lines we create.
Sock Drawing Tutorial
Materials
- Pencil
- Paper
- Eraser
- Coloring supplies
Time needed: 20 minutes
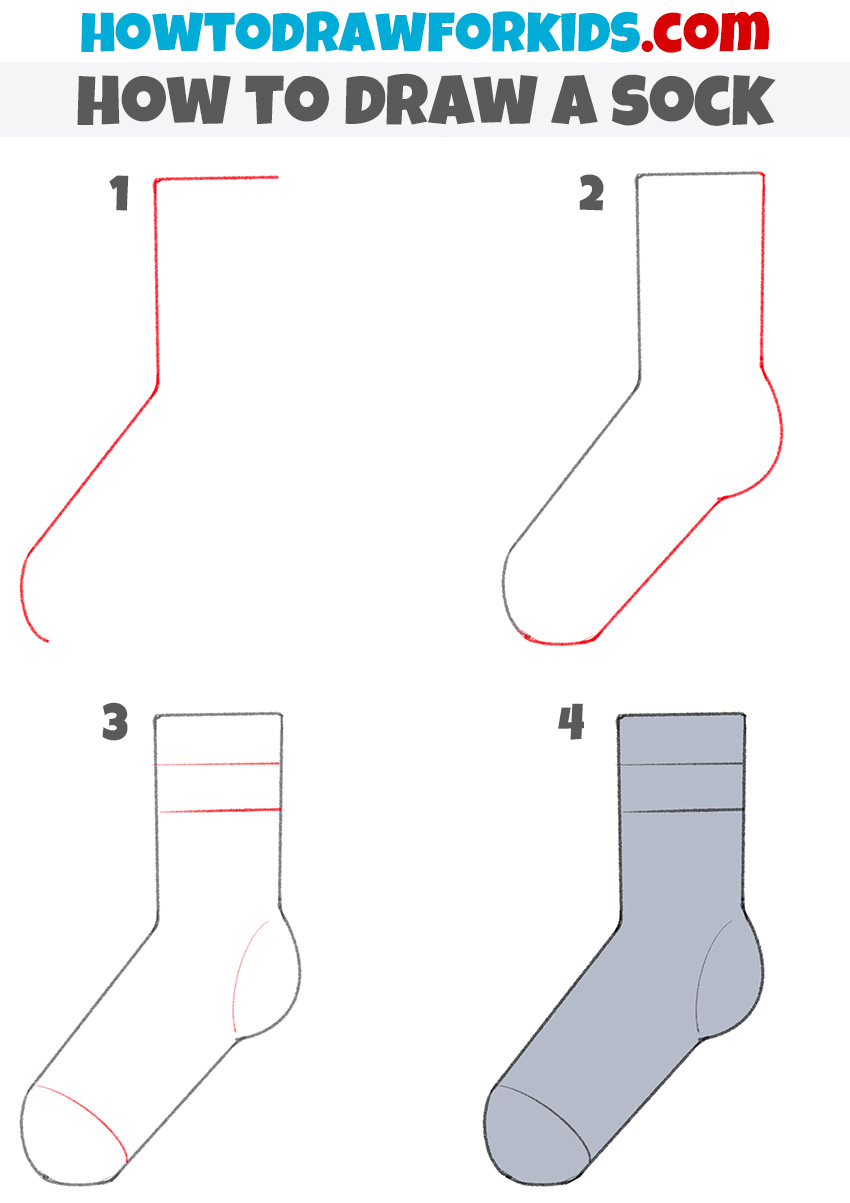
How to Draw a Sock
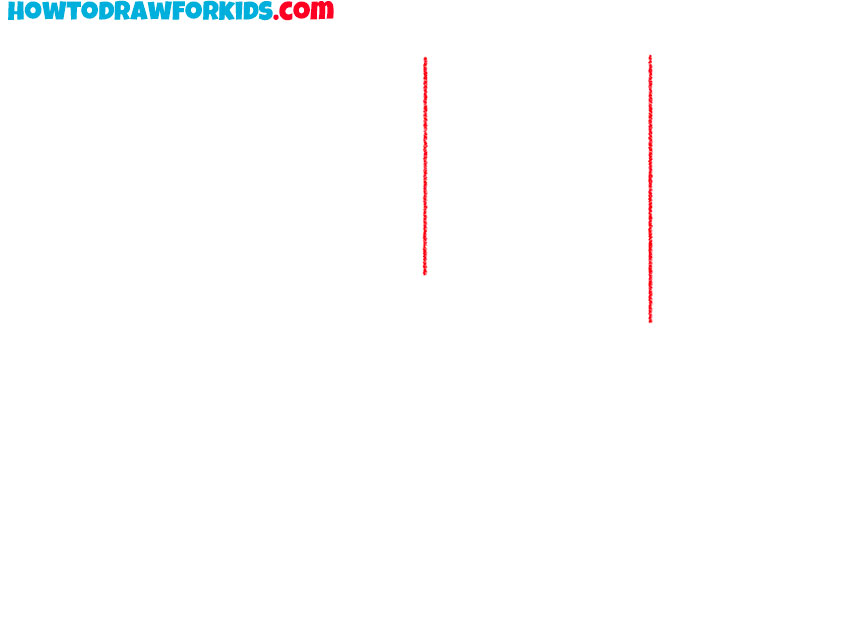
- Draw the top of the sock.
Depict two straight vertical lines of different lengths.
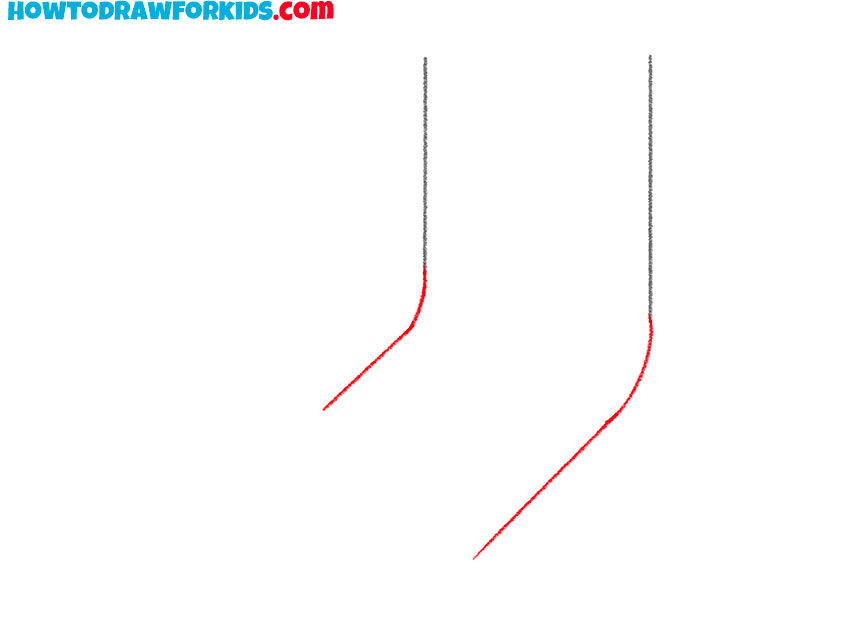
- Add the middle part of the sock.
Continue the lines and depict the curve of the sock.
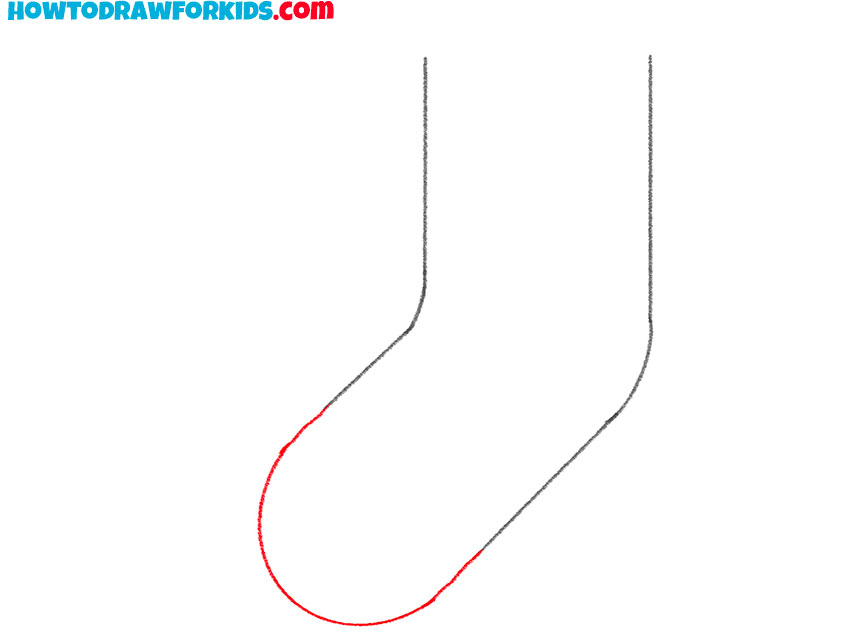
- Depict the end of the sock.
Sketch out a smooth rounded line.
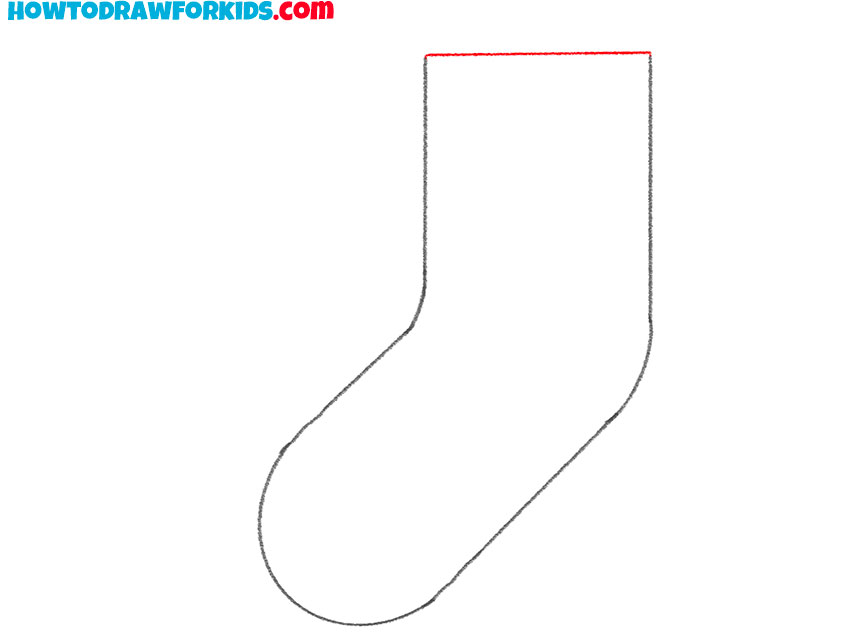
- Draw the top of the sock.
Depict a straight line at the top to make the closed contour.
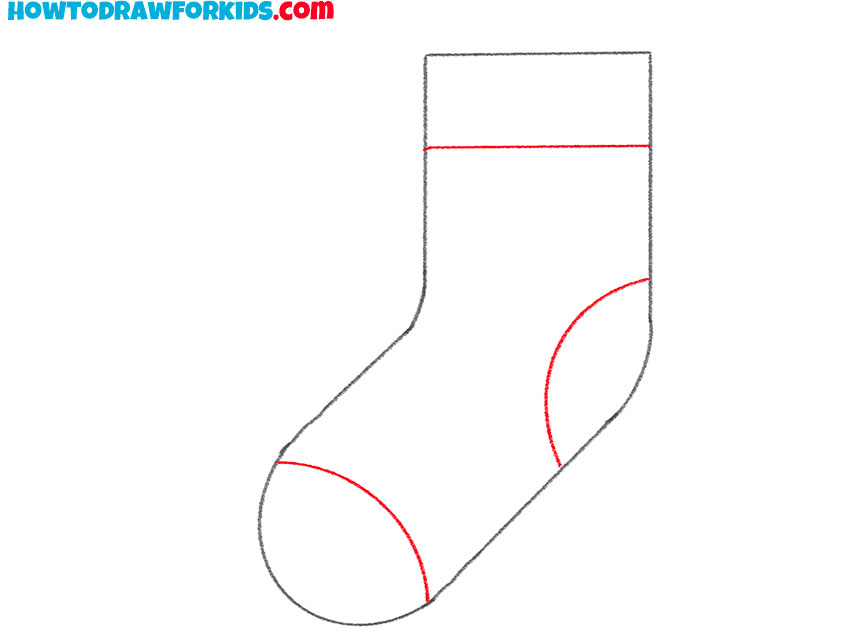
- Add the rest of the elements.
Draw the elastic at the top, the heel, and the front of the sock.
- Color the sock.
You will need light blue and beige or any other colors of your choice.
Additional Content
To complement our drawing session, I’ve put together a succinct PDF file as a supplement to the sock drawing tutorial. It’s readily available for download, ensuring you can continue to refine your skills even when you’re offline. This tool is designed to be a quiet companion for those moments of dedicated practice.
Within this PDF, you’ll find no step-by-step instructions or guiding tips, just pure, undiluted drawing practice. It’s filled with additional exercises aimed at strengthening the skills you’ve started to develop during our lesson. Think of it as the sketching equivalent of muscle memory training.
This downloadable content is your ticket to advancing in drawing. After you’ve navigated the initial stages of learning how to sketch a sock, this PDF will be there to lead you further down the path of artistic growth. Let it be your silent mentor, challenging you to draw, redraw, and perfect each curve and line at your own pace.
Alternative Drawing Technique
In pursuit of artistic mastery, I’ve designed an even more streamlined method to draw a sock, perfect for those who relish simplicity. This new technique is distilled to the essence of sketching, enabling you to practice and refine your drawing skills with clear, uncomplicated steps.
Recognizing that the key to improvement is consistent practice, this alternative method encourages you to sketch more freely and frequently. By focusing on fewer details, the process becomes less about the sock itself and more about the act of drawing. This simplicity is the heart of skill-building, allowing you to focus on the fundamental strokes that form the foundation of all great artwork.
As you engage with this simplified technique, you’ll find that your confidence as an artist grows. The minimalistic approach removes any potential overwhelm, inviting you to lose yourself in the joy of creation. Each line you draw, each sock you sketch, brings you one step closer to the artistry you aspire to achieve.
How to Draw a Sock for Kindergarten
Here’s a cozy drawing exercise, created especially for our kindergarten friends, to sketch a sock in just four simple steps. First, we draw a tall, straight line that curves at the bottom – like a slide in the playground. This line is the starting edge of our sock and the beginning of our drawing adventure.
Next, we add the outline of the sock, curving around to form the toe and back up to close the top. It’s like drawing a half-heart, connecting the ends to the top of our slide. This shape starts to look like something familiar – a sock just waiting to warm a tiny foot.
Then, we sketch two straight lines across the top for the cuff, adding a little detail to show where the sock ends and begins. It’s like adding the horizon to a landscape. Lastly, we color it in, bringing warmth and life to the sock. With these four steps, our young artists have not only drawn a sock but also practiced making lines, shapes, and adding color- all fundamental art skills.
Steps to Refine Your Sock Drawings
As we wrap up our snug sock sketching session, let’s step into some practices that can enhance the comfort and craft of your drawings. Like a sock hugs a foot, these tips will embrace your growing art skills, offering support and stretch where needed.
- Refine the Cuff: Add ribbed lines to the cuff for a more realistic texture, practicing even spacing to create the knit effect.
- Shape the Heel: Pay extra attention to the curve of the heel, smoothing out the line to make it more distinct and true to form.
- Accentuate the Toe: Give the toe area a little more roundness, mimicking the way socks accommodate our own toes.
- Explore Patterns: Experiment with adding patterns or designs to the body of the sock, which can help with understanding symmetry and repetition in art.
- Shadow and Highlight: Introduce basic shading under the cuff and around the heel to bring depth to the sock, while highlighting the top for a three-dimensional effect.
These steps are your path to drawing better and better each day. With every sock you sketch, consider it an opportunity to try something new or improve something familiar. Art, much like life, is about the small details, and every line you draw weaves together to create the big picture.
Sock Drawing Questions Clarified
In the warm afterglow of our drawing session, it’s natural for questions to nestle in the corners of our minds. Let’s unravel some of the frequently asked questions that may have tiptoed through your thoughts during our time sketching socks.
- What if my sock doesn’t look realistic? Remember, each drawing is a step in learning. Focus on the shape and the feel of the sock, and with practice, realism will follow.
- How do I make my sock look three-dimensional? Give special attention to the heel and toe by adding shading. Lightly sketching shadows can make these parts pop.
- My proportions look off. How can I fix them? Use reference points. Imagine the sock is divided into thirds to balance the heel, toe, and cuff sections.
- Can I add patterns to my sock? Absolutely! Start with simple stripes or polka dots to practice symmetry and spacing.
- What’s the best way to practice shading? Use a light source for guidance. Imagine where the light falls and shade the opposite side to create depth.
These questions are stepping stones to your success in drawing. Each inquiry you make and each answer you seek polishes your skills a little more. Keep questioning, keep learning, and let your curiosity lead you to become the artist you wish to see.
Conclusion
Our sketch of the humble sock has reached its cozy conclusion, but this is merely the beginning of your artistic path. I encourage you to visit my website, where a treasure trove of tutorials awaits – whether it’s the metallic sheen of a pipe or the delicate wings of a beetle, each lesson is designed to stretch your skills.
And for those who crave the latest in artistic endeavors, be sure to follow me on social media. Here, you’ll be the first to know about new tutorials that can transform the blank page before you into a world of wonder. Your suggestions and comments fuel our next creative quest, so please, share your thoughts beneath this lesson.