How to Draw a Stone
Today, in this lesson, I show you how to draw a stone step by step. I promise that the lesson will be simple.
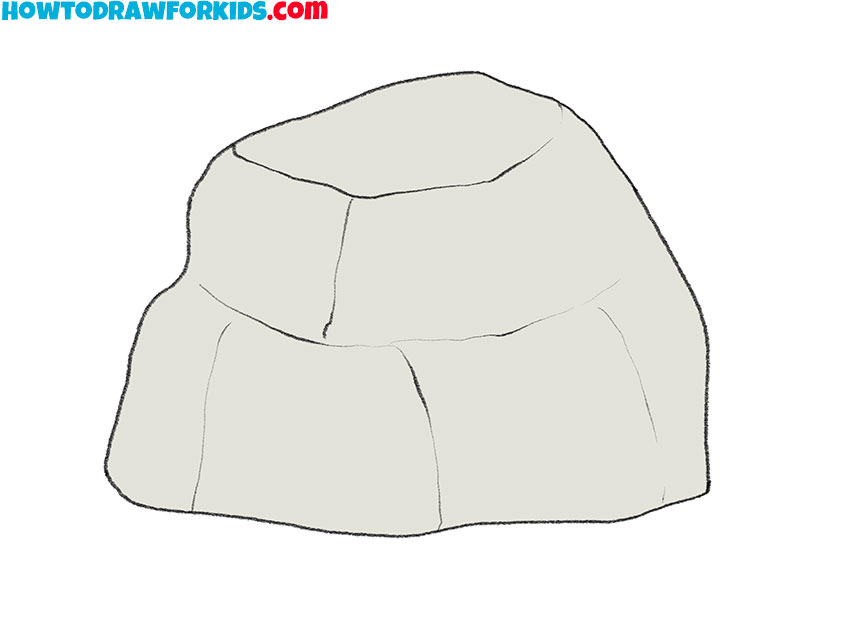
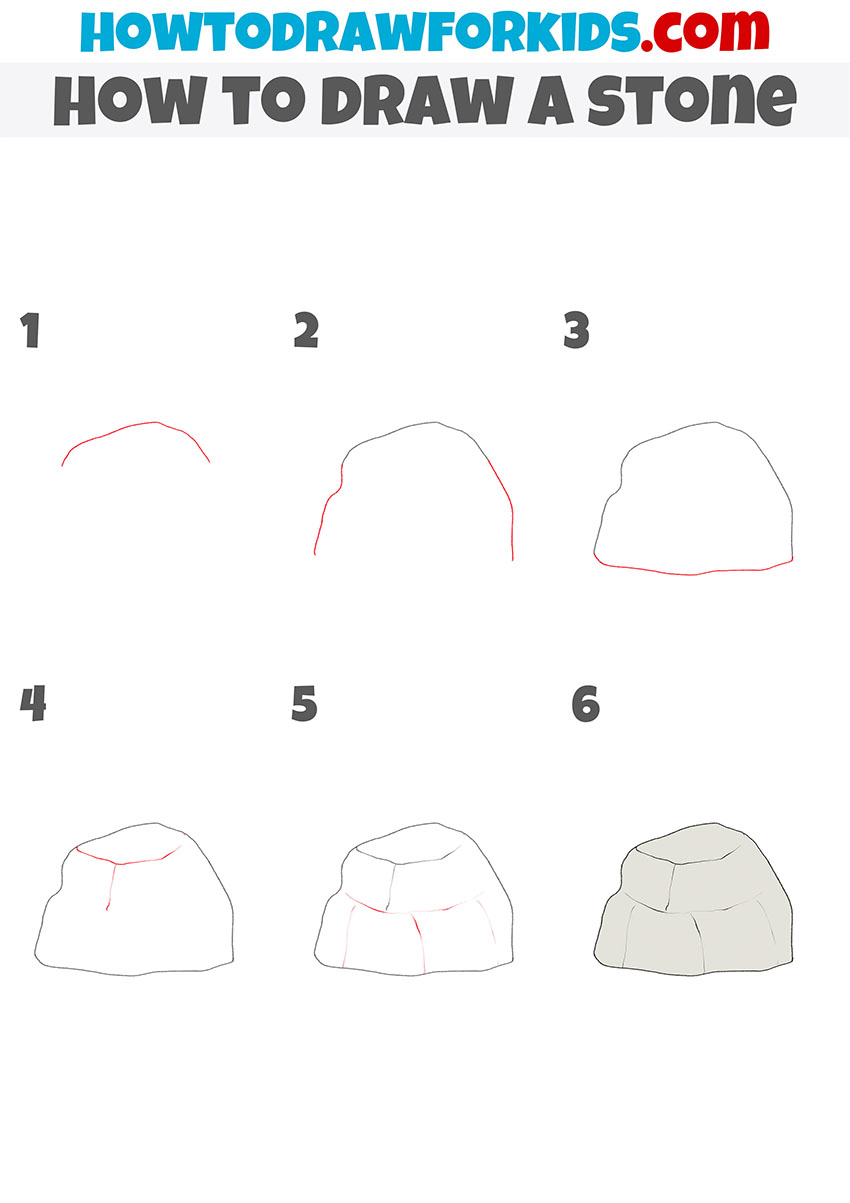
Now I will show you how to draw a stone step by step. The guide includes just six easy steps, so you’ll get the job done quickly. This lesson will be useful for you, as well as other lessons presented on this site. You can use the acquired skills in the future when you want to draw any landscape, for example, a mountainous area.
The figure shows how to draw a natural stone. It is a solid rock or a piece of it. The stone can be of any shape and size. I am sure that you can easily draw a natural stone, even if you are a beginner at drawing, because the simplest elements that you can easily repeat will be used here.
As you work, you can use arbitrary lines, and in the end your drawing may be slightly different from my example. You must first draw the outer contour and then draw the relief. It’s very easy to do, and you’ll see for yourself soon.
Materials
- Pencil
- Paper
- Eraser
- Coloring supplies
Time needed: 25 minutes
How to Draw a Stone
- Draw the top outline.
Sketch out a curved, jagged line.

- Add the sides.
Continue the lines and add the sides of the stone using the same jagged lines.

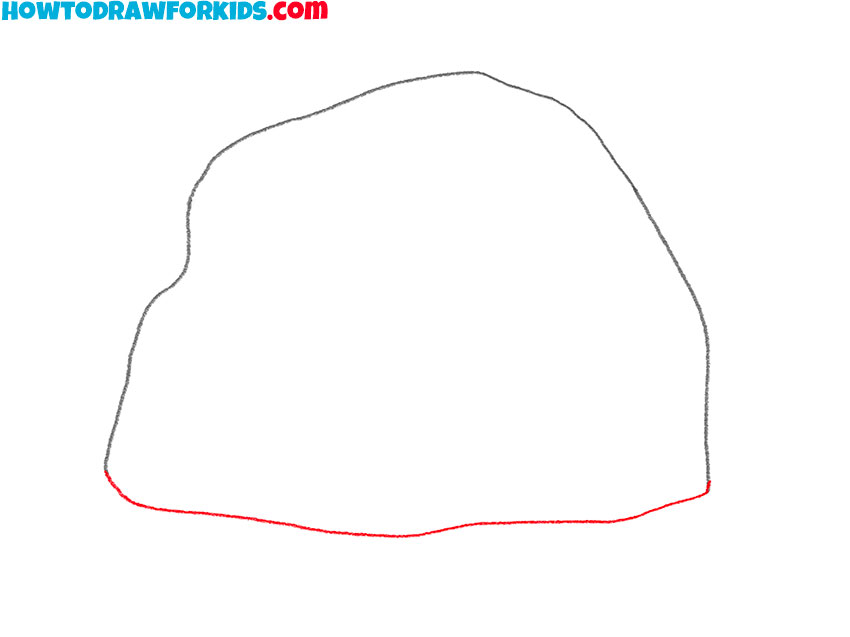
- Depict the bottom of the stone.
Sketch out an uneven connecting line at the bottom.
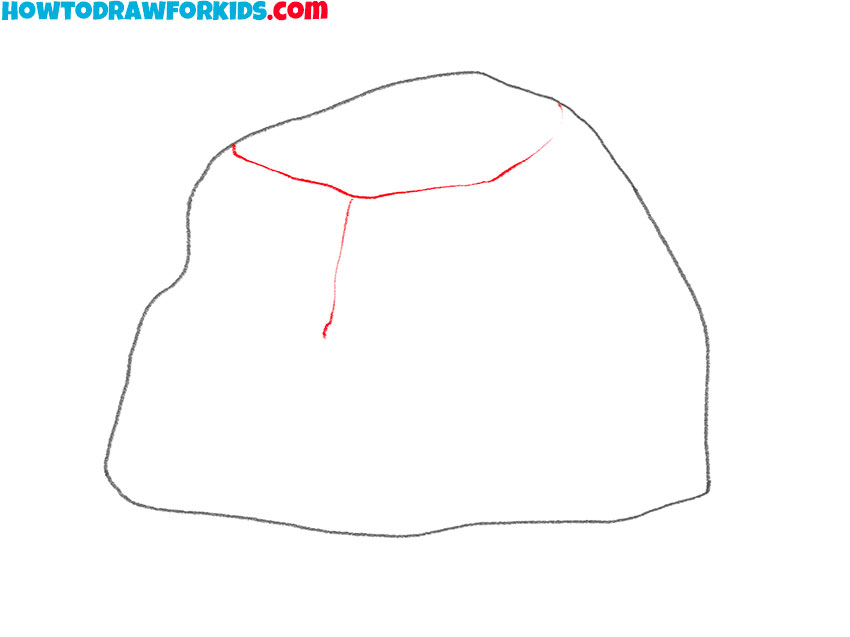
- Detail the surface of the stone.
At this stage, draw thin, uneven lines at the top.
- Add the rest of the elements.
Repeat the previous step and add a few more thin lines at the bottom of the stone.
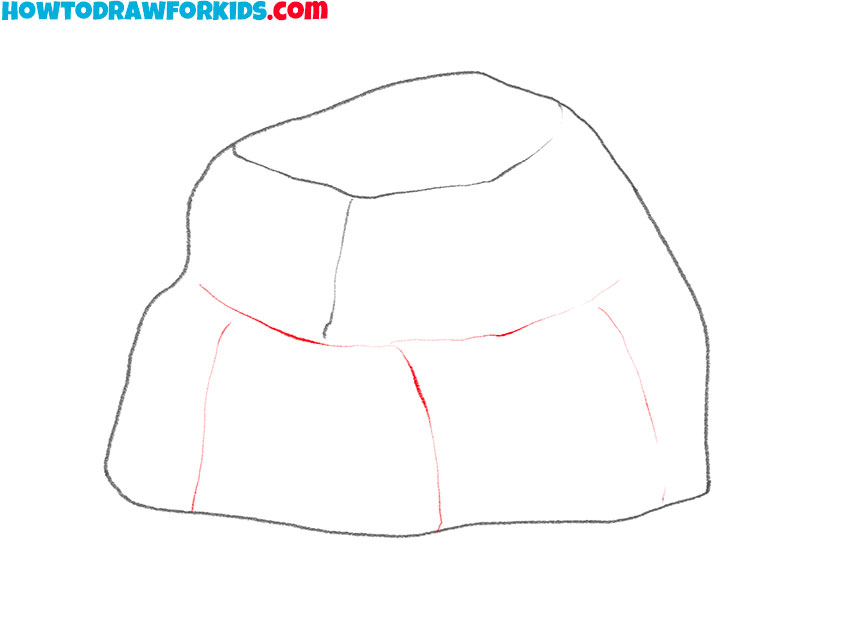
- Color the stone.
For coloring, you can use any shades of gray.

Especially for your convenience, I have prepared a PDF file with a short version of the lesson. In this file, you will find simplified instructions and additional training materials necessary for the effective implementation of the lesson.

Thanks so much. This was great.